
Post: May 15, 2026
The Science Behind Plant Partnerships
It’s not magic; it is ecology in action

Rae Barto
By Rae Barto, Skagit County WSU Extension Master Gardener
Companion planting, the practice of growing different plant species together for mutual benefit, has long been part of gardening traditions across cultures. Historically, it has been framed through folklore, anecdote, and trial and error. But in the last two decades, scientific research has begun to validate, refine, and sometimes debunk these claims.
Modern researchers increasingly view gardens and farms as ecosystems rather than isolated plant beds. Companion planting is best understood as a form of polyculture, where multiple species create a more biodiverse and resilient environment. This biodiversity enhances nutrient cycling, reduces pest pressure, improves water retention, and carbon sequestration.
At its core, companion planting operates through several scientifically documented mechanisms.
Resource partitioning involves physical competition between plants. Plants with different growth habits, root depths, or nutrient requirements can coexist more efficiently than those competing for identical resources. Studies using isotope tracing have demonstrated that companion plantings access different soil layers and nutrient pools, thereby reducing competition.
Allelopathy — the chemical interaction between plants — represents one of the most studied aspects. Plants release various compounds through their roots, leaves, and decomposing matter that can either inhibit or promote the growth of nearby species. Research is identifying specific chemicals responsible for these interactions, providing a biochemical explanation for traditional planting combinations.
The attraction and repulsion of insects through companion planting is getting a lot of attention, and agricultural research proves plants produce volatile organic compounds (VOCs) that can either deter harmful insects or attract beneficial predators and pollinators. Aromatic plants can confuse or mask host plant odors, reducing pest pressure. They are typically short-range, not garden-wide.
Nitrogen Fixation: The Three Sisters and Beyond
Perhaps the most scientifically validated companion planting system is the “Three Sisters” combination of corn, beans, and squash, practiced by Indigenous peoples of the Americas for centuries. Research has confirmed that leguminous beans form symbiotic relationships with rhizobia bacteria, converting atmospheric nitrogen into plant-available forms that benefit neighboring crops.
While these benefits come primarily after the legume decomposes, planting beans next to corn (a heavy nitrogen feeder) allows the corn roots to obtain a trickle of nitrogen from the beans during the growing season. The beans utilize the corn stalks as natural trellises, while the broad squash leaves create living mulch that suppresses weeds and retains soil moisture, effects quantified through controlled field experiments.


Pruning Shrubs for the Home Gardener
May Know & Grow
Free. No registration required.
Presentor: Anne Kurt, Skagit County WSU Extension Master Gardener and Certified Master Pruner
Tuesday, May 19, 2026 ~ 1 p.m.
Sakuma Auditorium
16650 SR 536, Mount Vernon, WA 98273
Come learn some simple seasonal pruning tips to encourage the health and appearance of your garden shrubs. Learn to identify growth habit and determine the right time to prune and how. You will gain confidence and your garden will thrive.
Photo © Skagit County Master Gardener Foundation
Modern research has expanded our understanding of nitrogen-fixing partnerships beyond traditional combinations. Studies have documented beneficial relationships between leguminous cover crops and subsequent plantings with measured increases in soil organic matter and nitrogen availability lasting multiple growing seasons.
Pest Management through Plant Chemistry
Scientific investigation of companion planting for pest control has revealed sophisticated chemical defense networks. Brassicas (cabbage family plants) produce glucosinolates — sulfur-containing compounds that break down into pest-deterrent chemicals. Research has shown that these compounds can reduce populations of aphids, flea beetles, and other common garden pests when brassicas are interplanted with susceptible crops.
Beneficial Insect Attraction and Habitat Creation
Companion planting’s role in supporting beneficial insects has been thoroughly documented through field studies and insect population surveys. Flowering companions provide nectar and pollen sources that sustain parasitic wasps, predatory beetles, and other natural pest controllers through the growing season.
Research has shown that gardens with diverse flowering plants maintain higher populations of beneficial insects, leading to measurable reductions in pest damage. Studies tracking parasitoid wasp populations have demonstrated direct correlations between the presence of nectar-producing plants and improved biological pest control.
Habitat diversification through companion planting creates microclimates that support beneficial species. Research has documented how varied plant heights, leaf textures, and bloom times provide overwintering sites, hunting grounds, and nesting opportunities for natural pest predators.
Aromatic herbs like basil, rosemary, and thyme have been studied extensively for their pest-repelling properties. Laboratory and field studies have identified specific essential oils and their concentrations that effectively deter insects. For example, research has demonstrated that basil planted near tomatoes can reduce populations of hornworms and whiteflies by releasing volatile compounds such as eugenol and linalool.

Save the Date:
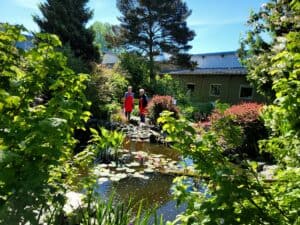
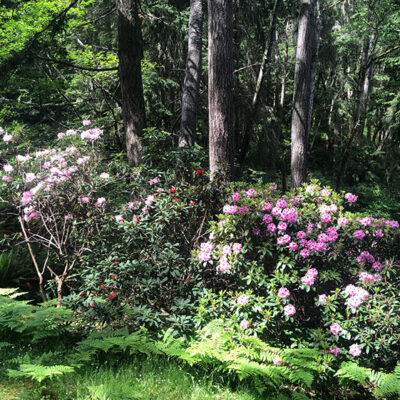
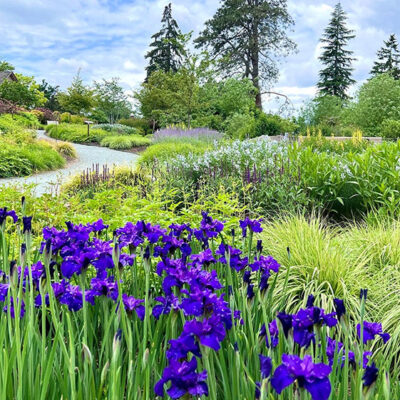
Discovery Garden Open House
Celebrating 30 years of education, inspiration and dedication to the community
Saturday, June 27 ~ 10 am – 2 pm
Free Admission and Parking
Discovery Garden
16602 State Route 536, Memorial Highway, Mount Vernon
Soil Health and Nutrient Cycling
One of the most significant advances in understanding companion planting comes from soil microbial ecology. Plants shape the microbial communities around the roots, and when species are grown together, these communities interact in complex ways.
Scientific studies of companion planting’s effects on soil health reveal complex underground interactions.
Mycorrhizal networks
The symbiotic relationship between plant roots and beneficial fungi, called a mycorrhizal network, can be enhanced through strategic plant combinations. Research using molecular techniques has shown how certain companion plants can expand these fungal networks, improving nutrient uptake and plant resilience.
Root exudate interactions
The carbon-rich compounds released by roots have been studied extensively, revealing how different plants can modify soil chemistry to benefit neighbors. For example, research has shown that certain plants release organic acids that help solubilize phosphorus, making this essential nutrient more available to companion plants with different root chemistries.
Carbon sequestration
The process by which plants capture and store atmospheric carbon dioxide (CO2) is called carbon sequestration. Studies have shown that soil organic matter improves with diverse plantings. Research demonstrates that polyculture systems often store more carbon in soil than monocultures, thereby contributing to long-term improvements in soil fertility and structure.


Limitations and Considerations
Scientific research also reveals important limitations of companion planting.
Allelopathic inhibition
A biological phenomenon where plants release chemical compounds (allelochemicals) into the environment that suppress the germination, growth, or reproduction of neighboring plants or microorganisms can occur when incompatible plants are grown together. Studies have documented how certain combinations can reduce yields rather than improve them.
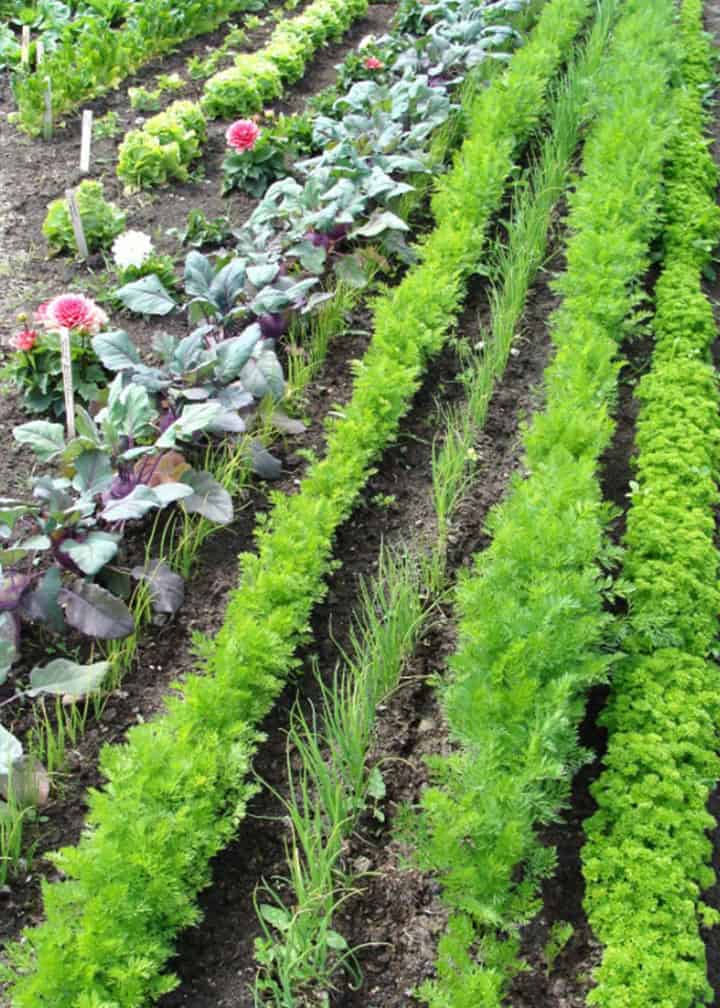
Carrot and chive studies have shown that chives can repel carrot rust flies through the release of sulfur compounds; while differing root depths allow effective resource use. Photo © Adobe Stock
Competition
The effects of competition must be considered, as research shows that plants grown too closely can compete for water, nutrients, and light regardless of species compatibility. Scientific studies emphasize the importance of proper spacing and timing in companion planting systems.
Environmental variability
Research demonstrates that soil type, climate, and local pest populations can influence the effectiveness of plant combinations. This underscores the importance of adapting companion planting strategies to local conditions.
Evidence-Based Companion Combinations
Tomatoes and basil have been studied extensively, and research has confirmed that basil can deter certain pests.
Carrot and chive studies have shown that chives can repel carrot rust flies through the release of sulfur compounds; while differing root depths allow effective resource use.
Lettuce and tall plants demonstrate the shade tolerance principle, with research showing that partial shade can extend lettuce growing seasons and reduce bolting in hot weather.
Practical guidance:
- Focus on increasing diversity, not specific “magic” pairings. Polycultures reduce pest outbreaks and improve soil health.
- Include flowering plants to attract and support beneficial insects.
- Use legumes for nitrogen fixation and to build soil health; interplant beans, peas, or clover with nitrogen-demanding crops.
- Combine plants with complementary root systems; mix deep-rooted, shallow-rooted, and tap-rooted species.
- Use the plant’s physical structures — tall plants can support climbers or provide shade.
- Incorporate cover crops — oats, buckwheat, winter rye, and cowpeas improve soil structure and fertility.
- Focus on soil microbiology — choose combinations that enhance microbial diversity and nutrient cycling.
- Observe and adapt, local conditions matter.
- Combine with other practices, such as crop rotation and soil management.
The science of companion planting validates many traditional practices while providing a deeper understanding of the mechanisms involved. Through scientific research on plant chemistry, soil interaction, and ecological relationships, we now have evidence-based explanations for why certain plant combinations work effectively together.
By understanding the science behind companion planting, gardeners can harness these natural relationships to create thriving, resilient gardens that work with, rather than against, ecological principles. As research continues to reveal new insights into plant interactions, companion planting enables gardeners to combine traditional knowledge with modern science to create a more sustainable, productive garden.
Companion planting is a scientifically supported practice rooted in ecology, soil biology, and plant physiology. While not all traditional pairings hold up under scrutiny, many do, and modern research continues to uncover the mechanisms behind successful plant partnerships.
Companion planting works best as part of a holistic system rather than a standalone solution. Companion planting is not magic; it is ecology in action.
References and Resources
Chalker-Scott, L. (2023). Gardening with Companion Plants (Home Garden Series). Washington State University Extension.
Walliser, J. (2020). Plant Partners: Science-based Companion Planting Strategies for the Vegetable Garden. Storey Publishing, LLC.
James, D. (2014). Beneficial Insects, Spiders, and Other Mini-Creatures in Your Garden. Washington State University Extension., Pub. #EM0673.
University of California (2018). Insectary Plants, Integrated Pest Management, Agriculture and Natural Resources.
ABOUT THE AUTHOR: Rae Barto is a Skagit County WSU Extension Master Gardener, Class of 2023. Her love of plants includes anything green and growing, especially anything that can be used in cooking. She has been experimenting with companion planting for several years in her own garden. She is the coordinator of the medicinal section of the Herb Garden and is a frequent volunteer in the Plant Clinic in Burlington.
Questions about home gardening or becoming a master gardener may be directed to Skagit County WSU Extension Office, 11768 Westar Lane, Suite A, Burlington, WA 98233; by phone: 360-428-4270; or via the Skagit County WSU Extension website.
Washington State University Extension helps people develop leadership skills and use research-based knowledge to improve economic status and quality of life. Cooperating agencies: Washington State University, US Department of Agriculture, and Skagit County. Extension programs and policies are available to all without discrimination. To request disability accommodations contact us at least ten days in advance.


 Interested in Becoming a Master Gardener?


 Get your “passport” and enjoy the open house:


 Interested in becoming a Master Gardener?


 The Western Washington Fruit Research Foundation, now called NW Fruit, was created in 1991 to help support the tree fruit research at the Washington State University (WSU) Northwestern Washington Research & Extension Center (NWREC) Fruit Horticulture Program in Mount Vernon. It is dedicated to supporting research and educating the public about the special fruit-growing conditions of the Pacific Northwest region.


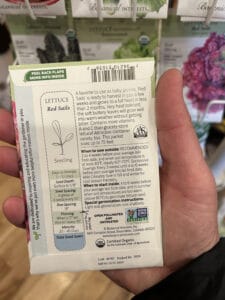 You can either sow seeds directly into the garden or start the seeds indoors to grow sturdy young plants that can later be transplanted. The back of the seed packet may tell you this, or check out the
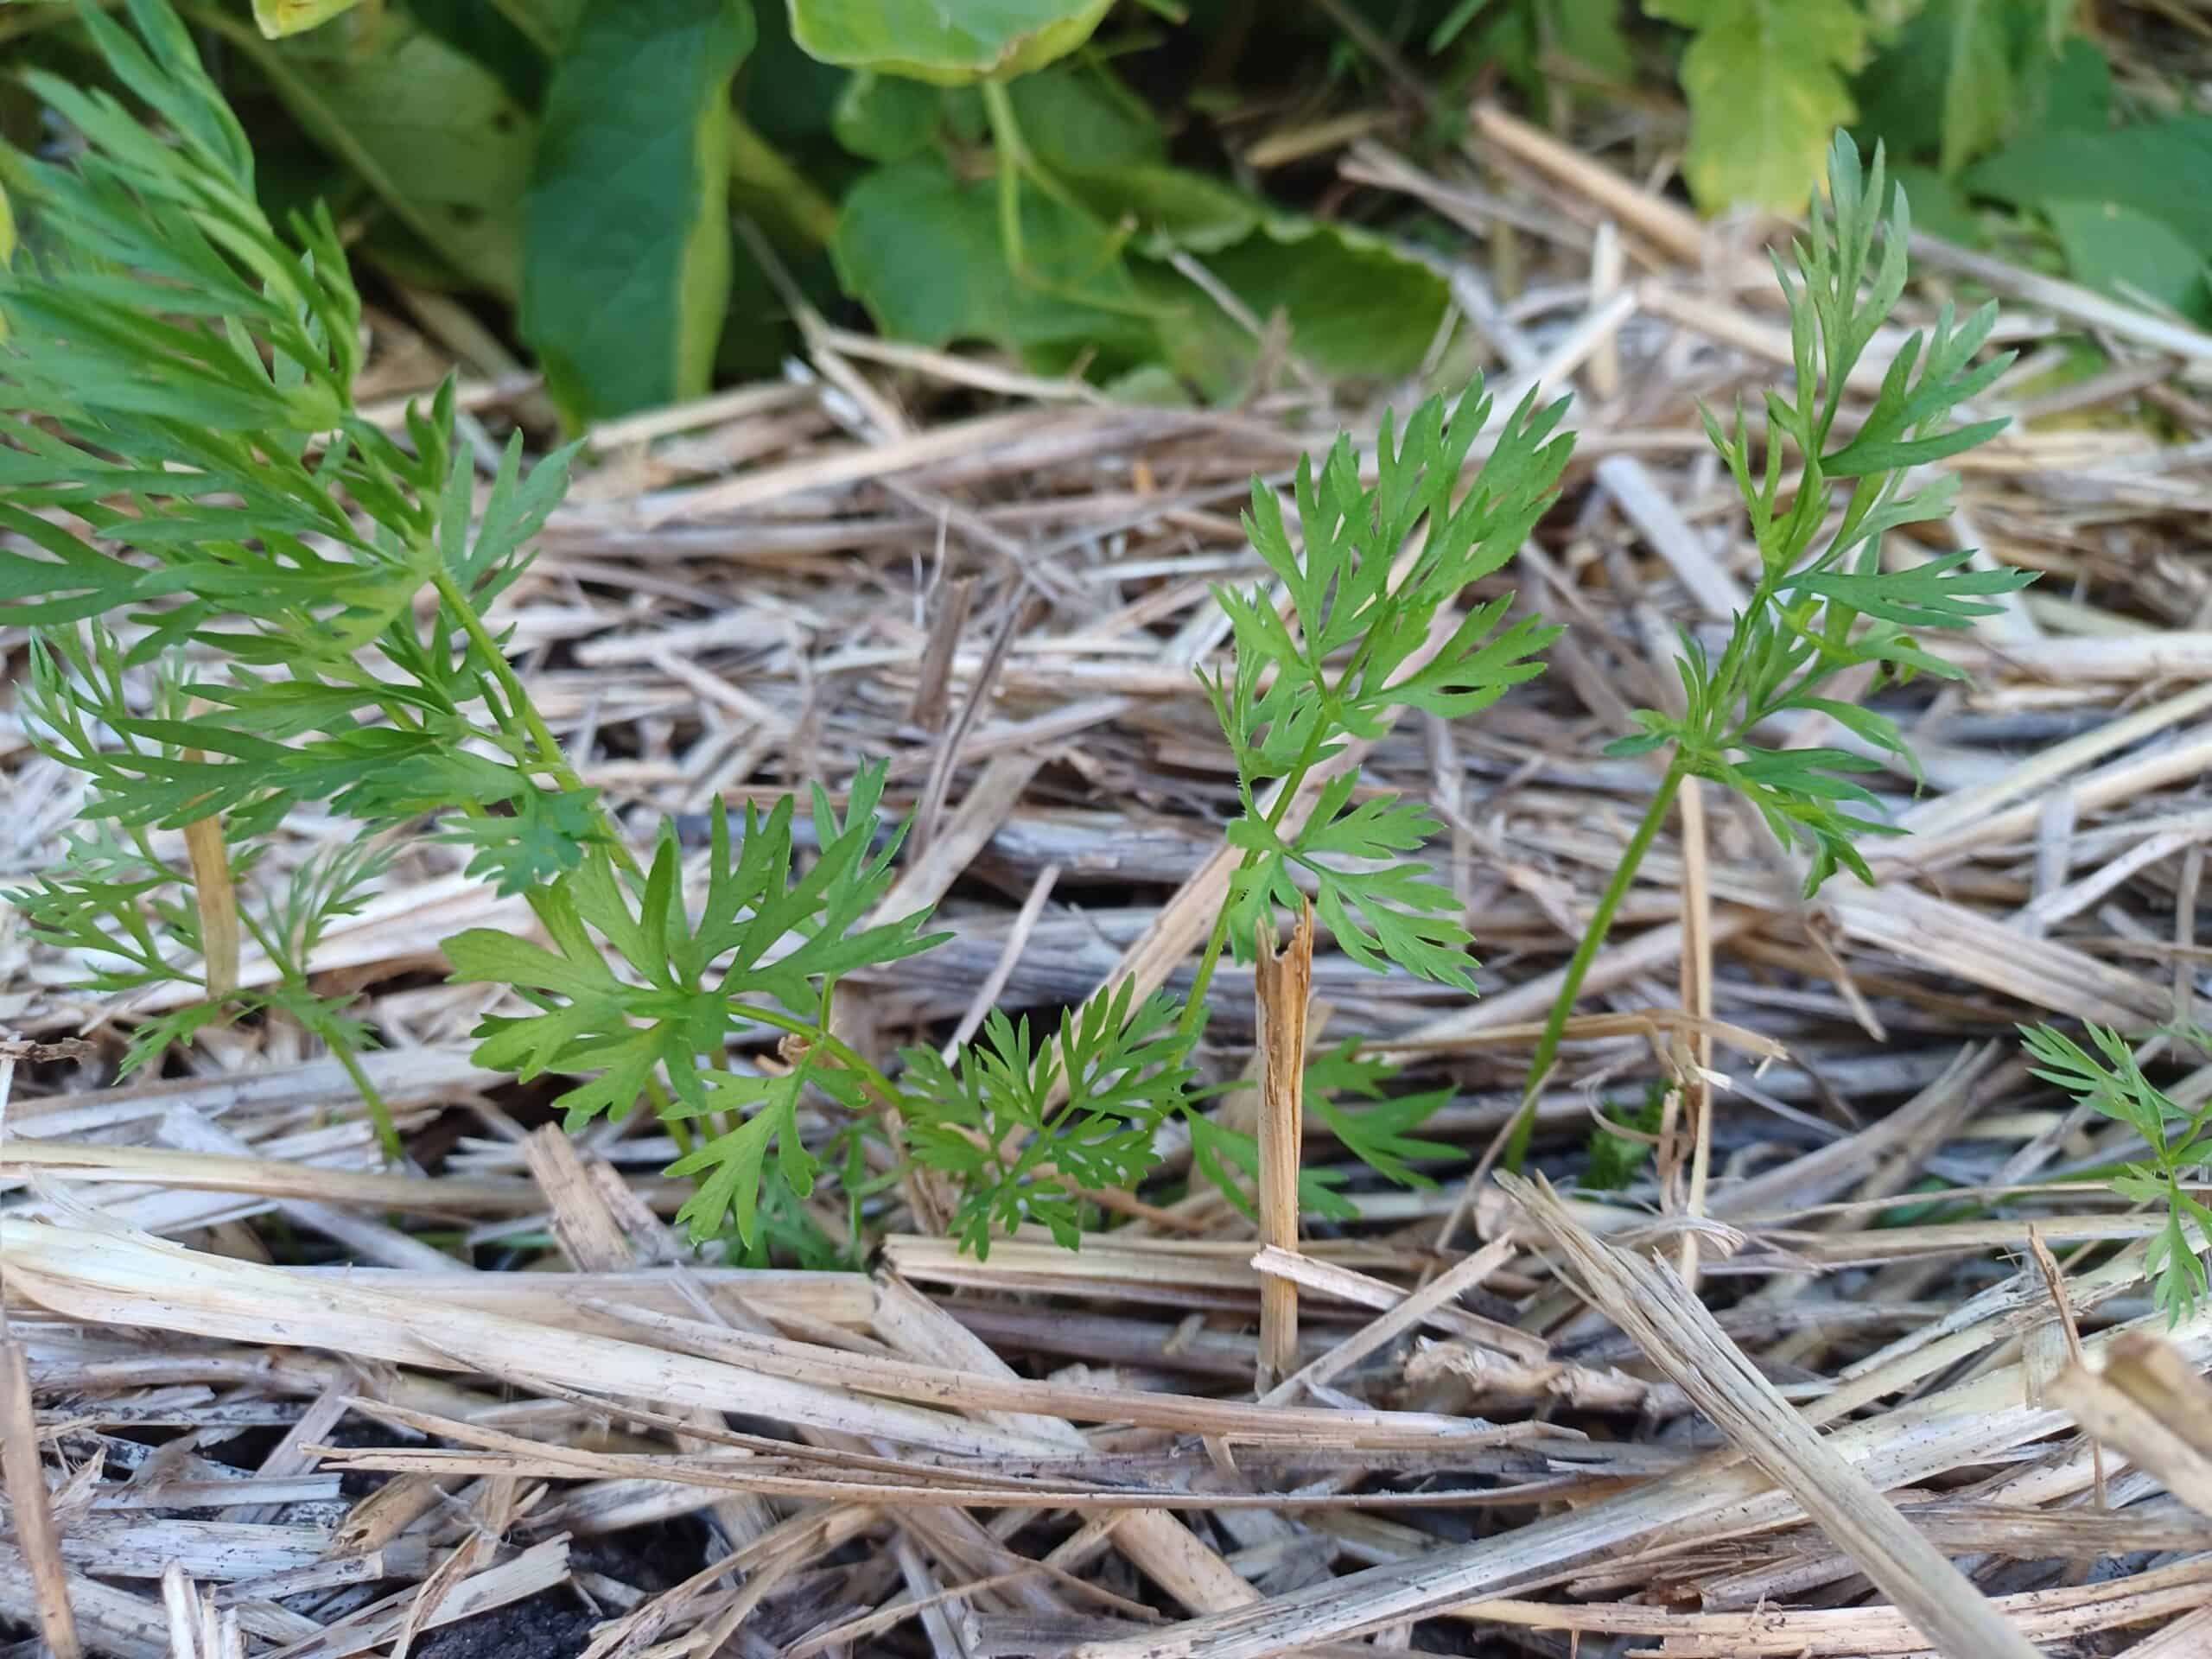


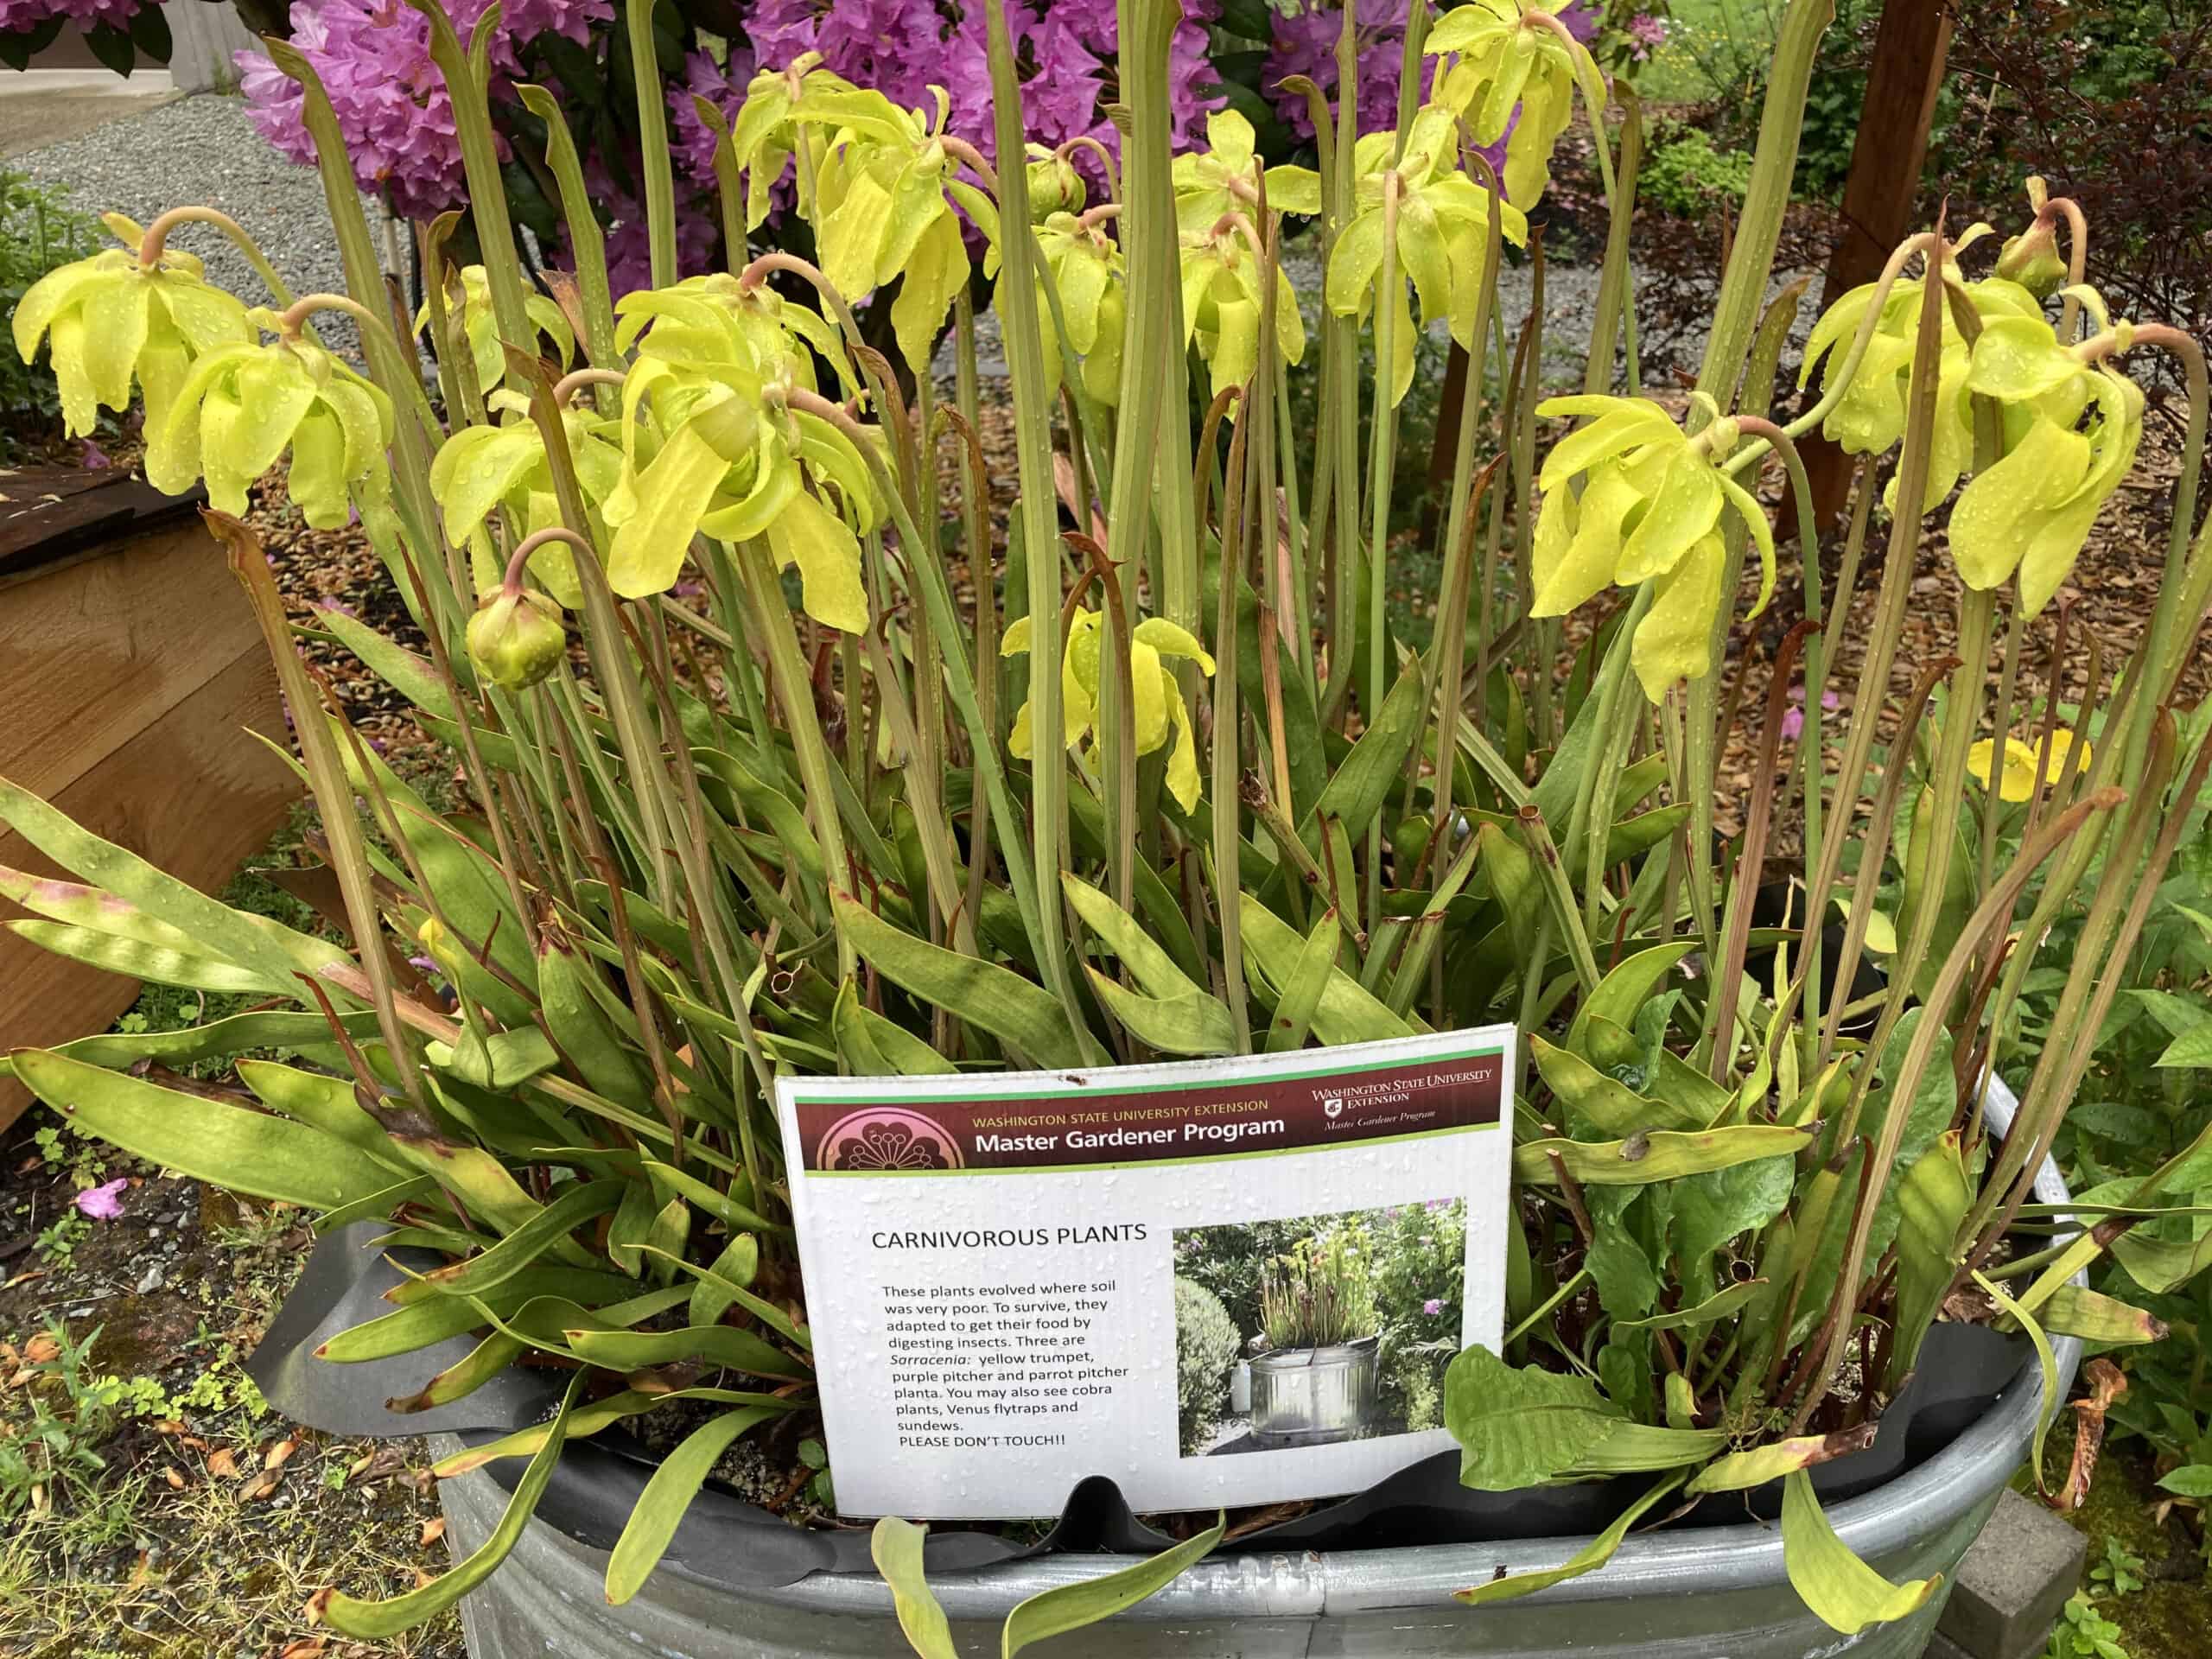
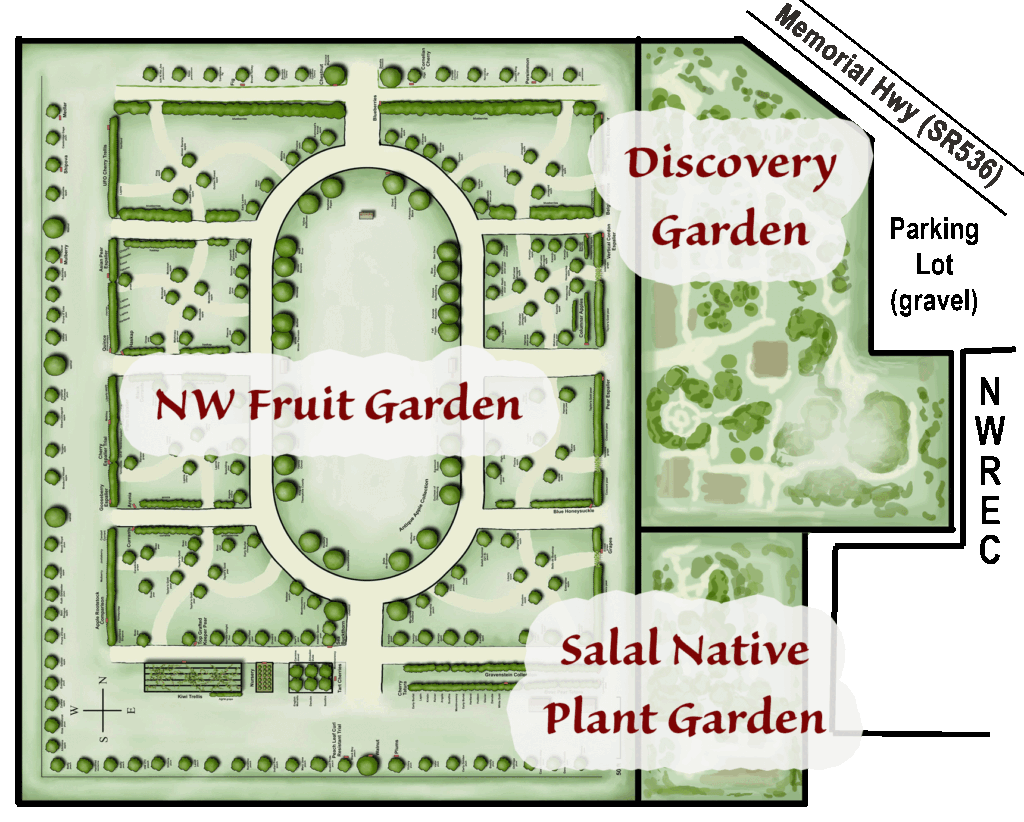 The Skagit Valley is home to three display gardens operated by volunteers as a learning resource for the public: the WSU Extension Master Gardener Discovery Garden, the Salal Native Plant Garden, and the NW Fruit Garden. The gardens are co-located on the grounds of Washington State University (WSU) Northwestern Washington Research and Extension Center (NWREC) in Mount Vernon, WA (


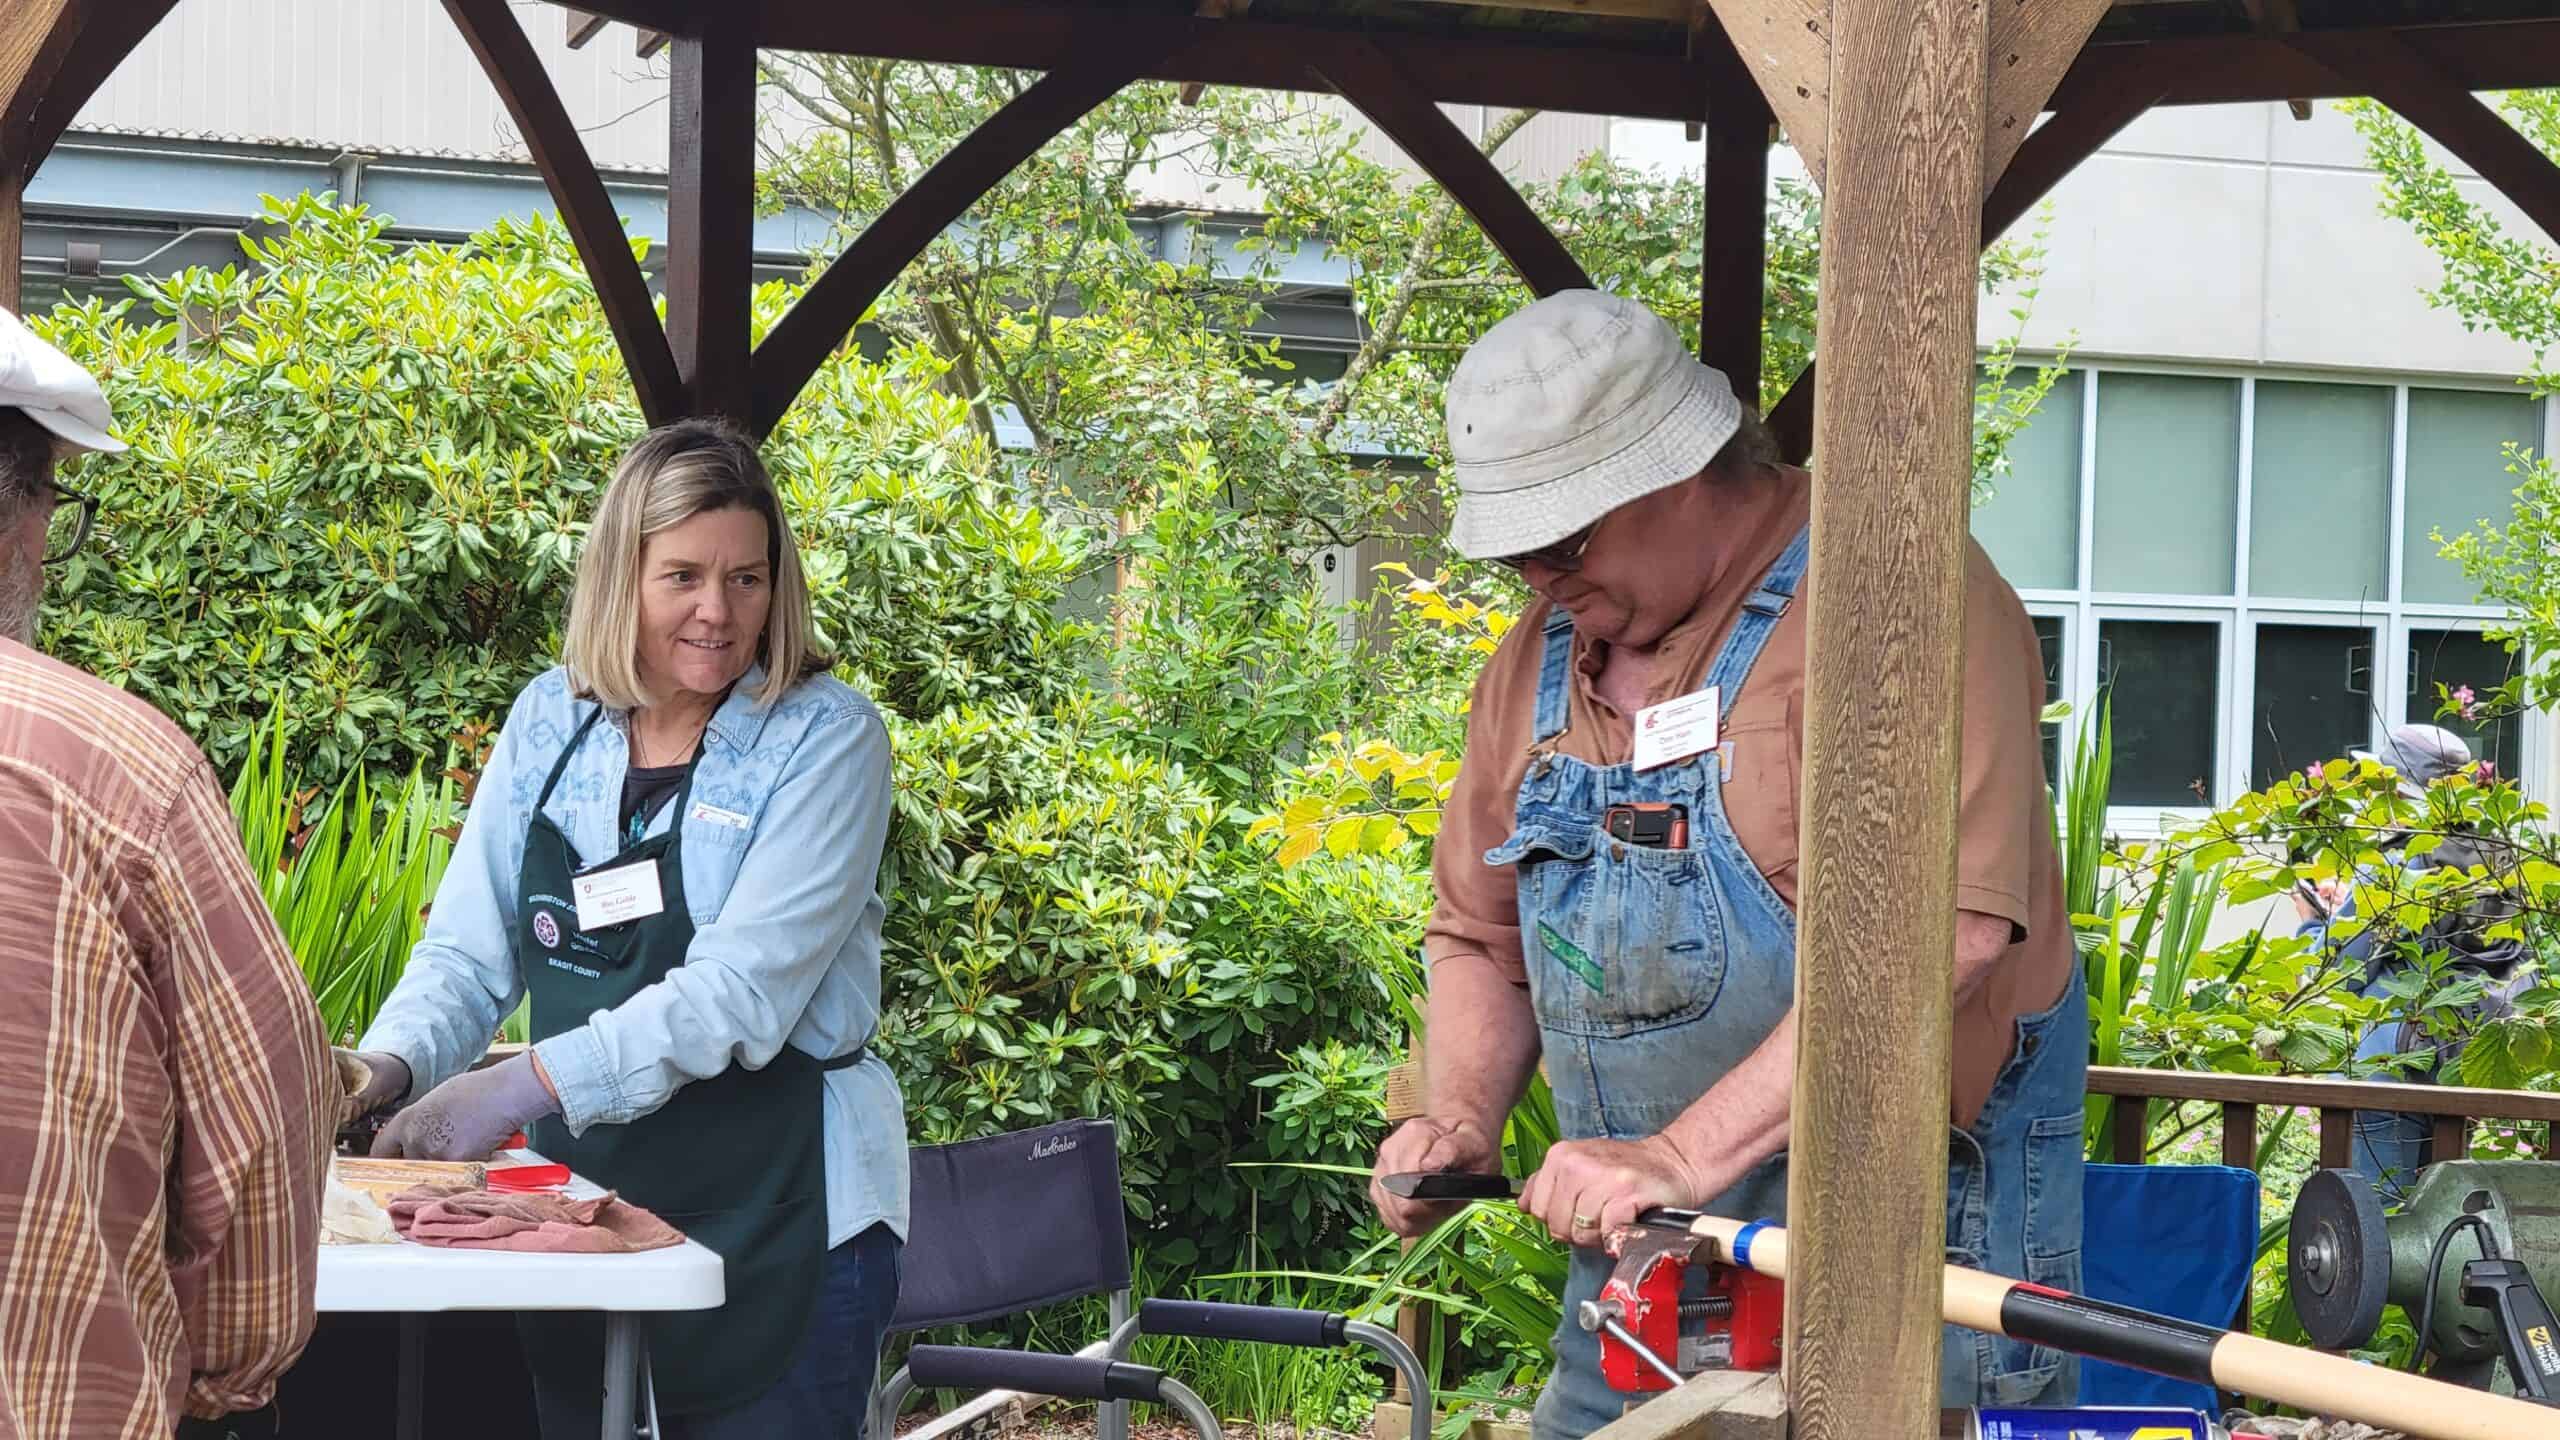


 Skagit County WSU Extension Master Gardeners will be on-site to provide research-based solutions for your gardening challenges. Visit our Plant Clinic in the Pavilion for solutions to your plant problems or bring in a plant sample for identification. There will be a perennial plant sale. Bring your dull gardening tool to have it sharpened for free.


 The
The 
 The
The 


 ABOUT THE AUTHOR :


")
")
")


 ABOUT THE AUTHOR:


 ABOUT THE AUTHOR:
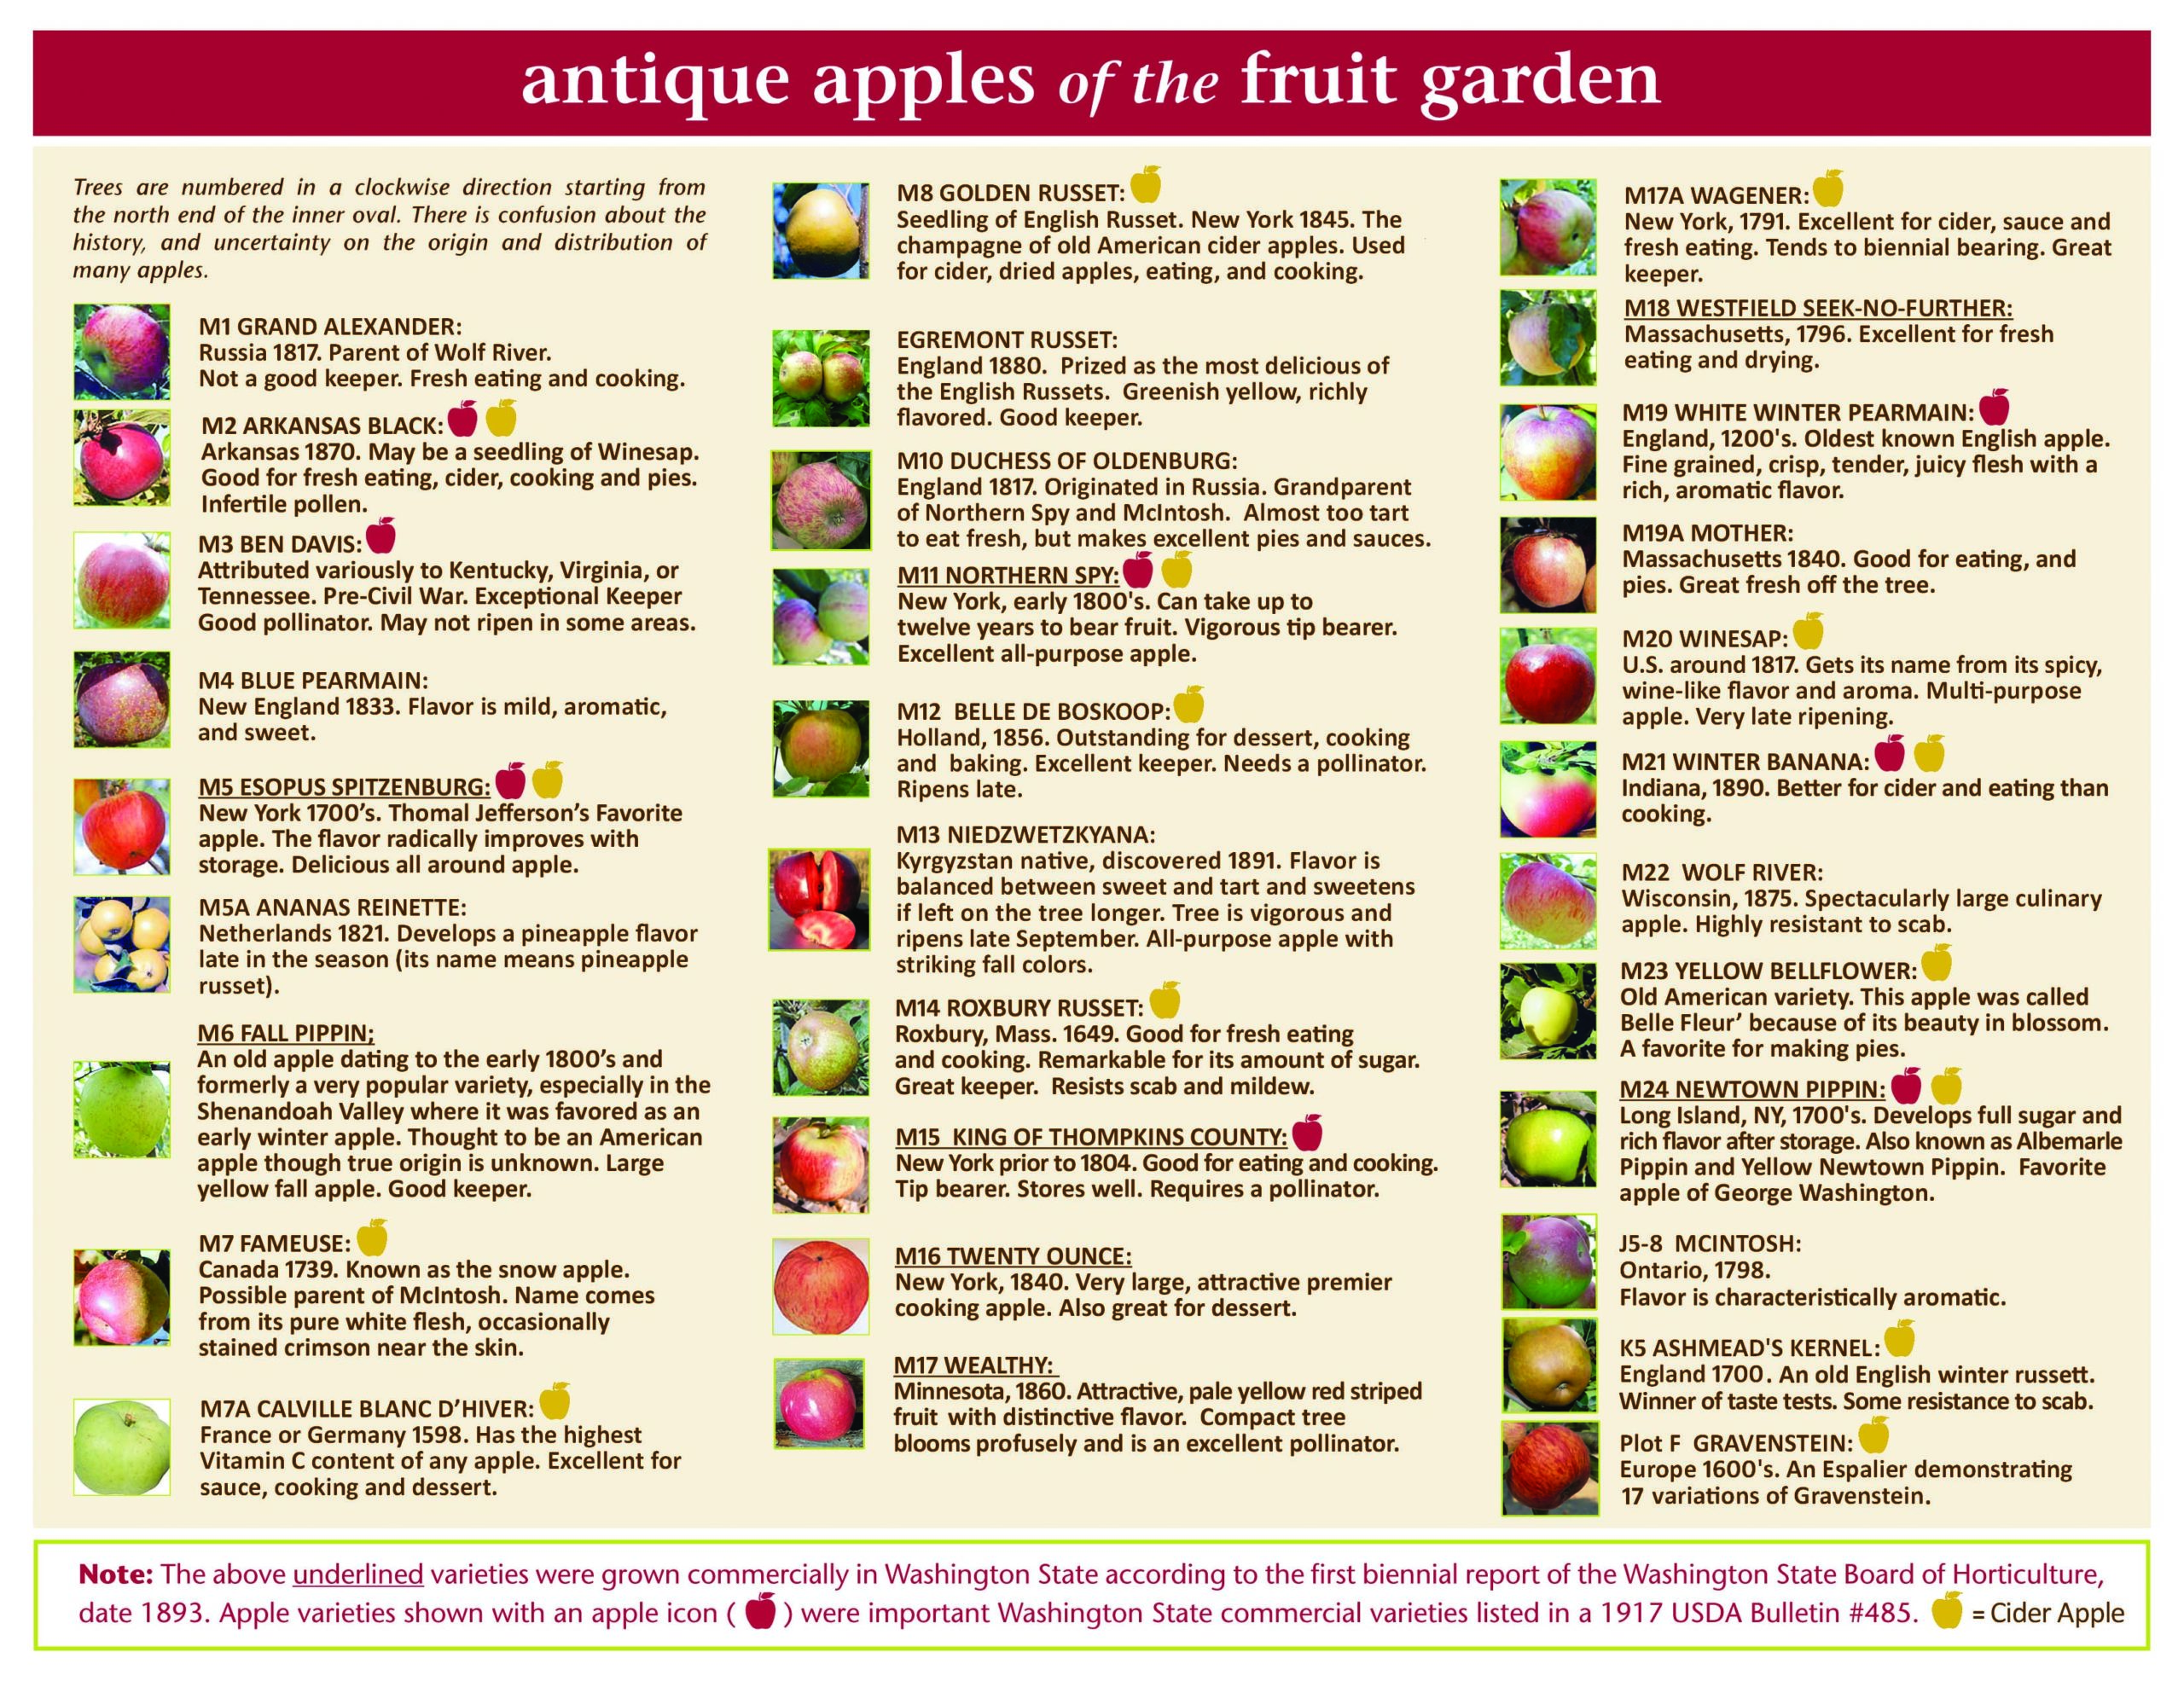