Useful Tips for Harvesting and Preserving Herbs in the Pacific Northwest
Preserving herbs can be a bit of trial and error, but the process is worth the fresh flavor and satisfaction.
Subscribe to the Blog >By: Laura Kuhn, Skagit County WSU Extension Master Gardener
Because of their useful nature, herbs are a common addition to home gardens. The use of the term herb is often used interchangeably with spice. However, the terms herbs and spices technically refer to two different things. “Herbs” are defined as the leafy parts of plants, such as oregano, rosemary, thyme, sage, basil, and others. “Spices” typically involve the use of other plant parts such as roots, fruits, flowers, seeds, or bark. Spices include cinnamon, ginger, lavender, coriander, cumin, and many others. Both herbs and spices are used for their savory, aromatic, or medicinal qualities. This article will focus primarily on herb preservation, although many methods mentioned here can also apply to spices.
Gardeners who grow vegetables may also grow herbs for pairing in recipes later. However, some of the best pairings cannot be harvested at the same time. For example, basil can look tired by the time the tomatoes are ready to be harvested. And it is difficult to find an easy, cost-effective way to have bunches of fresh cilantro available at the same time tomatoes and peppers ripen for salsa. Preserving herbs can help to bridge these gaps.
In 2002, when faced with a huge abundance of herbs that could not all be used fresh, I bought one of the popular “As Seen On TV” food dehydrators and dried herbs to make gifts for the following holiday season. The color and flavor of home-dried herbs are superior to store-bought herbs. Since then, I have also started to grow herbs and spices to make tea.
An often-asked question is: What is the best way to preserve herbs? The answer depends on how you plan to use them. The goal is to capture the essential oils in the trichomes (fine outgrowth like hairs) on the surface or epidermal layer of the leaves. These oils have the flavor and aroma we want.
What gardeners choose to grow and preserve is most influenced by the amount of time, budget, and available space. The good news is that with a small investment in time, space, and equipment, home gardeners can achieve excellent results that rival the expensive options available.
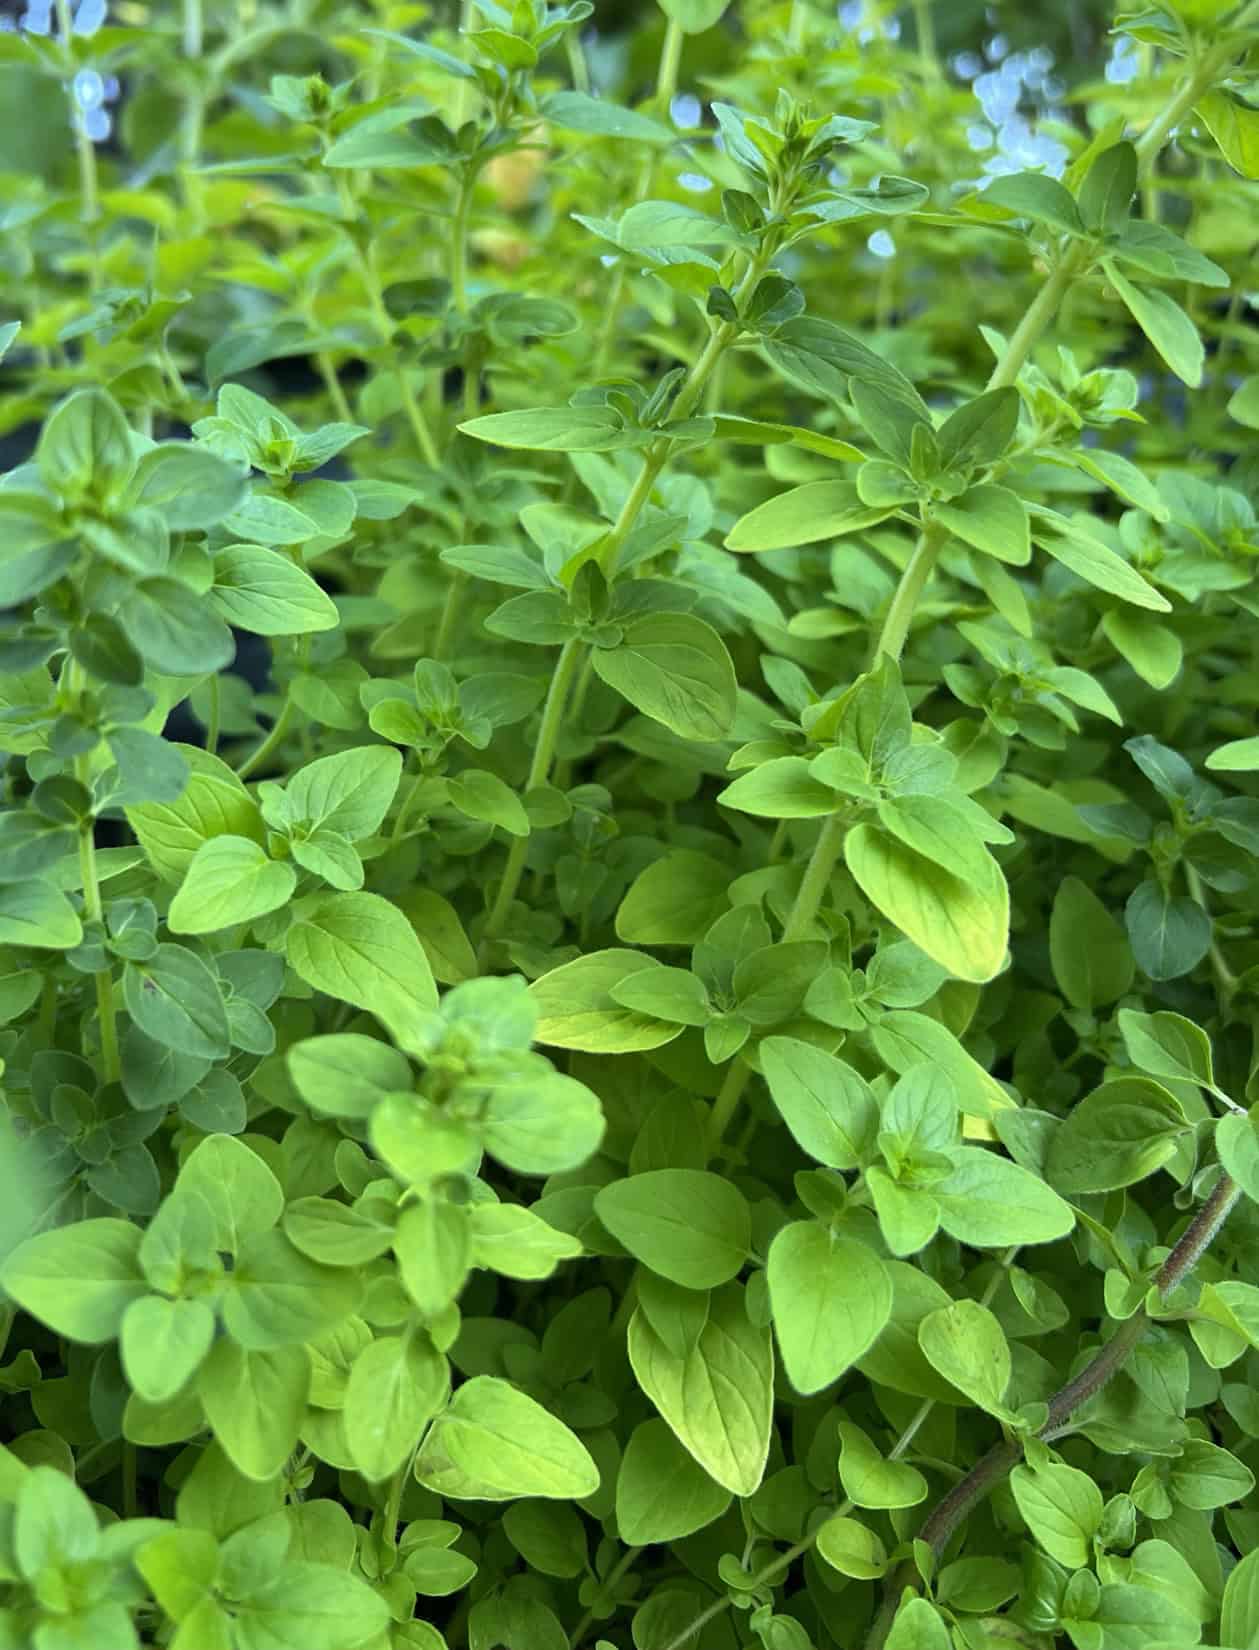
Oregano ripe for harvest. © Photographer: Laura Kuhn
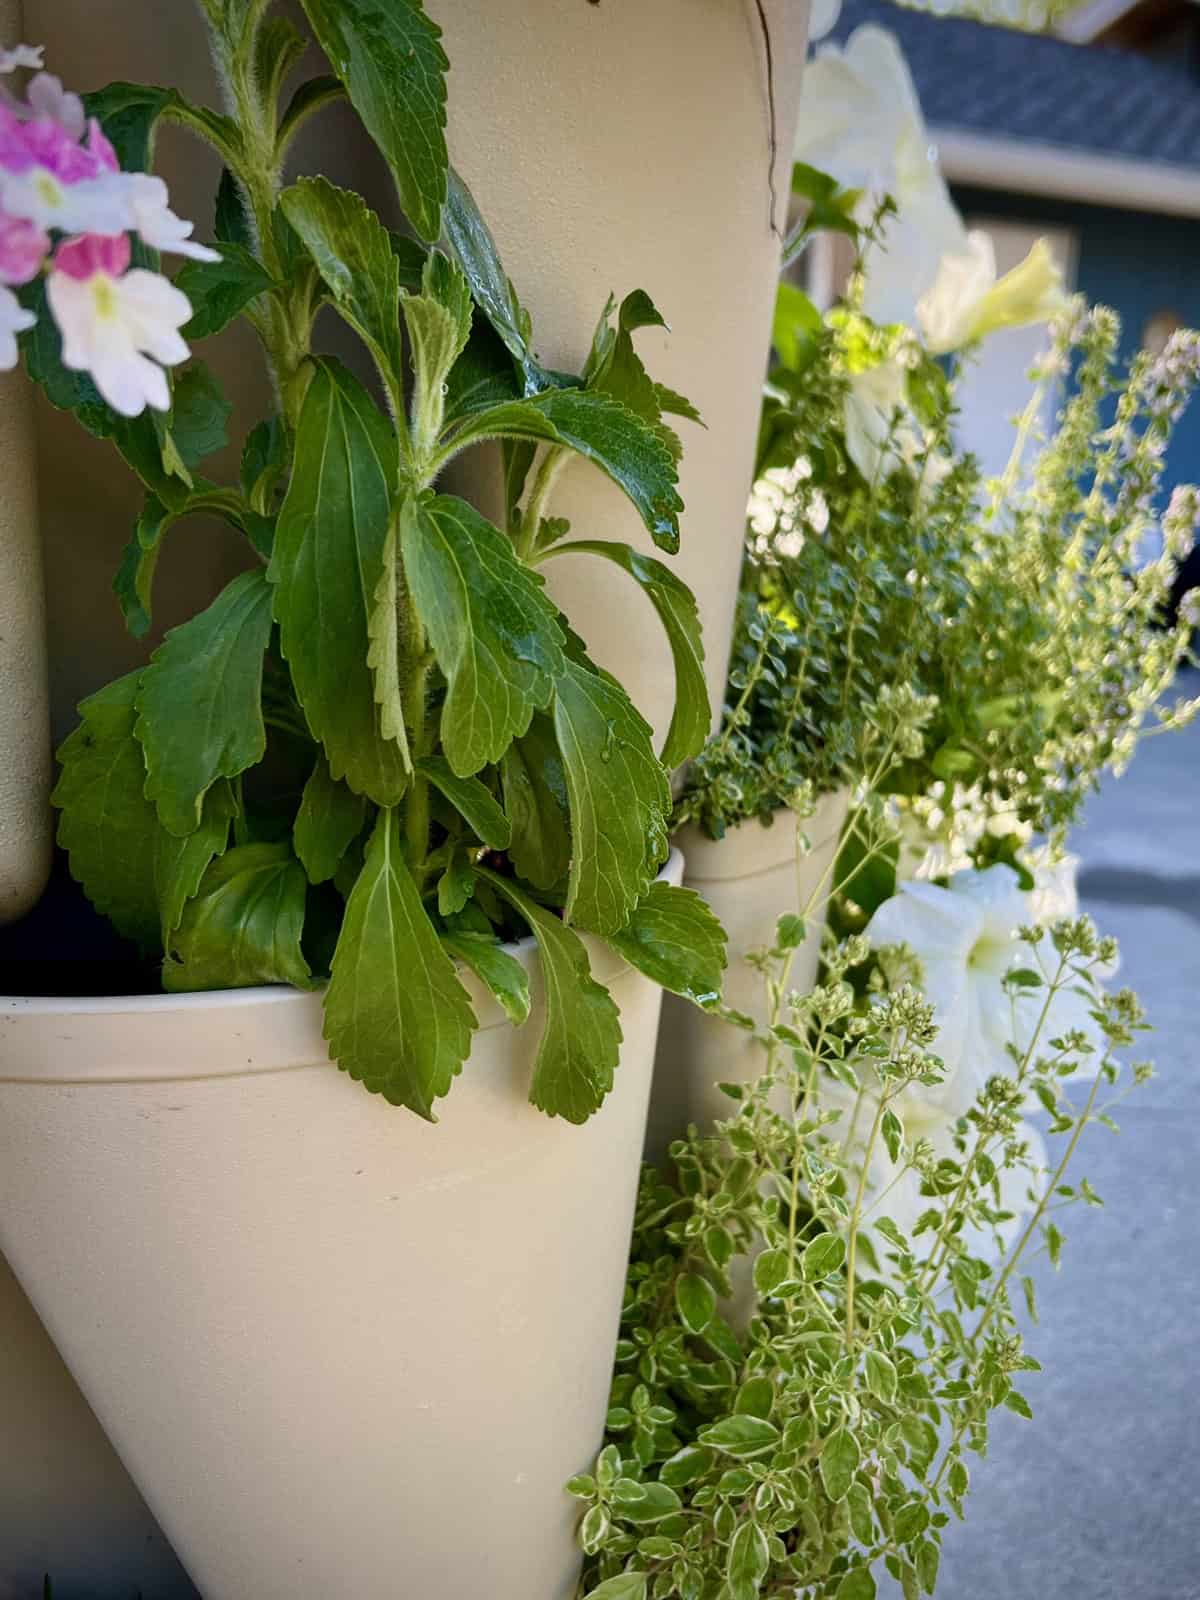
Stevia and ornamental oregano in a vertical container with annuals. © Photographer: Laura Kuhn
Growing Herbs-
Herbs can grow in most garden conditions and be planted directly in the ground, in raised beds, or in containers. Vertical garden systems are a terrific way to get a lot of variety in a small space. Gardeners who are just starting herb growing should start slowly and do their research. Purchasing herb starts at a local garden center is an easy and inexpensive way to begin. However, a far greater selection of herbs are available as seeds. Once gardeners have experience, they can grow their favorites from seed and make space for annual and perennial varieties.
Harvesting Herbs-
The harvesting process is as simple as removing the right part of the plant for the intended use. For most culinary uses, the target is tender fresh leaves (i.e., oregano, thyme, and basil). In some cases, the goal is to preserve flowers for making tea (i.e., chamomile, calendula, or anise hyssop) or to harvest the plant’s mature seeds (i.e., dill or coriander). Yet other plants are used for their roots (i.e., ginger or horseradish). If growing for flowers, it is important to pick the flowers often to encourage the production of more blooms.
For leafy herbs such as basil and oregano, the best flavor comes from young leaves on stems cut before the plant goes into flower production. However, the growing season can be extended by cutting back flowering stem tops to encourage more leaf growth. When doing so, leave four to six leaves on the plant stems for re-growth. If growing for seed, keep the flowers on the plants and wait until the seeds are fully mature. Root harvests take a longer time commitment and can require waiting for several growing seasons to achieve a decent harvest.
Organization is important during the harvesting process. It is best to harvest all of one specific plant at a time, making the cleaning and preservation process easier by avoiding the time-consuming task of separating during the cleaning process. For harvesting, no special tools are needed. Most herbs are tender enough to harvest by hand pinching or using scissors. Small clippers with short-tipped blades are best for harvesting small leaves or stems. Digging roots is a careful process. It is important to provide wide enough margins to avoid shovel damage to the roots.
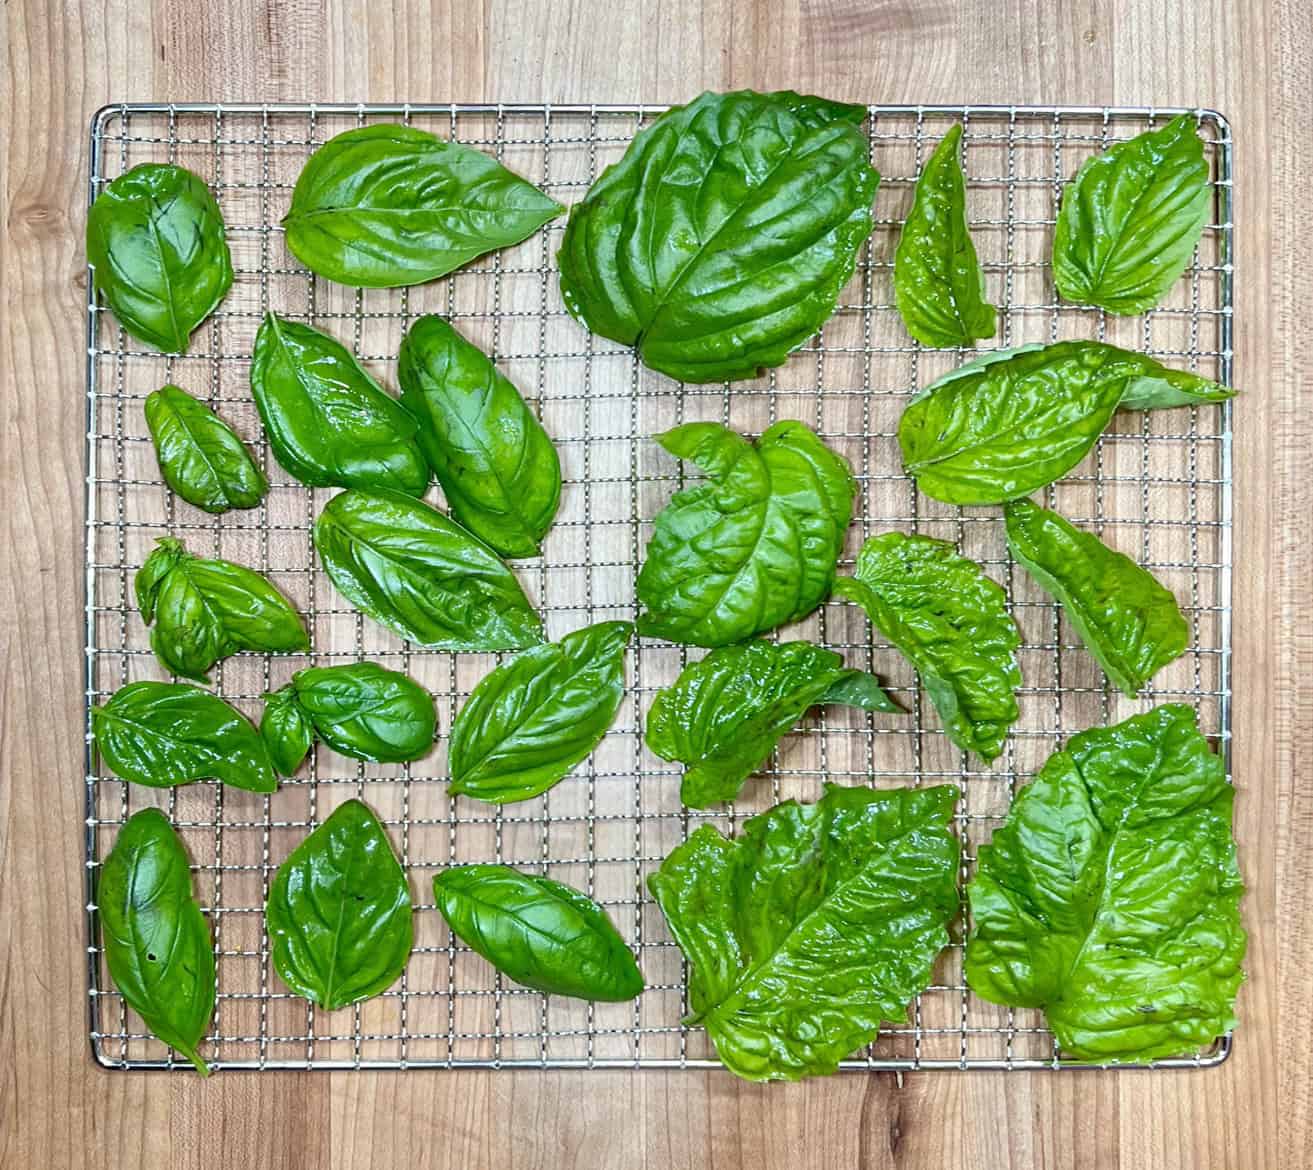
Mammolo and Lettuce Leaf basils ready for drying in the dehydrator. © Photographer: Laura Kuhn
Preserving Herbs –
After harvesting, the herbs require cleaning before preserving. Most herbs can be immersed in cool water to clean off the leaves (stem and all). Use paper towels, a drying rack on a work surface, or a salad spinner to get as much moisture off as possible. Avoid crushing the leaves unless the herbs are chopped before preserving them. Chives can be washed and cut into small pieces with scissors by holding a bunch of stems and cutting them as a group before preserving them.
The preservation method should strive to achieve the best quality for the intended use. Scientific research has been conducted on various methods of preservation. The winning method for drying herbs is freeze drying because it preserves essential oils, aroma, and color best. However, the cost of such a system for most home gardeners is not reasonable. Therefore, the most common methods involve dehydration (using heat) or drying (using air), which results in a shelf-stable product that can be used year-round, or by freezing.
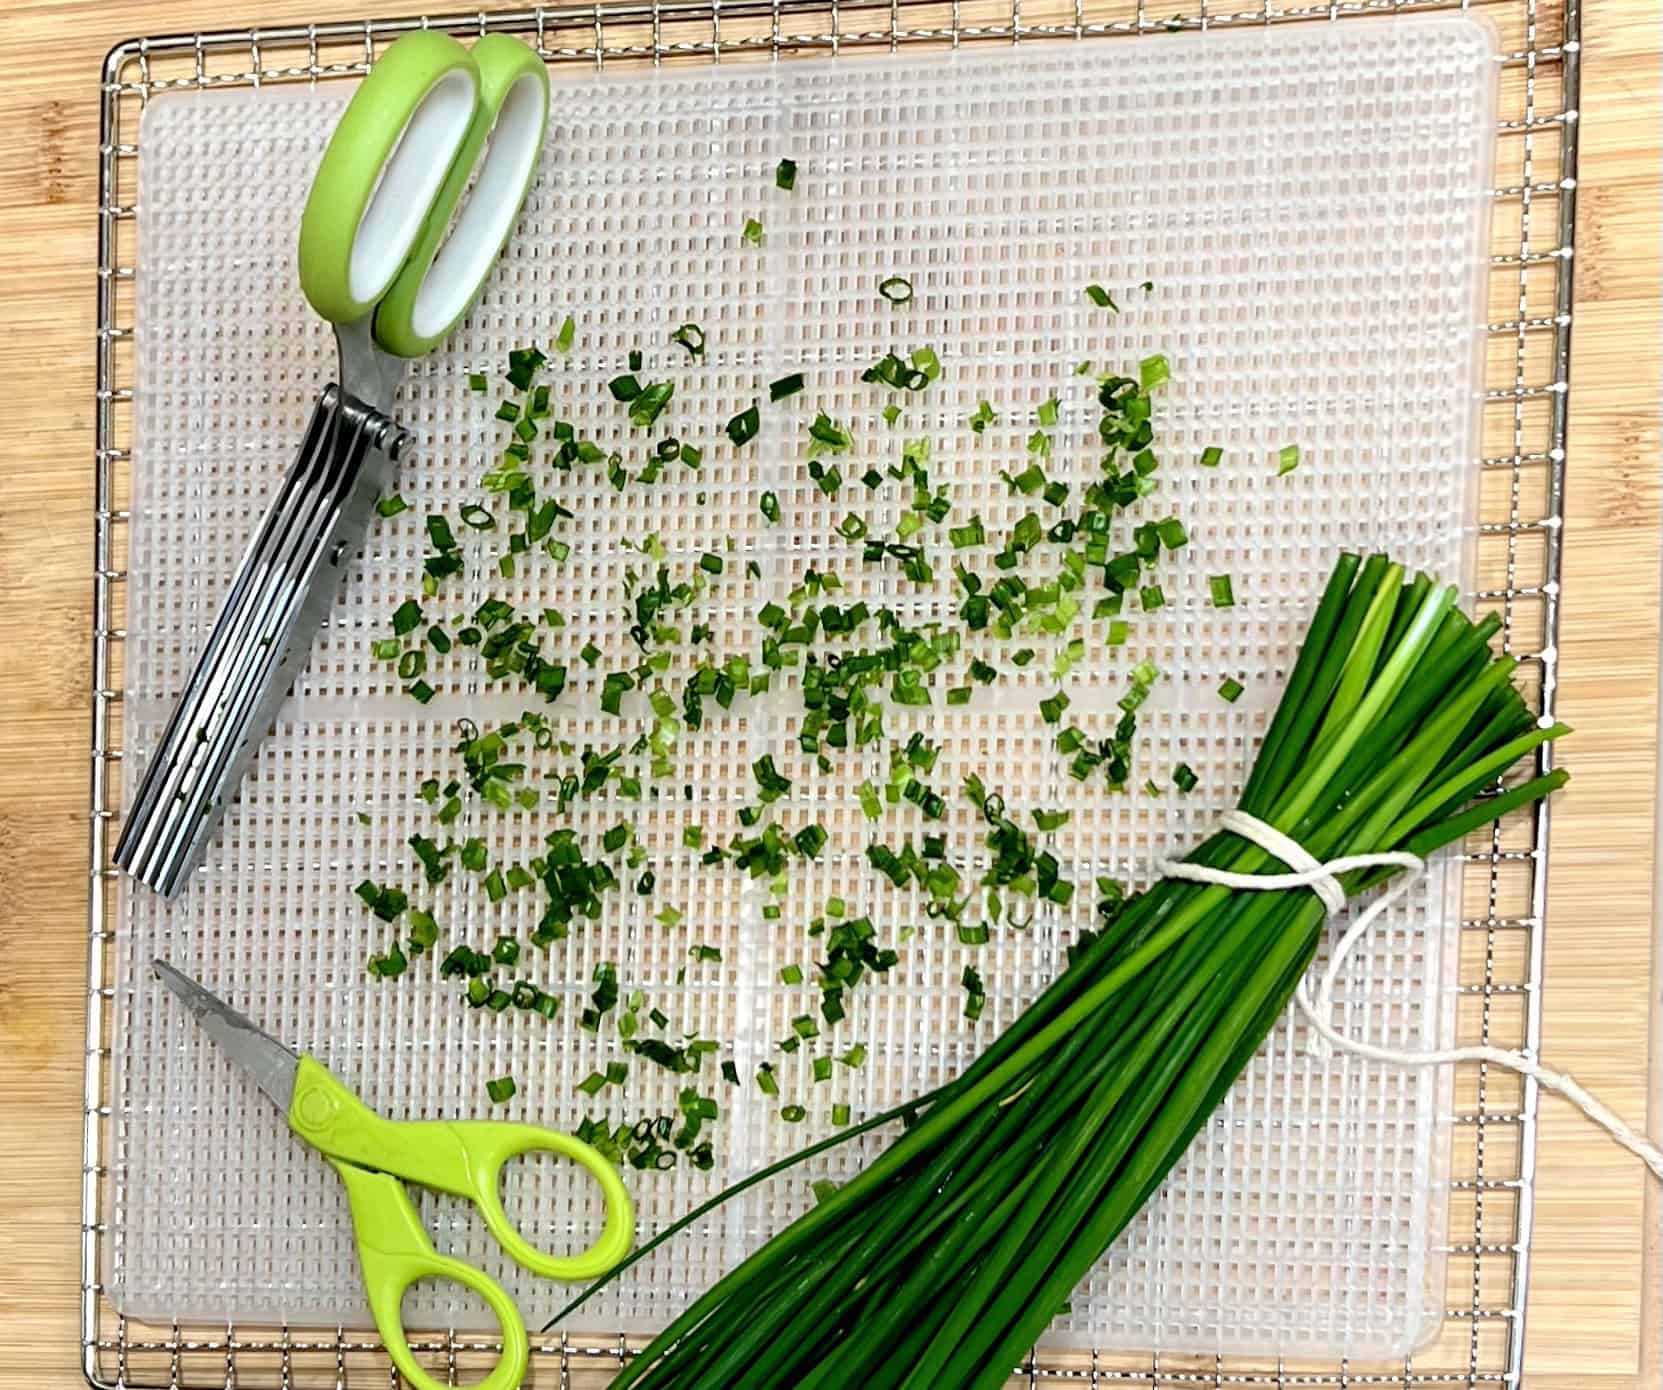
Bunching and cutting chives to cut and freeze or dry. © Photographer: Laura Kuhn
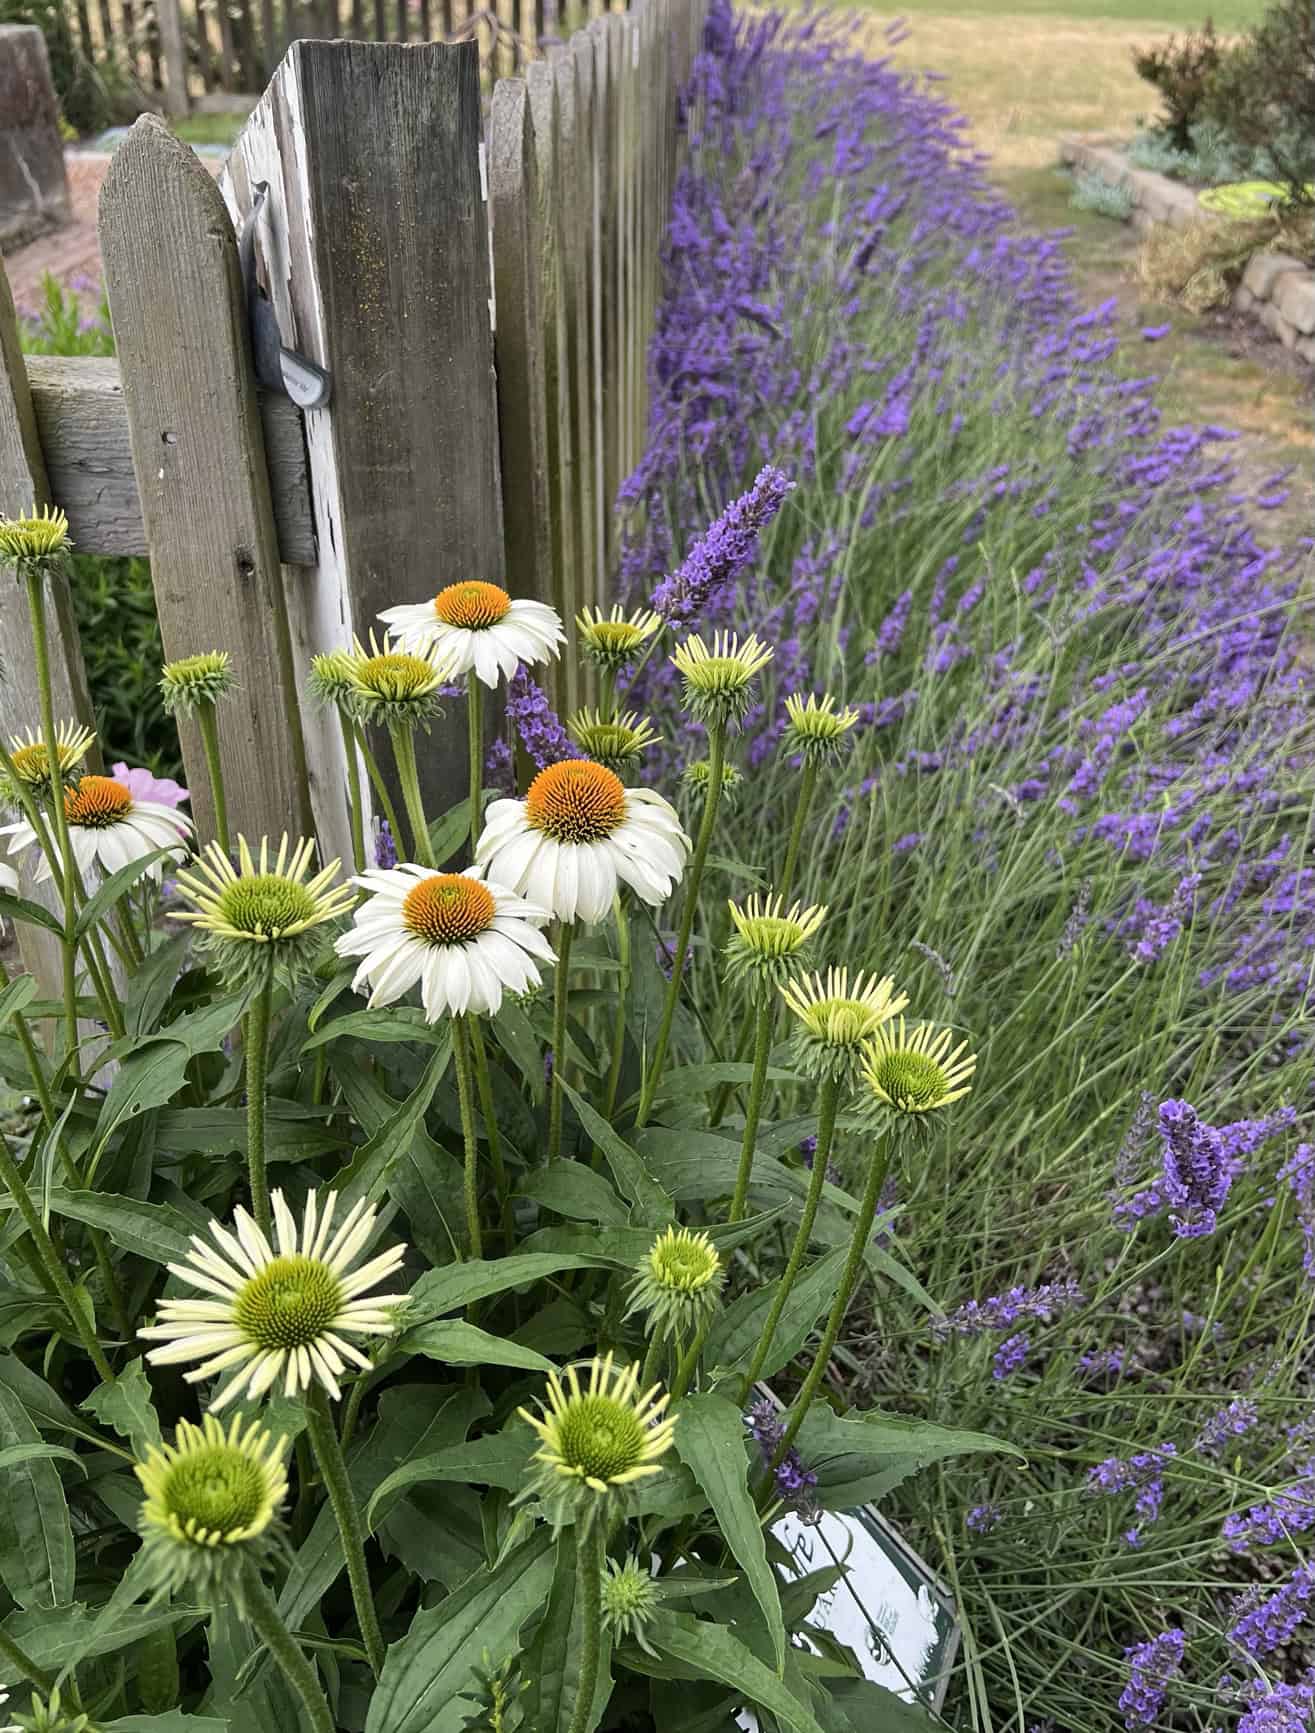
Echinacea (foreground) and lavender at a local nursery. © Photographer: Laura Kuhn
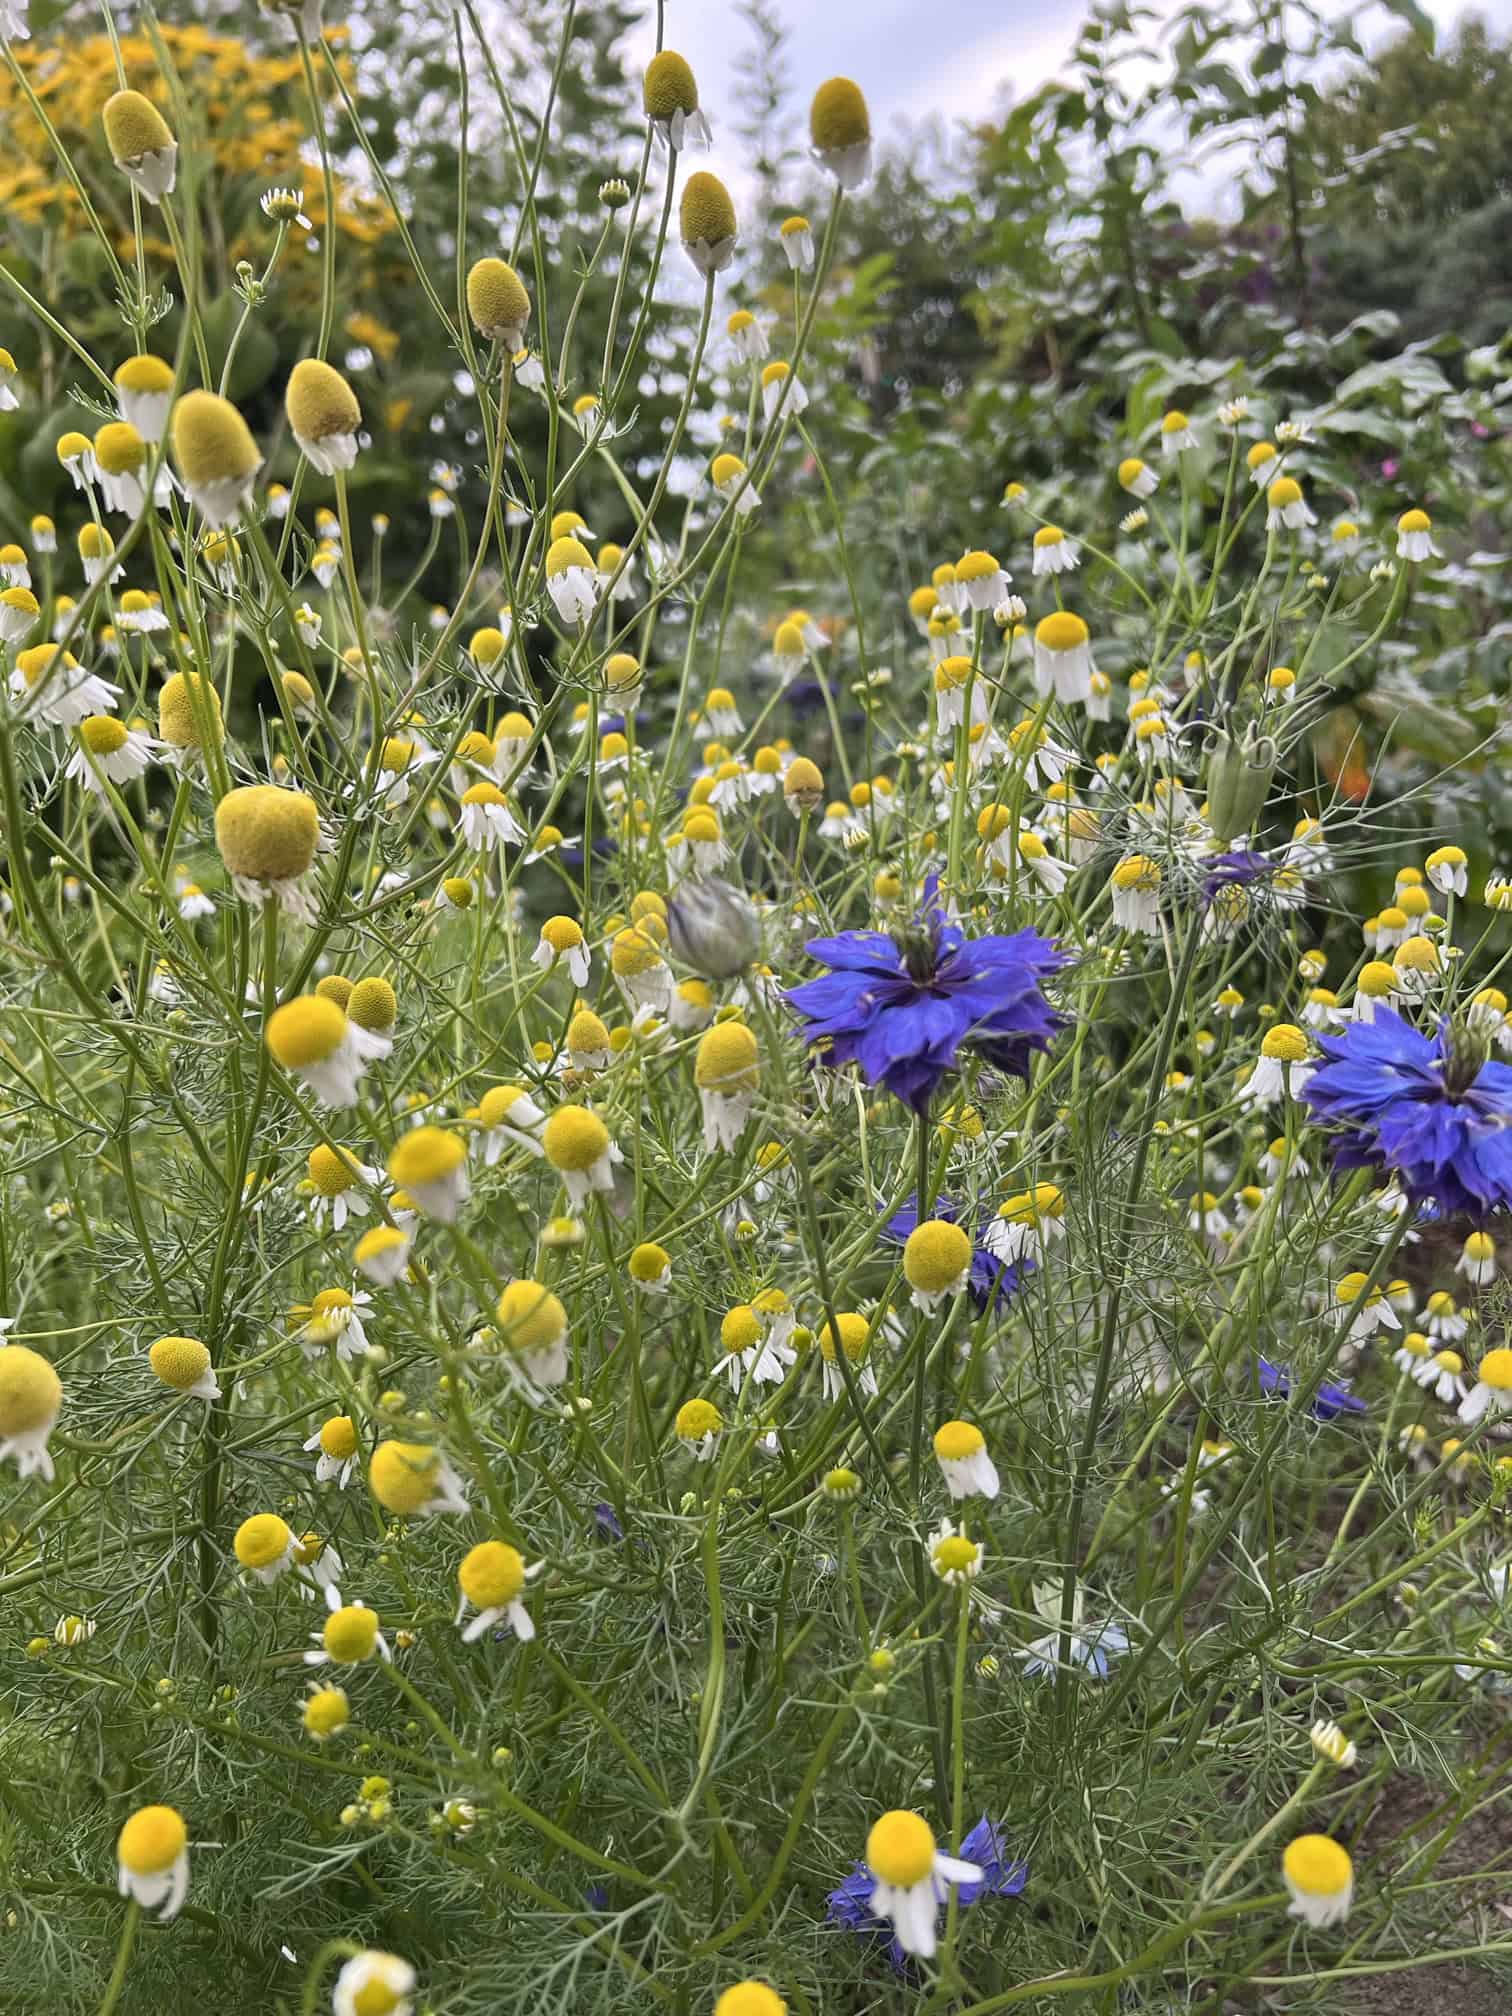
Chamomile ready to harvest in the Herb Garden at the Discovery Garden. © Photographer: Laura Kuhn
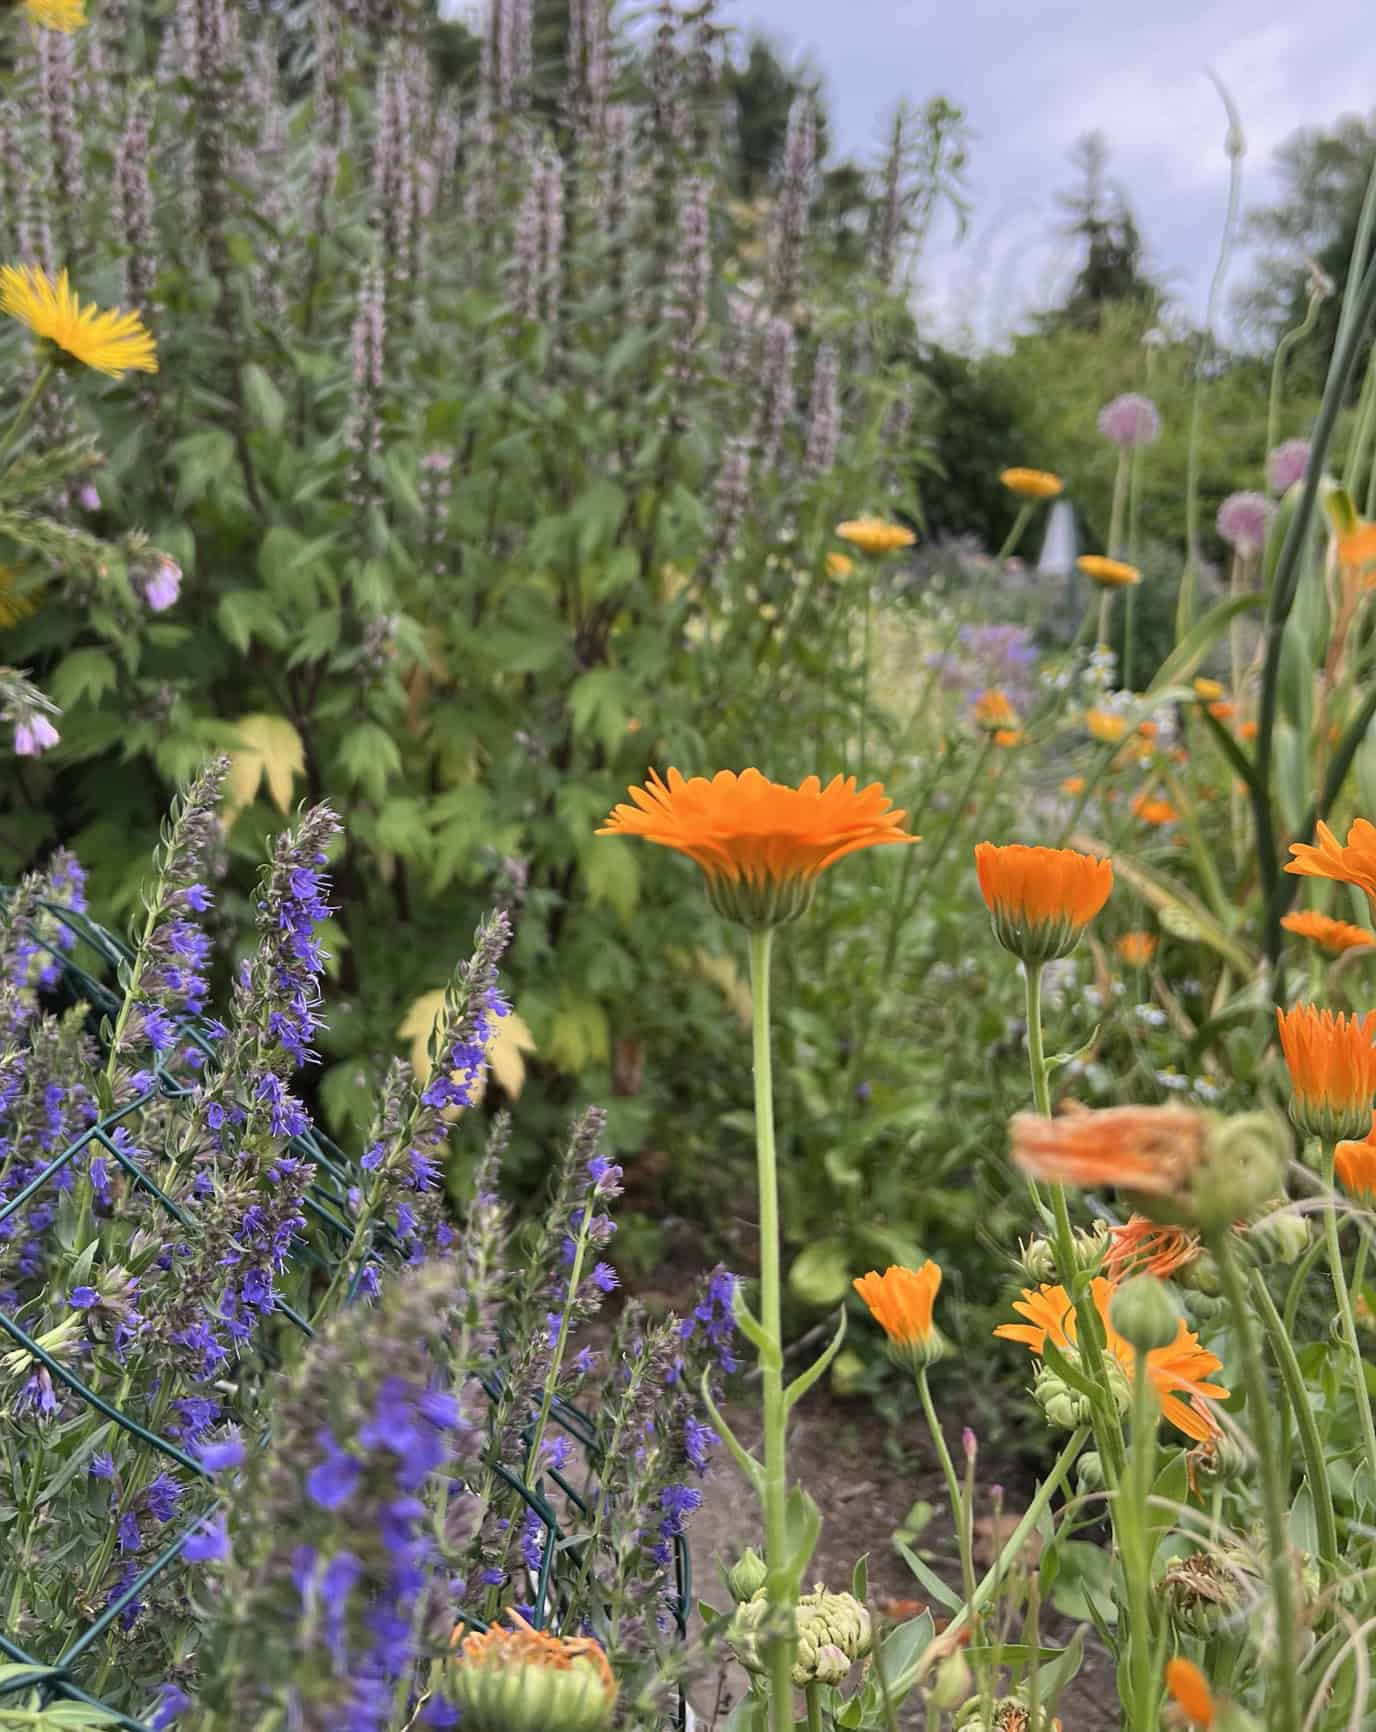
Calendula and various herbs in the Discovery Garden. © Photographer: Laura Kuhn
Humidity levels in the Pacific Northwest, particularly western Washington, are a challenge to herb preservation and storage. Humidity levels should be 45-55 percent for proper drying and to avoid mold. Even during our drier summer months, average outdoor humidity levels are more than 60 percent. The water content in the herbs being dried is also a consideration. The more tender herbs, such as basil, tarragon, oregano, lemon balm, and mints, tend to have a higher water content. On the other hand, sage, thyme, parsley, and rosemary tend to be more “woody” and have a lower water content. Taking this into account before picking a preservation method increases the chances of success.
Drying with Air–
Drying with air is by far the easiest method of preserving herbs but difficult to master successfully given Pacific Northwest humidity levels. Mold can form on plants, or the dried product will be limp and discolored. Make small bunches of plant stems, wrap with butcher’s twine, and hang the bunches up. The drying area will need to have good ventilation (an oscillating fan works great). Avoid exposure to light during drying as it will affect the color. A barometer or humidity gauge helps decide if drying is possible. Woody plants such as rosemary and sage are best for this process due to humidity levels. The amount of time needed to dry the plants and crush the leaves will vary based on weather and drying conditions. Checking plants often is the best way to gauge if they are ready.
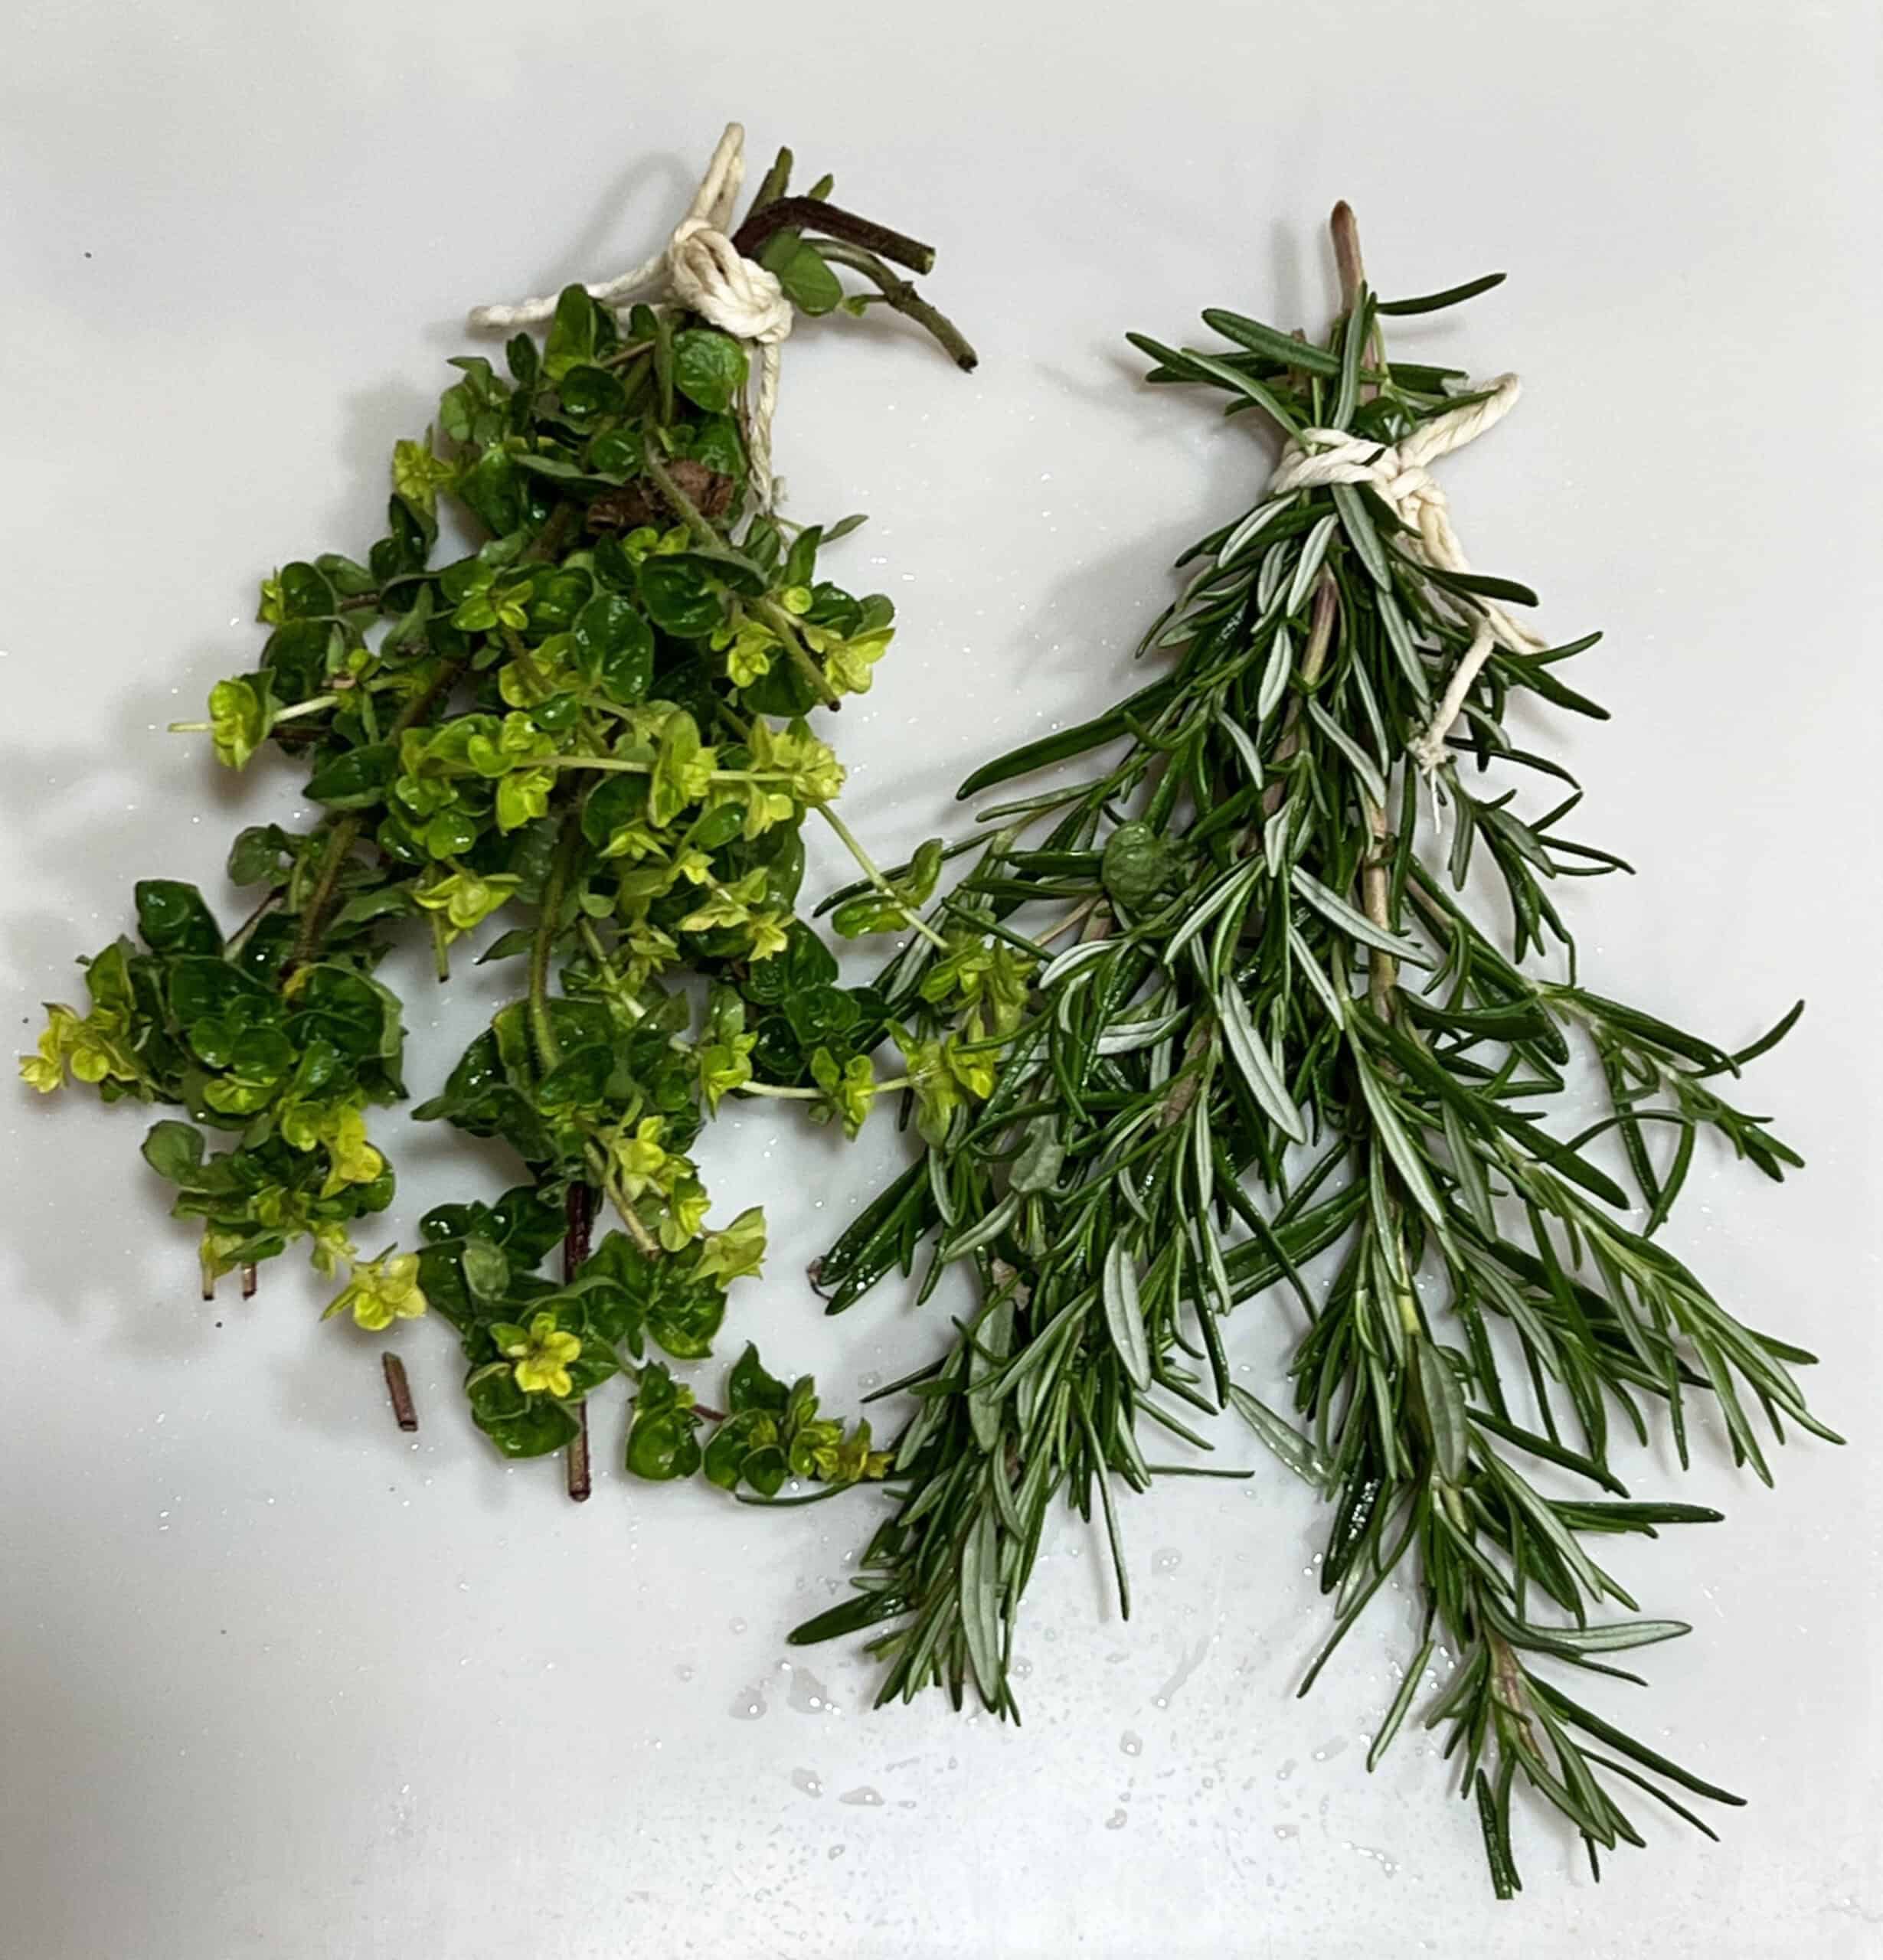
Bunches of herbs ready for hang drying. © Photographer: Laura Kuhn
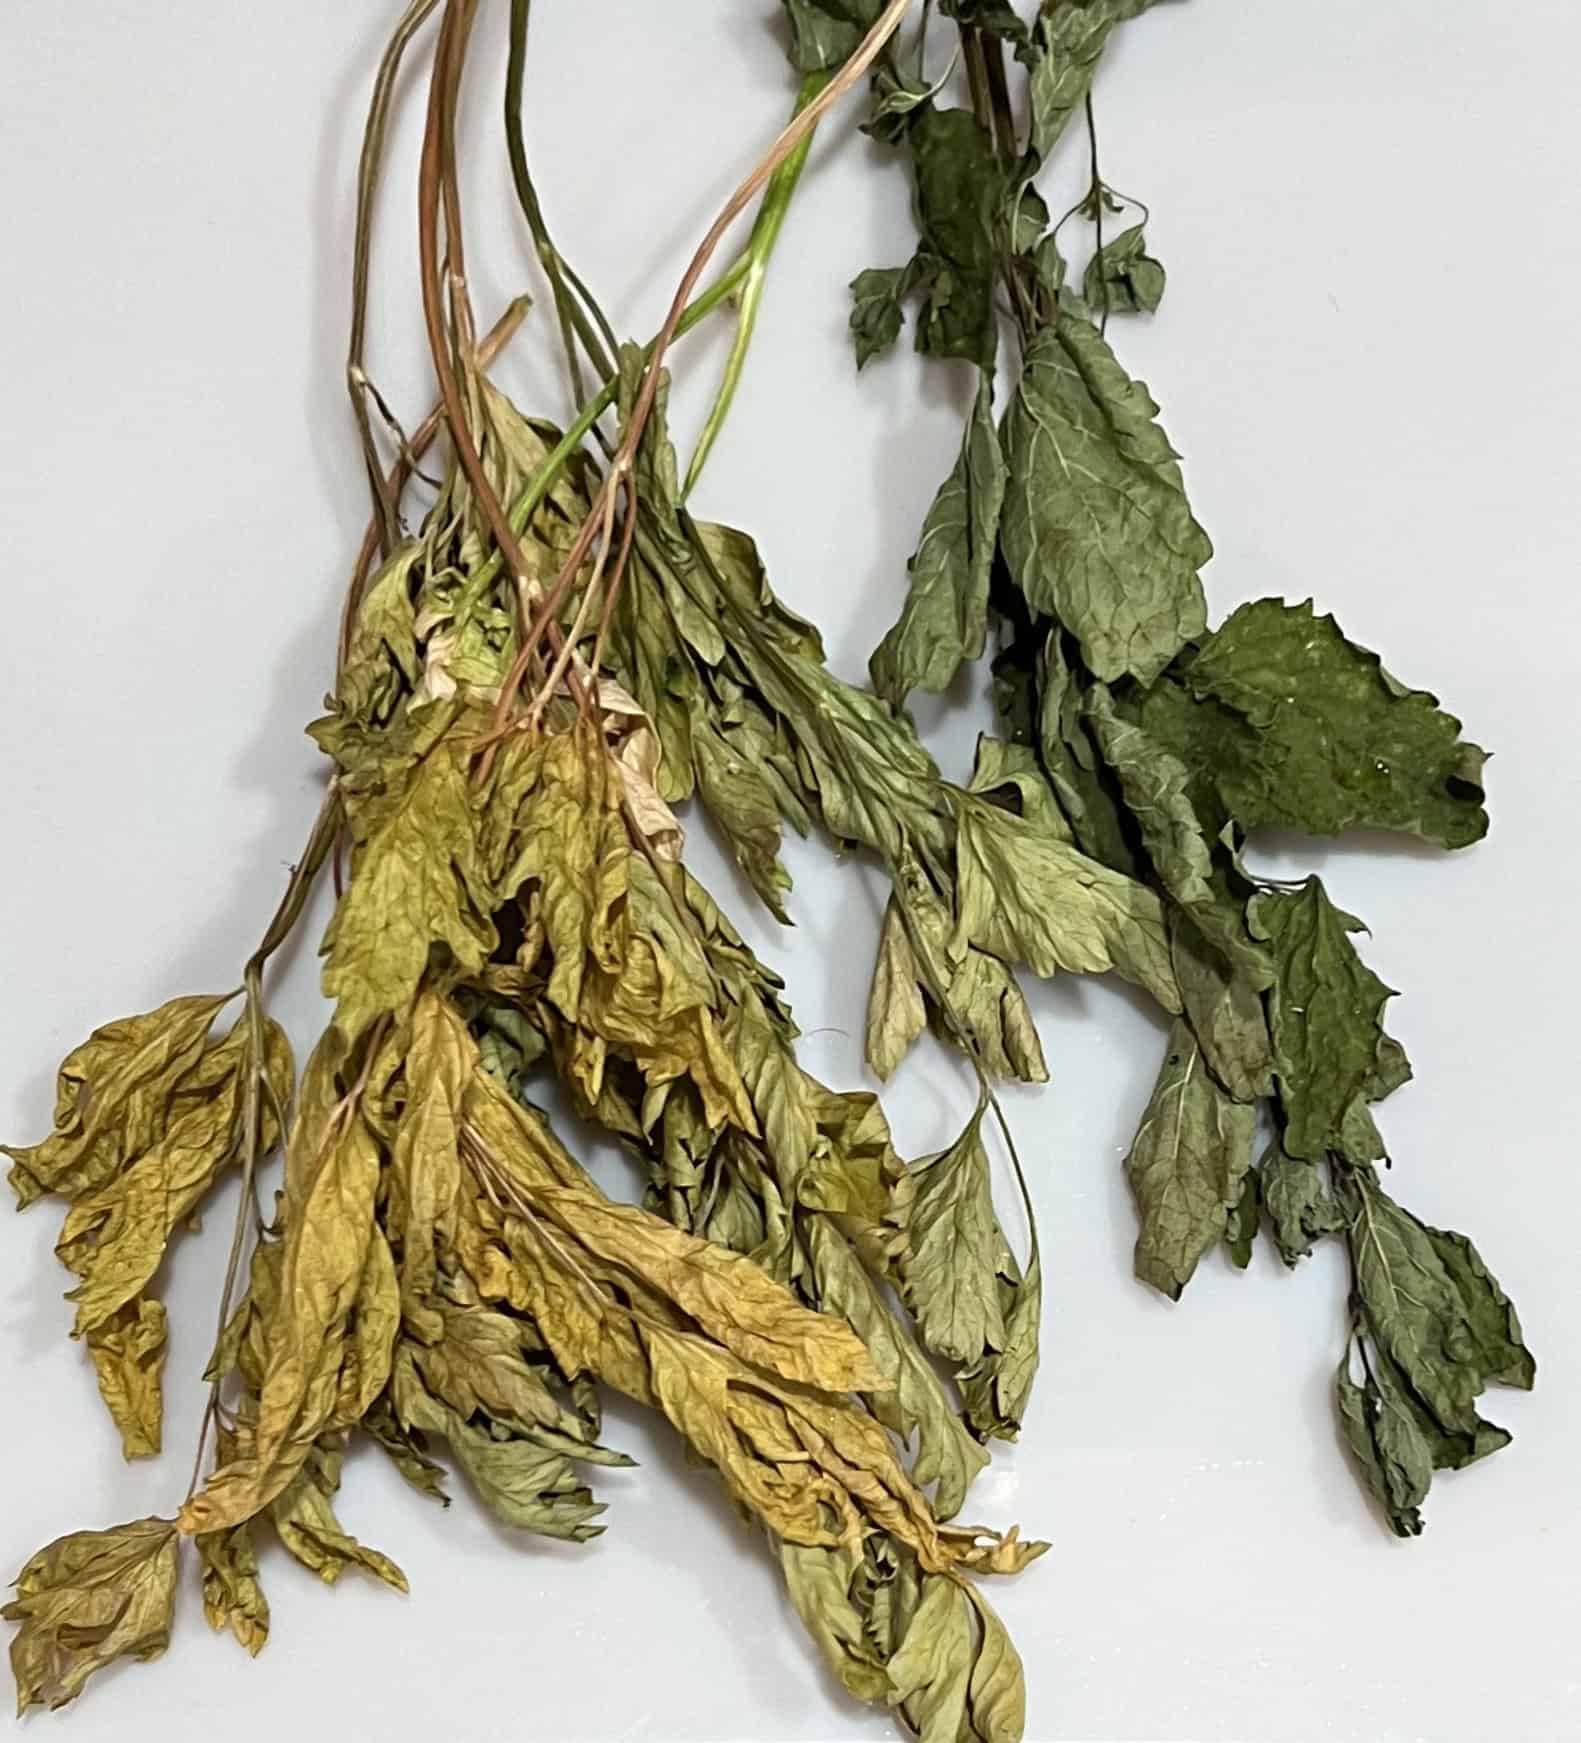
Failed attempt at airdrying parsley and lemon balm. Conditions were too humid for effective drying. Note loss of color in parsley to the left. © Photographer: Laura Kuhn
Dehydrating with Heat–
The National Center for Home Food Preservation recommends drying herbs at 95 to 115 degrees Fahrenheit. Lower temperatures are best for tender plants. Since most home ovens cannot achieve the recommended temperatures for herb drying, food dehydrators have become popular. Many dehydrators come with wire racks so air can flow through the leaves. Arrange the leaves/stems across the rack so they are not touching. Overcrowding during the drying process can result in longer dry times. You can use a mesh-style rack for small leaves to provide air circulation. A tip for selecting a decent food dehydrator is to make sure that it can adjust the drying temperature and time. Select a unit that can dry at as low a temperature as possible to provide the most control over the drying process and quality. Increased heat levels might be needed to compensate for humidity levels. Using heated air to dry herbs can result in a higher loss of essential oils than using air-dried herbs. The amount of time needed to achieve a crisp, dry product that can be easily crushed is variable. Humidity, plant water content, and temperature are all factors to consider. For this reason, I recommend checking on the plants often during the drying process.
For either drying method mentioned above, it is important to note that any moisture left in the plants after drying can lead to spoilage. If your drying space seems to be “too moist” meaning you cannot achieve a crisp dry texture, increase the temperature, and air circulation. A process of trial and error may be needed as the time of year and the water content of plants can vary.
To prepare the dried herbs for storage, the leaves are removed from stems and crushed to the desired size. A tip for this step is to place the dried herbs into a bag and push the leaves off the stems. Set aside stems as you push the leaves into the bag. When the biggest stems are removed, crush the leaves inside of the bag to the desired size. Sift through the dried product to remove smaller stems to achieve the best consistency for cooking. Rougher dried herbs can be used for teas. It really is up to personal preference as to how “clean” the final product will be. Some choose sifters or screens to further improve the visual appeal of the end product.
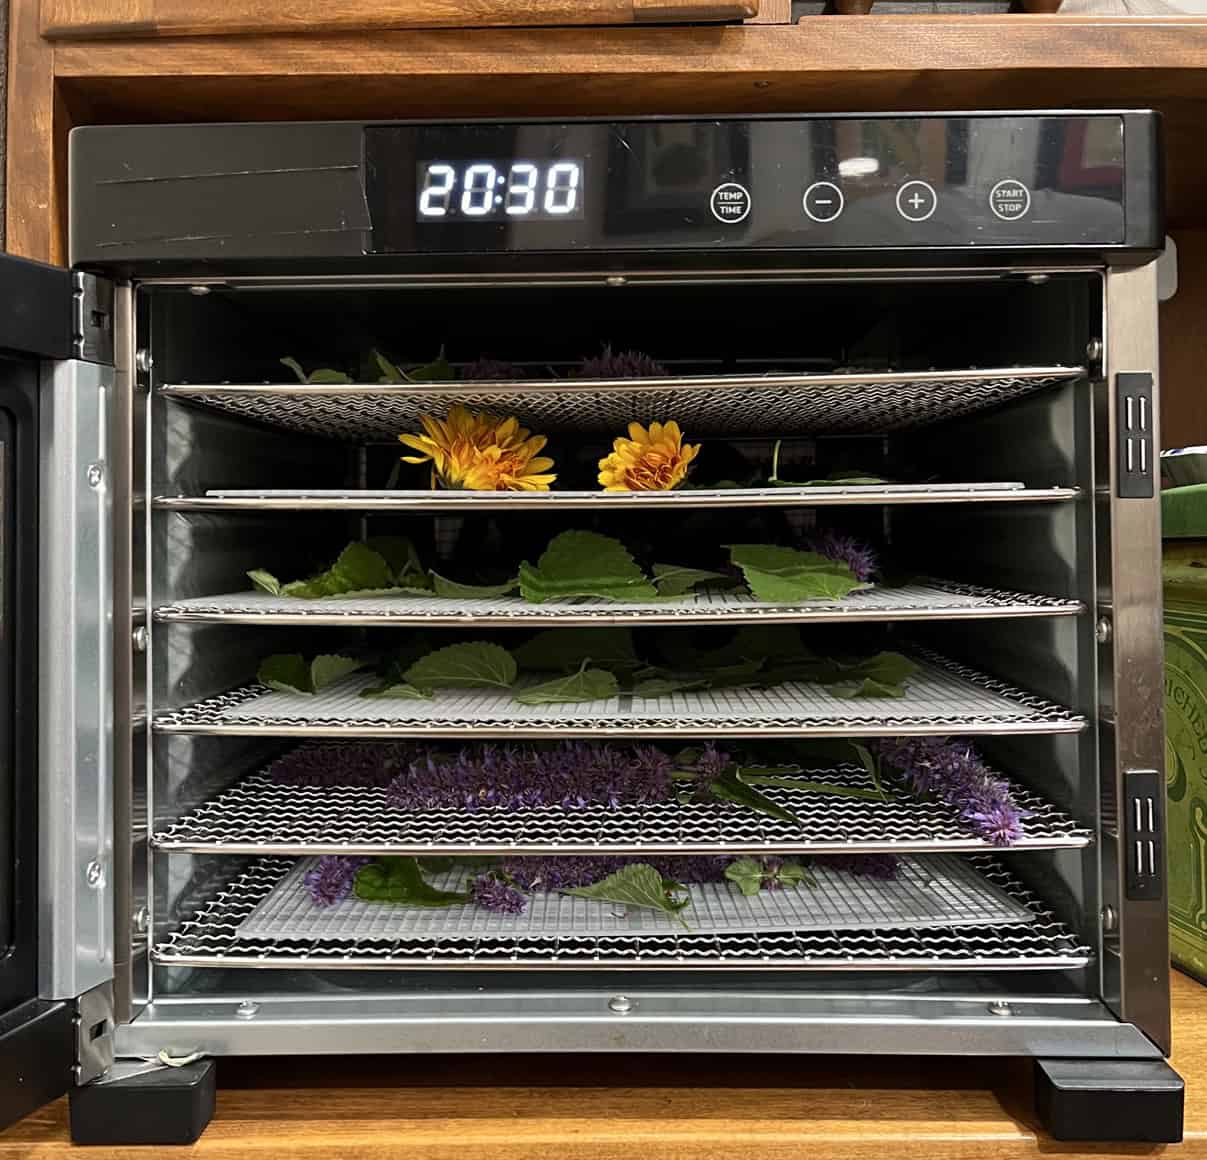
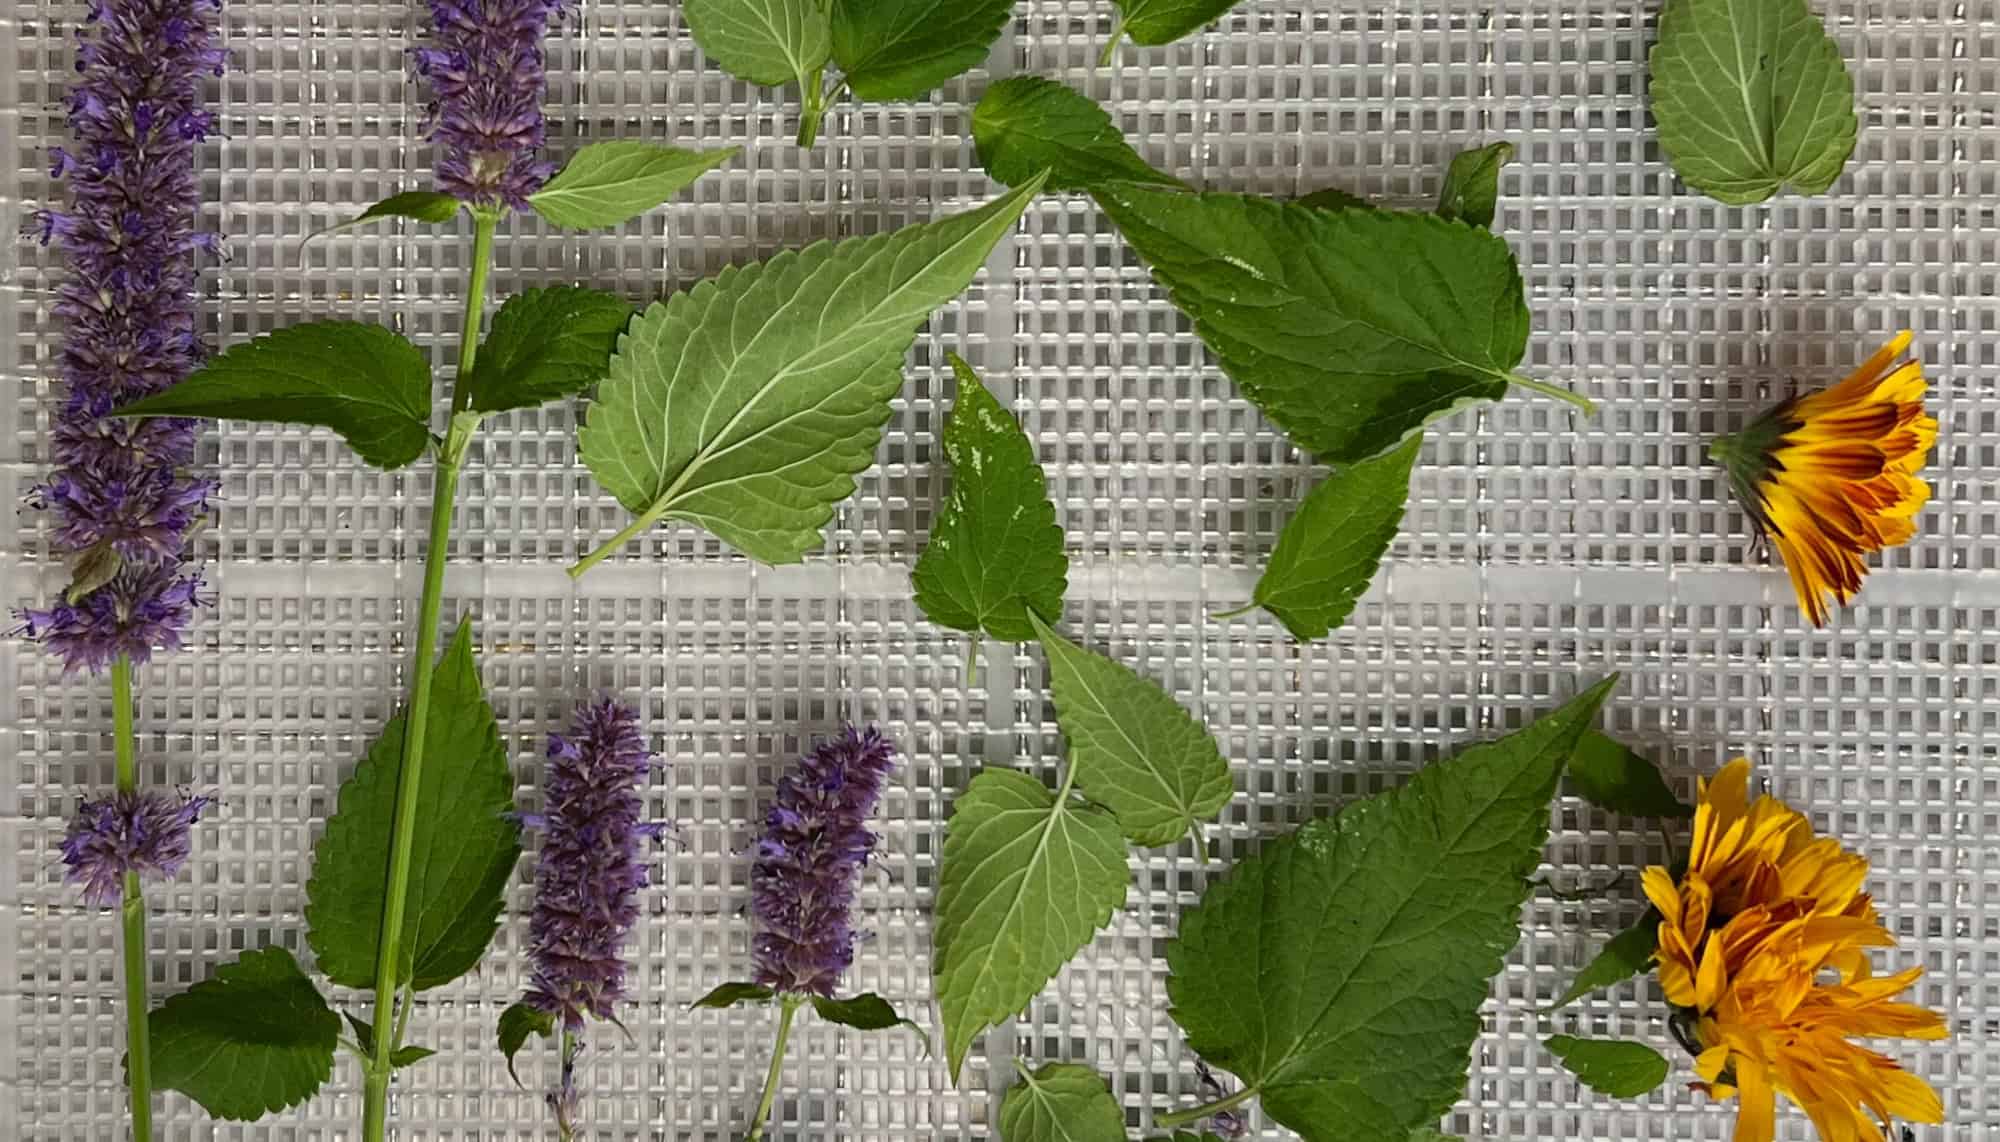
Dehydrator full of racks of calendula and anise hyssop. © Photographer: Laura Kuhn
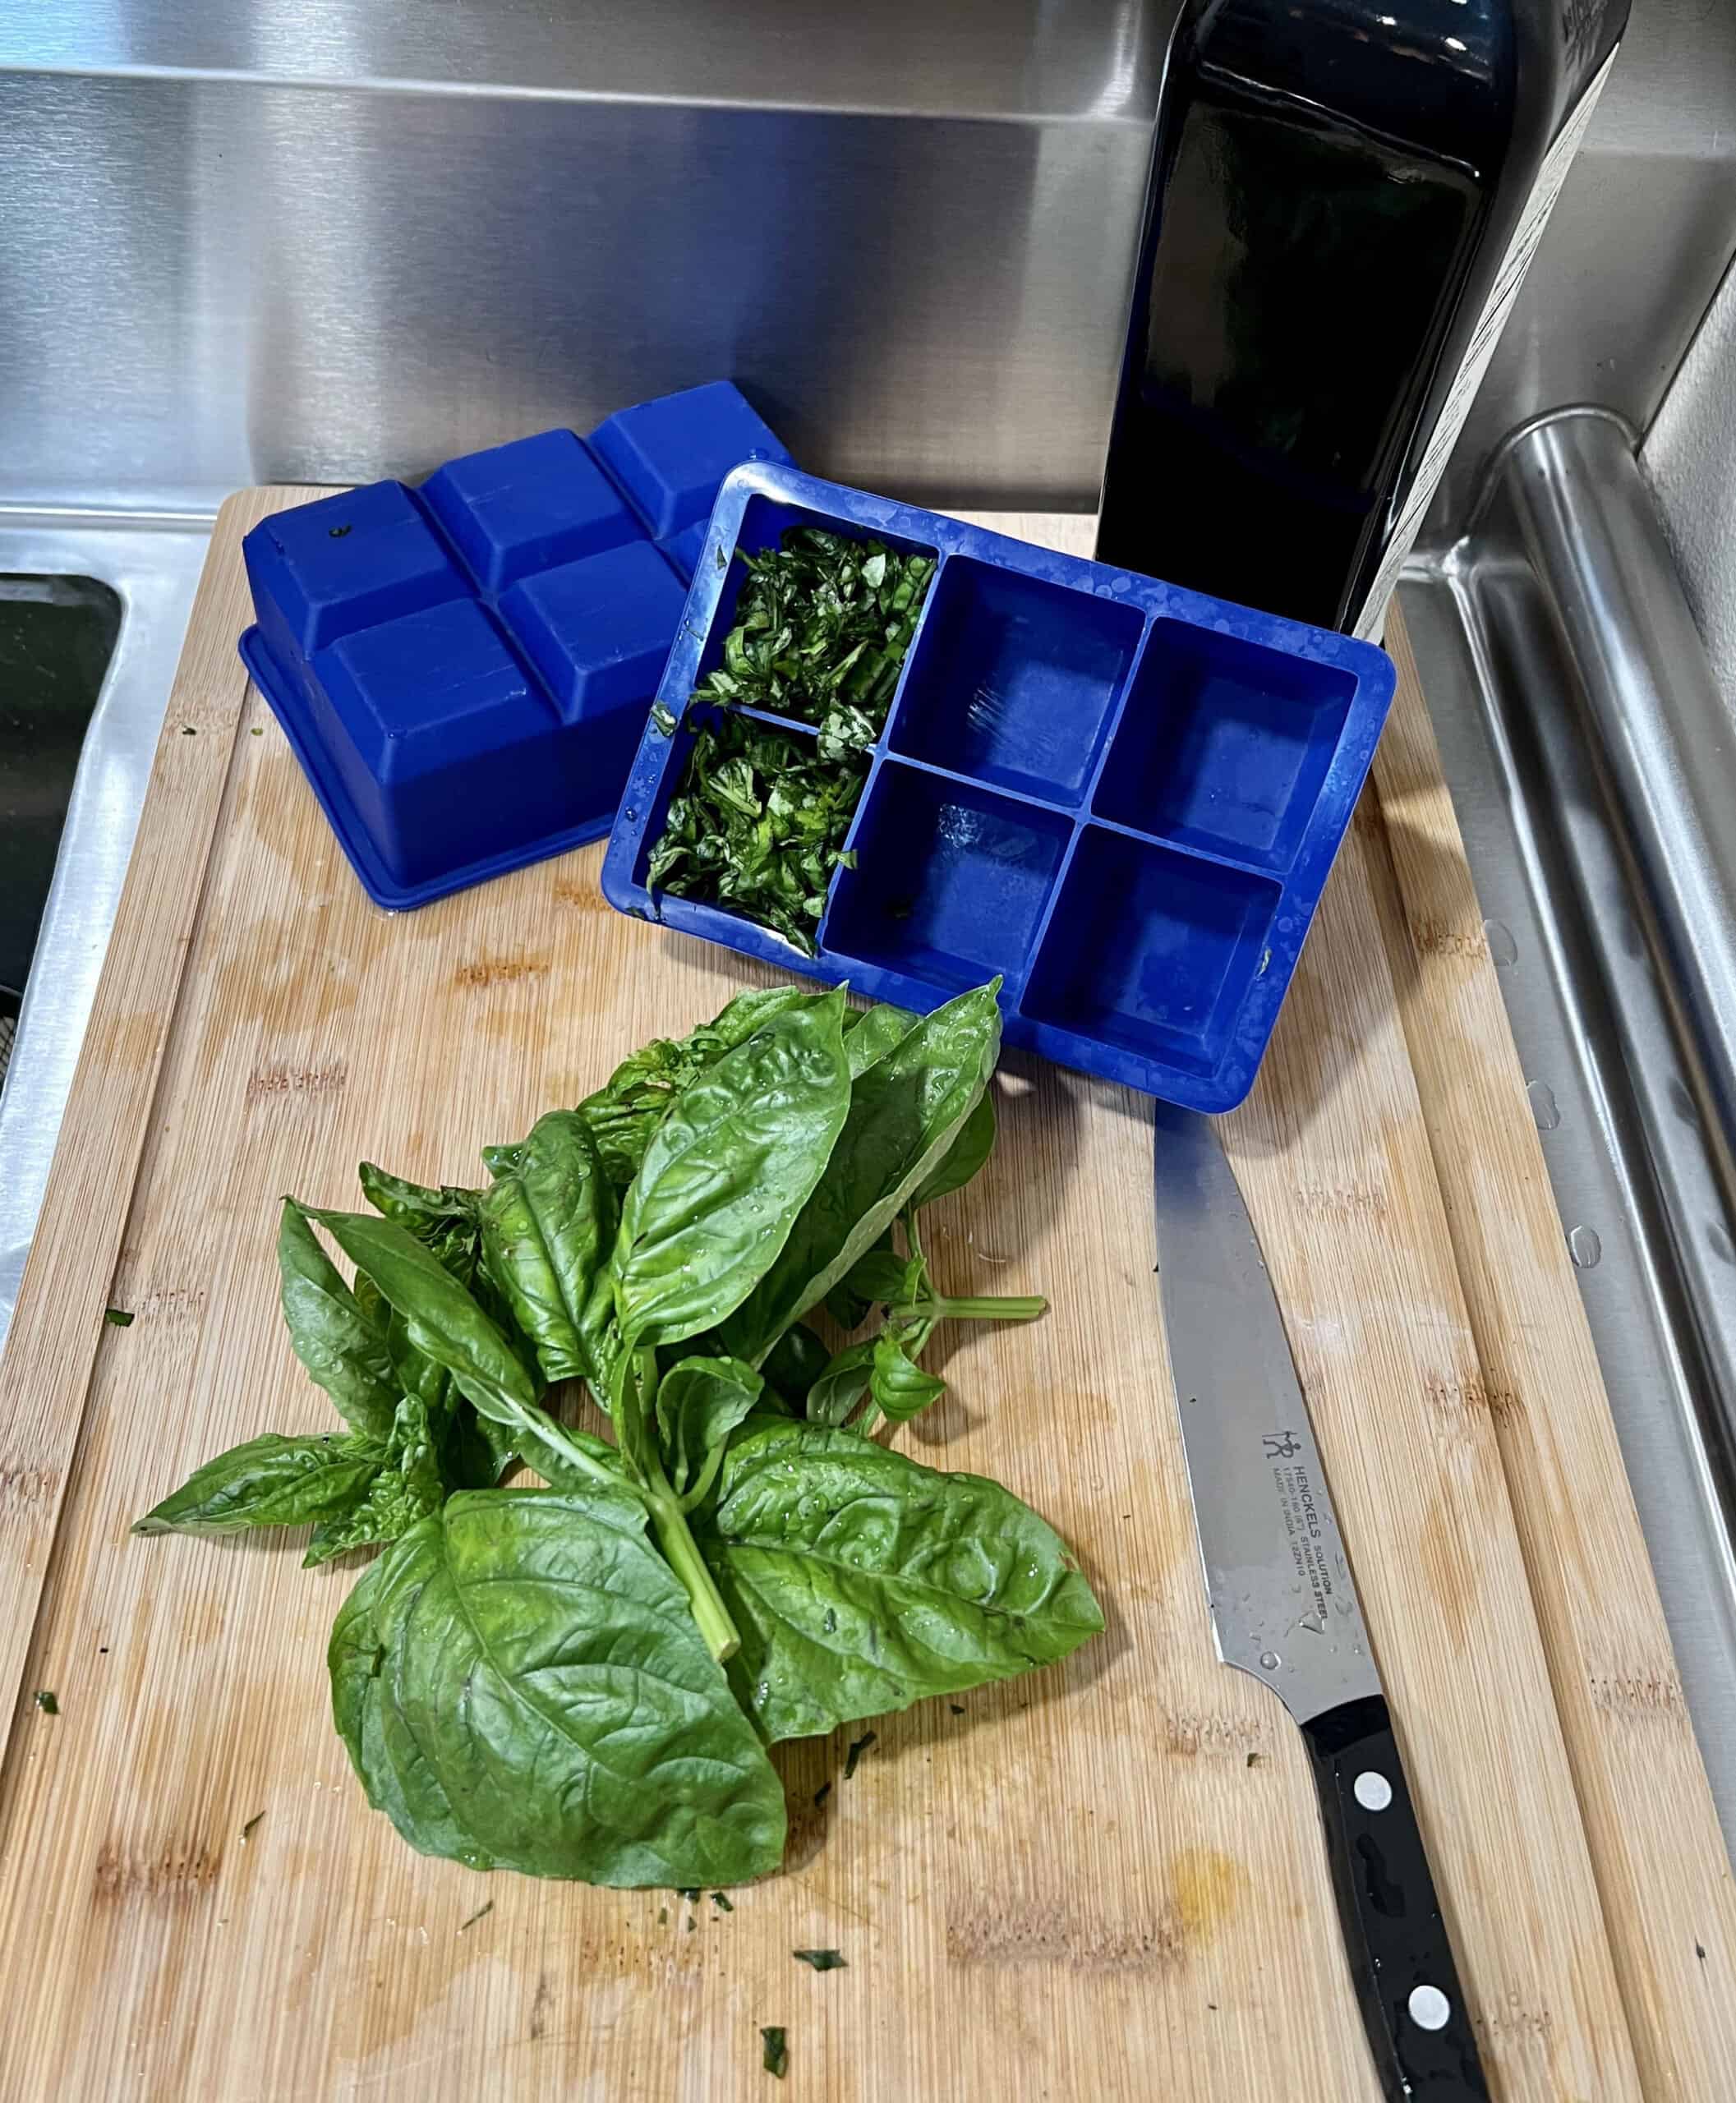
Fresh chopped basil freezes well when packed in ice cube trays then filled with water or oil. Once frozen, the basil cubes can be stored in a large freezer bag and used as needed. © Photographer: Laura Kuhn
Freezing –
A quick and straightforward way to preserve herbs for later use in cooking is by freezing. Individual leaves can be placed in single layers on cookie sheets and then flash frozen. Cut chives work well this way. Once frozen, place the herbs into storage containers to reduce exposure to air. Another freezing method is to chop the herbs and load them into ice cube trays, then fill with water. Once frozen, put the cubes into storage containers and add them to recipes when needed. Alliums (onions and garlic) can be easily processed this way, also. The biggest downside to freezing is the required storage space in your freezer and a shorter shelf life.
Other methods include layering whole leaves in salt or oil. Herb essential oils can be transferred to other liquids for use in cooking. For example, herbs can be steeped to create herb-infused vinegars or oils. These methods take more time and care than can be covered here, so more research and preparation should be taken before trying these options. Microwaving takes a bit of trial and error to get the right cooking time for the type of herb used and varies with different types of machines.
Most herbs can be processed successfully in a variety of ways for different uses. A good tip is to experiment and see which techniques work best. Gardeners who experiment, find the methods that work best for their intended use.
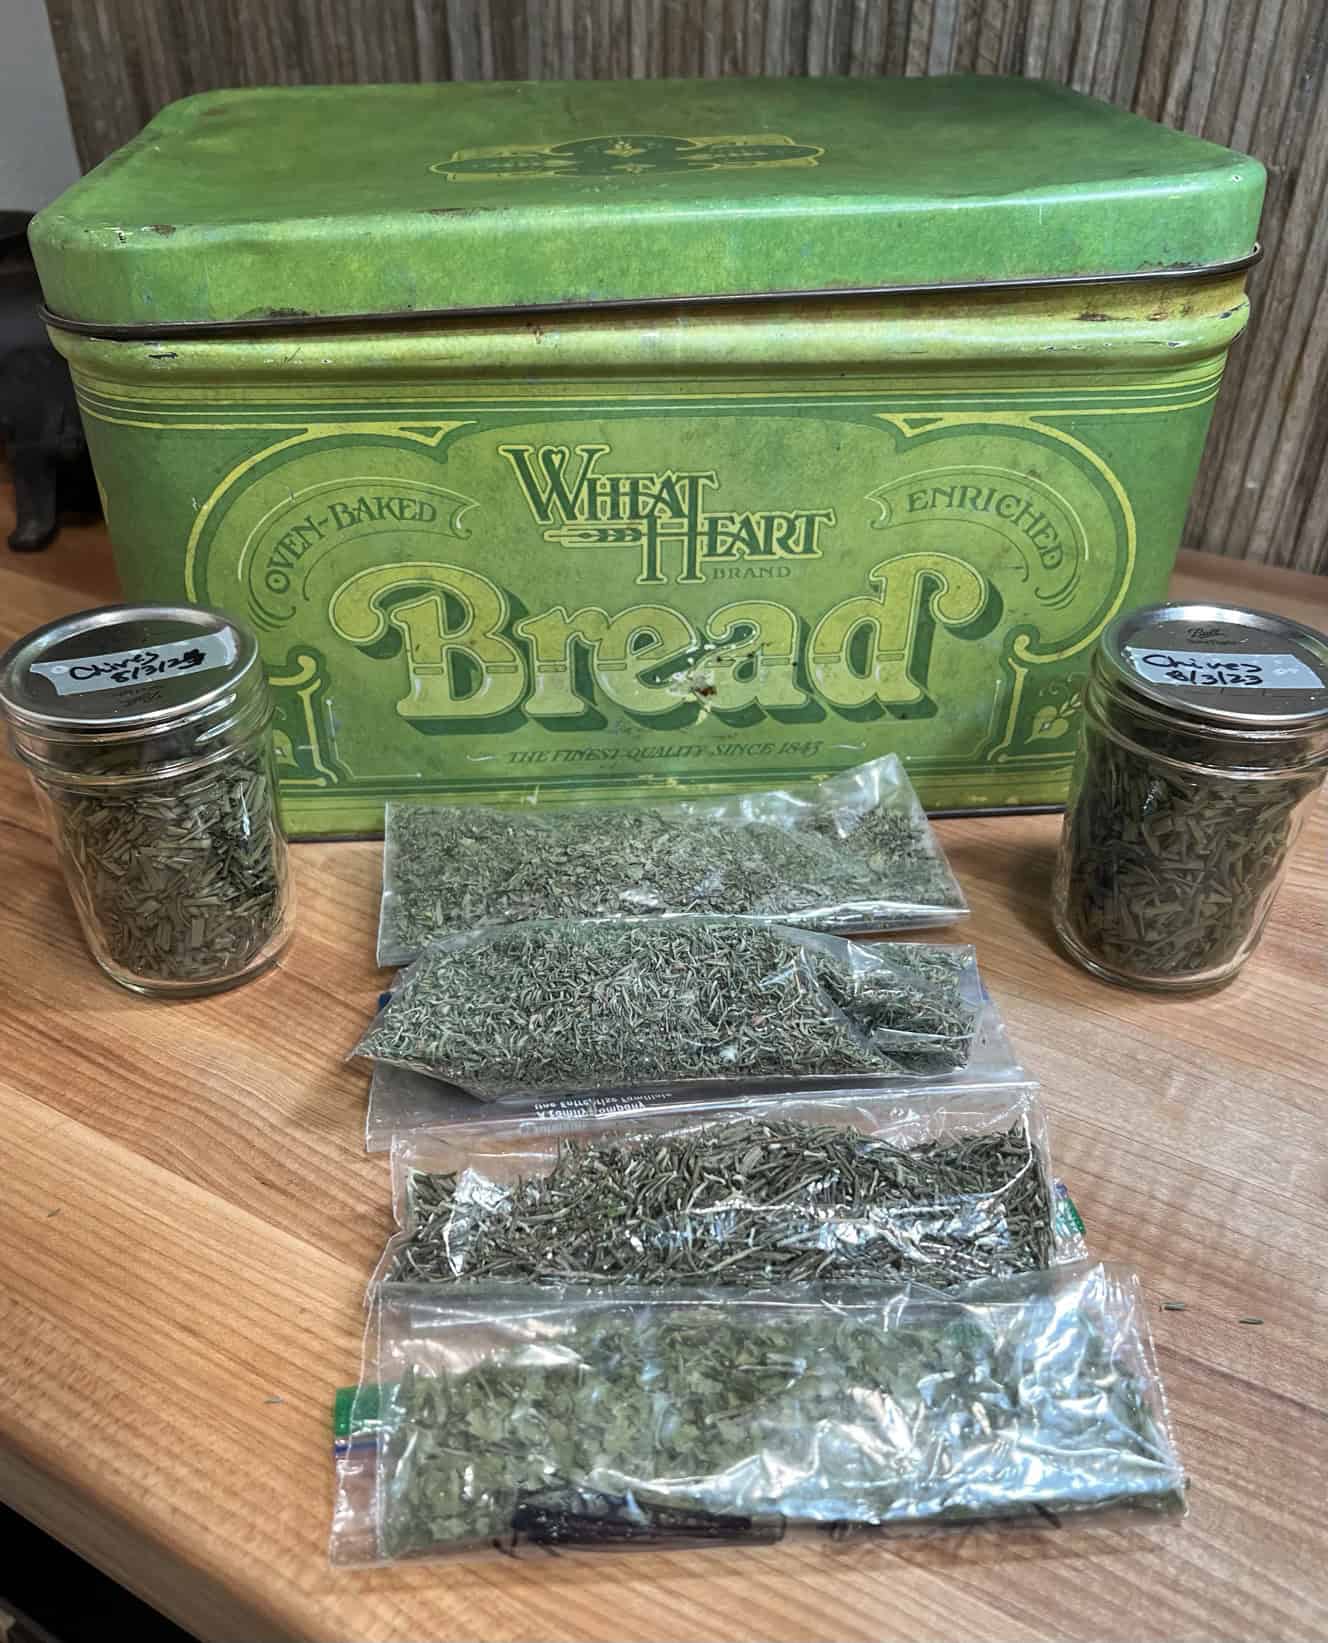
Air tight containers and light blocking storage bin for dried herbs. © Photographer: Laura Kuhn
Storing Herbs –
Dried or dehydrated herbs do not like exposure to light and air, especially moist air. A simple and effortless way to store extra dried herbs is to put them into marked zip lock bags or a vacuumed sealed mason jar. Once each herb is in its container, they will need to be placed in a dark area like inside of a canister or storage container. Keep your herbs in a cool dry area because exposure to heat during storage can affect essential oil content. Storage time will vary on the herb, but if stored properly, they can last for months or longer.
The two most important tips of all are to grow what you will use and grow from seed for the best plant selection.
REFERENCES AND RESOURCES:
Rodale’s Encyclopedia of Herbs, May 2000, Rodale Press
Drying: Herbs, National Center for Home Food Preservation, University of Georgia, no date cited. https://nchfp.uga.edu/how/dry/recipes/herbs/
Thamkaew, G., Sjöholm, I., & Galindo, F. G. (2020). A review of drying methods for improving the quality of dried herbs. Critical Reviews in Food Science and Nutrition, 61(11), 1763-1786. https://doi.org/10.1080/10408398.2020.1765309

Author: Laura Kuhn
ABOUT THE AUTHOR:
Laura is new to the Skagit Valley but has more than 30 years of experience growing in coastal, inland valley, and desert climates. She had fun trying to grow herbs while traveling full-time in an RV. Laura is a 2023 graduate of the Skagit County WSU Extension Master Gardener program.
 Questions about home gardening or becoming a Master Gardener, may be directed to: Skagit County WSU Extension Office, 11768 Westar Lane, Suite A, Burlington, WA 98233; by phone: 360-428-4270; or via the website: https://extension.wsu.edu/skagit/mg/
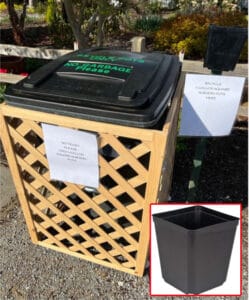
A Second Act for Your Square 1-Gallon Pots at the Discovery Garden!
Bring your leftover square 1-gallon pots to the Discovery Garden (16650 State Route 536, Mount Vernon). The bin for recycling the square 1-gal pots is located in the parking lot, just north (to the right) of the main entrance.
We only need square 1-gallon pots like the ones pictured below (bottom right). The recycling bin will be available now through fall. Simply put your pots into the bin, and we take care of the rest!
