
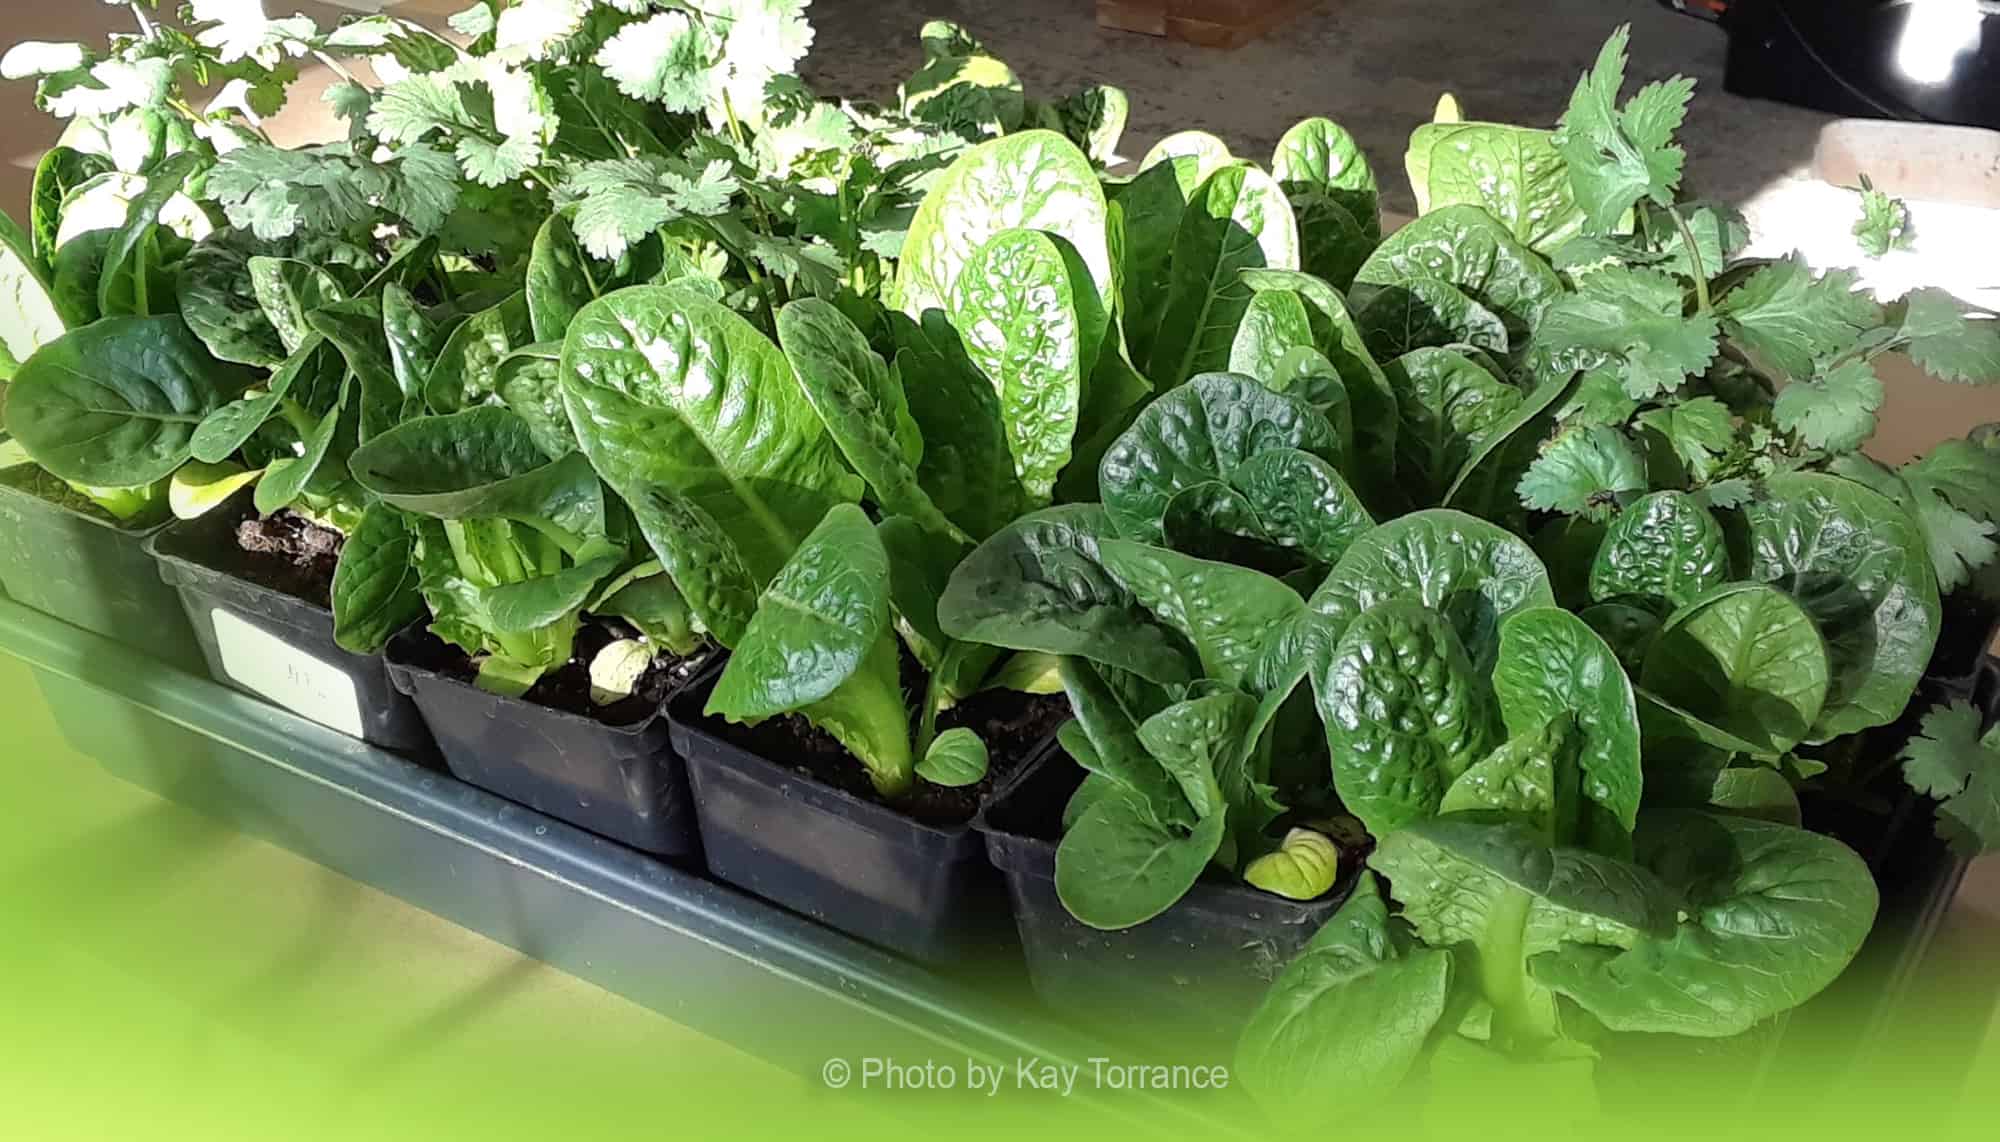
Turn the Dark Days of Winter into a Spring Planting Advantage
Start an indoor grow stand and you’ll be enjoying homegrown salad before you know it
Subscribe to the Blog >By Kay Torrance, Skagit County WSU Extension Master Gardener
The Pacific Northwest offers unique challenges for gardeners. In the fall the endless summer comes to an abrupt end, with daylight decreasing over three minutes a day from mid-August into early November. As the winter solstice arrives on December 21st there are only 8.5 hours of daylight. We can’t change that, so let’s start a project.
Want to grow herbs and vegetables in the middle of the winter? Want to get a jump on spring gardening by starting vegetables indoors to plant outside after the last frost? Do it with an indoor growing stand. It can be as simple as hanging a light from the ceiling and placing a few trays on a table. Prefabricated kits are available in all shapes and sizes, or build your own. Many Master Gardeners use their grow stands year-round. In the summer it is great for starting fall vegetables, and flowers, or to protect tender plants such as basil from outdoor insects and slugs.
Find a Suitable Location
Gardeners naturally want to place their grow stand near a window. However, with good artificial lighting, you can use a dark corner, unused room, or heated basement. Unused kitchen counters or shower stalls also work well.
Grow stands look tidy, but you are working with dirt and water. Locate them away from carpets and wood floors. Office chair mats work well to protect delicate floors. Hang a white shower curtain behind the stand to keep the wall clean and reflect light. If you are setting the stand on a table, use a vinyl tablecloth. For wood tables, make sure the trays are not touching the wood as the heat and humidity will damage the finish. Locate the stand near a power source for the lights and heating pads. Plants add moisture to the air, so make sure you have good ventilation to keep you and the plants healthy.
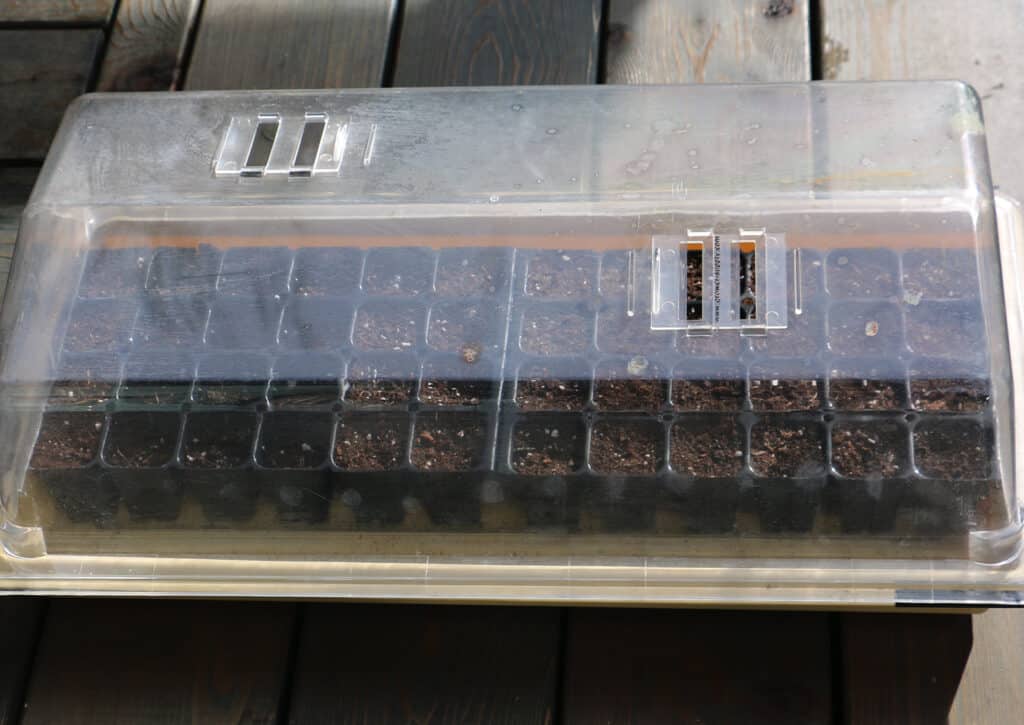
1020 flat of 6-pack cells under a dome ready to start germination on a heat pad. Seeds must not dry out during germination. © Photo by Kay Torrance
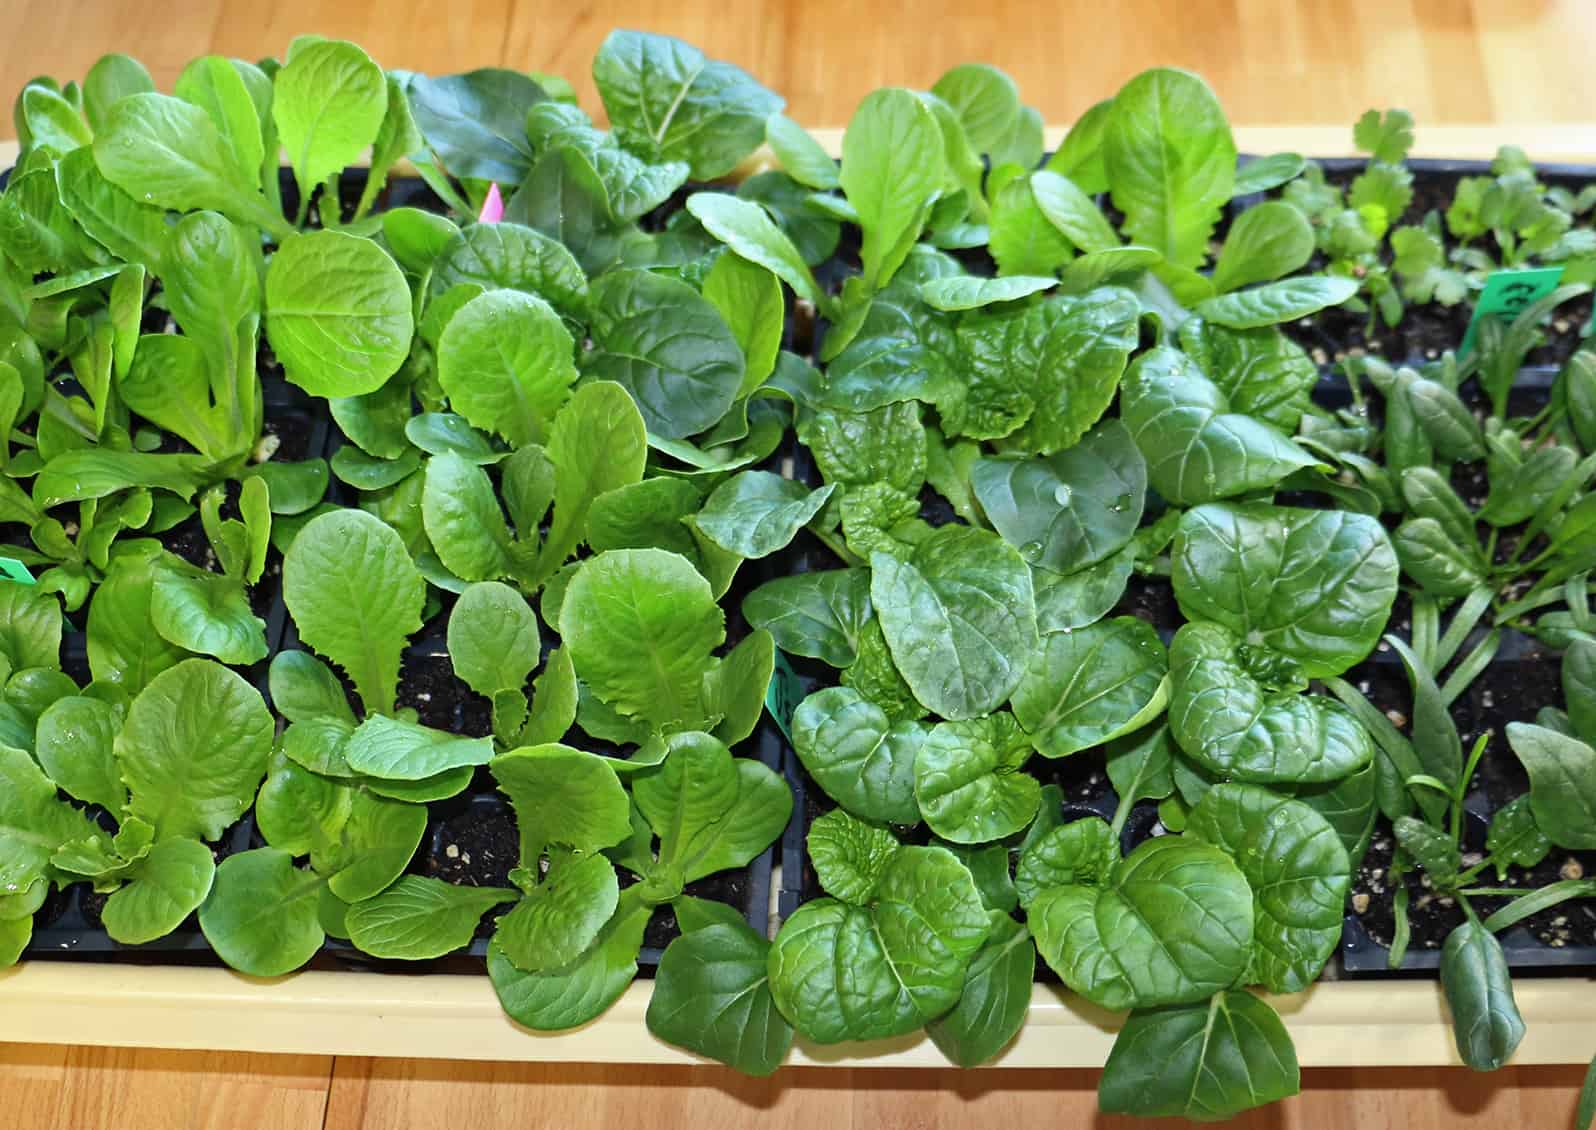
1020 flat of one-month-old romaine lettuce, Bok choy, spinach, and parsley (back right). Ready for transplant into 3 1/2-inch pots except for the parsley. © Photo by Kay Torrance
Sizing Up Your Stand
Think about the size needed to match your growing goals. 3.5-inch square pots often work well as a final size. Once the plant outgrows the 3.5-inch pots, the plant is either harvested or ready to go outside. The most common greenhouse tray size is 10 by 20 inches, commonly called a 1020 tray. One tray holds 18 3.5-inch pots, or 12 6-plug trays (72 plugs total), or eight 5-inch pots. If you only have room for one tray, herbs are a great choice. If you have two trays, lettuce, spinach, fennel, and microgreens are good options. If you have four trays, you have room for a dedicated seed starting tray, while the other three trays are staggered to produce enough salad to feed two people.
Once you have an idea of the size, it is time to decide whether to purchase a kit or build your own. If you decide to purchase a kit, there are many options available; some fit on a small tabletop, others are large tents that are mini-indoor greenhouses. Save money by repurposing shelving and lights or by building your own out of pipe or wood.
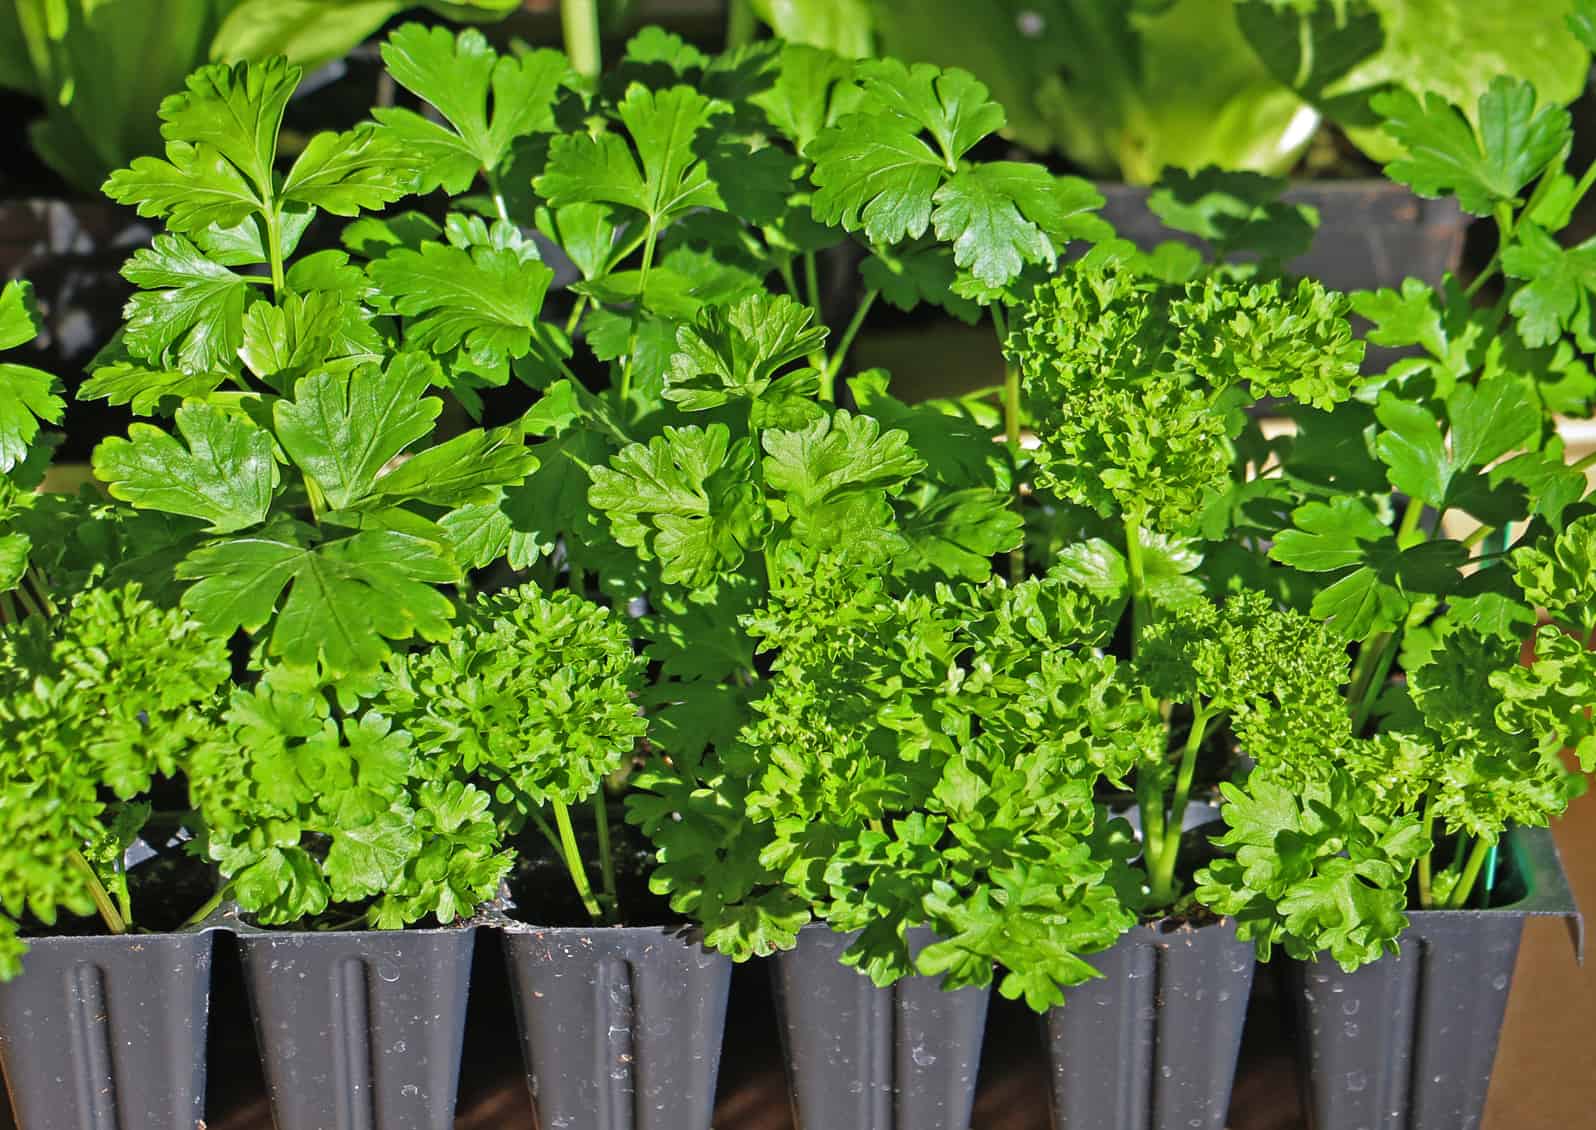
6-pack cells of flat and curly parsley at eight weeks. Ready for transplant to 3.5″ pot. © Photo by Kay Torrance
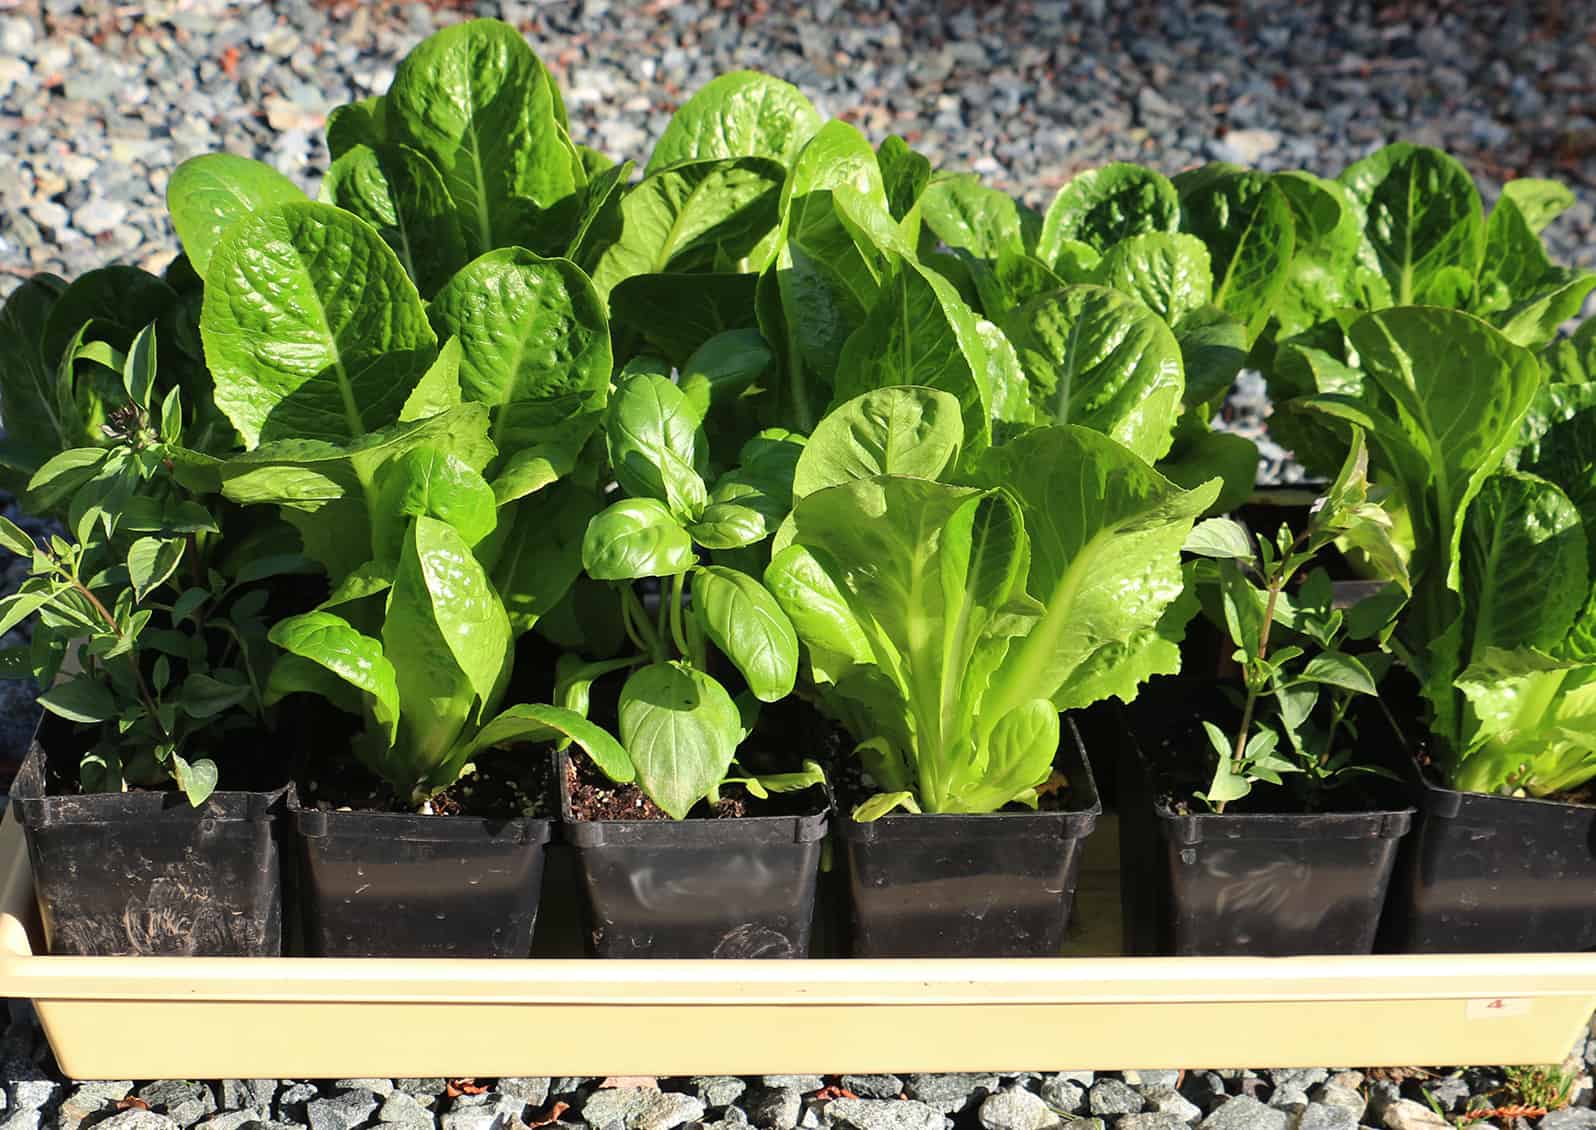
1020 flat of two-month-old romaine lettuce and three-month-old parsley in 3.5″ pots. Ready to start harvesting. © Photo by Kay Torrance
Building a DIY Grow Stand
The easiest way to get started is to hang a grow light from the ceiling, throw a vinyl tablecloth over a table, and put up a section of shower curtain to protect your wall if needed. Add a heat pad and you are ready to go. Hanging lights from the ceiling gives the most flexibility for lighting with unlimited options for height above the plants. If you don’t want holes in your ceiling, a lighting support can be built using shelving, or a frame from PVC, metal conduit, iron pipe, or wood. Think about things you already have that can be repurposed. Sawhorses or a six-foot ladder can make a good light stand support.
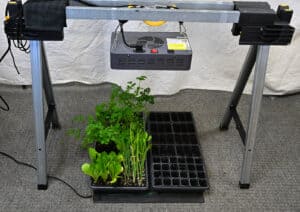
Repurpose common household items for your light support. Pictured here is a spare sawhorse. © Photo by Kay Torrance
PVC is easy to work with and has lots of joint options. If you search online, many design plan options are available. Some guidance recommends against using PVC cement on the joints so the racks can be easily disassembled for storage; however, this can result in a wobbly stand. One alternative to gluing is to drill a small hole in the joint and insert a screw. This allows for disassembly but does not allow pieces to come loose while you are using the stand. (PVC does not accept most paints so don’t expect to hide the bright white pipe with paint.) Using threaded metal plumbing pipe creates a heavy/sturdy stand with a steampunk look, but the pieces are more expensive than PVC. Threaded metal pipe is available in many lengths so you don’t have to cut it. The threads make for easy assembly. Metal pipe can be painted, and you can disassemble it for storage.
For shelving, plywood is readily available and sold in small pieces, called project panels, at home improvement stores. Often, stores will make cuts for you. Use at least 5/8-inch-thick plywood because thinner pieces will sag over time. Countertop remnants are a sturdy and waterproof alternative. I have found that two-inch foam board insulation panels are easy to use. These panels are inexpensive, lightweight, and can be cut with a utility knife. They are also waterproof, and are available in two-foot by two-foot precut panels, which will hold two 1020 trays. Foam board can also be used on a tabletop to protect the surface from heat and moisture emitted from the heat pad and trays.
Selecting Lighting for Your Grow Stand
Grow stands need a good source of artificial lighting, ideally lights that produce a full spectrum of high-intensity light for rapid plant growth. Leafy greens and herbs need around five hours of direct sunlight each day. Most garden vegetables need up to 14 hours of light each day.
Fluorescent or LED tube lights are an inexpensive alternative to a plant or grow light. Florescent lights give off some heat, which is beneficial to plants, but the glass bulbs can be easily broken. LED grow lights produce the highest intensity light but are the most expensive. They are also more energy efficient and rated for long life. Incandescent lights are not a good choice because they use much more energy and generate a lot of heat which can dry out leaves.
Setting Up the Lighting
Fluorescent lights should be hung one to three inches above the plants. The tubes need to fully cover the plant trays. Choose a fixture with four to eight bulbs or mount multiple fixtures side by side to ensure coverage. Fluorescent bulbs sold for home lighting are not as intense as grow lights and will need to be turned on longer each day. Plan on 8-10 hours of light a day for herbs and leafy greens, and 12 to 14 hours for vegetable starts if you are using fluorescent lights.
LED grow lights are placed 10 to 30 inches above the plants. Follow the manufacturer’s directions. Box-shaped LED grow lights are easy to work with. The added height of the light above the plants increases the overall height of a grow stand; however, it is easier to water and tend plants without moving trays. Plan on six hours of light a day for herbs and leafy greens and eight to ten hours for vegetable starts. When selecting an LED grow light, be mindful of the color of the light. Blues and reds are great for plant growth, but if your stand is in the living room, you might not enjoy being bathed in a purple glow.
Experiment and adjust the height of the lighting and duration based on your specific setup. All lights generate some heat. Make sure the lights have adequate clearance per manufacturer’s directions and keep an eye on your plant growth so the plants don’t grow into the lights. When purchasing lights, compare all the features. Some fixtures have outlet plugs for connecting multiple lights. Some of the grow lights have built-in fans which keep the lights cool and provide some air circulation for the plants. The fans do generate noise.
Heating Pad Selection and Use
Make sure to size the pad to cover as much of the footprint of the plant tray(s) as possible. Place the plant tray on top of the pad. Do not put the pad inside the tray with the plants directly on top of it as the pads are not designed to be in direct contact with water. Often heat pads are sold rolled up in boxes. At room temperature, the pads are stiff. Before unrolling a pad, plug it in and let it warm up. Forcing them flat can break the heating elements inside.
Trays, Domes, and Pots
Using standard 1020 greenhouse trays makes pot sizing easy because many pots sold are designed to fit in the trays. Select the trays without holes in the bottom. Use a dome (plastic cover) for starting seeds. If seeds dry out during germination, it will kill them. Use 6-pack cells to start the seeds and 3½-inch pots after the plants outgrow the cells. When starting vegetables with large seeds like squash or cucumbers, begin with 3½-inch pots. You may want several small trays if you are growing microgreens. It is important to sterilize trays and pots if you are reusing them.
Growing Media and Fertilizer
Always use sterilized growing media. This will help prevent dampening off as well as fungus gnats. Use a water-soluble fertilizer designed for vegetables per the manufacturer’s directions.
Important Safety Considerations:
- Hang lights with appropriate clearance following the manufacturer’s recommendations.
- Make sure lights are properly supported. If you are attaching eye bolts connected to the ceiling, make sure they are affixed to the ceiling beams and not just into drywall or other materials where the screws could pull out.
- Make sure to use UL rated lights, heat pads, and surge protectors.
- Make sure that any electrical components that require grounding (3-prong plug) are properly grounded.
- Protect wood surfaces from heat and moisture or you can ruin the finish or warp the wood.
- If using shelving, attach the shelving to the wall so that the stand isn’t accidentally knocked over.
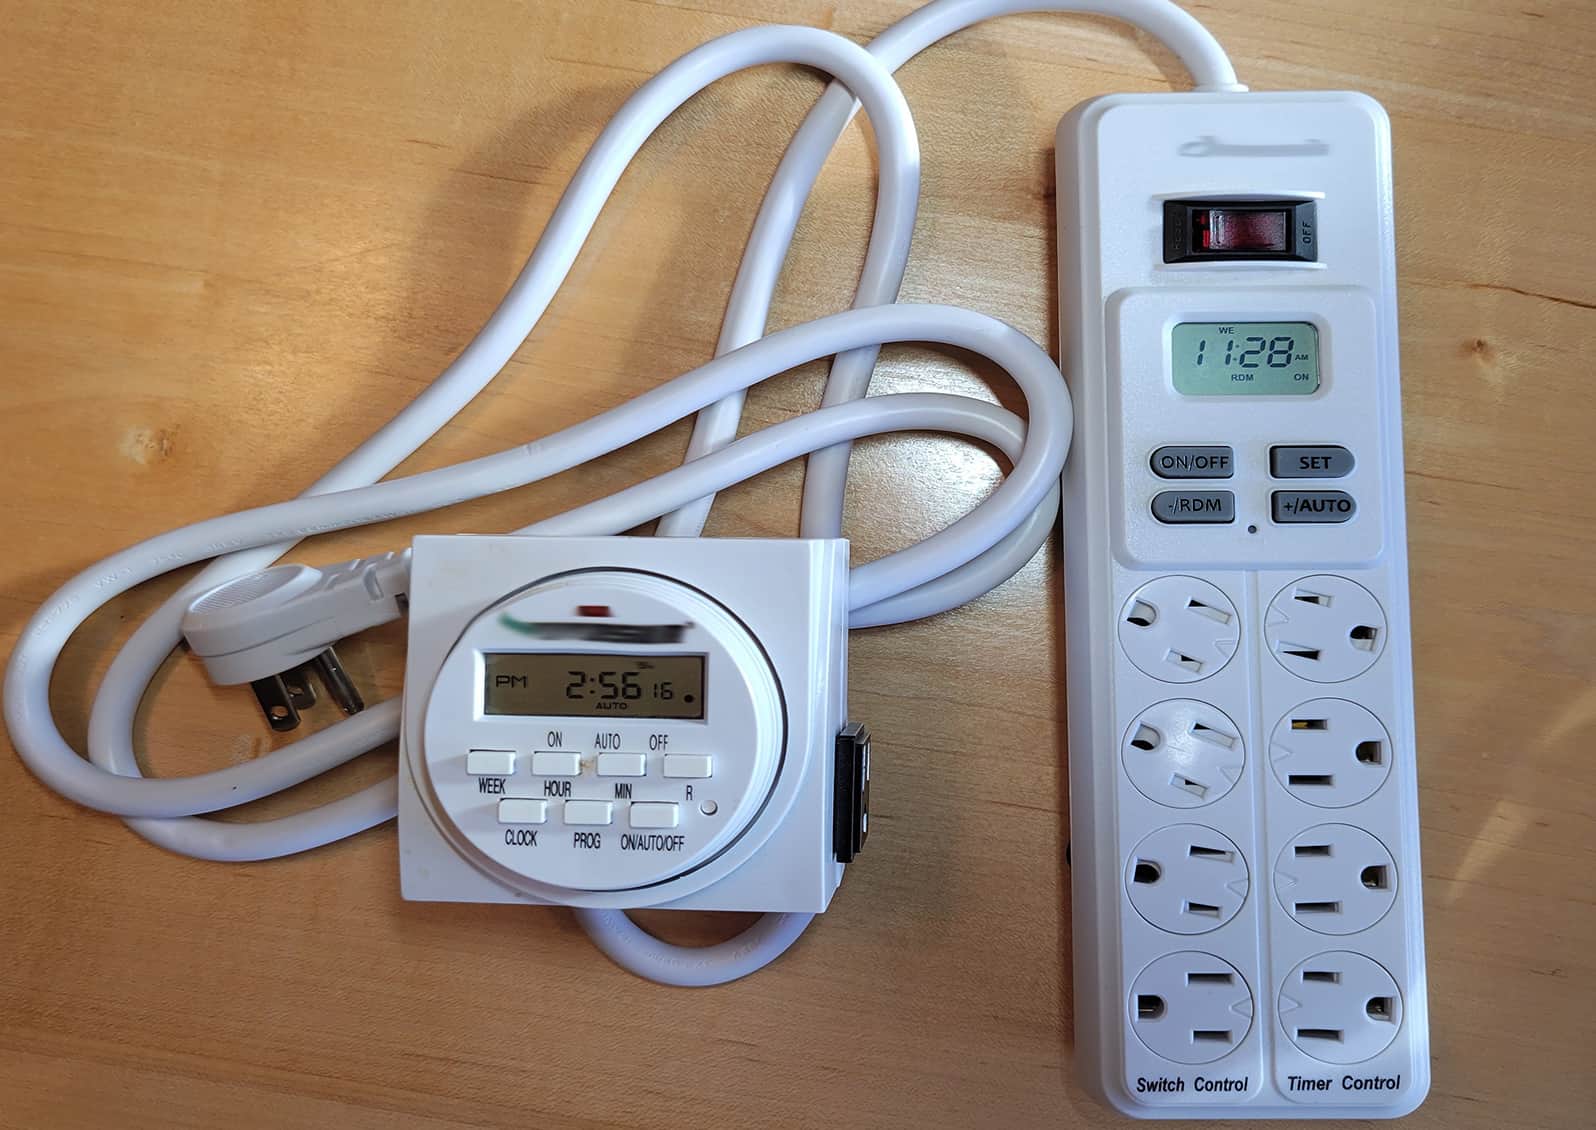
Two types of timer controls. The light controller on the left has a single outlet. The model on the right has four switched outlets for lights and four additional untimed ones for heat pads and other uses. © Photo by Kay Torrance
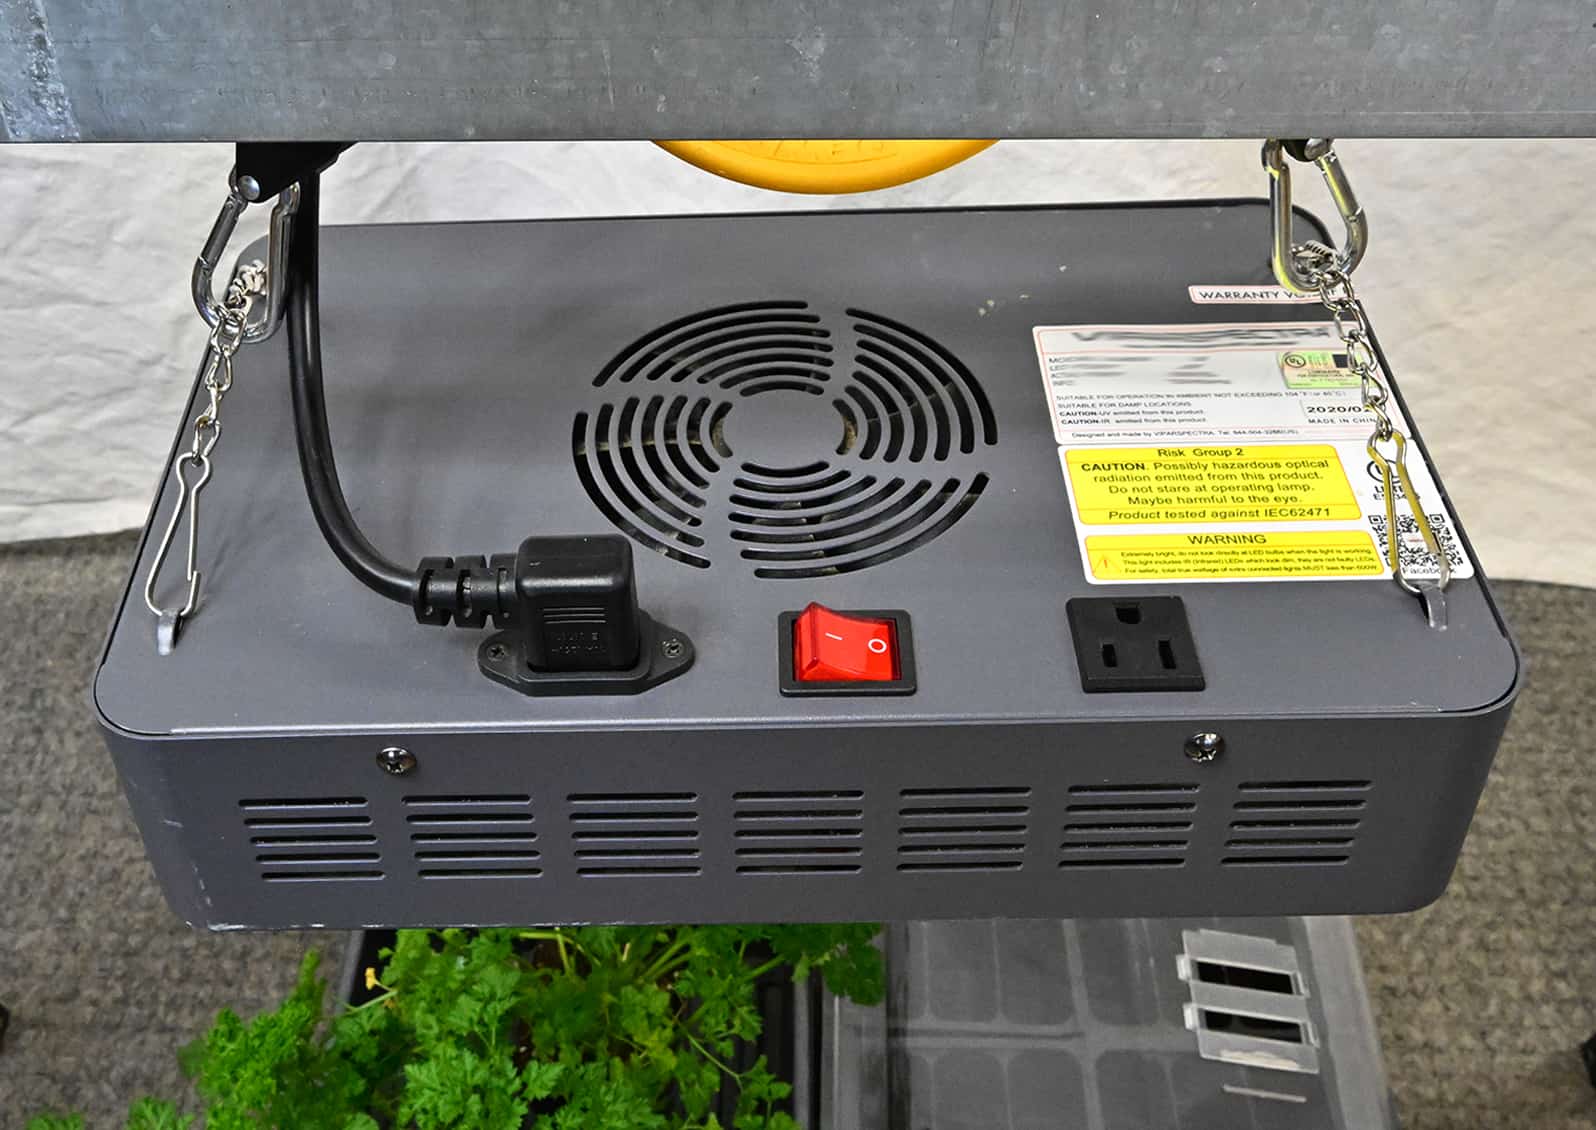
UL rated LED grow light with fan and plug outlet. © Photo by Kay Torrance
Accessories to Make the Process Easier
Adding a timer to your lighting to ensure consistency is highly recommended. Even the most organized gardener will forget to turn on or off the lights sometimes, especially if the grow stand is located in a basement or out-of-the-way area. Make sure the timer accommodates the three-prong grounded plugs used by plant lights. Some timers are also surge protectors with multiple outlets controlled by the timer. The heating pad needs to be plugged into an outlet, not on a timer. A small oscillating fan provides good ventilation, reduces fungal problems, and the motion helps strengthen the plant stems as they grow. A set of pulleys allows quick and precise adjustments to the height of the lights.
Selecting What to Plant
As a rule of thumb, plant what you like to eat. However, avoid vegetables that take a long time to grow, keep well, and are inexpensive to purchase. Concentrate on herbs and greens that are best eaten fresh. For detailed information and a planting calendar, read the WSU Home Vegetable Gardening in Washington for help selecting vegetables, learning how to harden and transplant starts, and growing them until harvest.
If you are growing plant starts to transplant outdoors, start seeds around eight weeks before the last frost date. Per WSU AgWeatherNet, the last frost for Skagit Valley is generally in May, so March is a good time to plant indoors. Temperatures in many areas vary due to micro-climates, so experiment to see what works for you
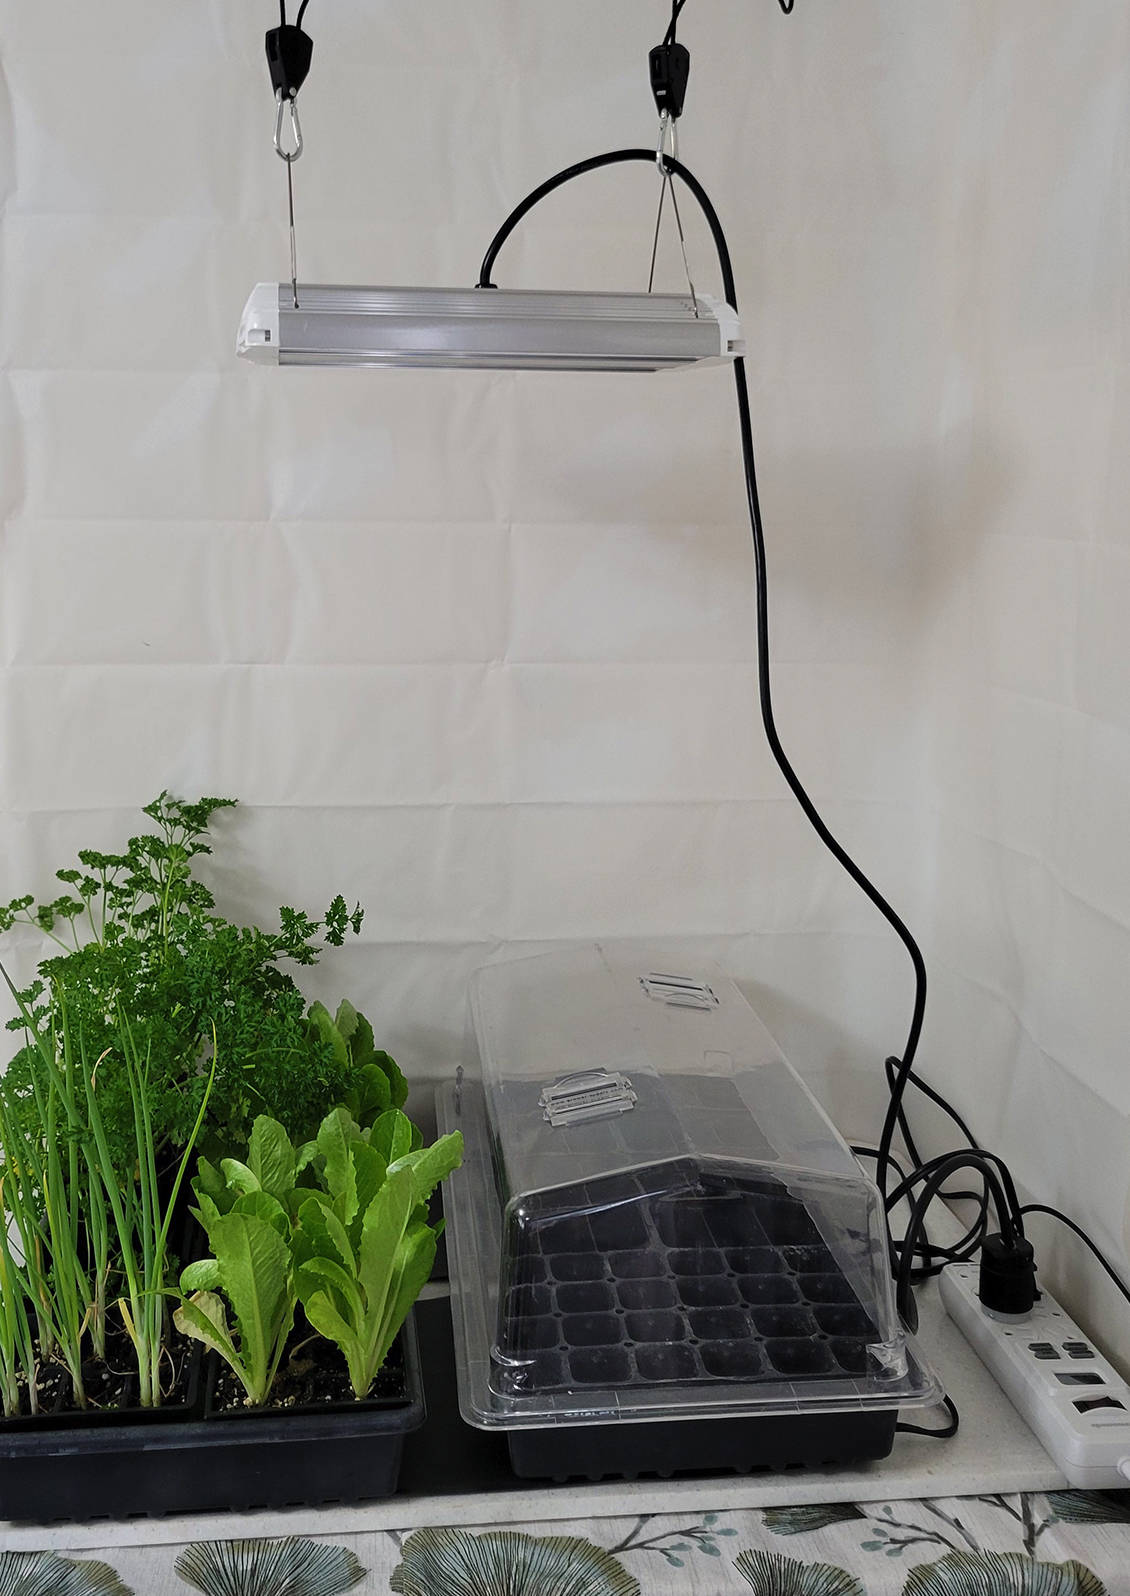
Tabletop grow stand with lights suspended from the ceiling. A shower curtain liner and vinyl tablecloth protect the surroundings from water and dirt. © Photo by Kay Torrance
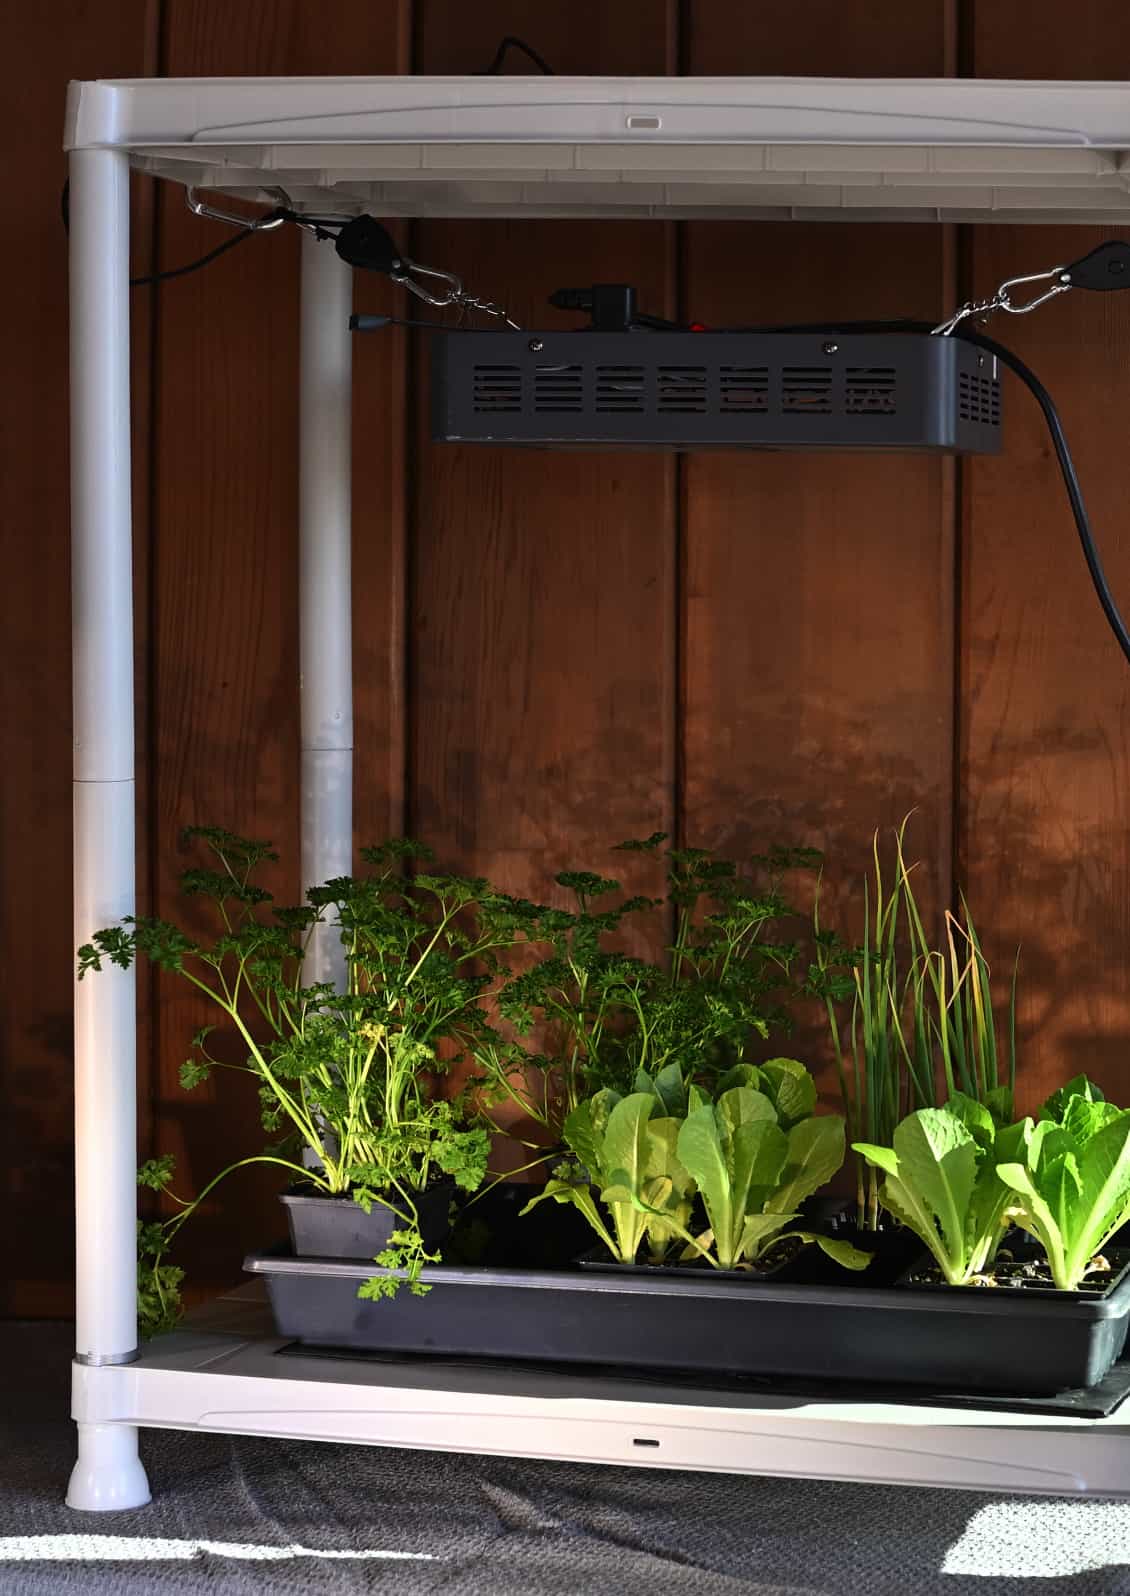
Plastic shelving used for stand. © Photo by Kay Torrance
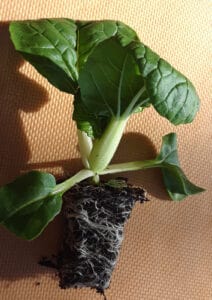
Bok choy pulled from a 6-pack cell to check root growth. Ready for transplant to 3.5-inch pot. © Photo by Kay Torrance
Starting Seeds
Plant each 6-pack with the same or similar seeds. Some plants like parsley will stay in the 6-pack for four to six weeks whereas lettuce will need to be transplanted in two to three weeks. Twelve 6-packs will fit in one 1020 tray – that is 72 plants! It is easy to get carried away and outgrow your grow stand. Think of how many of each plant you want. You may only need two parsley plants but a dozen lettuce plants. Plants grow at different speeds. Check days to harvest on the seed packets. For each tray, I will usually plant three 6-pack (18 cells) that will grow into 18 four-inch pots. I use small trays to plant microgreens to fill the remaining space as they will be harvested before they need to be moved to larger pots.
Transplanting and Harvest
It will take 5-14 days for seed germination. Some seeds will germinate faster if you soak them in water first. Follow directions on the seed packet and research specific germination information from various seed companies. Growth rates will vary based on your temperature, light, and fertilizer. The young plants should be ready to transplant to 3 1/2-inch pots around three to five weeks from germination. If you are unsure if your starts are ready for a larger pot, carefully pull one plant out of the container and look at the roots. Parsley and spinach seem to take forever whereas lettuce, Bok choy, and tomatoes grow really fast. Look for well-formed roots starting to emerge from holes in the plugs or pots.
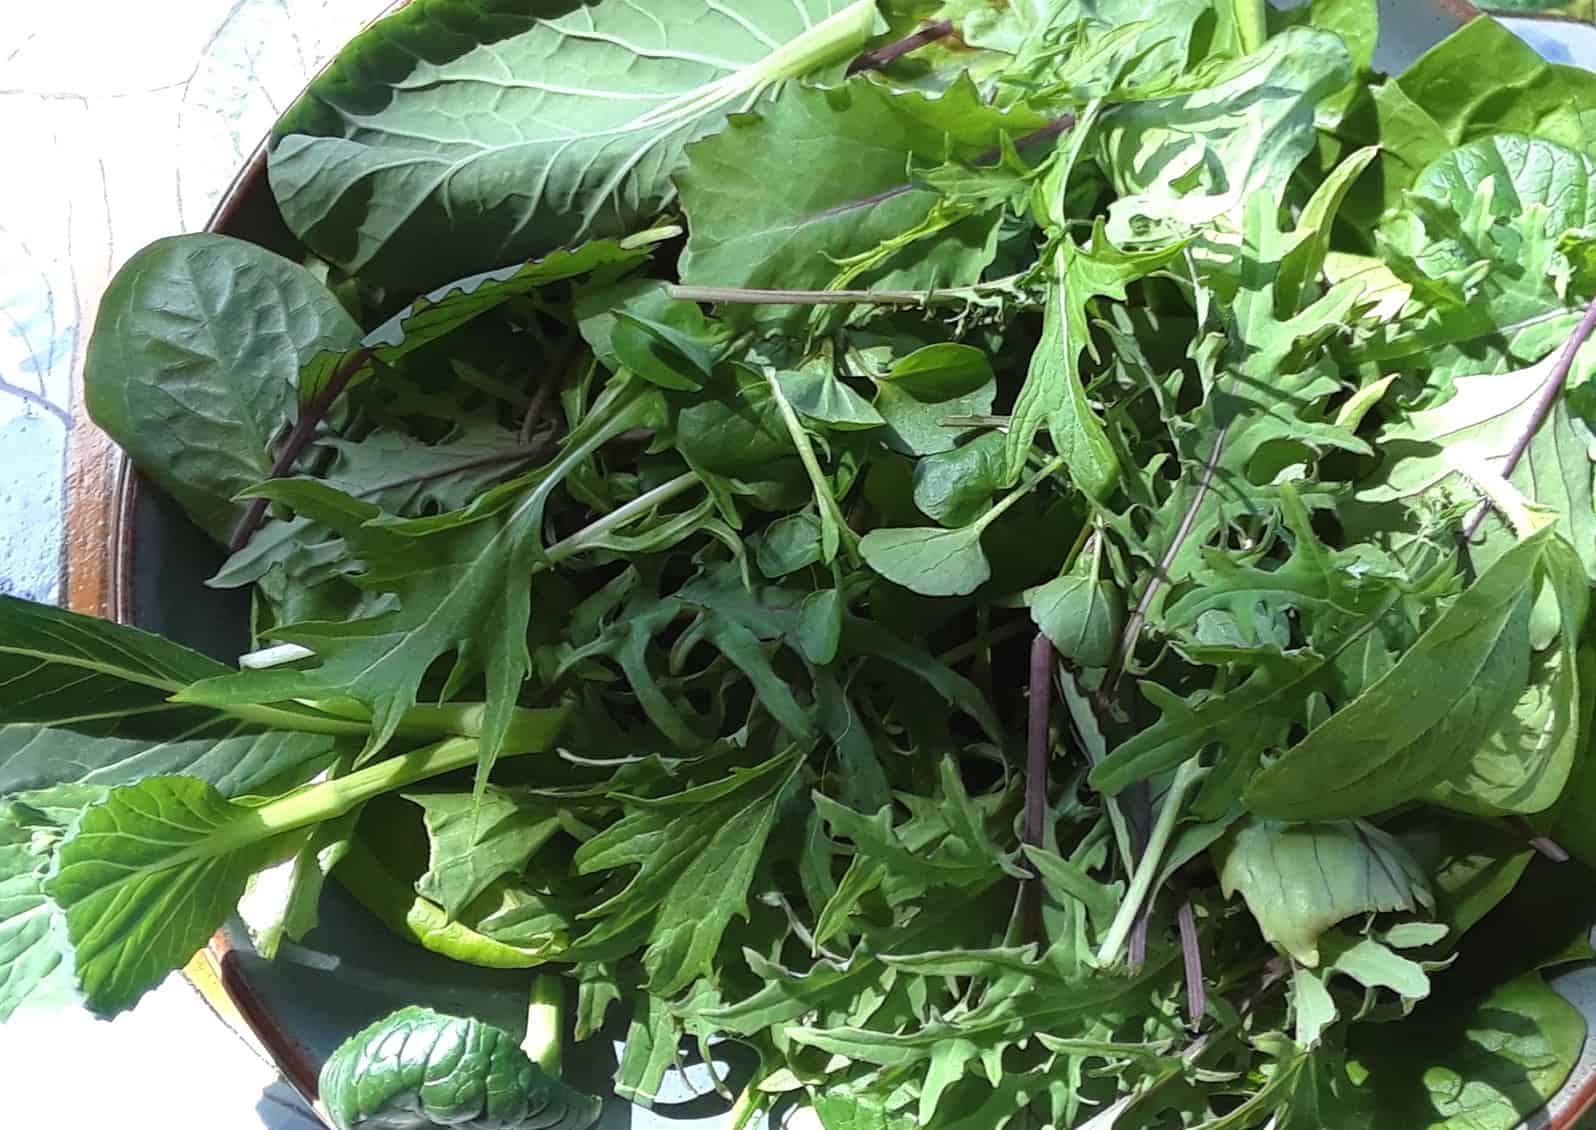
Grow light results © Photo by Kay Torrance
When harvesting, take only what you need for a meal and leave the rest on the plant, using the come-and-come-again method. Harvest the older/outer leaves leaving the young leaves for later. This provides enough foliage to keep the plant healthy and prolong your harvest time. When the plants become too big for the 3.5-inch pots, it is time to transplant them or harvest all the leaves and start over. It is great to stagger crops so you are always in fresh greens.
Questions or Comments
Have fun making the most of the dark days of winter with an indoor grow stand. If you have questions or concerns, add them in the comments section below and members of the Skagit County WSU Extension Master Gardener Plant Clinic team will be happy to answer, or visit a plant clinic in person.
REFERENCES:
VanDerZanden, A. (2008). Environmental factors affecting plant growth. Oregon State University Extension. Retrieved from https://extension.oregonstate.edu/gardening/techniques/environmental-factors-affecting-plant-growth
Wooten, H. (2020) Artificial Lighting for Growing Vegetables at Home. University of Florida/IFAS Extension Orange County. Retrieved from https://blogs.ifas.ufl.edu/orangeco/2020/04/09/artificial-lighting-for-growing-vegetables-at-home/
Miles, C. (2013). WSU Home Vegetable Gardening in Washington. Washington State University Extension Publication #EM057E. Retrieved from https://www.skagitmg.org/wp-content/uploads/Public-Pages/Food%20Gardening/Food%20Gardening%20Library/WSU%20Bulletin%20EM057E%20Home%20Vegetable%20Gardening.pdf
Planting Calendar from WSU Home Vegetable Gardening in Washington https://www.skagitmg.org/wp-content/uploads/2023/03/Planting-Guide-Calendar-Final-2023-03-15.pdf
Grabowski, M. (Reviewed 2018), How to prevent seedling damping off. University of Minnesota Extension. Retrieved from https://extension.umn.edu/solve-problem/how-prevent-seedling-damping
Pennisi, B. (Reviewed 2022). Growing Indoor Plants with Success. University of Georgia Extension Retrieved from https://extension.uga.edu/publications/detail.html?number=B1318&title=growing-indoor-plants-with-success
Peronto, M., Wertheim, F., Fournier, E.(Rev. 2021) Starting Seeds at Home. Bulletin #2751, University of Maine Extension. Retrieved from https://extension.umaine.edu/publications/2751e/
Skagit County WSU Extension Master Gardener Grow Your Own Food Website
https://www.skagitmg.org/home/food/
Skagit County WSU Extension Master Gardener Publication Library
https://www.skagitmg.org/home/library/
Learn from the experts at the
Country Living Expo
& Modern Homesteading
Saturday, January 27, 2024
Learn More and Register Here >>
These Gardening Topics and More:
- Fruit Tree Pruning & Grafting
- Microclimates in the Garden
- Low Maintenance Gardening
- Roses
- Bee Keeping
- Soil Sampling
- Veggie Gardening
- Growing in High Tunnels, Cold Frames, and Unheated Greenhouses
- Pest Control
- Hop Growing
- Flower Arranging
- Know Your Native Trees
- Introduction into Mason Bees
 ABOUT THE AUTHOR:
Kay Torrance has been a Skagit County WSU Extension Master Gardener since 2019. She is garden coordinator of the Naturescape garden and pond in the Discovery Garden on SR 536 west of Mount Vernon. https://www.skagitmg.org/home/discovery-garden/
Questions about home gardening or becoming a Master Gardener, may be directed to: Skagit County WSU Extension Office, 11768 Westar Lane, Suite A, Burlington, WA 98233; by phone: 360-428-4270; or via the website: https://extension.wsu.edu/skagit/mg/