AMGPost_header5
080324 Header2

What to do with your late-season bargain plant purchases?

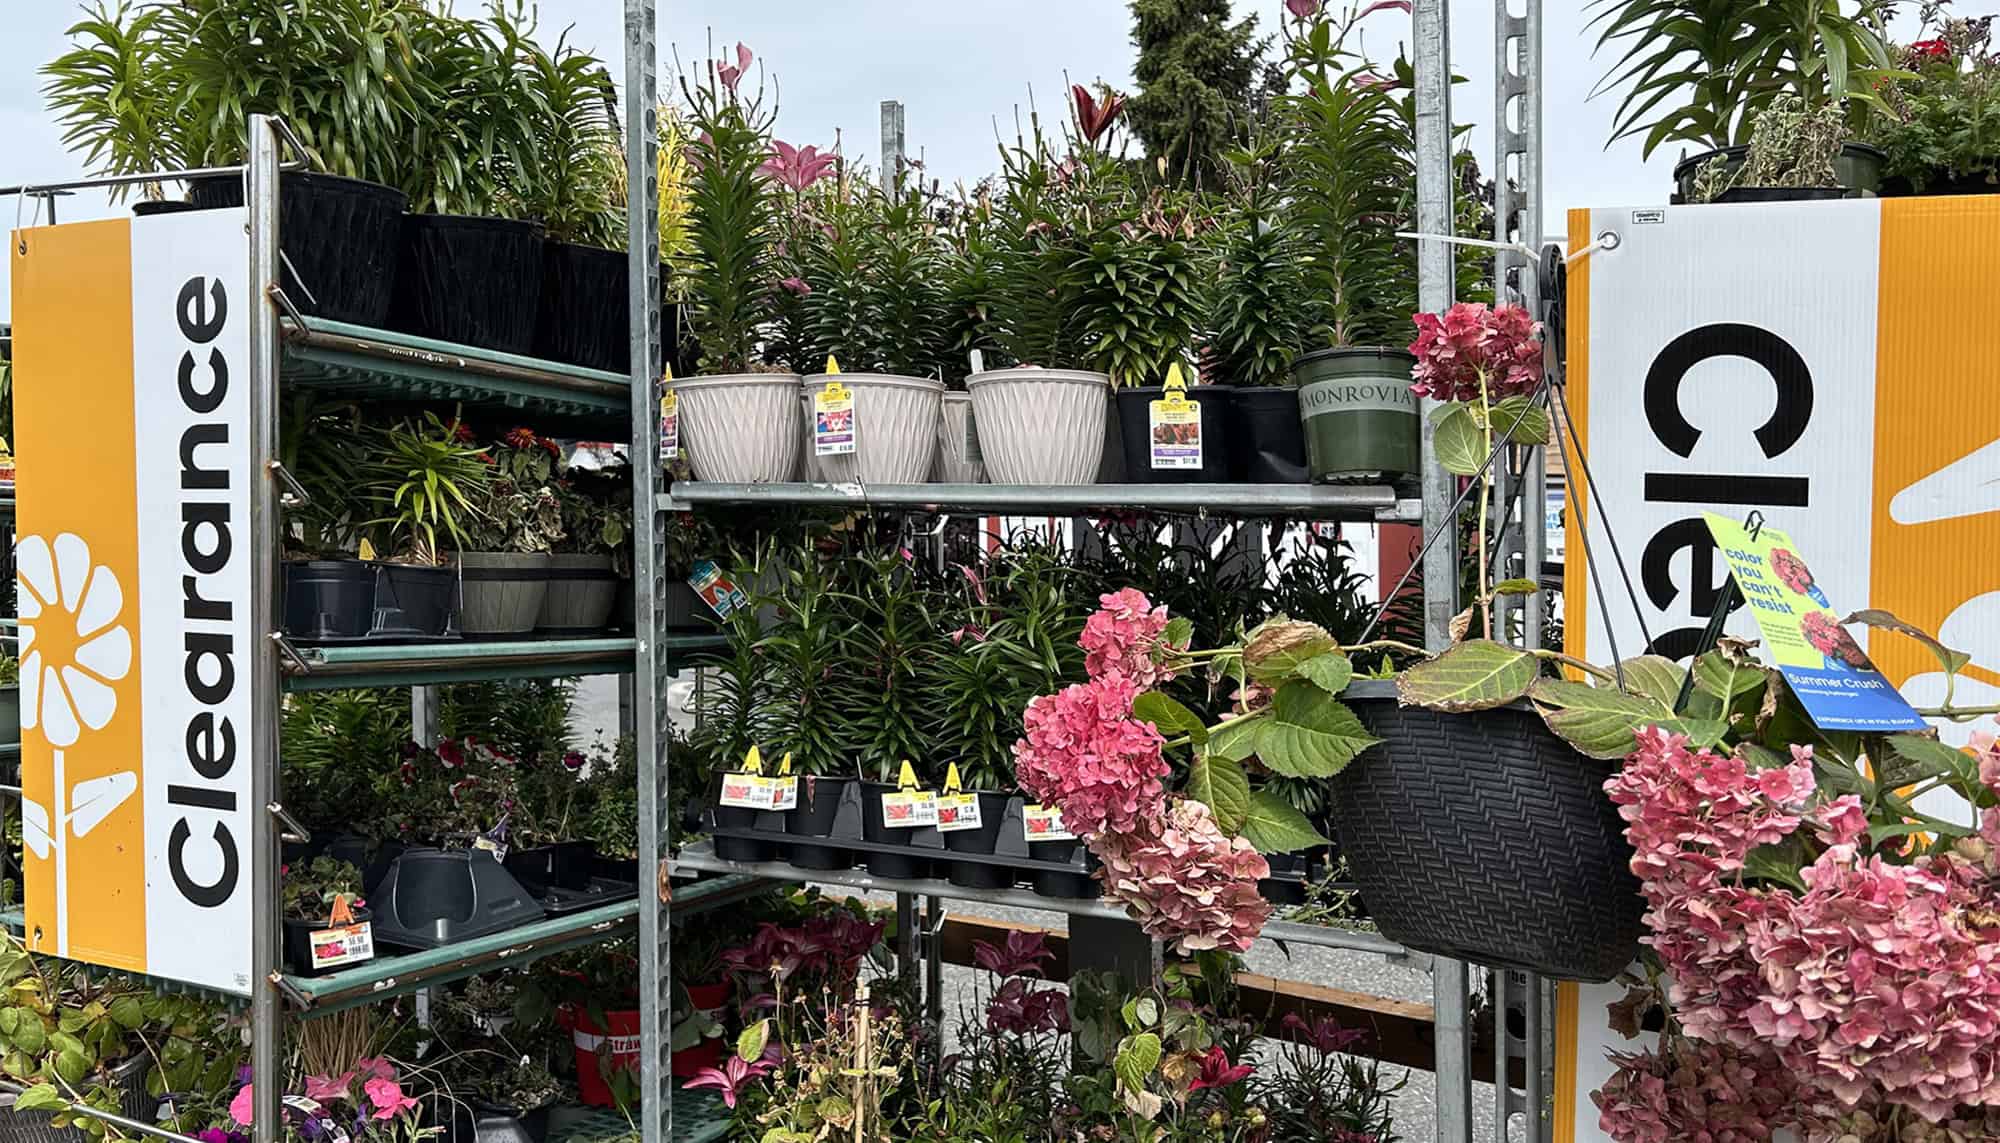
Now that you’ve found those irresistible gems at marked-down prices how do you set them up for success in their new home?

              Subscribe to the Blog >

By: Diana Wisen, Skagit County WSU Extension Master Gardener

It’s late summer, and you’ve found some plants on sale that are calling to you. Gardeners, like everyone else, love a good bargain. But when is a marked-down plant a good buy, or is something better left on the rack? Gardeners tend to be “nurturers” who hope that with plenty of TLC, they can nurture a plant back to full health. That may or may not be possible. You rarely can heal sick plants. Despite your efforts, diseased or heavily damaged plants are not a bargain at any price. Be forewarned! You could be bringing additional problems into your yard.

Nevertheless, you have given into temptation and brought home several marked-down plants. Now, what to do with them? First, take them out of your vehicle as soon as you get home, put them in a shady, cool place, and water them well. Allow the plants to drain. Once they are fully hydrated, do not leave them in standing water. Roots need air and will suffocate if left in standing water for several days. Check for baby slugs by sliding the plant out of its container. Also, check for healthy roots before putting it back in its container. Cut off dead stems, leaves, and flowers, but leave all healthy leaves so the plant can photosynthesize and grow.

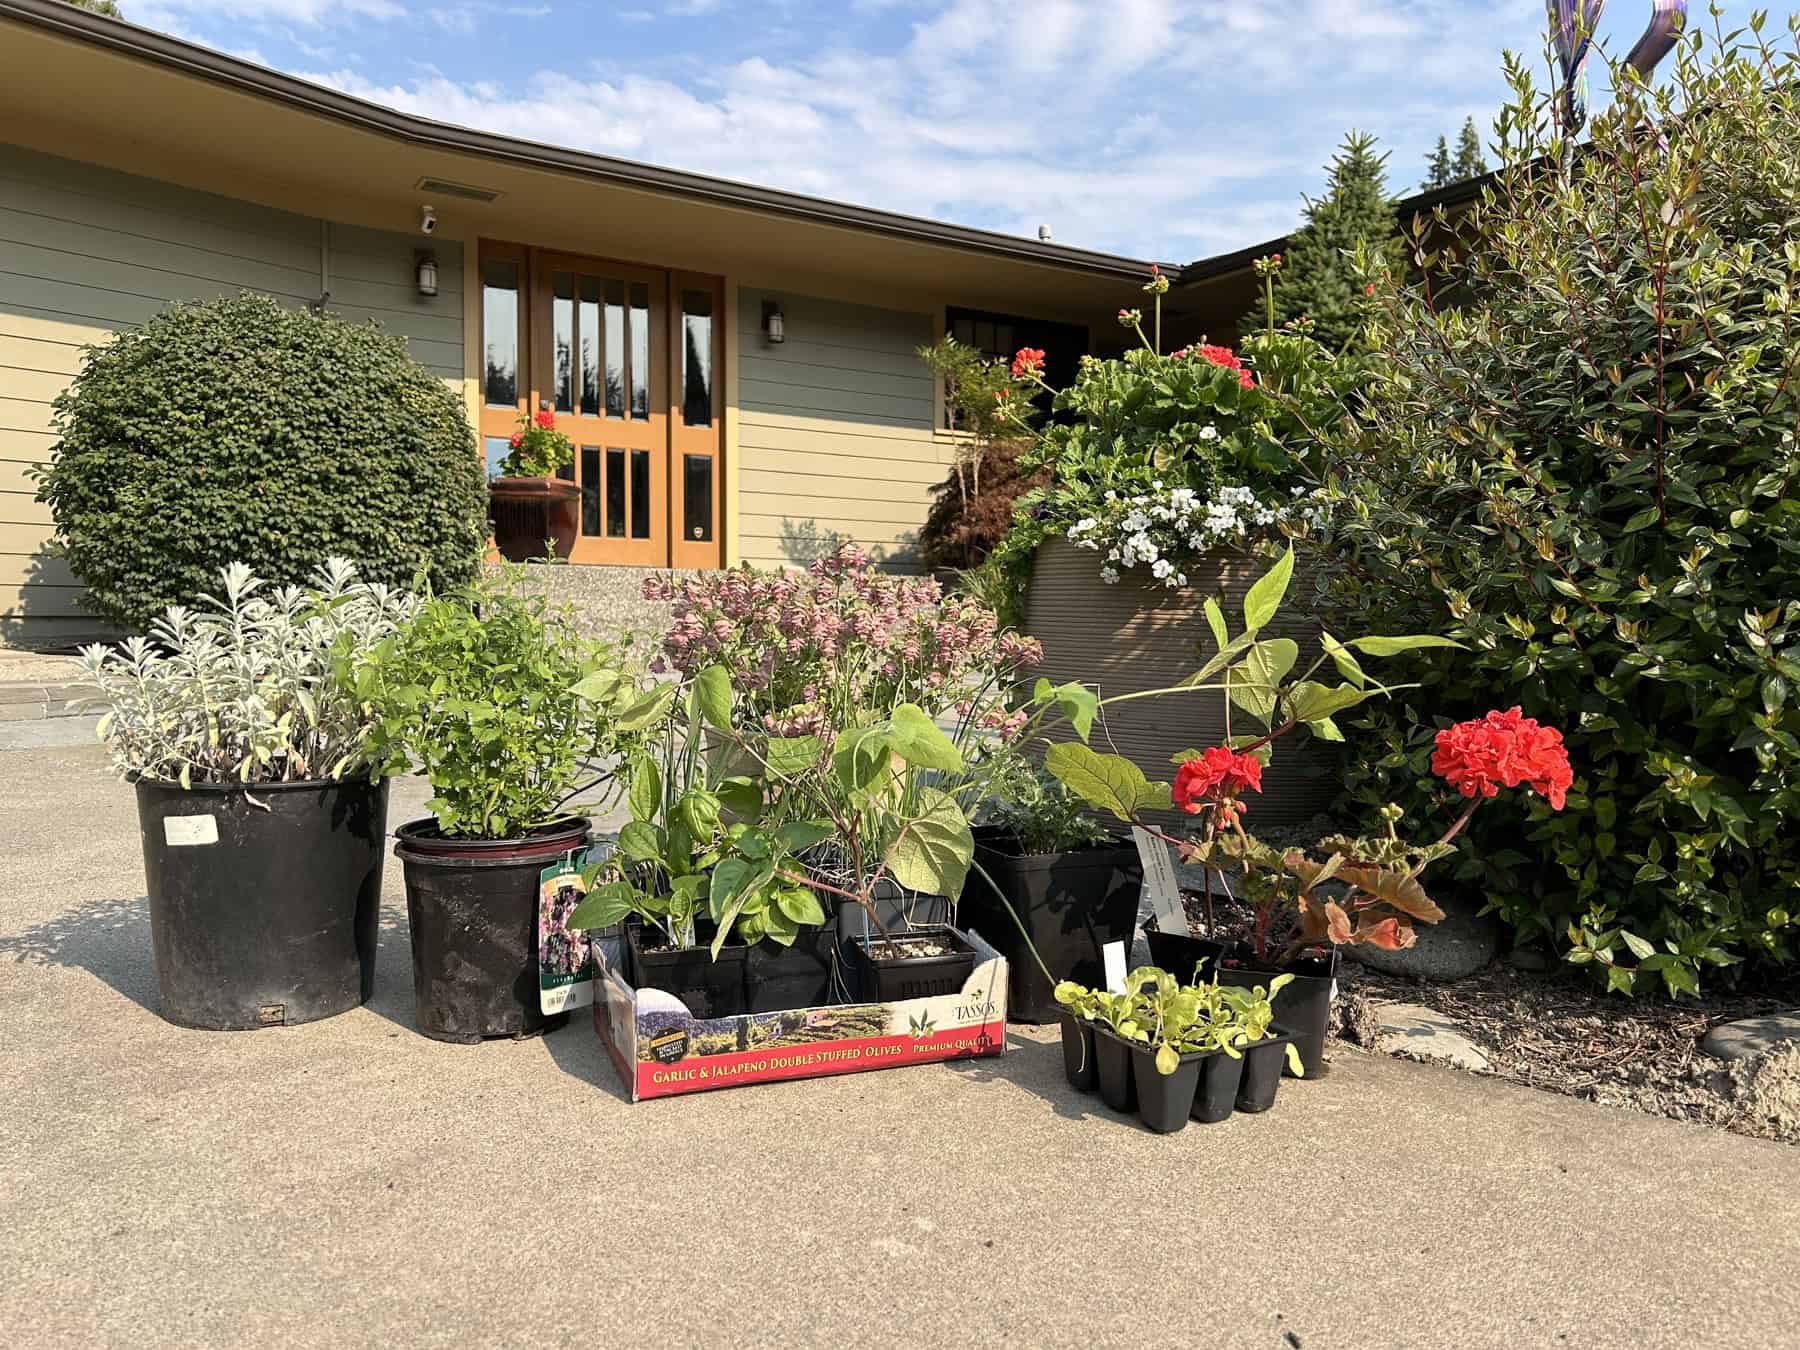
Do you have a place in mind for each plant? Buying plants without a place to plant them can lead to a “Driveway Garden” with many potted plants sitting too long on the path to your house while waiting to be planted in your garden. This is not an unheard-of dilemma among gardening friends. However, let’s assume you have a place for your plant. Check for pests, disease, and damaged parts, including the roots, before planting. This should be done before you purchase the plant, but it’s better now than after it’s in the ground. Look for aphids, root maggots, beetle larvae, brown mushy (dead) roots, wounds on the stems, and diseased leaves. Sometimes, you can get away with cutting off diseased portions, but often the disease is in the vascular system and plants don’t “heal” like humans do. If you suspect disease, it is best to put the entire plant in the garbage can, not in your compost pile.

Check for healthy roots. Cut off dead stems, leaves, and flowers, but leave all healthy leaves so the plant can photosynthesize and grow.

Where to put your new plant
Read the plant tag to learn the conditions the plant needs to thrive. Can you provide the right kind of soil and drainage? What about the amount of sun or shade? Heat requirements? Wind protection? Are deer a problem? It is your job to give your plant what it needs. It cannot get up and move to a better site by itself.
How to plant
Planting is best done on a cool day or in the evening of a hot day. Water the plant and the planting spot ahead of time. Dig a hole the same depth as the plant’s root mass and three times as wide. Loosen the soil around the sides of the planting hole so the roots can grow outward. Place the plant in the hole and fill with the soil you took out. Water it in to settle the soil. Light mulching can help retain soil moisture and reduce weeding.
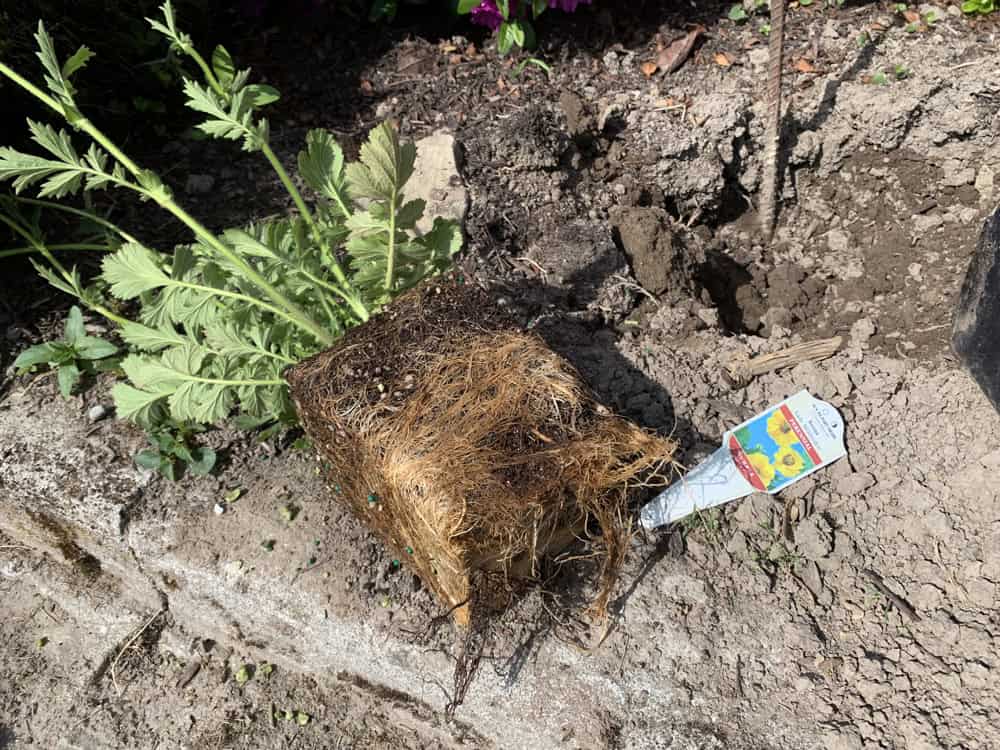
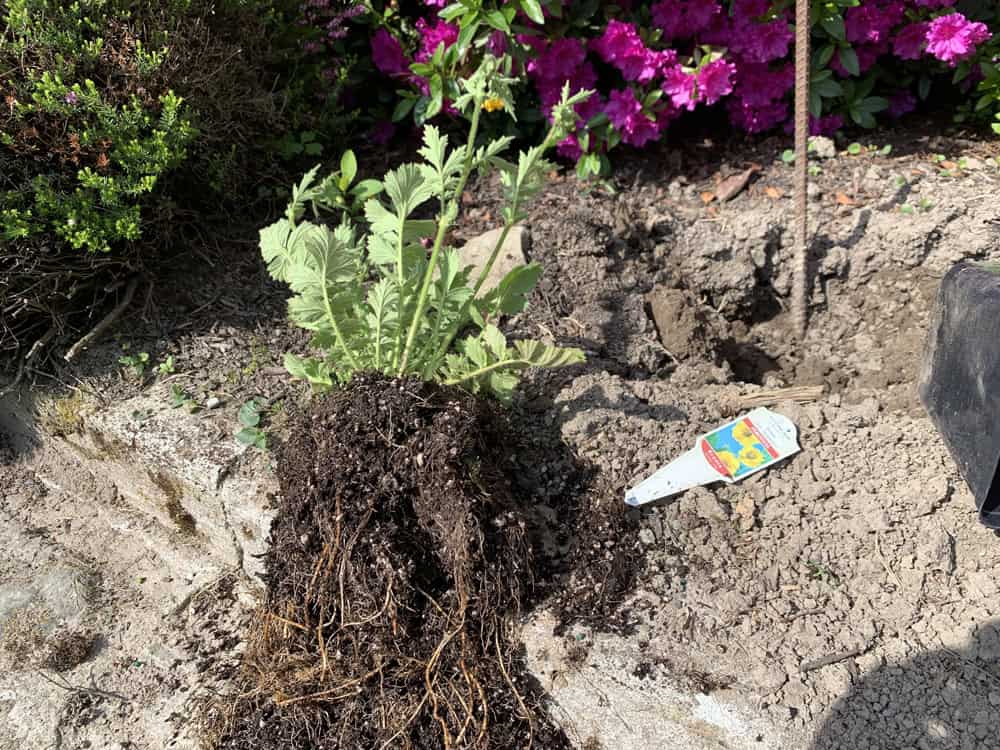
Sometimes marked-down plants are root-bound and some serious root pruning will be needed before planting. © Photographer: Ginny Bode
Cut off circling, broken, kinked or damaged roots. Very long roots may need to be shortened. © Photographer: Ginny Bode

For shrubs and trees, the root flare supporting the trunk should be clearly visible and not covered with soil or mulch. Take the plant out of the container and examine the root zone. Sometimes marked-down plants are root bound and some serious root pruning will be needed before planting. Cut off circling, broken, kinked, or damaged roots. Very long roots may need to be shortened. Do not cut off any of the canopy. Dig a wide, shallow hole, spread the roots straight out in all directions, replace the native soil, and water it in well. Do not stomp on the root zone. Make sure the base of the trunk is at the same level or a bit higher than the soil level. Mulch with arborist chips, keeping them an inch or two from the trunk.

Fertilizing and Care
Sometimes, you can tell by looking at the leaves if a plant is deficient in a nutrient. You need to know what is typical for this plant at this time of year. There are plenty of plants for which yellow or light green leaves are normal. Usually, fertilizing with a diluted nitrogen fertilizer at planting time is helpful. Just go easy on the fertilizer and avoid burning the roots. Too much fertilizer for shrubs, trees, and some perennials can cause excessive weak growth late in the season, which will be subject to winter damage. Soils here in the Pacific Northwest already have plenty of phosphorus. Adding phosphorous can kill the beneficial mycorrhizae. Do not add products such as vitamin B to the soil or spray leaves with a desiccant to prevent wilting. Despite manufacturers’ claims, they are not helpful.

A plant is considered established when its root system can take up sufficient water and nutrients for the plant to grow normally. Some shrubs and trees can take over a year, so remember to water them regularly, even if they are drought-tolerant. An arborist chip or homemade compost mulch will help keep the soil evenly moist and add slowly released nutrients. Most purchased composts are fine for a top dressing to retard water evaporation, but they have little or no nutrients left in them because they have been heated to very high temperatures to kill any possible pathogens. Many gardeners now use the “chop & drop” method of leaving plant debris on the soil to decompose naturally and add nutrients to the soil, becoming nature’s slow-release fertilizer.

PLANT YOUR PLANTS! Don't let them languish on the driveway.
© Photographer: Ginny Bode
PLANT YOUR PLANTS! Don’t let them languish on the driveway.
© Photographer: Ginny Bode
Container plantings require a different regimen.
Use a light soil mix, not garden soil for container planting. Add some of the compost mixed in well. A sufficiently sized drainage hole needs to be in the bottom of the pot. If slugs crawling in are a concern, put a coffee filter over the hole before filling. Do not put pieces of crockery or a layer of gravel over the hole in the container. New research shows this practice, which is frequently recommended in garden books, actually impedes drainage. Put the potting mix soil to the bottom of the pot so the roots will have plenty of room to grow. While urn-shaped containers are beautiful, they are more challenging to change out later on because the rim curves in and large established roots get caught under it and can be very difficult to dig out. Container plantings dry out much faster than in-ground plantings, especially as the roots grow and fill the pot. Frequent watering causes nutrients to be flushed out sooner so container plantings of annuals will need additional fertilizer during the growing season. A slow-release fertilizer can also be used. Always read the directions thoroughly before using any garden product.

Deadhead annuals to keep them blooming until frost. If they start making seeds that process signals the plants to stop producing additional flowers because they are nearing the end of their life cycle. Some containers can be brought indoors in the winter and continue to thrive if there is sufficient light. 

Now it is time to enjoy your new plants. Observe them daily and check to see if they need watering. Watch for plants starting to wilt and water them immediately. It’s OK to water plants in the middle of a hot day. Watering them will not cause leaf scorch but will keep your plants alive.

Some perennials may start to die back because they are at the end of their growing season and beginning to go dormant. Plant them properly, and they will come up next spring. Other perennials can be cut back, and they will produce a flush of new growth and perhaps lightly bloom again. Don’t forget to bait for slugs and snails, which can be treated the same. This time of year slugs are starting to lay their eggs, which look like masses of tiny white pearls in the moist soil. Slugs and snails live deep in the soil during winter. Read more about managing slugs and snails: https://www.skagitmg.org/managing_slugs_snails/

With the long growing season in the Skagit Valley, your new bargain plants can give you many months of pleasure. Enjoy the colors, textures, leaf shapes, plant forms, flowers and seeds, fragrances, and the overall beauty they add to your life and your neighborhood. It’s your garden. Plant what you love.

REFERENCES AND RESOURCES:

WSU Extension Master Gardener Training Course

Chalker-Scott, L. (2008) The Informed Gardener. Seattle, WA: University of Washington Press.

Chalker-Scott, L. (2009) Sustainable Landscapes and Gardens: Good Science-Practical Application. Yakima, WA: GFG Publishing, Inc.

Gilman, J. (2008) The Truth About Garden Remedies-What Works, What Doesn’t, and Why. Portland, OR: Timber Press.

Lowenfels, J. (2013) Teaming with Nutrients: The Organic Gardener’s Guide to Optimizing Plant Nutrition. Portland, OR: Timber Press.

Diana Wisen

ABOUT THE AUTHOR:
Diana Wisen has been a Skagit County WSU Extension Master Gardener since 1991 and is the coordinator of the Fuchsia Garden at the Discovery Garden on SR 536 in Mount Vernon.

Questions about home gardening or becoming a master gardener may be directed to Skagit County WSU Extension Office, 11768 Westar Lane, Suite A, Burlington, WA 98233; by phone: 360-428-4270; or via the website: www.skagit.wsu.edu/mg


Mark your calendar for these upcoming master gardener events:

Skagit County Fair
Thursday ~ Sunday, August 8-11, 2024
Skagit County Fairgrounds
Building D
(map)
Visit our booth, see our displays, and talk with master gardeners about how to make your garden beautiful and productive.
Know & Grow Lecture Series
Season Extenders
Presented by Hallie Kintner
Tuesday, August 20, 2024 ~ 1 p.m.
Free Admission
NWREC Sakuma Auditorium
16650 State Route 536, Mount Vernon


A Second Act for Your Square 1-Gallon Pots at the Discovery Garden!

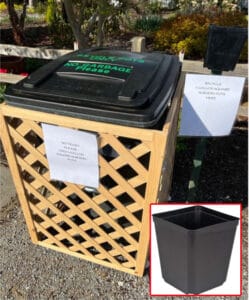
Bring your leftover square 1-gallon pots to the Discovery Garden (16650 State Route 536, Mount Vernon). The bin for recycling the square 1-gal pots is located in the parking lot, just north (to the right) of the main entrance.
We only need square 1-gallon pots like the ones pictured below (bottom right). The recycling bin will be available now through fall. Simply put your pots into the bin, and we take care of the rest!


pot recycling


AMGPost_header5
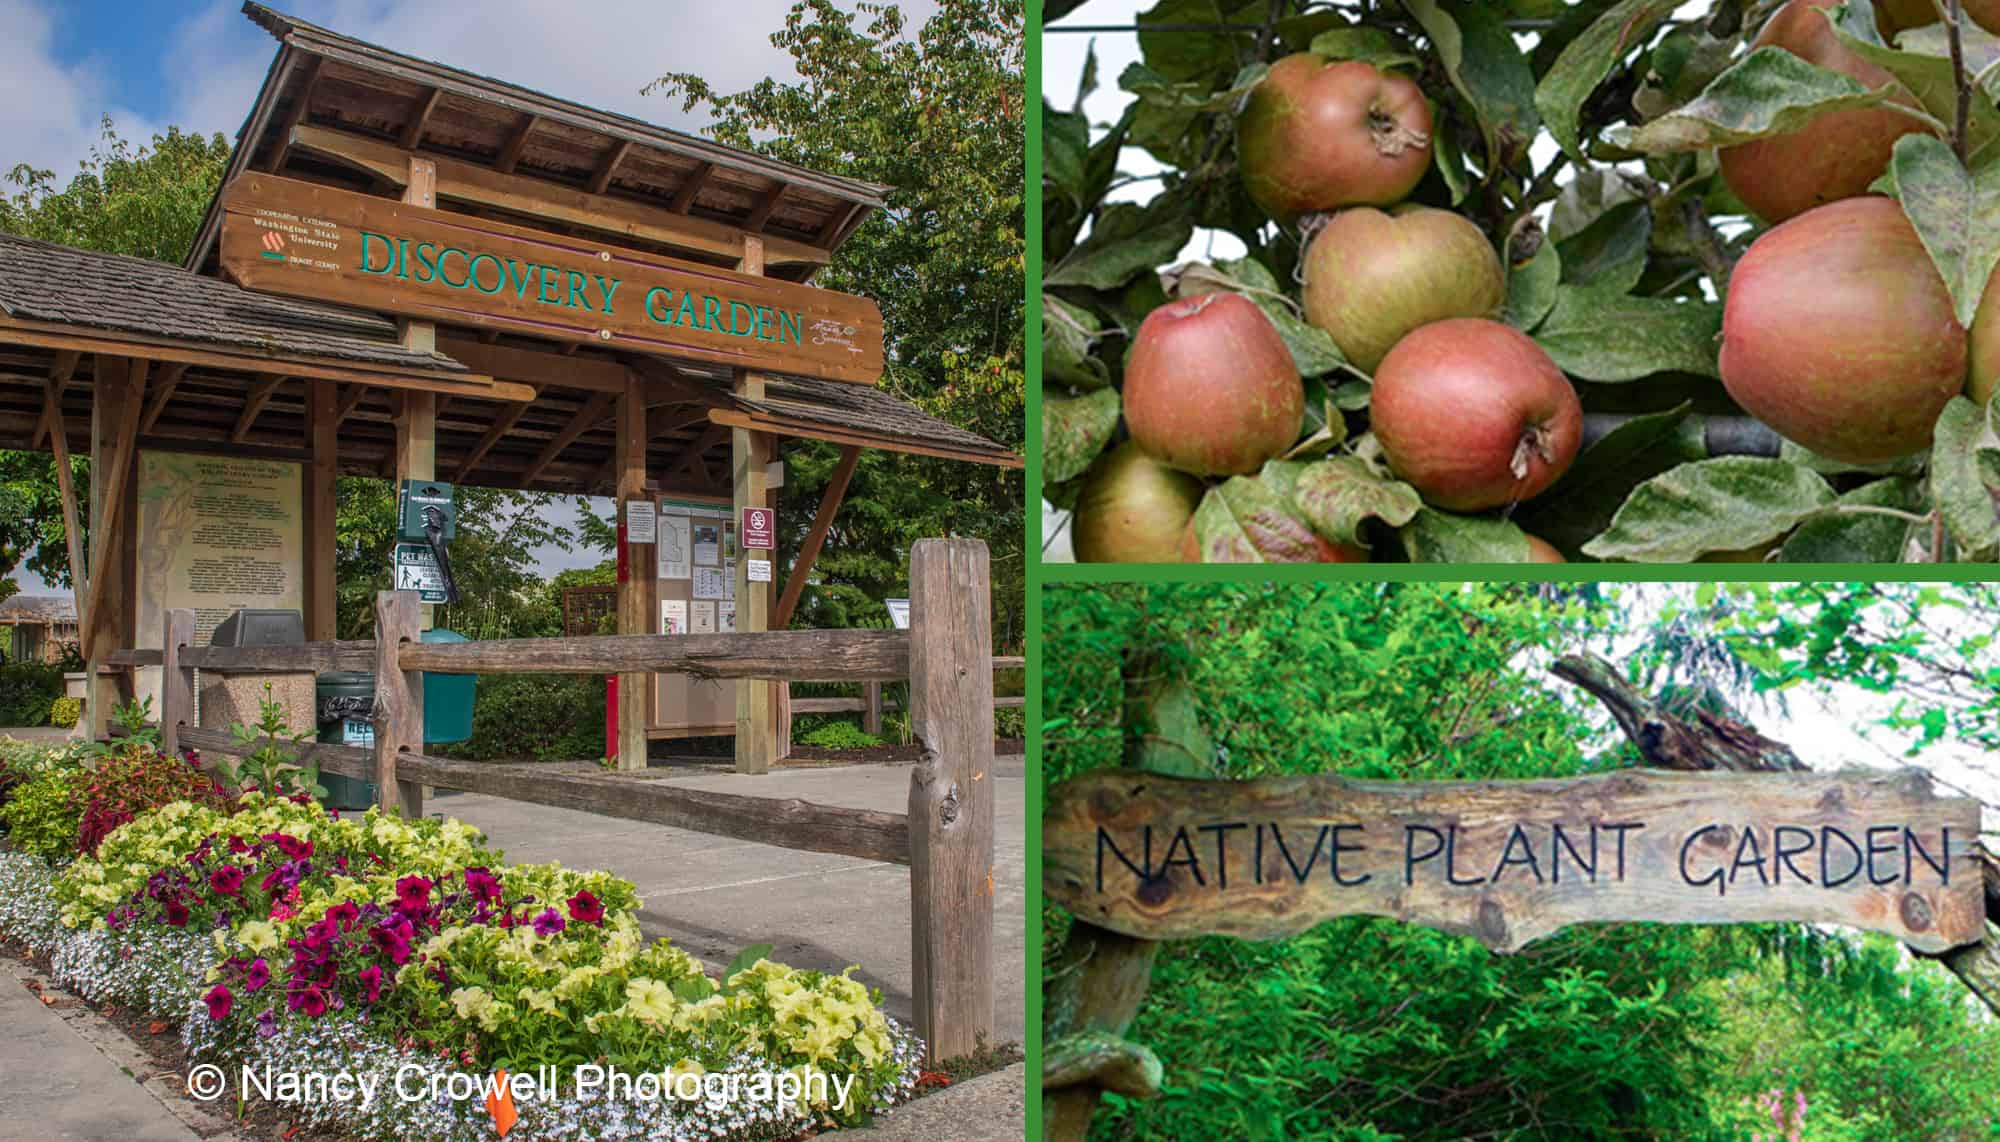
picture of Discovery Garden entrance apples, Salal Native Garden sign

Discover the Display Gardens Open House

Join us for this year’s Open House at the Discovery Garden,
the Salal Native Plant Garden, and the NW Fruit Garden
Saturday, June 29, 2024
10:00 a.m. ~ 2:00 p.m.
Free Admission & Parking

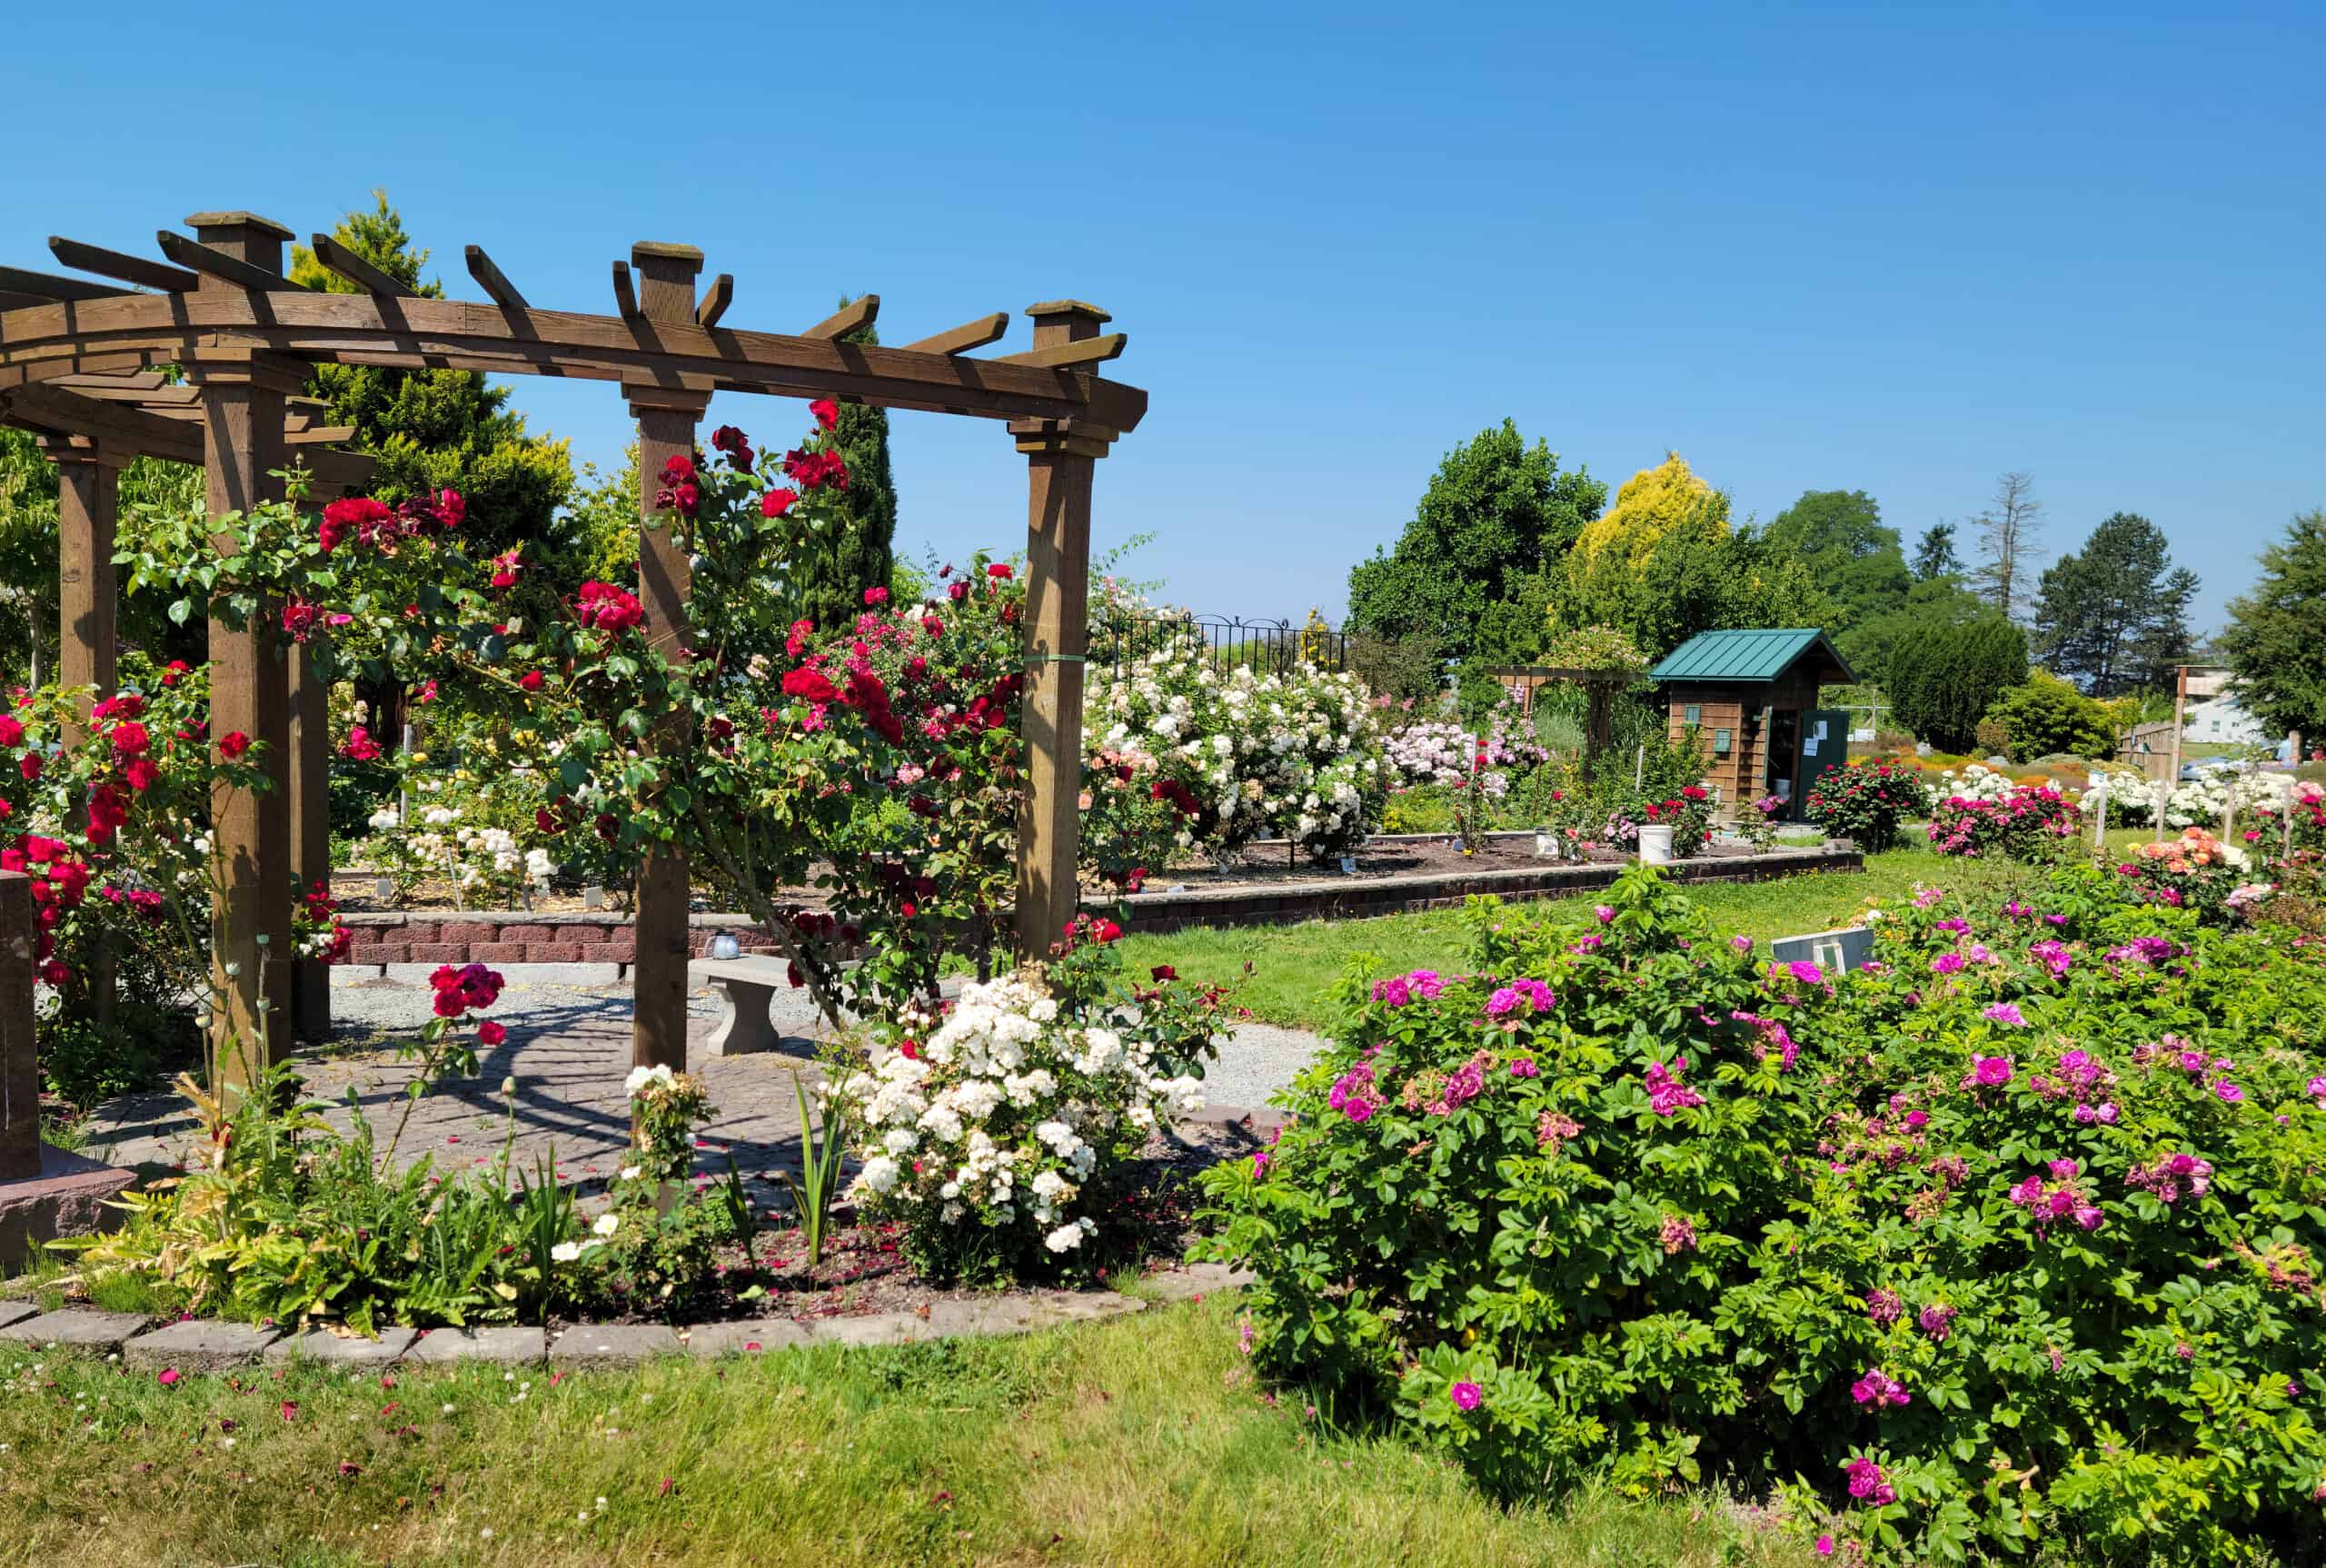
Visit 8 acres of gardens at one location in Skagit Valley

              Subscribe to the Blog >

By Kay Torrance and Janine Wentworth
Skagit County WSU Extension Master Gardeners

Explore all three gardens and talk to the volunteers who maintain the gardens. Use your ‘Discovery Passport’ and map to lead you on a self-guided tour of educational displays and activities including:

  • Container Gardening
  • Growing Media for Container Gardening
  • Drip Irrigation
  • Plant Clinic
  • Plant Sale

Also booths by:

  • Skagit County Noxious Weeds
  • Skagit County Natural Resources
  • Skagit Conservation District


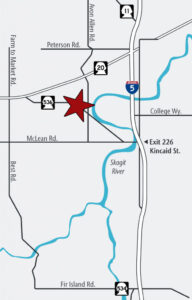
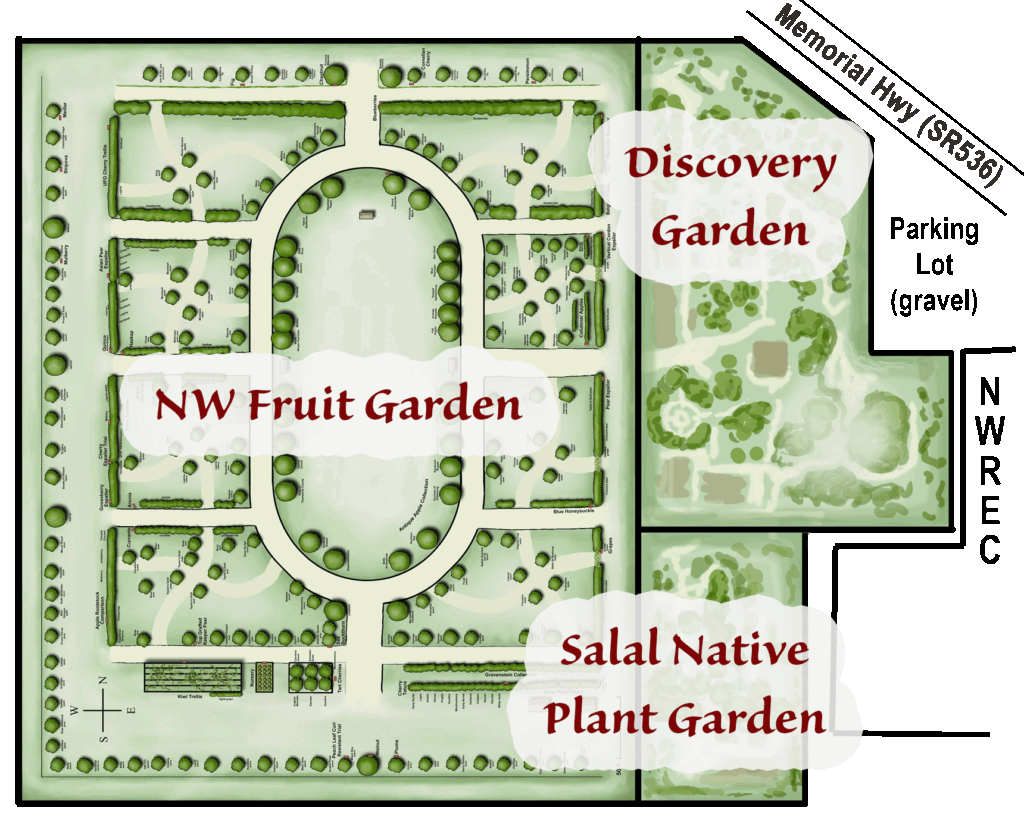
The Skagit Valley is home to three display gardens operated by volunteers as a learning resource for the public: the WSU Extension Master Gardener Discovery Garden, the Salal Native Plant Garden, and the NW Fruit Garden. The gardens are co-located on the grounds of Washington State University (WSU) Northwestern Washington Research and Extension Center (NWREC) in Mount Vernon, WA (directions).
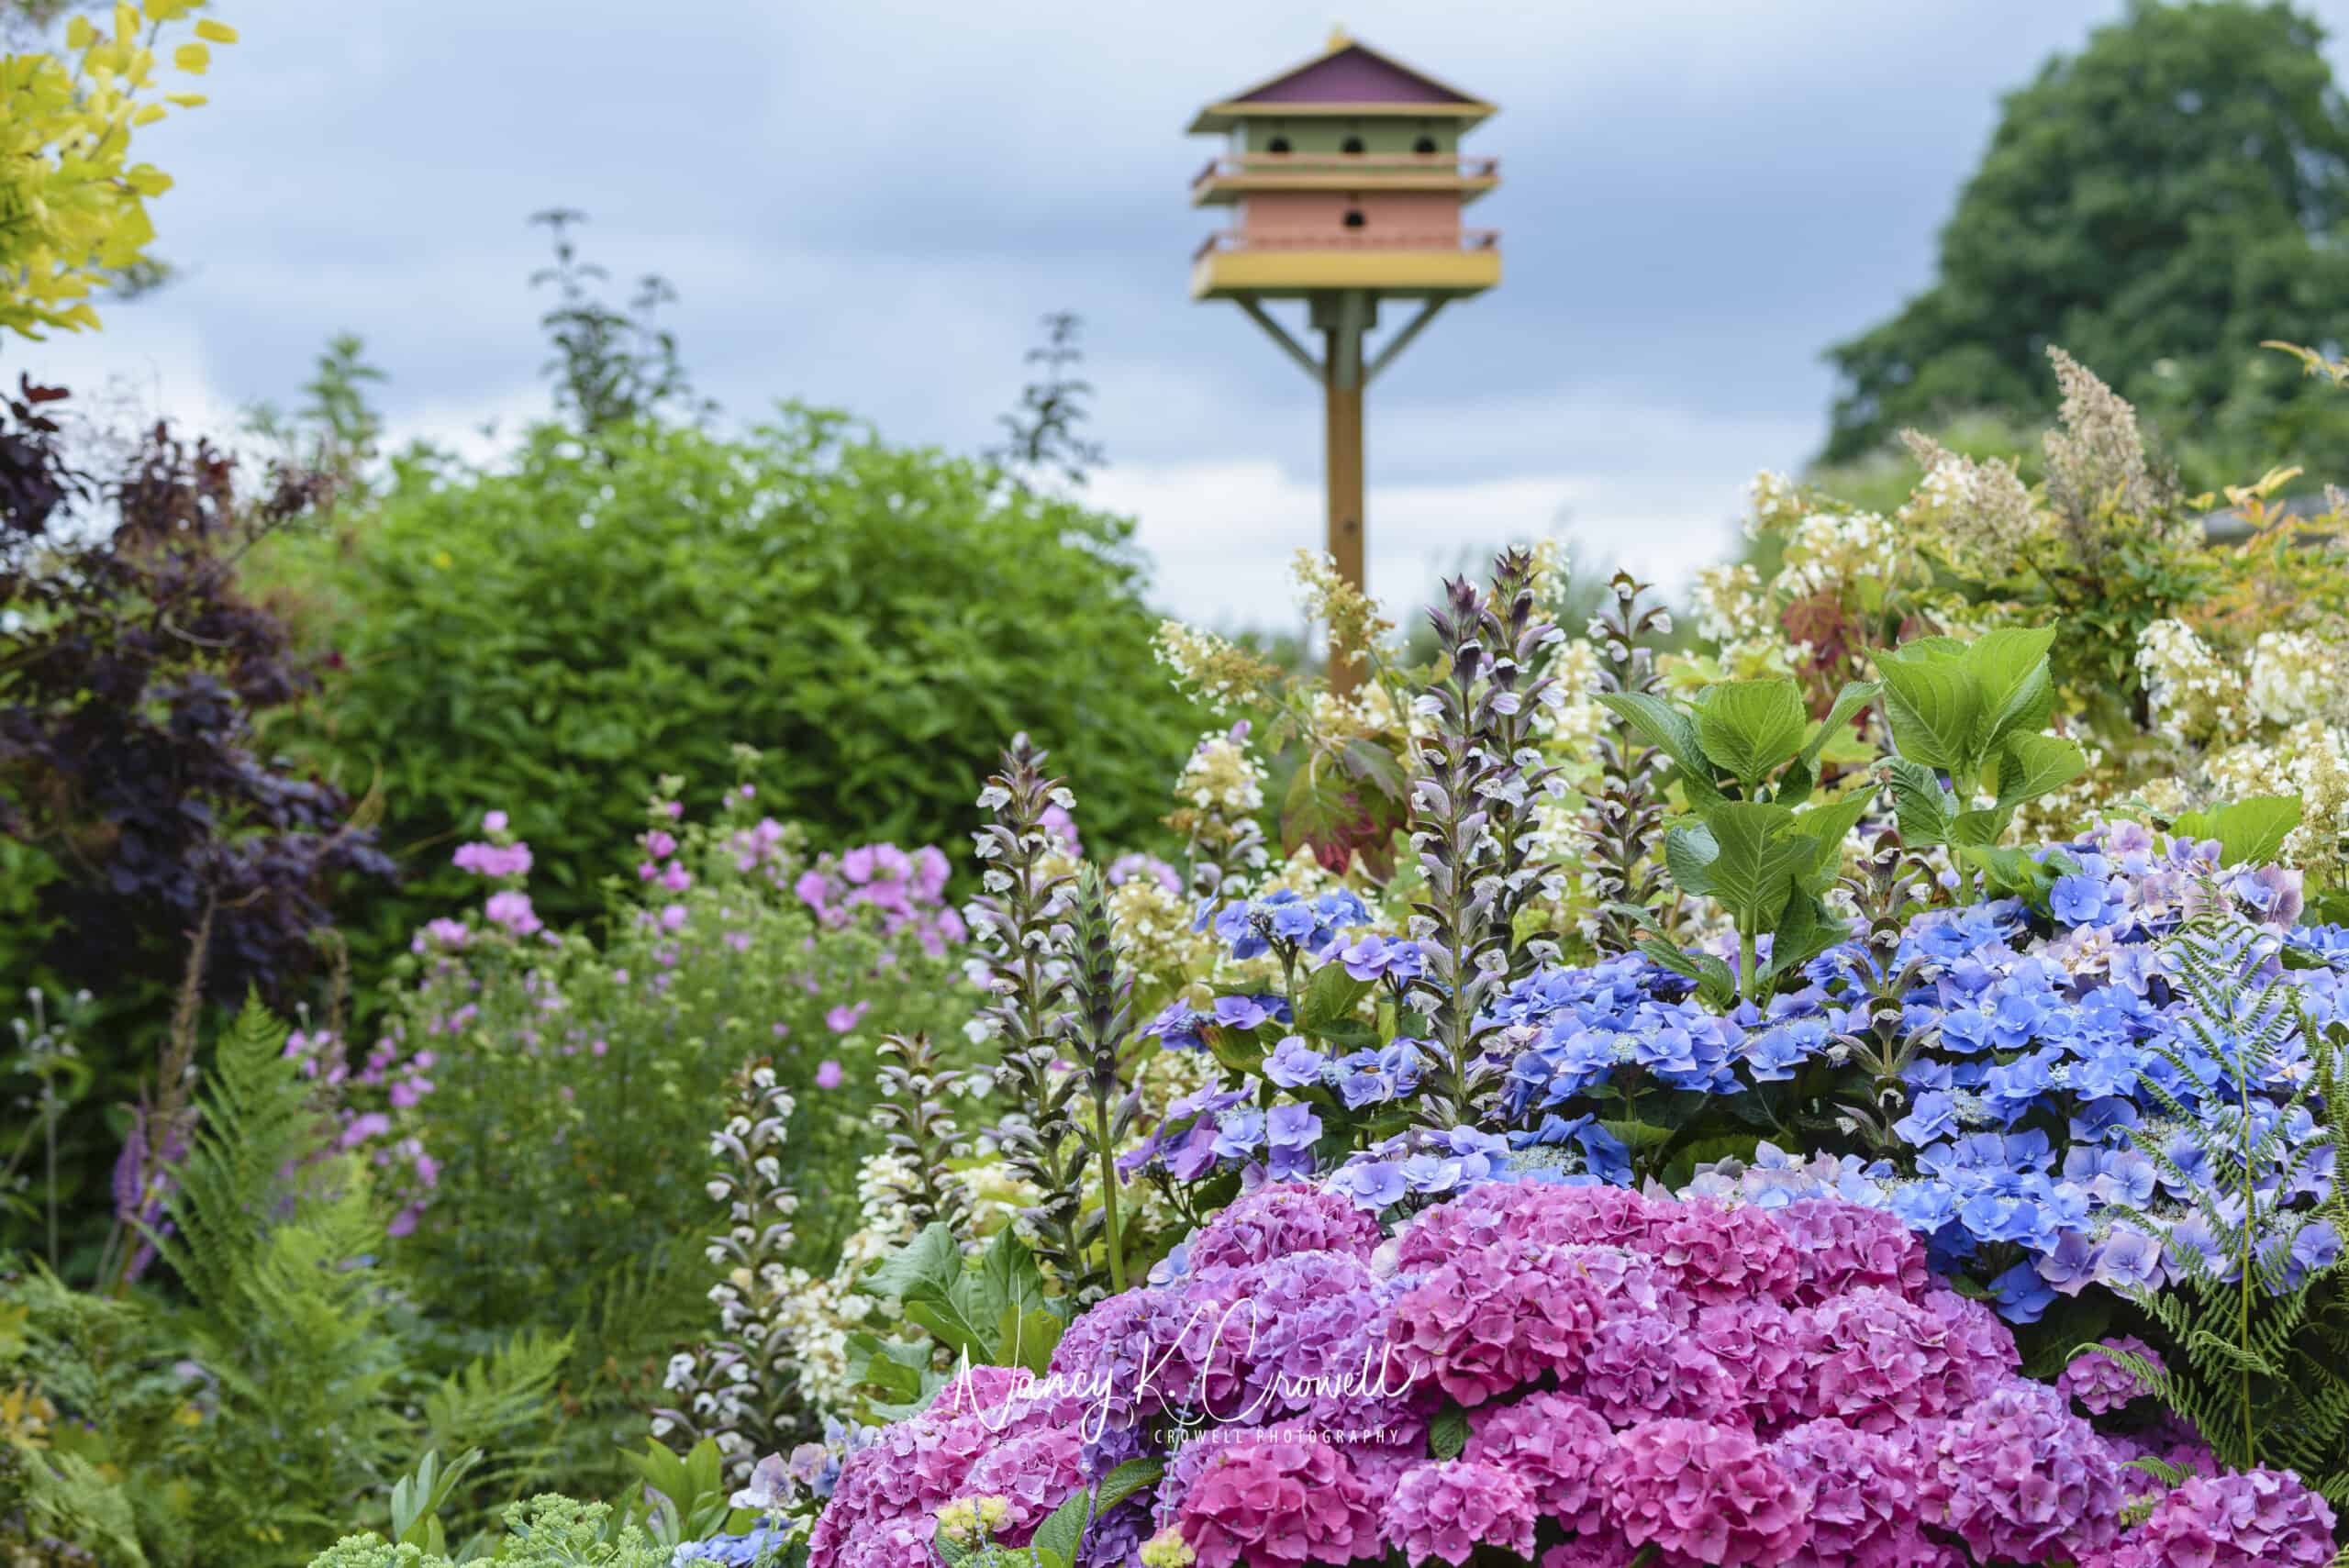


Ask a Master Gardener
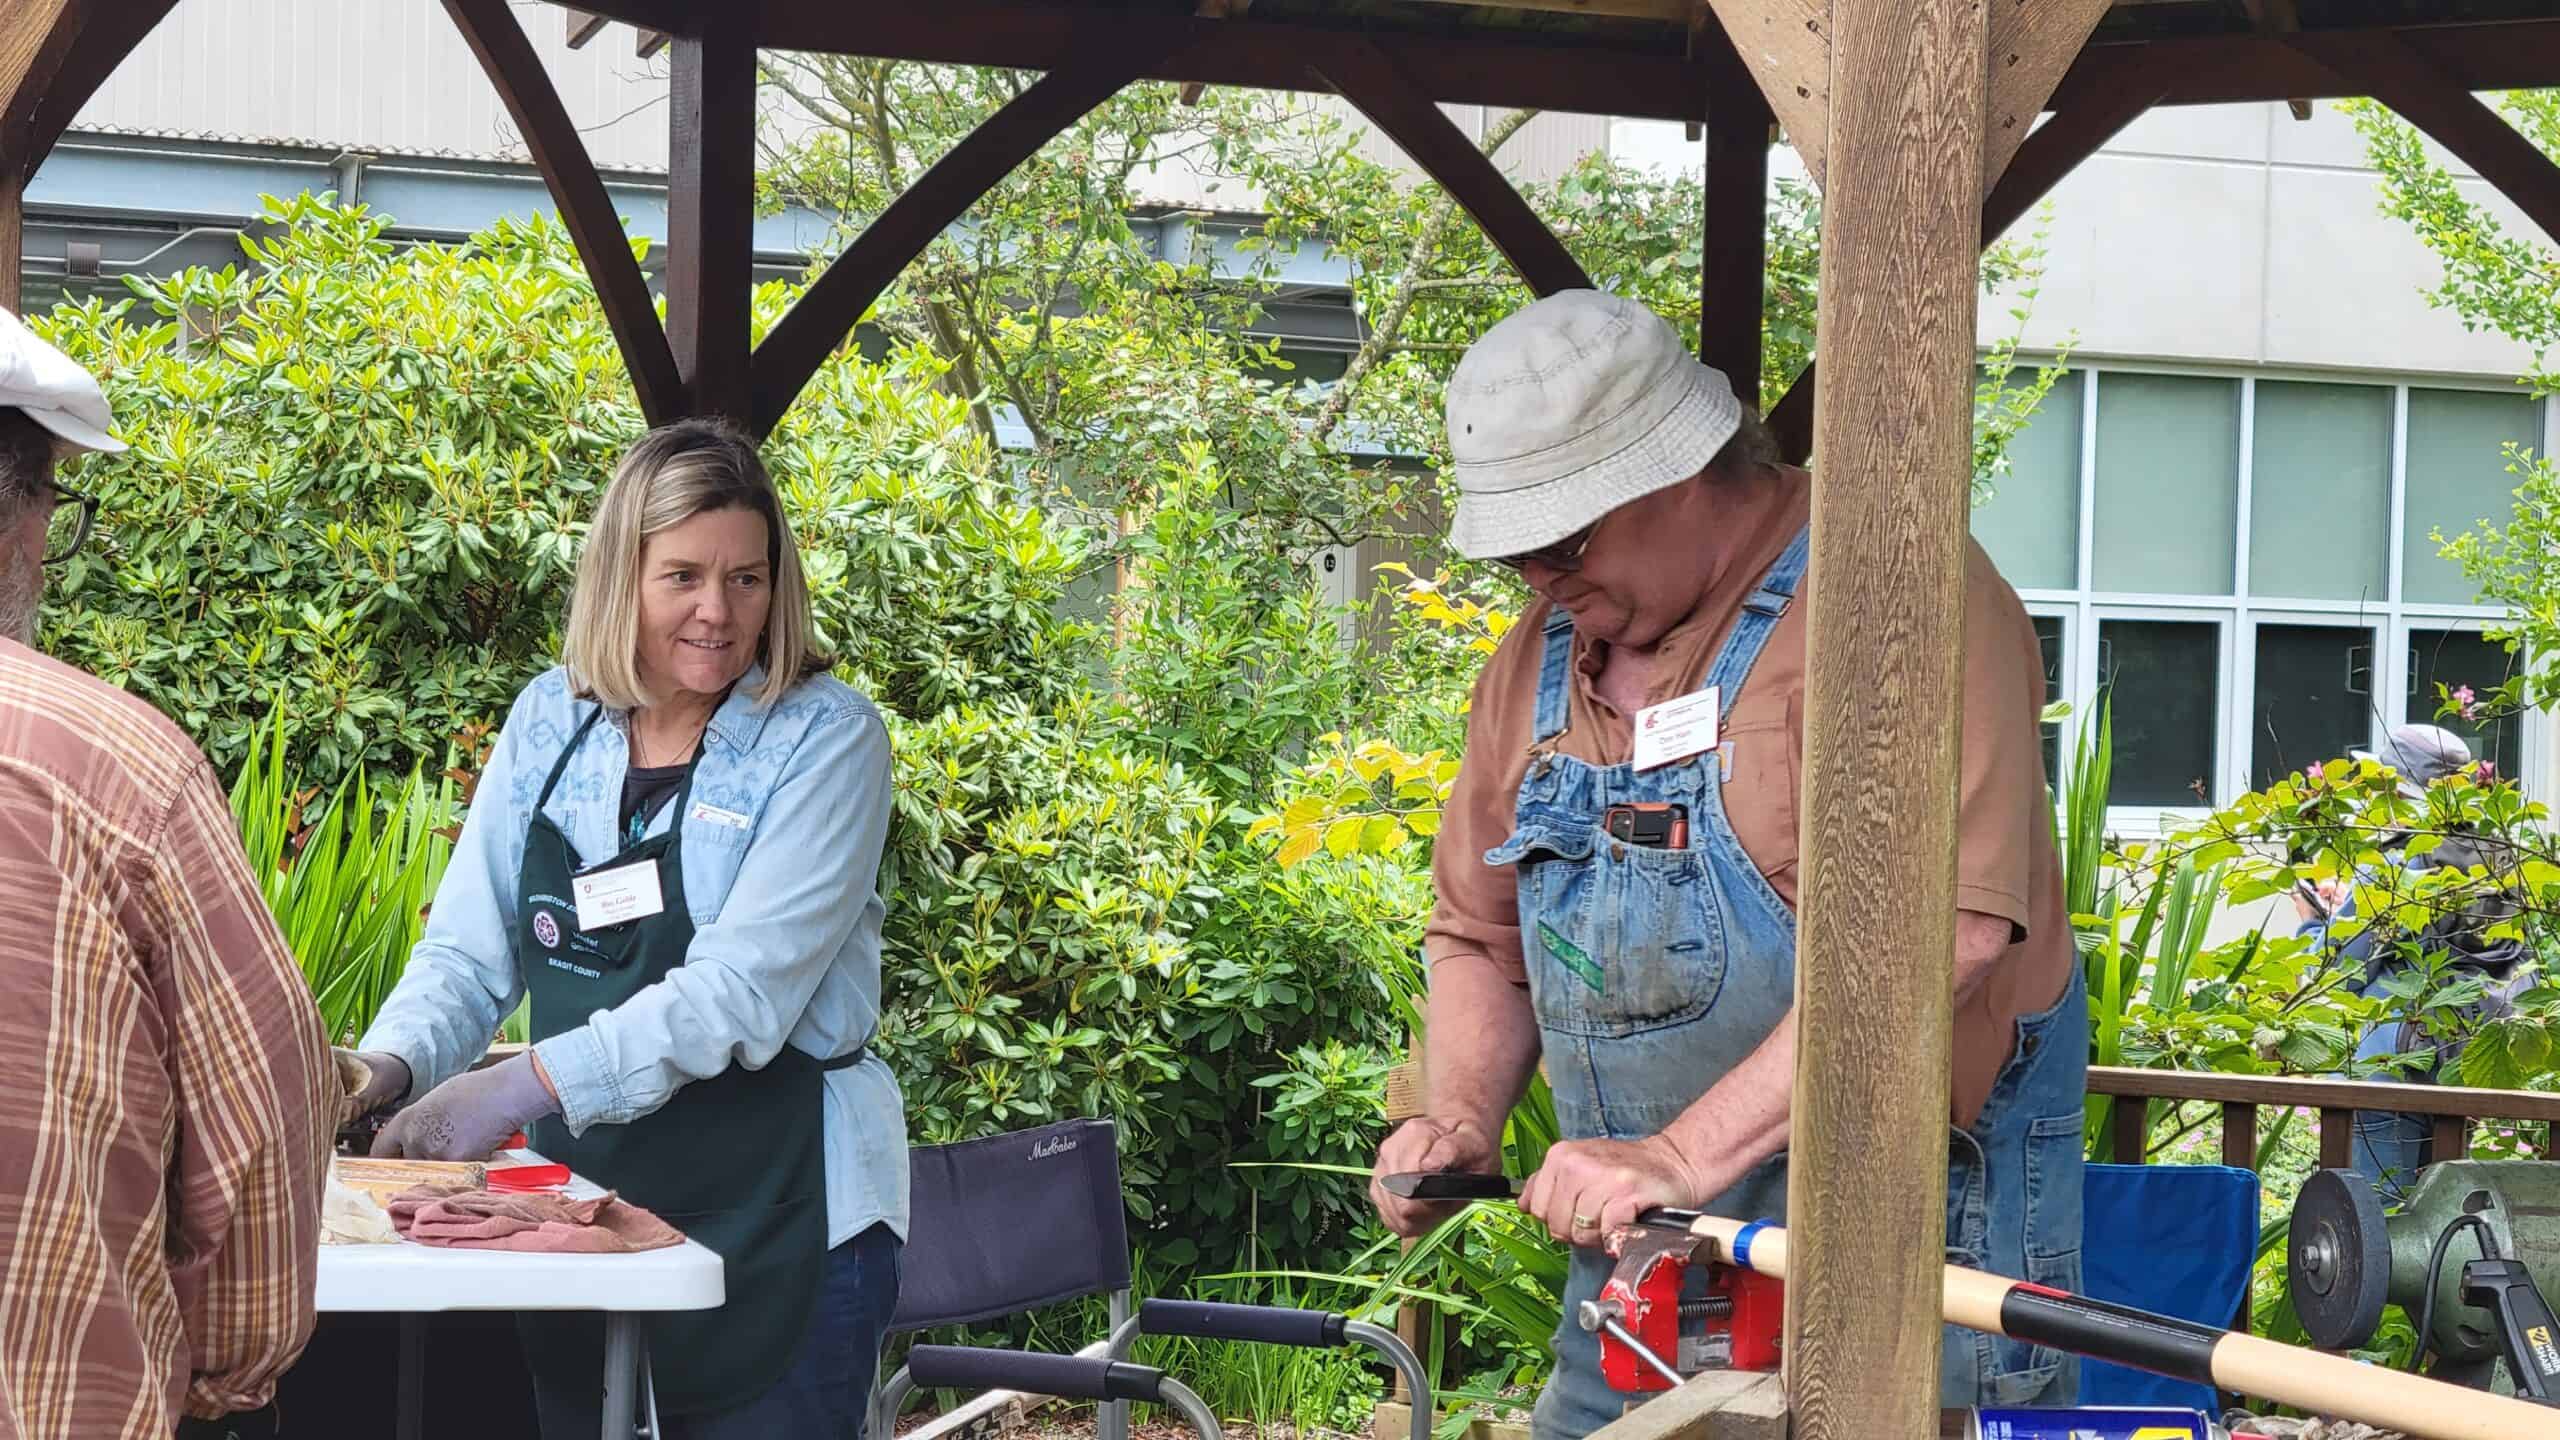
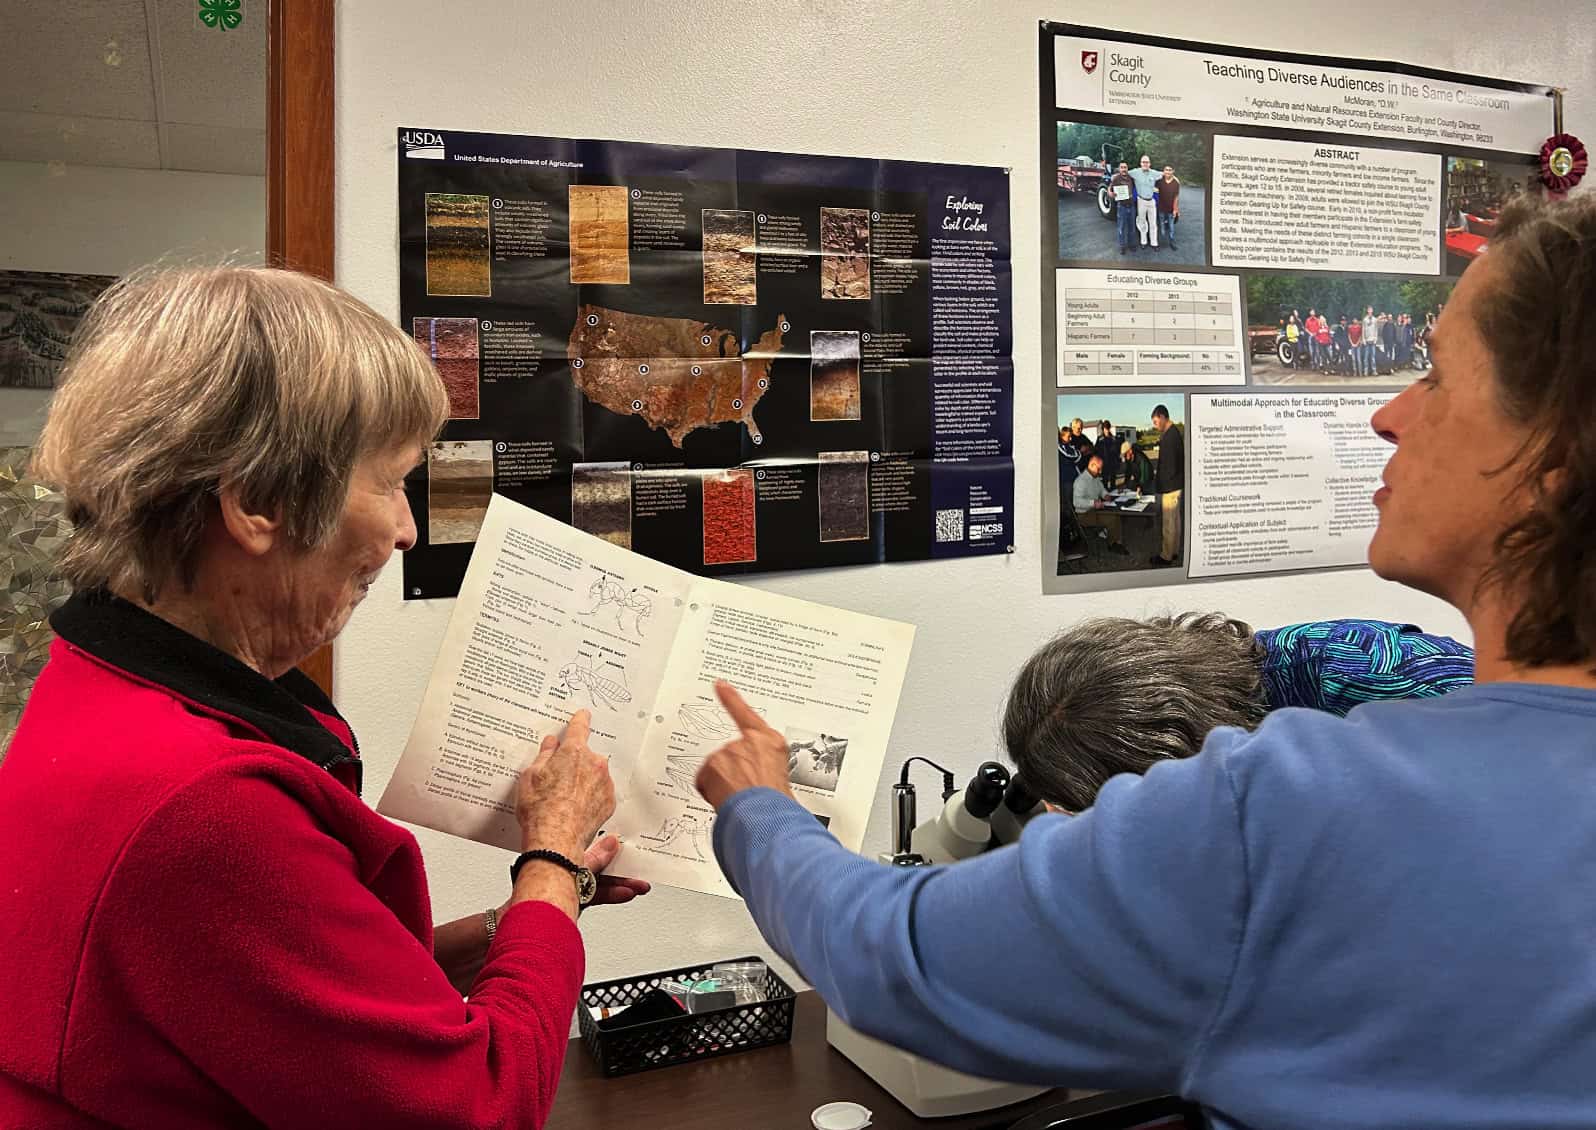
Skagit County WSU Extension Master Gardeners will be on-site to provide research-based solutions for your gardening challenges. Visit our Plant Clinic in the Pavilion for solutions to your plant problems or bring in a plant sample for identification. There will be a perennial plant sale. Bring your dull gardening tool to have it sharpened for free.
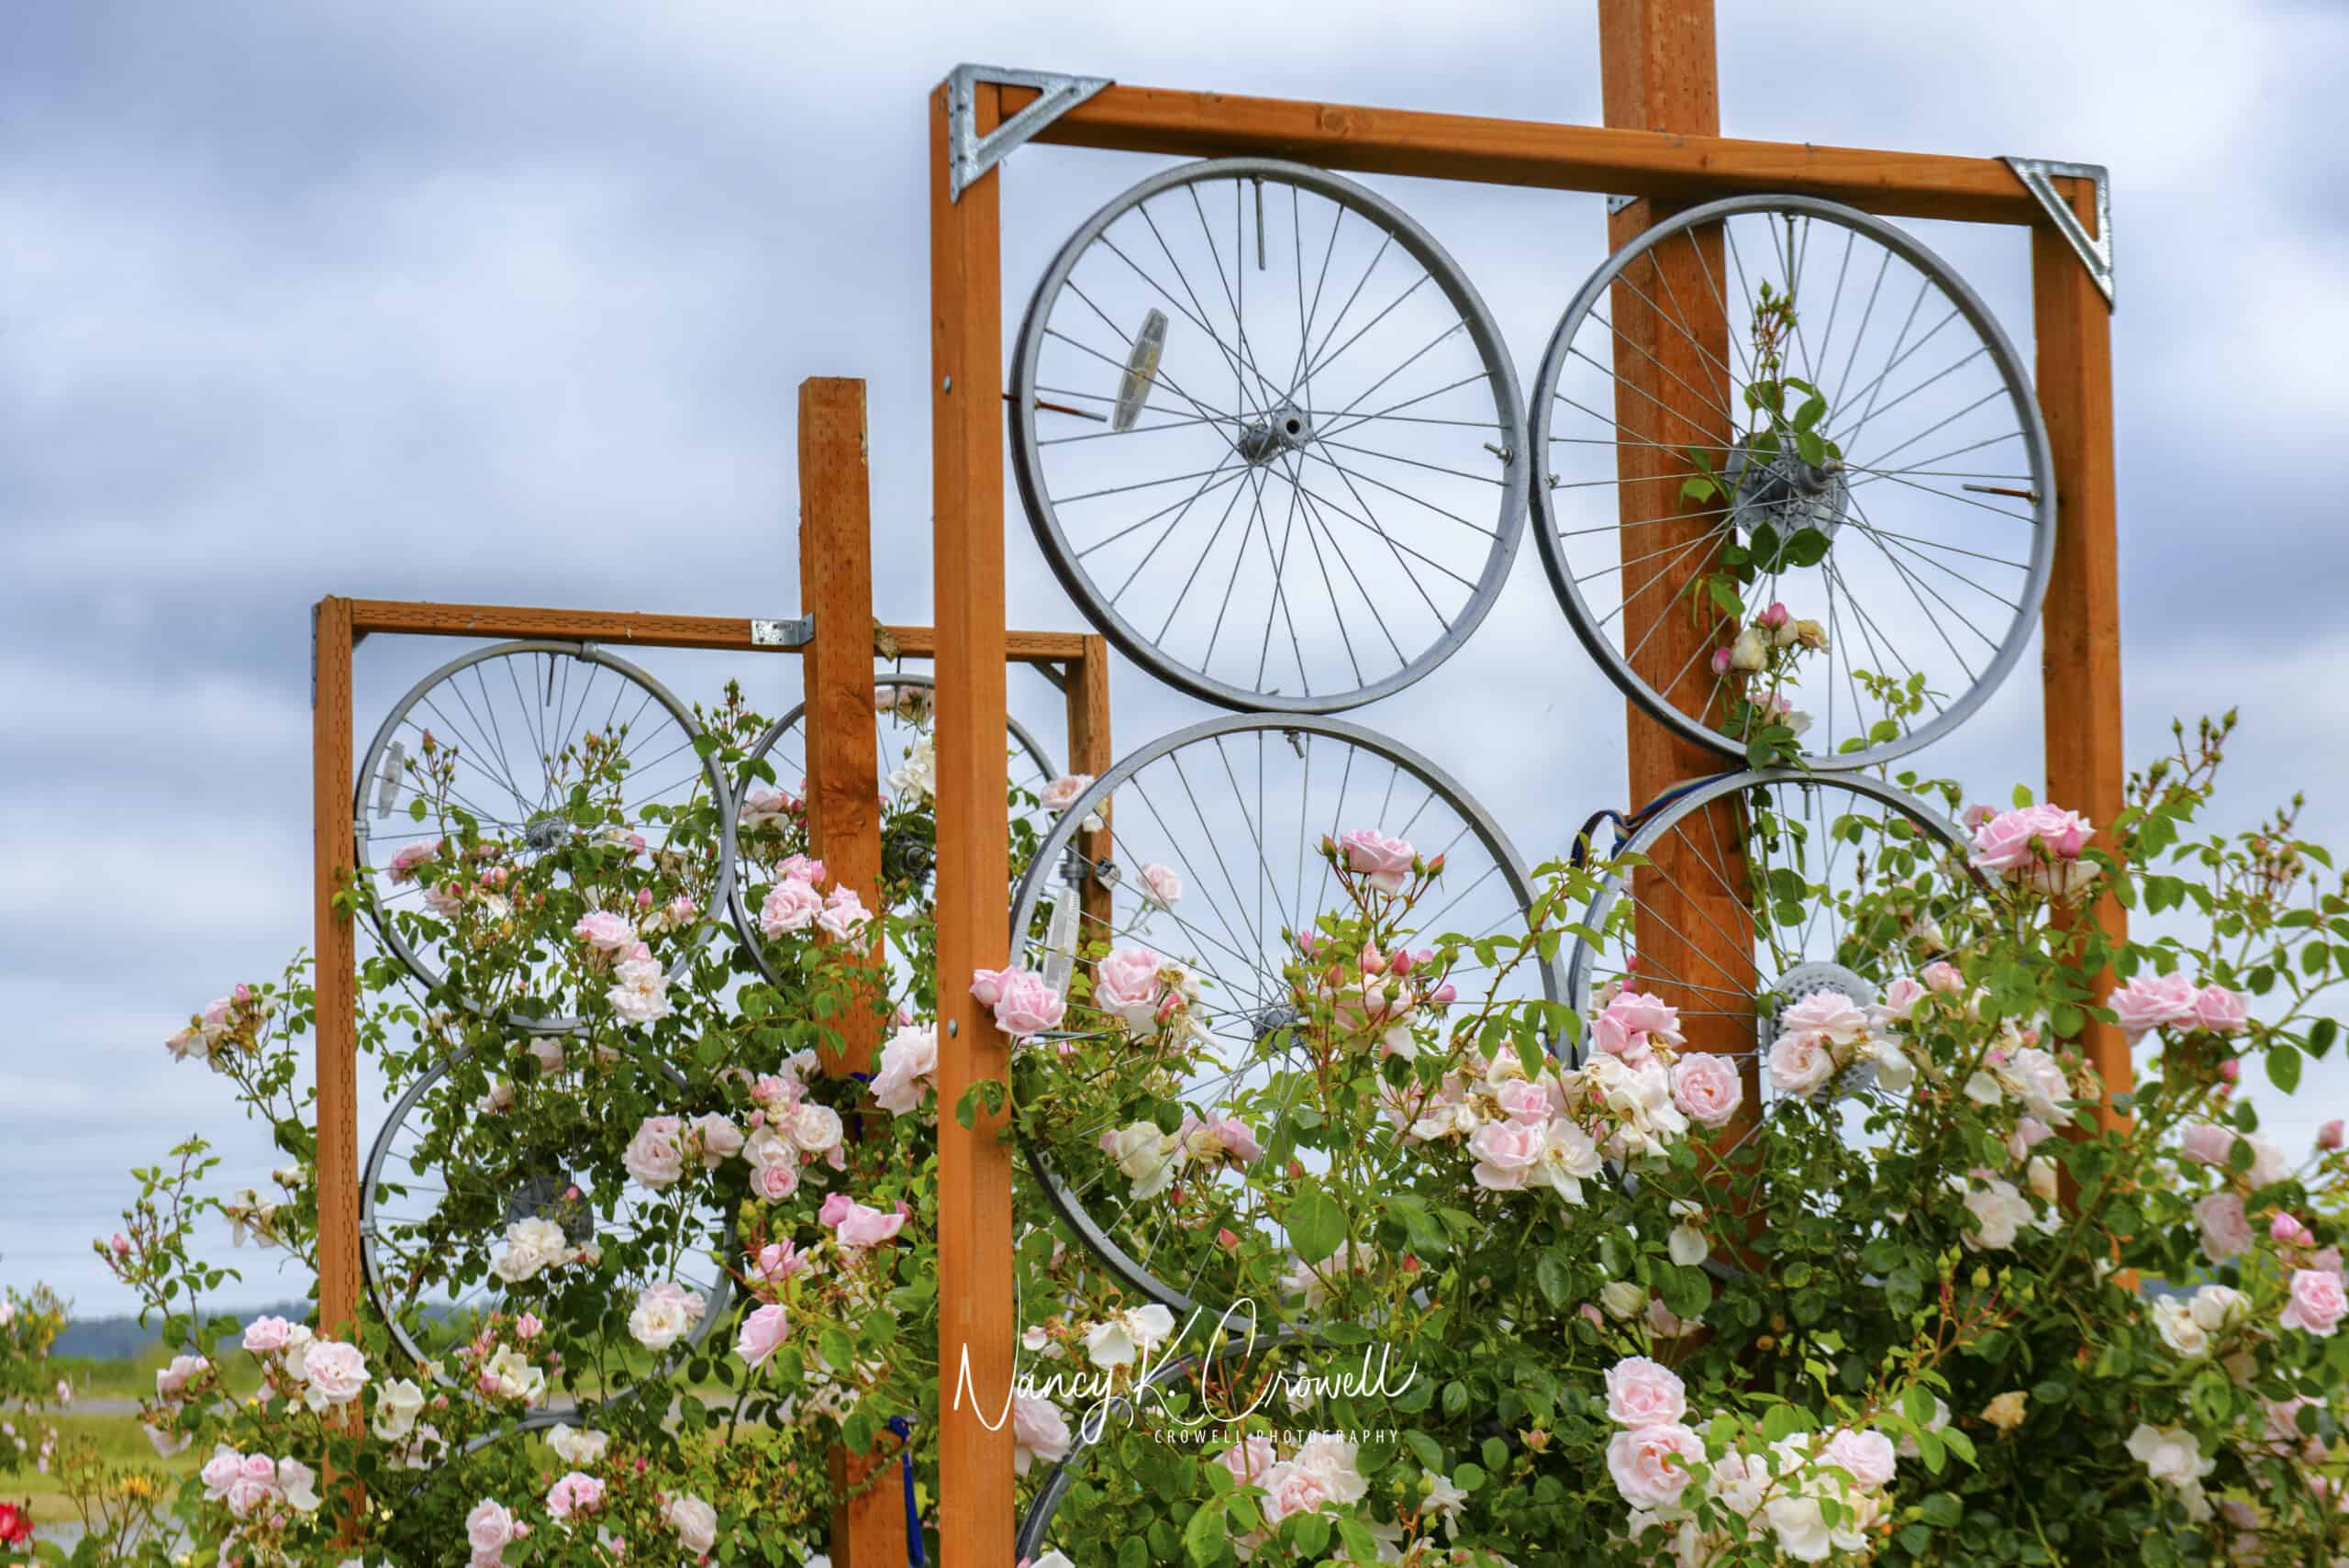
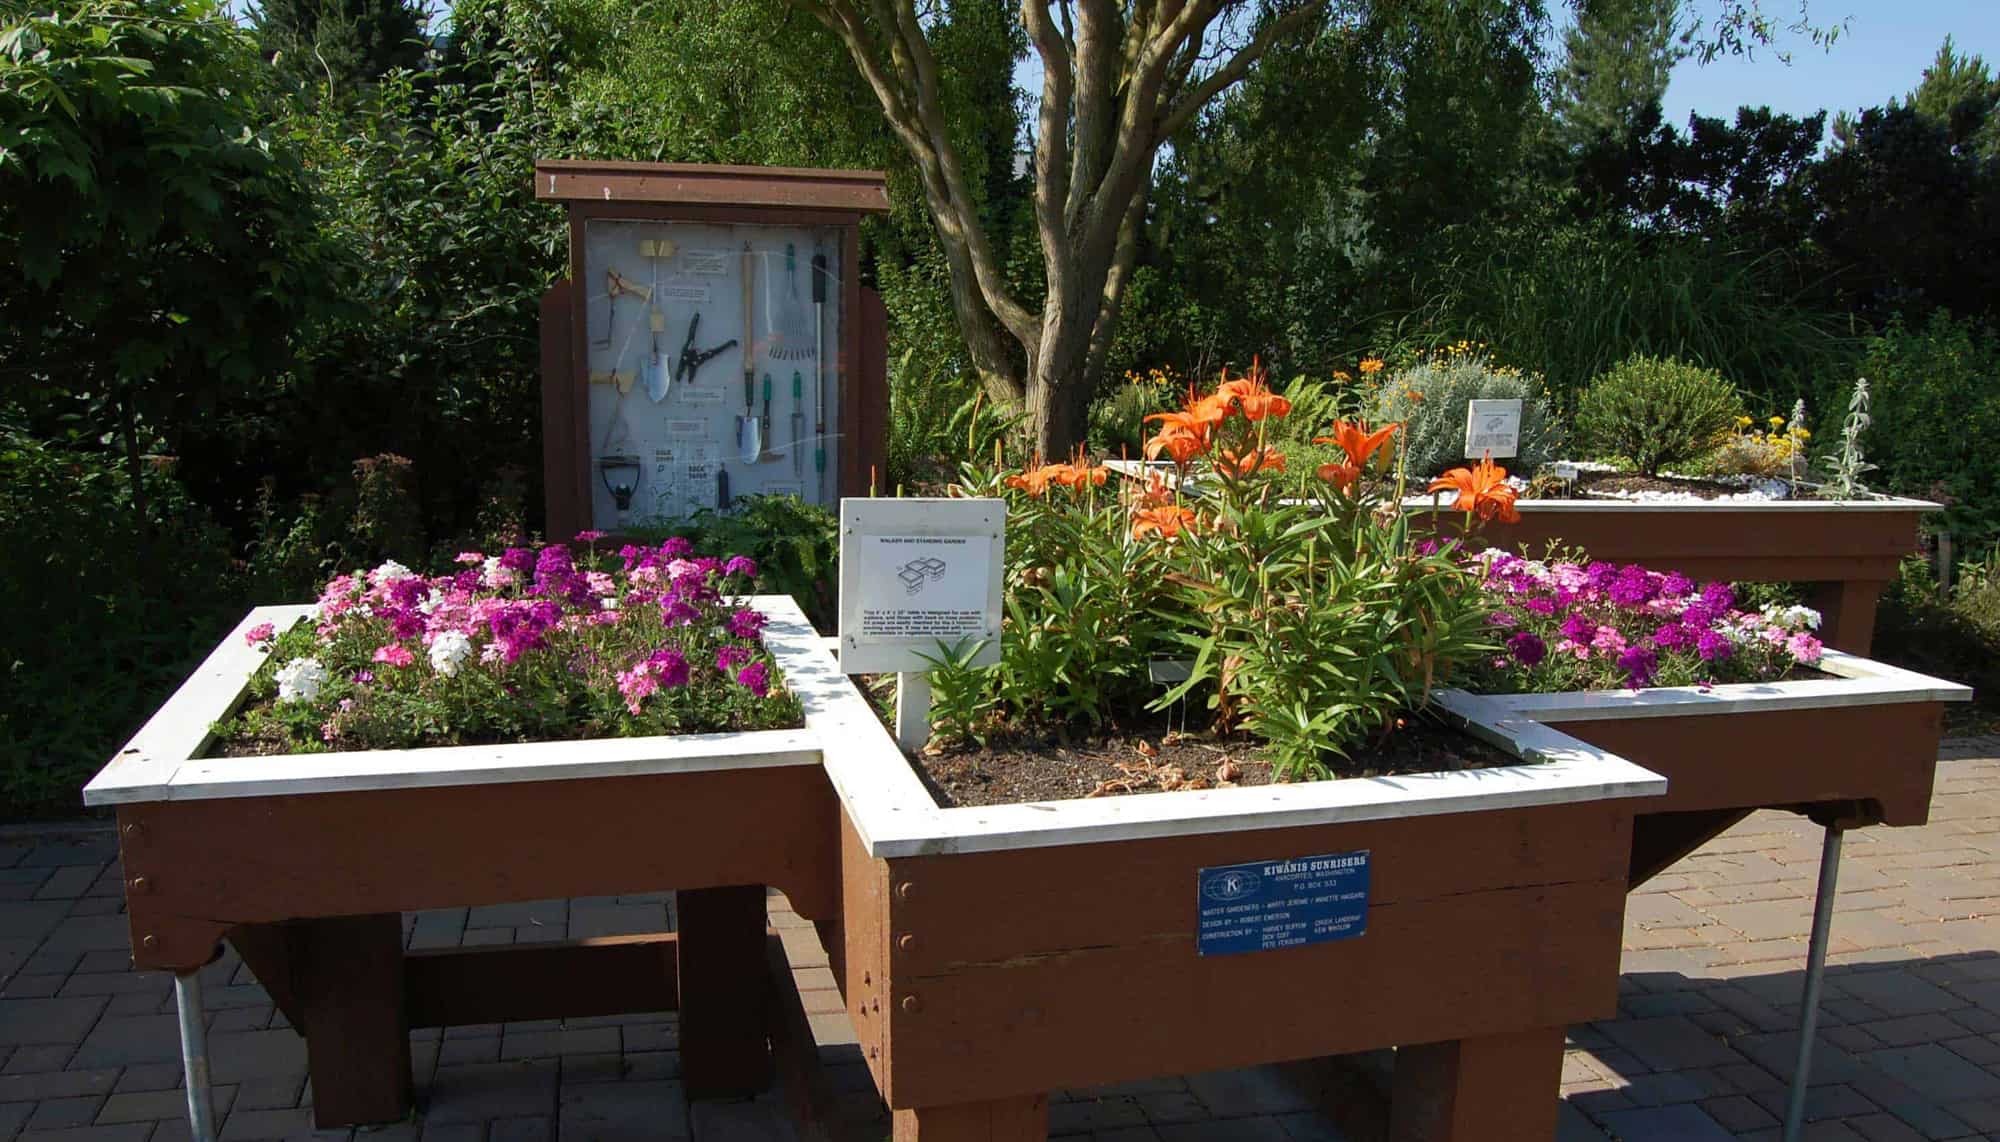
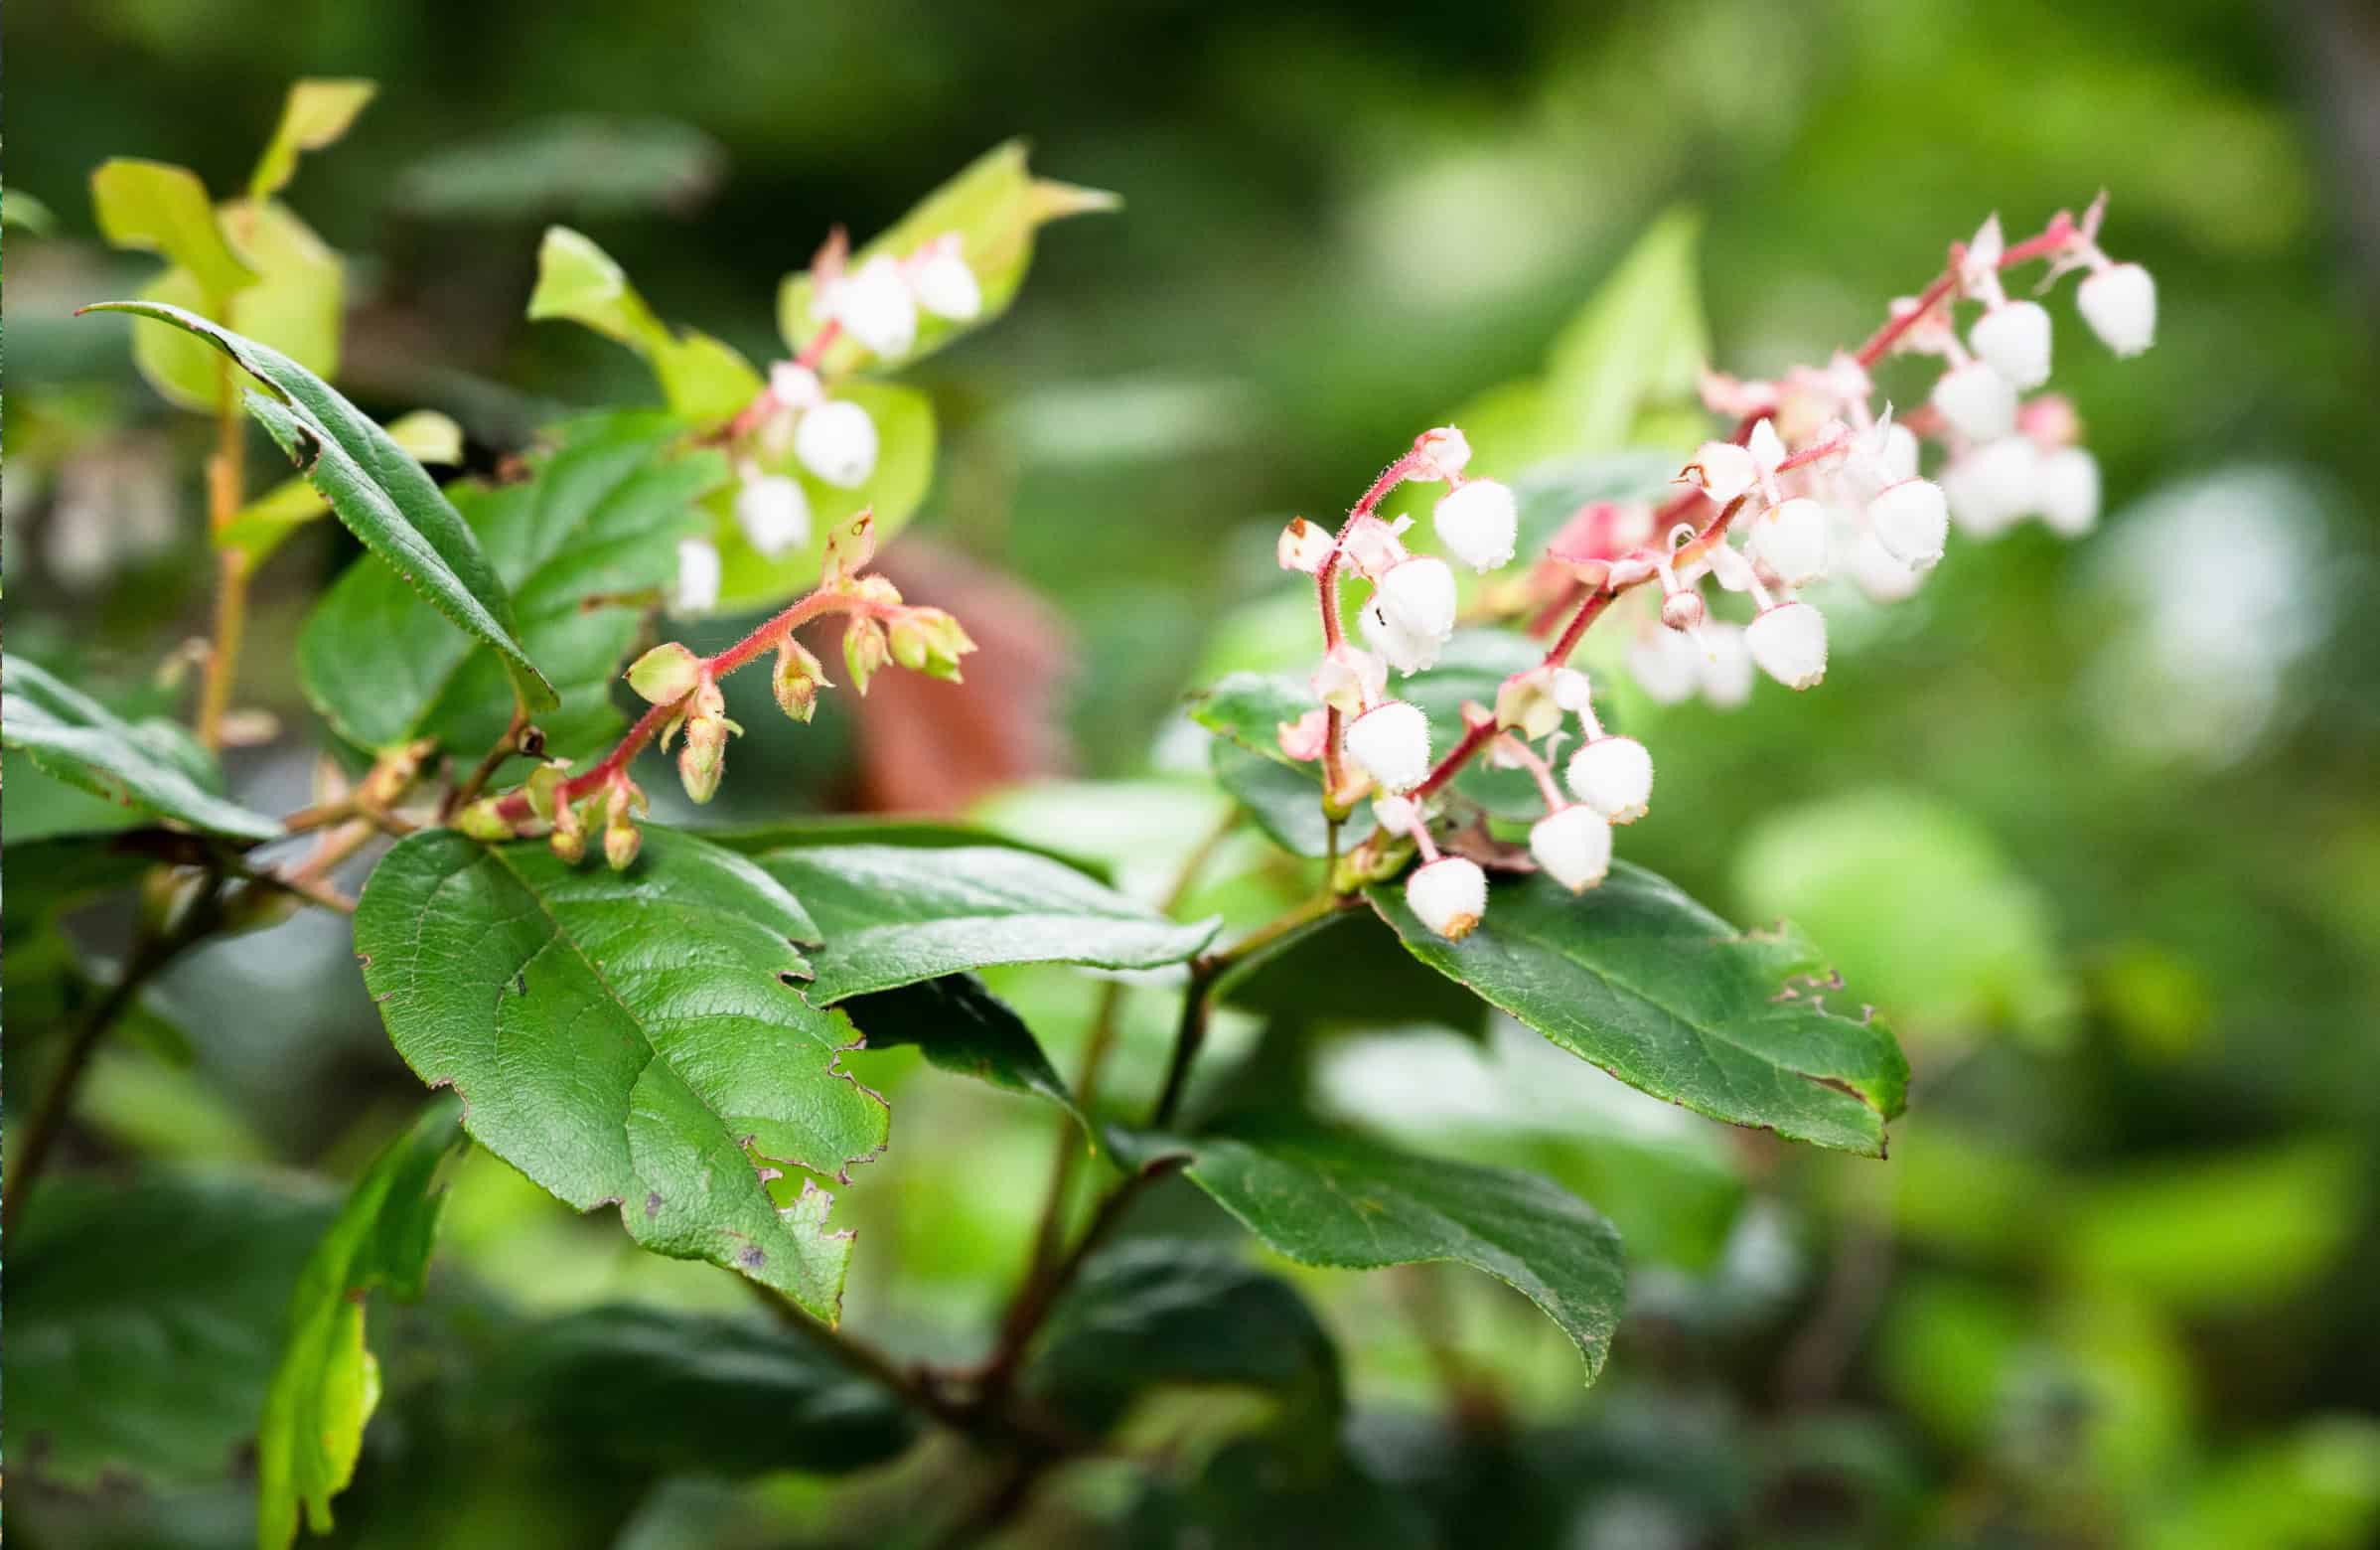
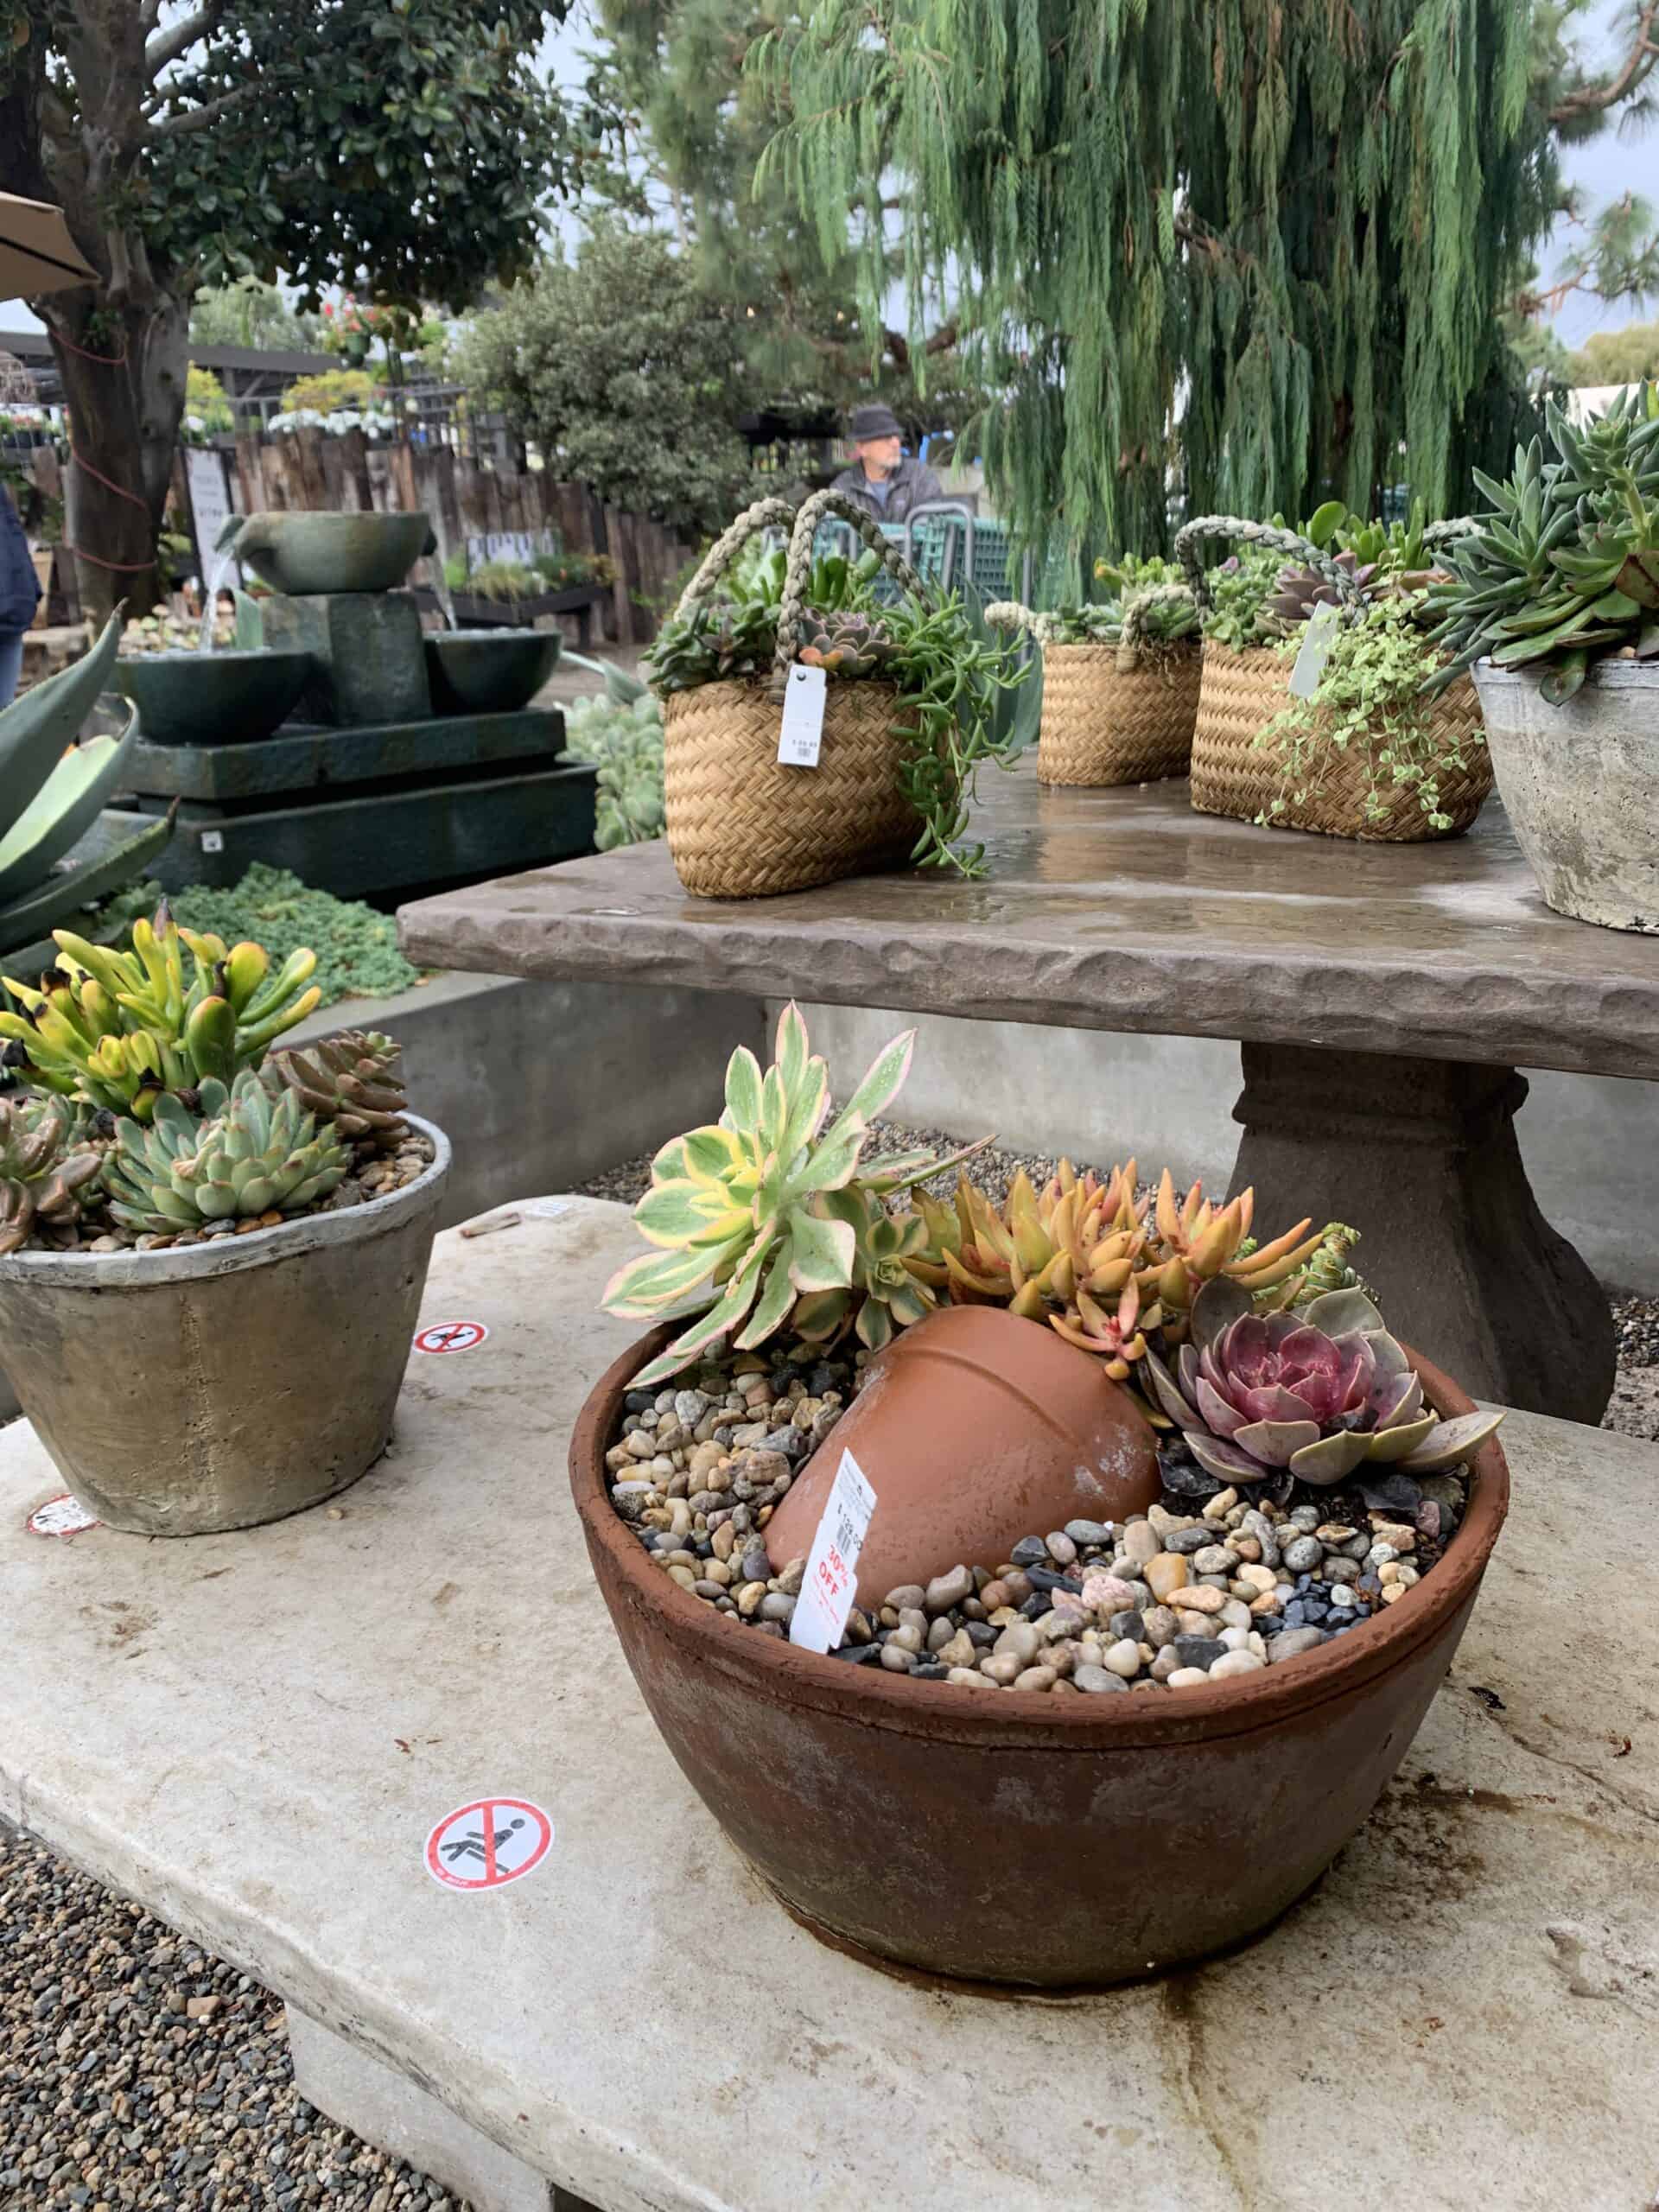
This year, master gardeners have crafted a special display on container gardening. Learn how to incorporate containers in your landscape or on your patio or balcony. Find out what you can grow and how to prepare the containers for success. There will also be information on planting media and using drip irrigation.

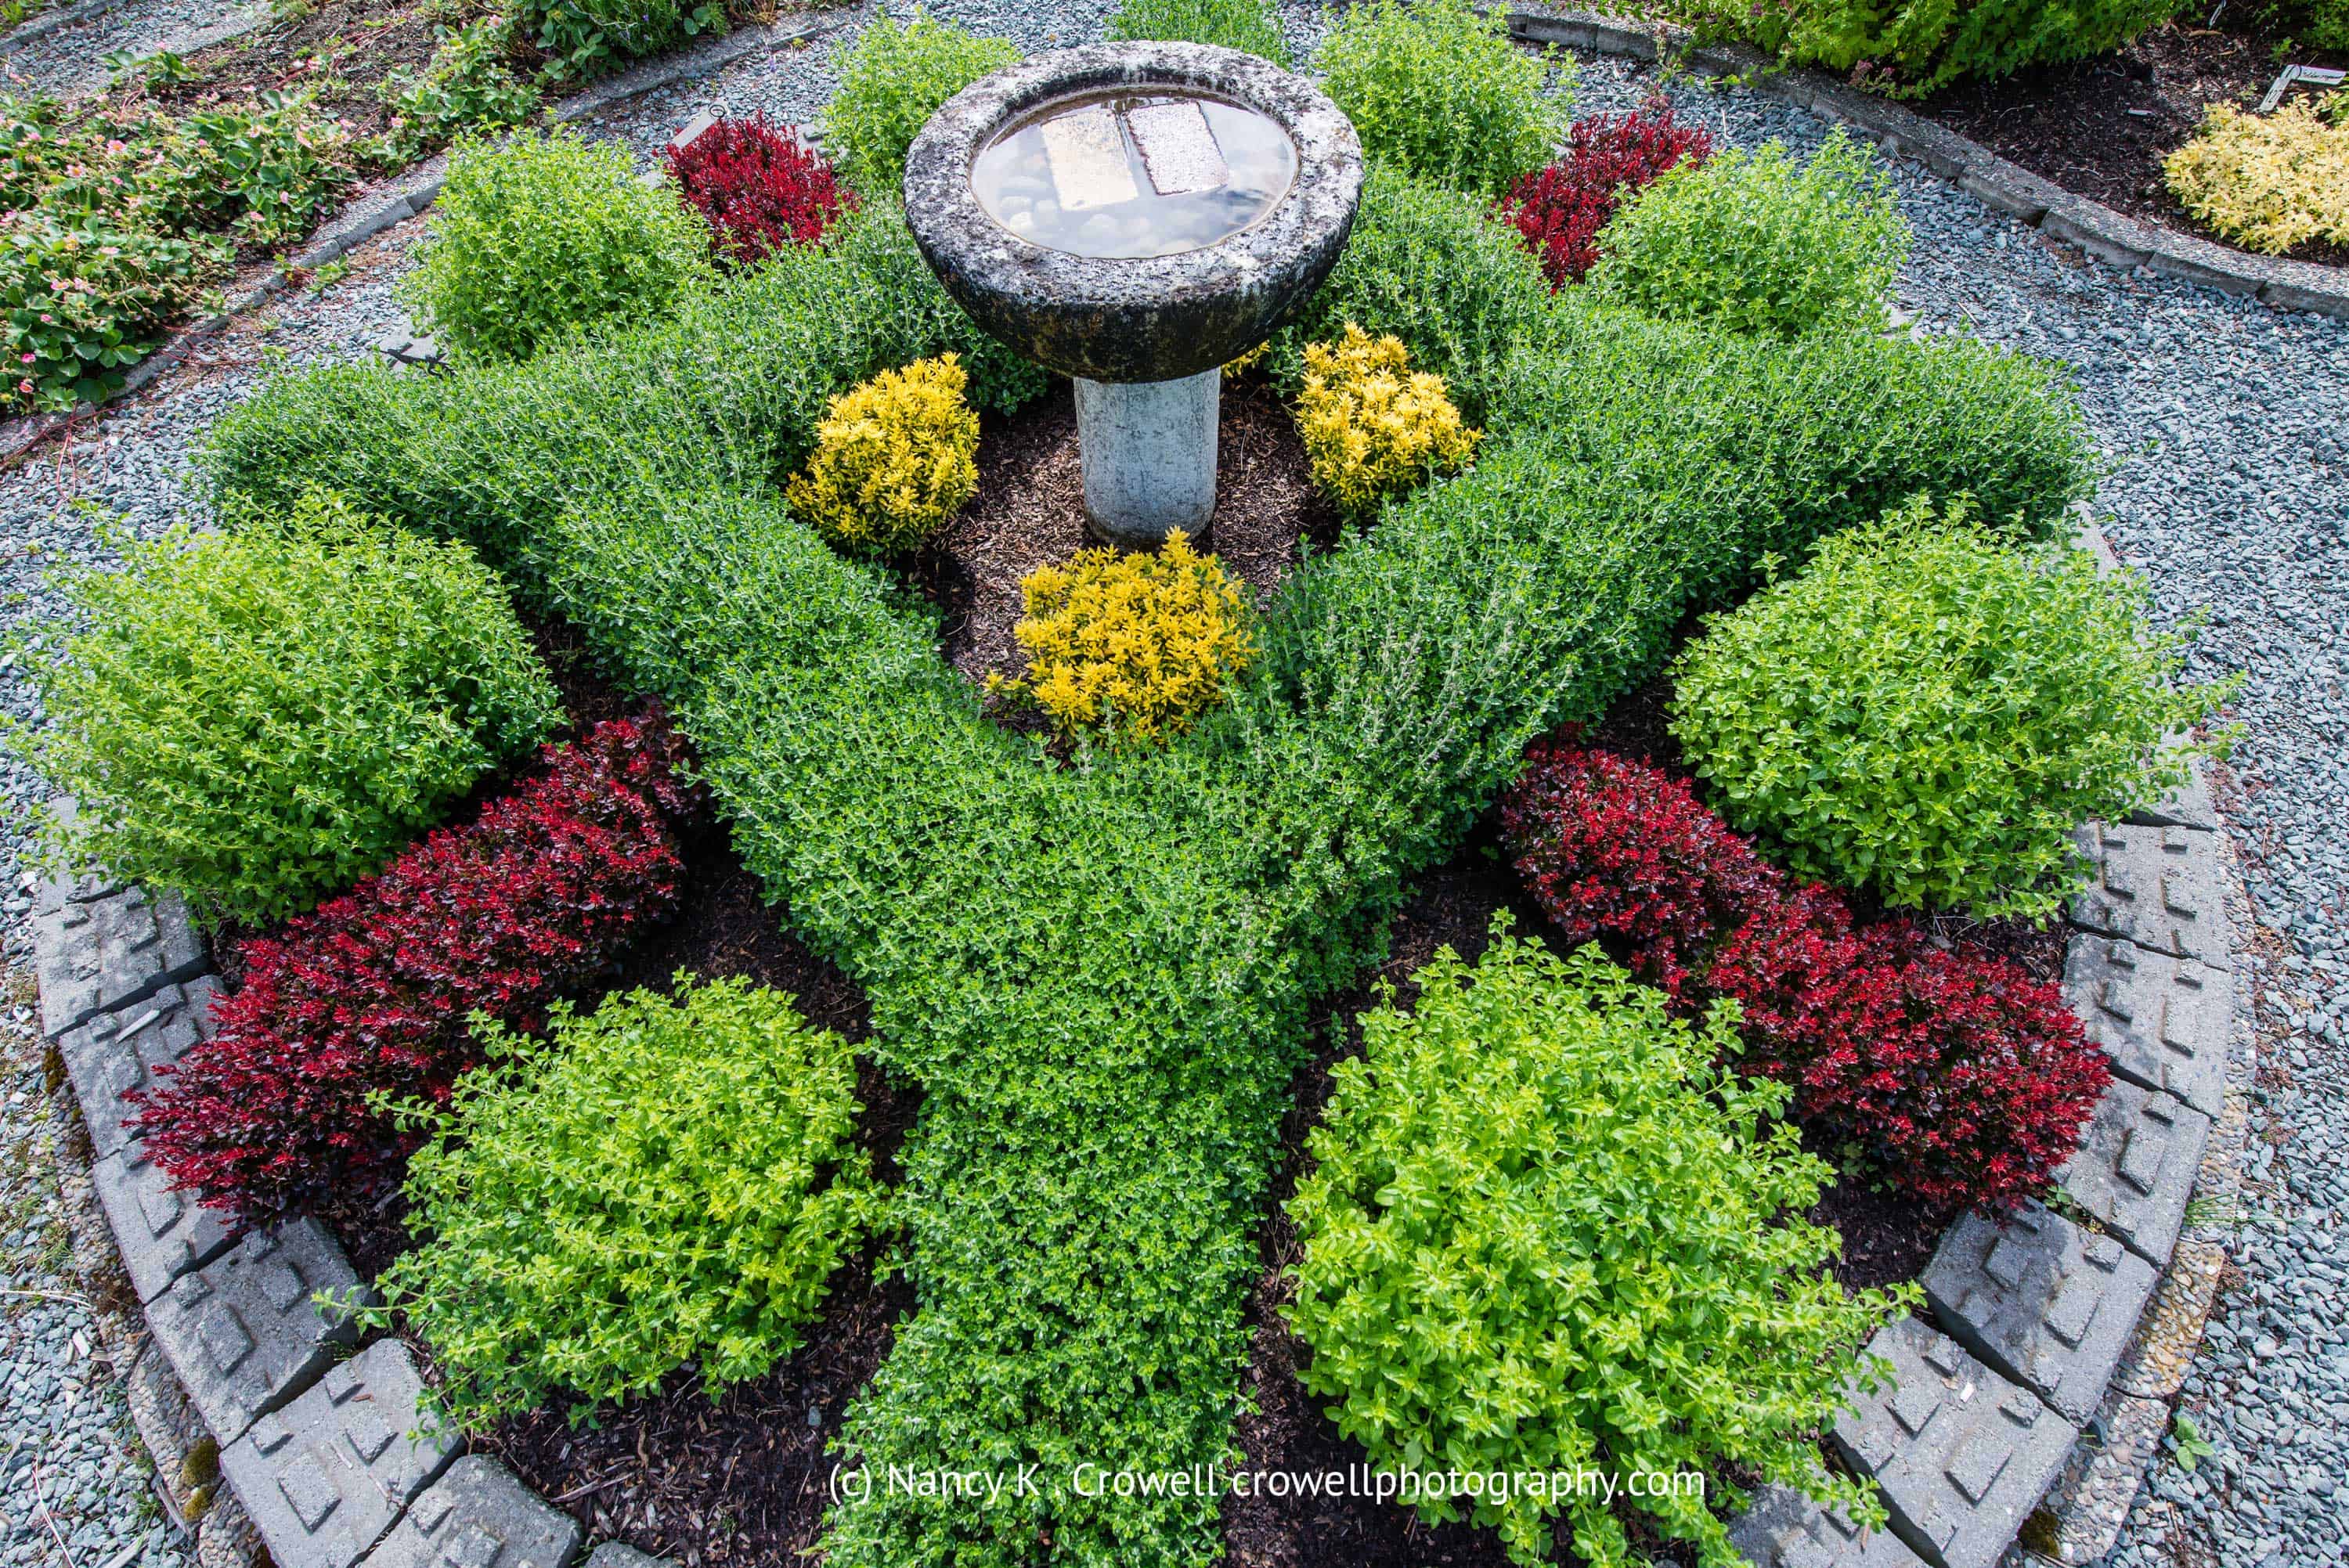
© Nancy Crowell Photography
© Kay Torrance
© Kay Torrance
The Discovery Garden
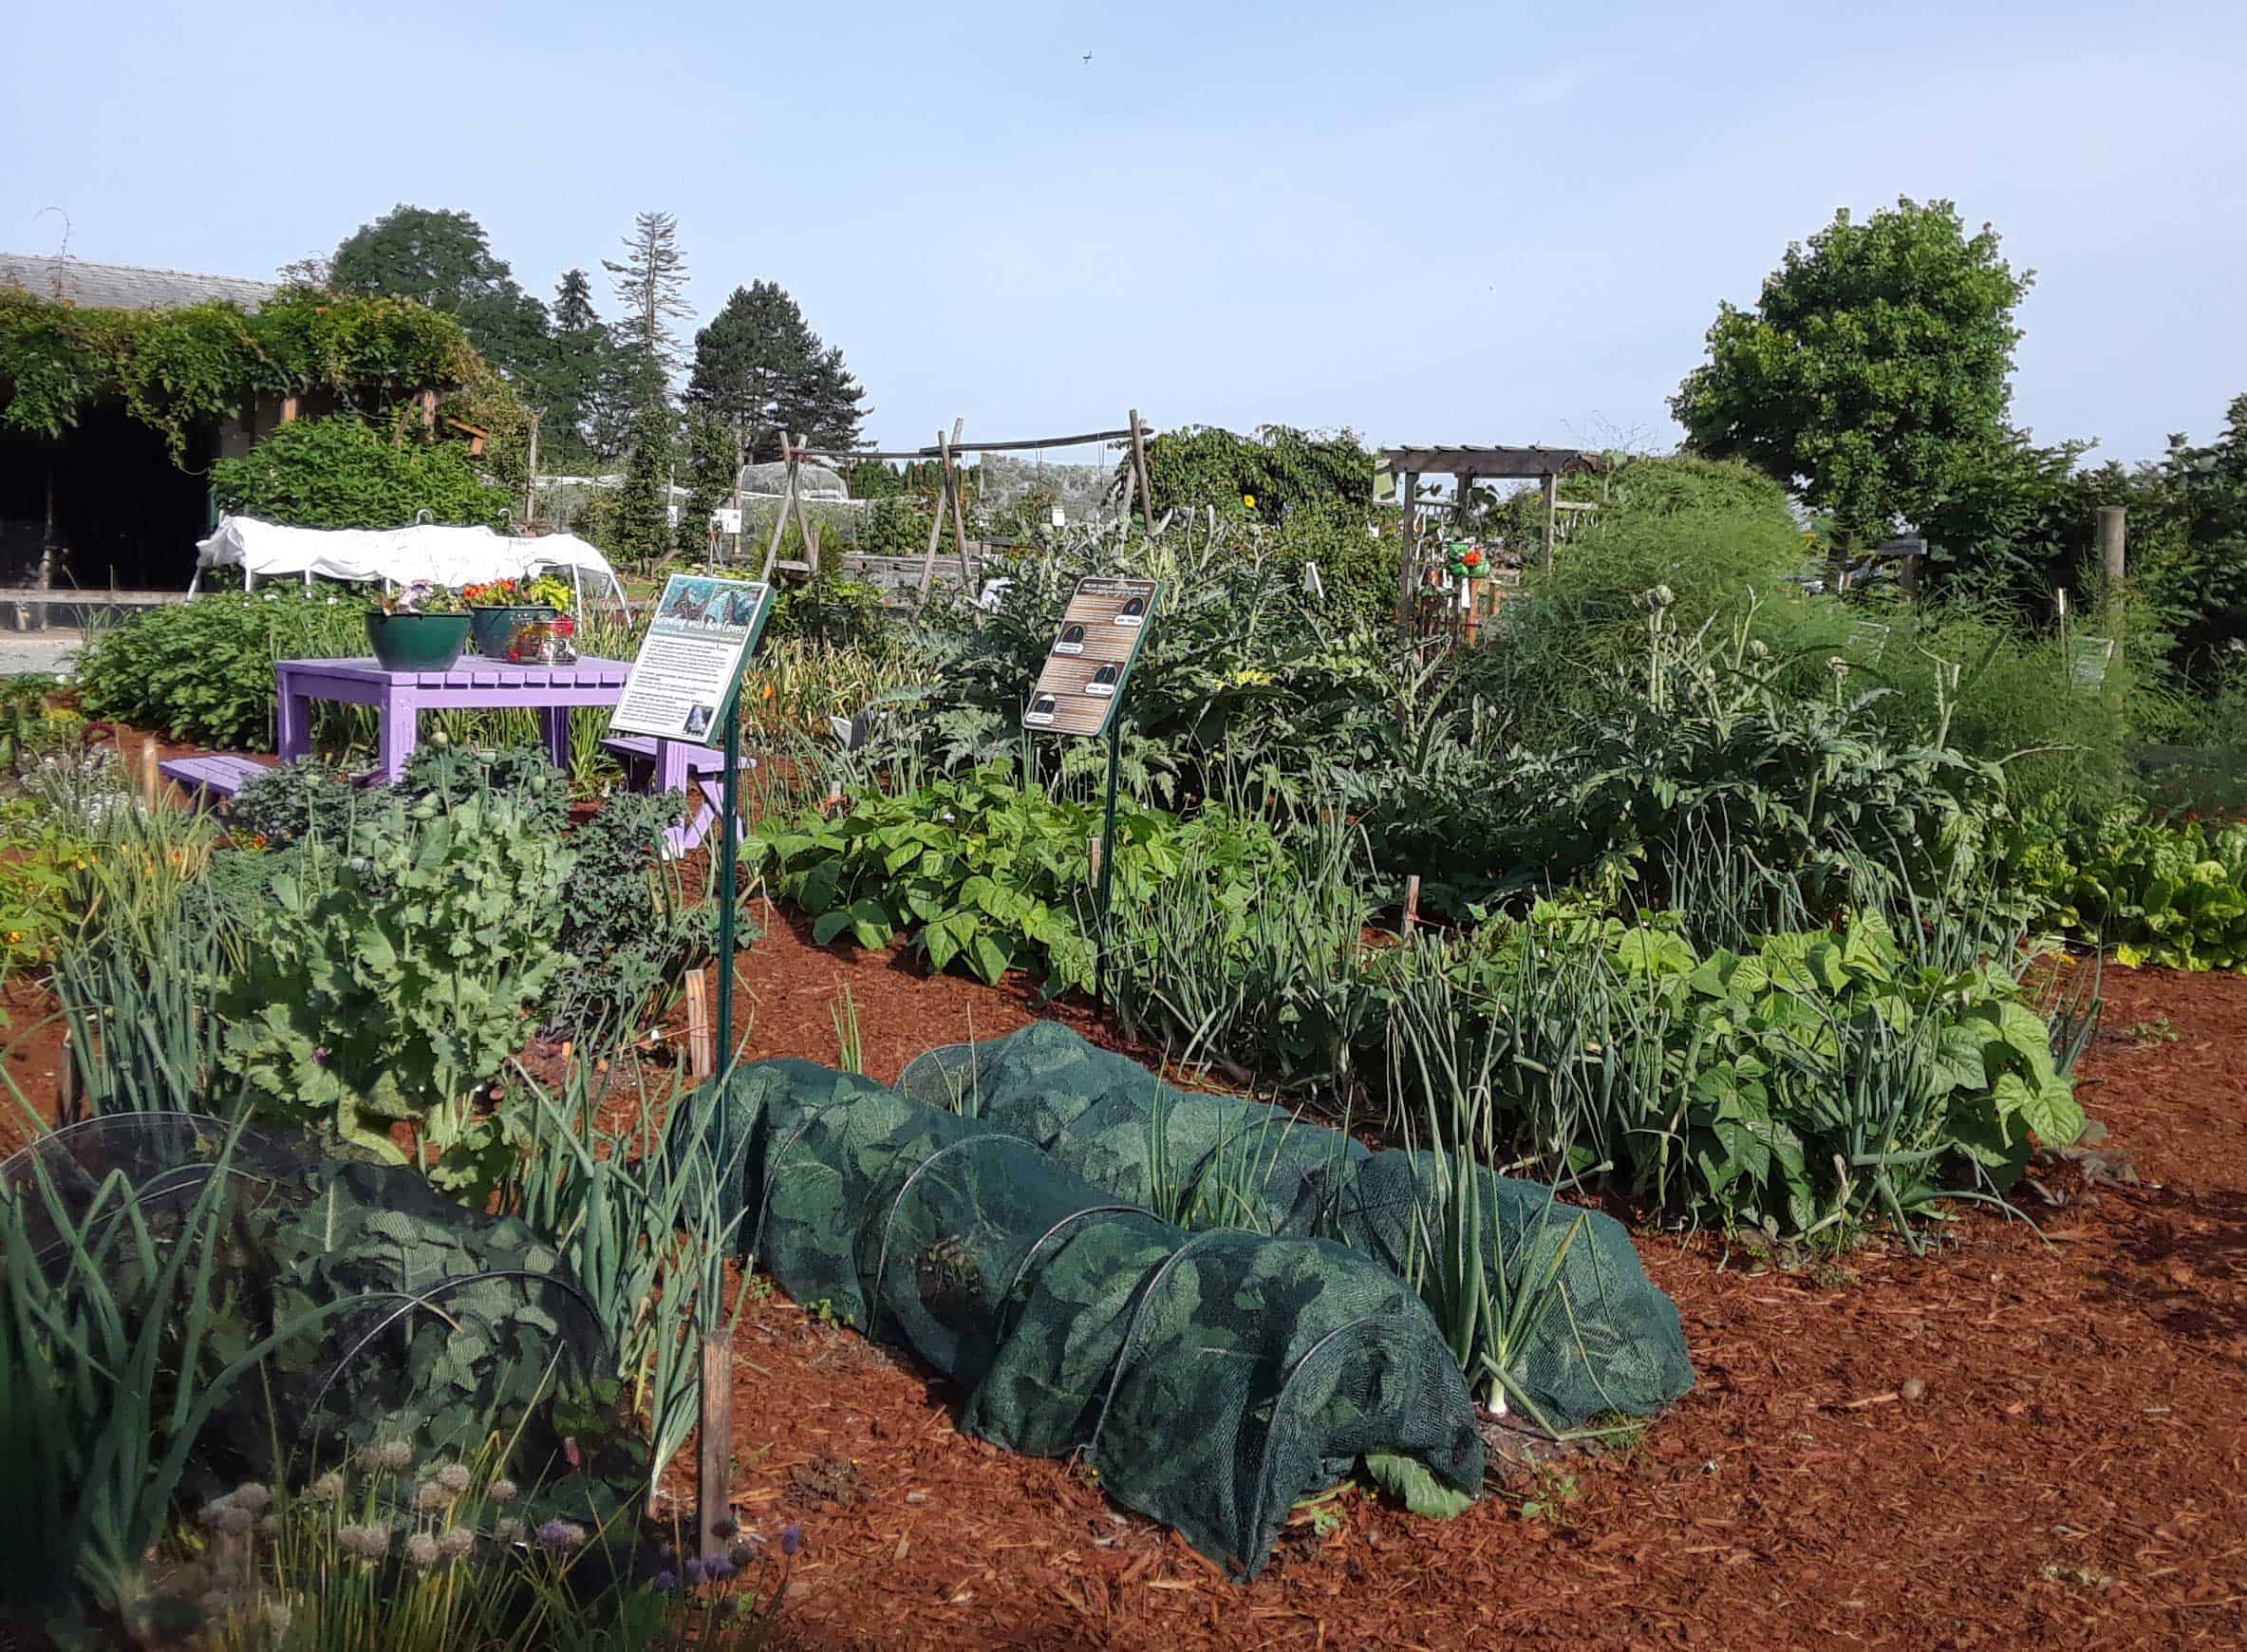
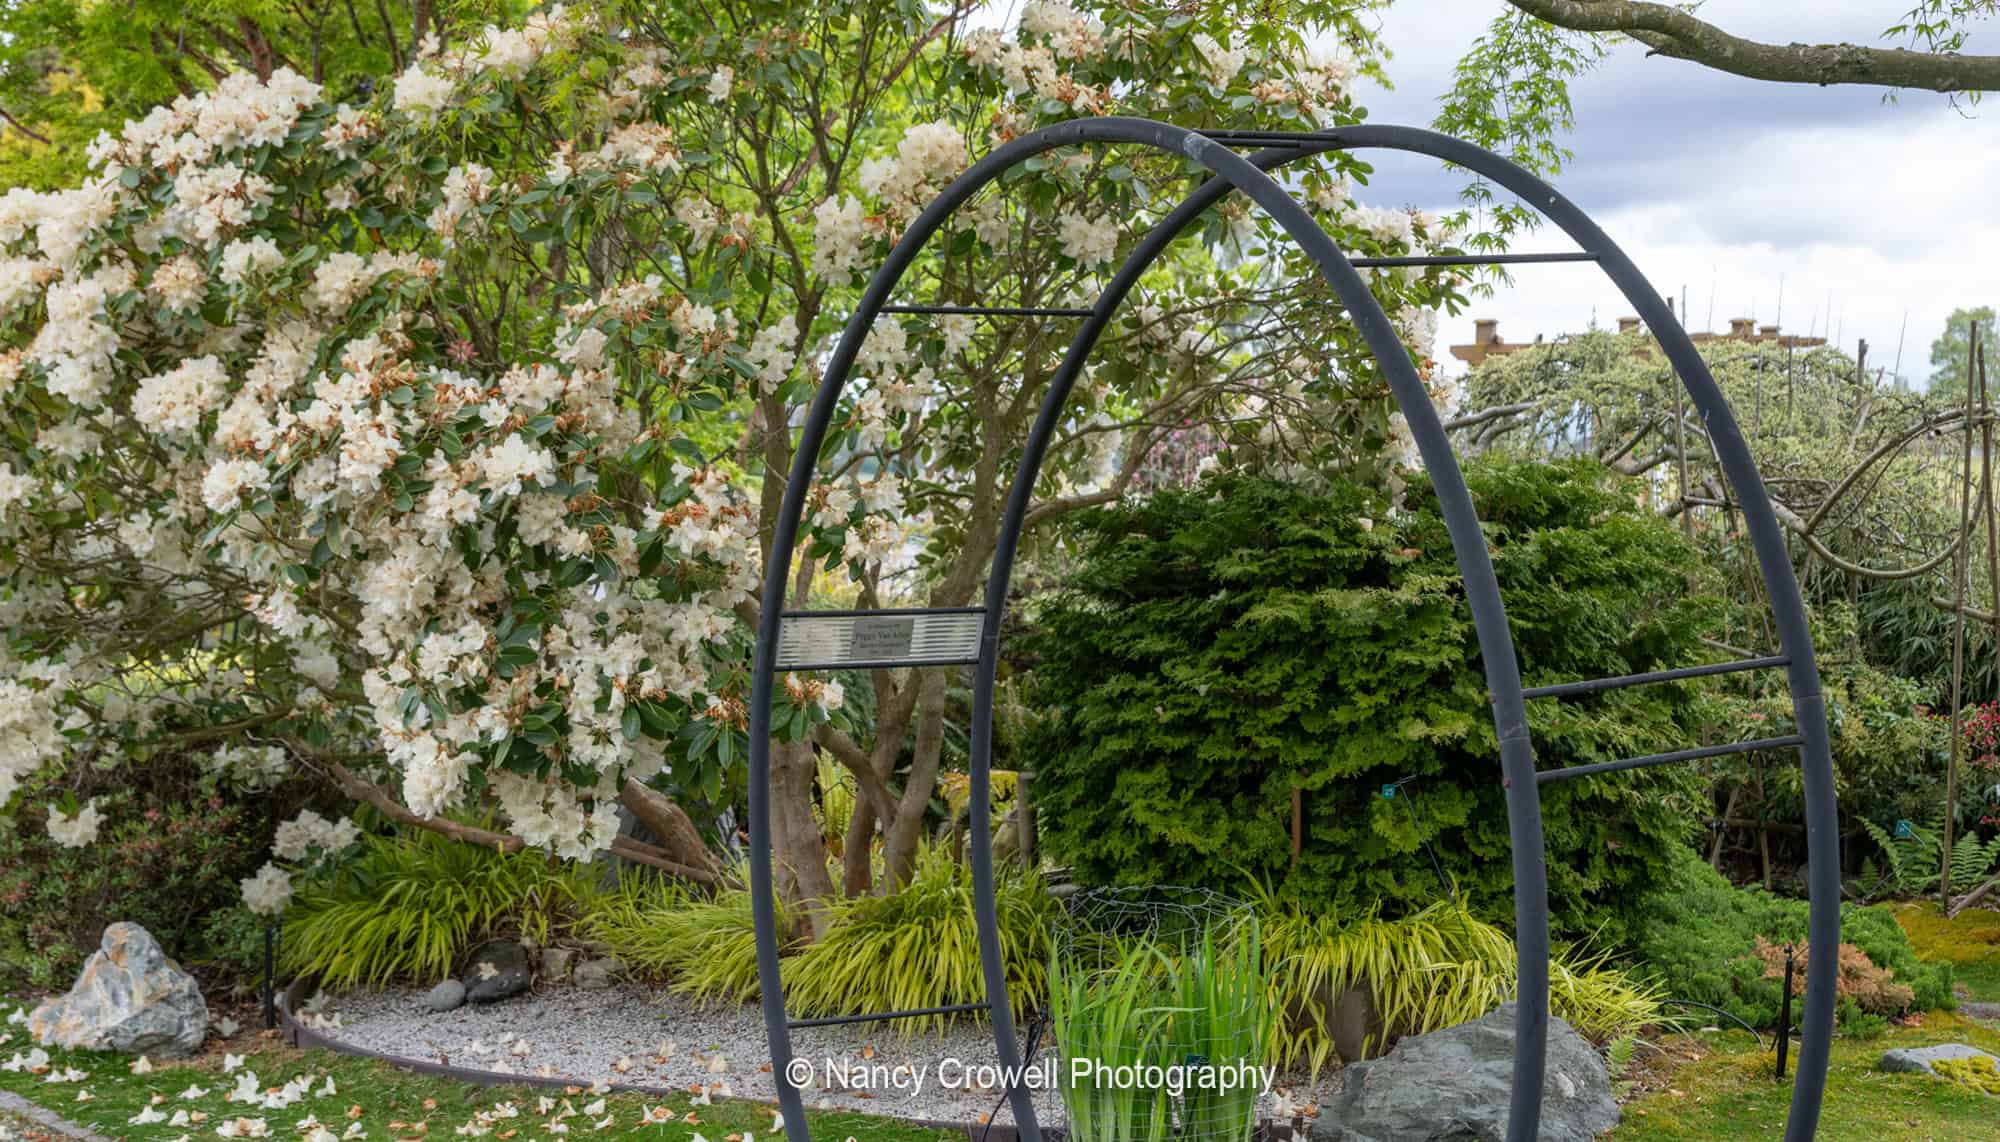
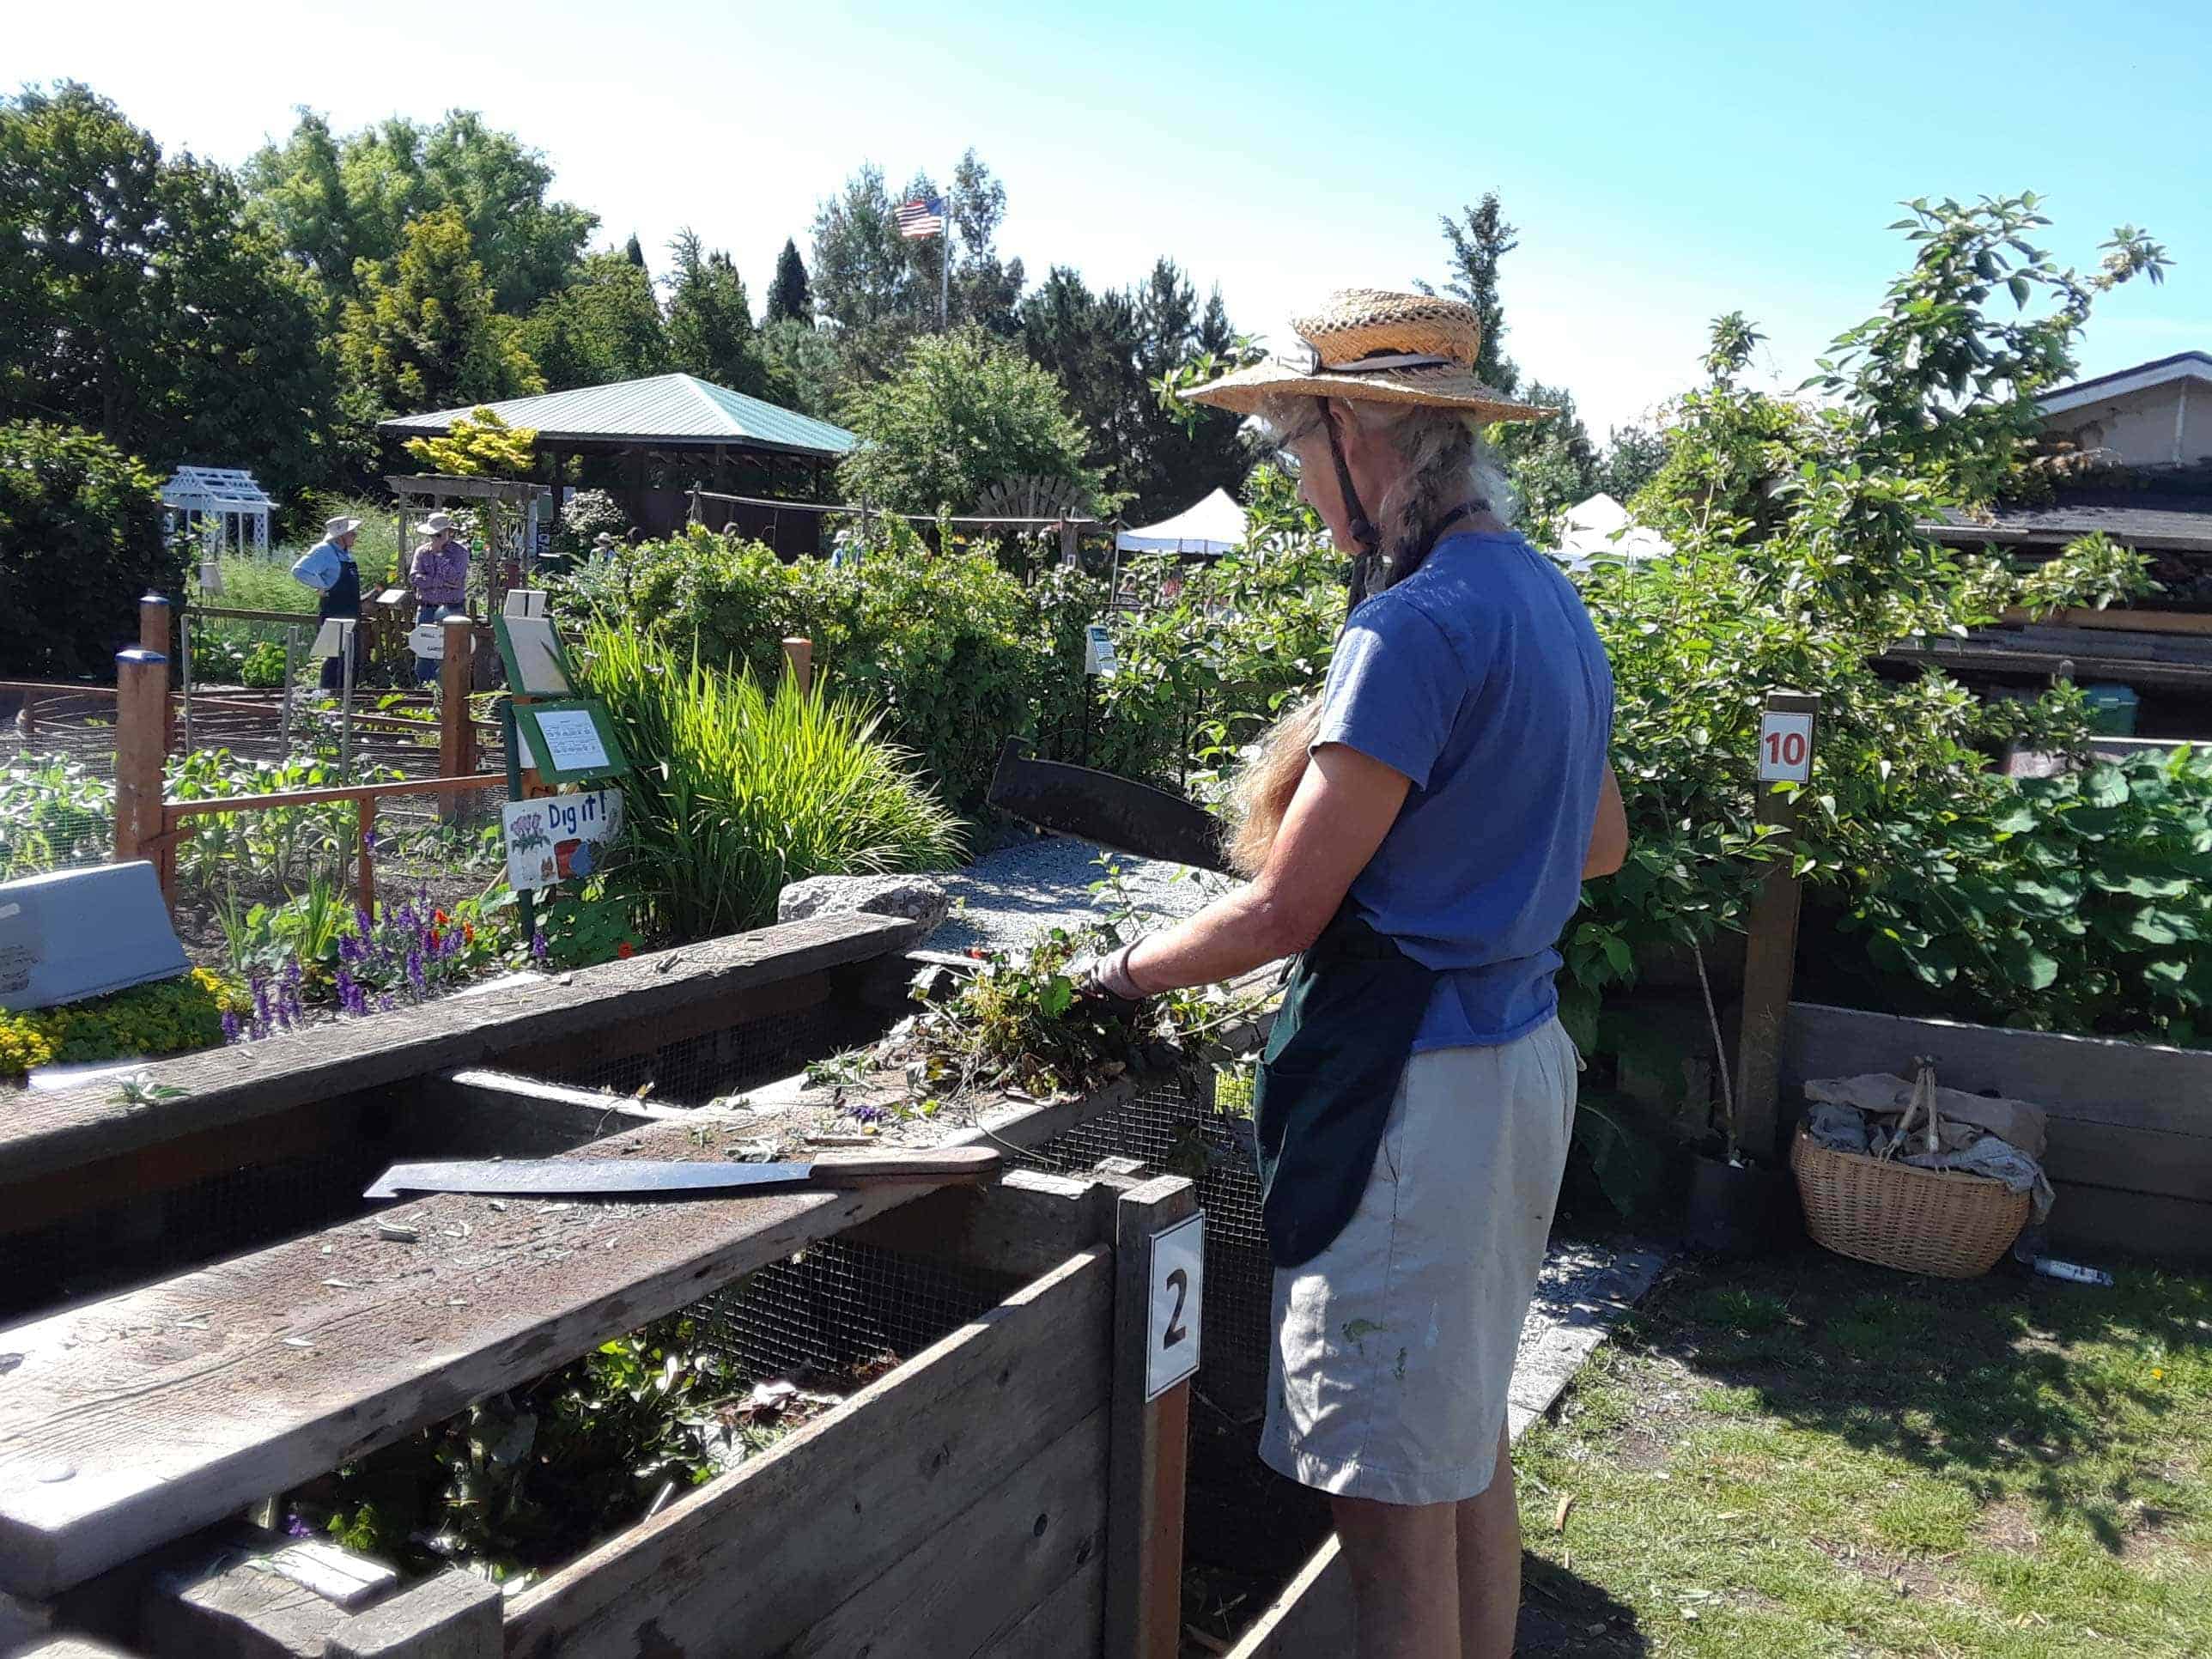
Skagit County WSU Extension Master Gardener Discovery Garden features 30 themed garden rooms on 1.5 acres with ADA-accessible paths and educational displays. Designed to support Skagit home gardeners by promoting research-based gardening practices, master gardeners have created 30 garden rooms within the garden, featuring hundreds of plants chosen to flourish in Skagit Valley. Master gardeners will be on hand to show you their favorite plants.

The Discovery Garden began in 1994 when the Skagit County WSU Extension Master Gardeners had a vision for a garden that would demonstrate best practices for gardening in the Skagit area. After two years of planning, the garden’s first plantings of trees and installation of fences was completed in the fall of 1996, transforming a rural agricultural field into a public display garden. Check out the garden’s webpage and browse the 30 garden rooms to find inspiration for your garden.

© Adobe Stock
Salal Native Plant Garden
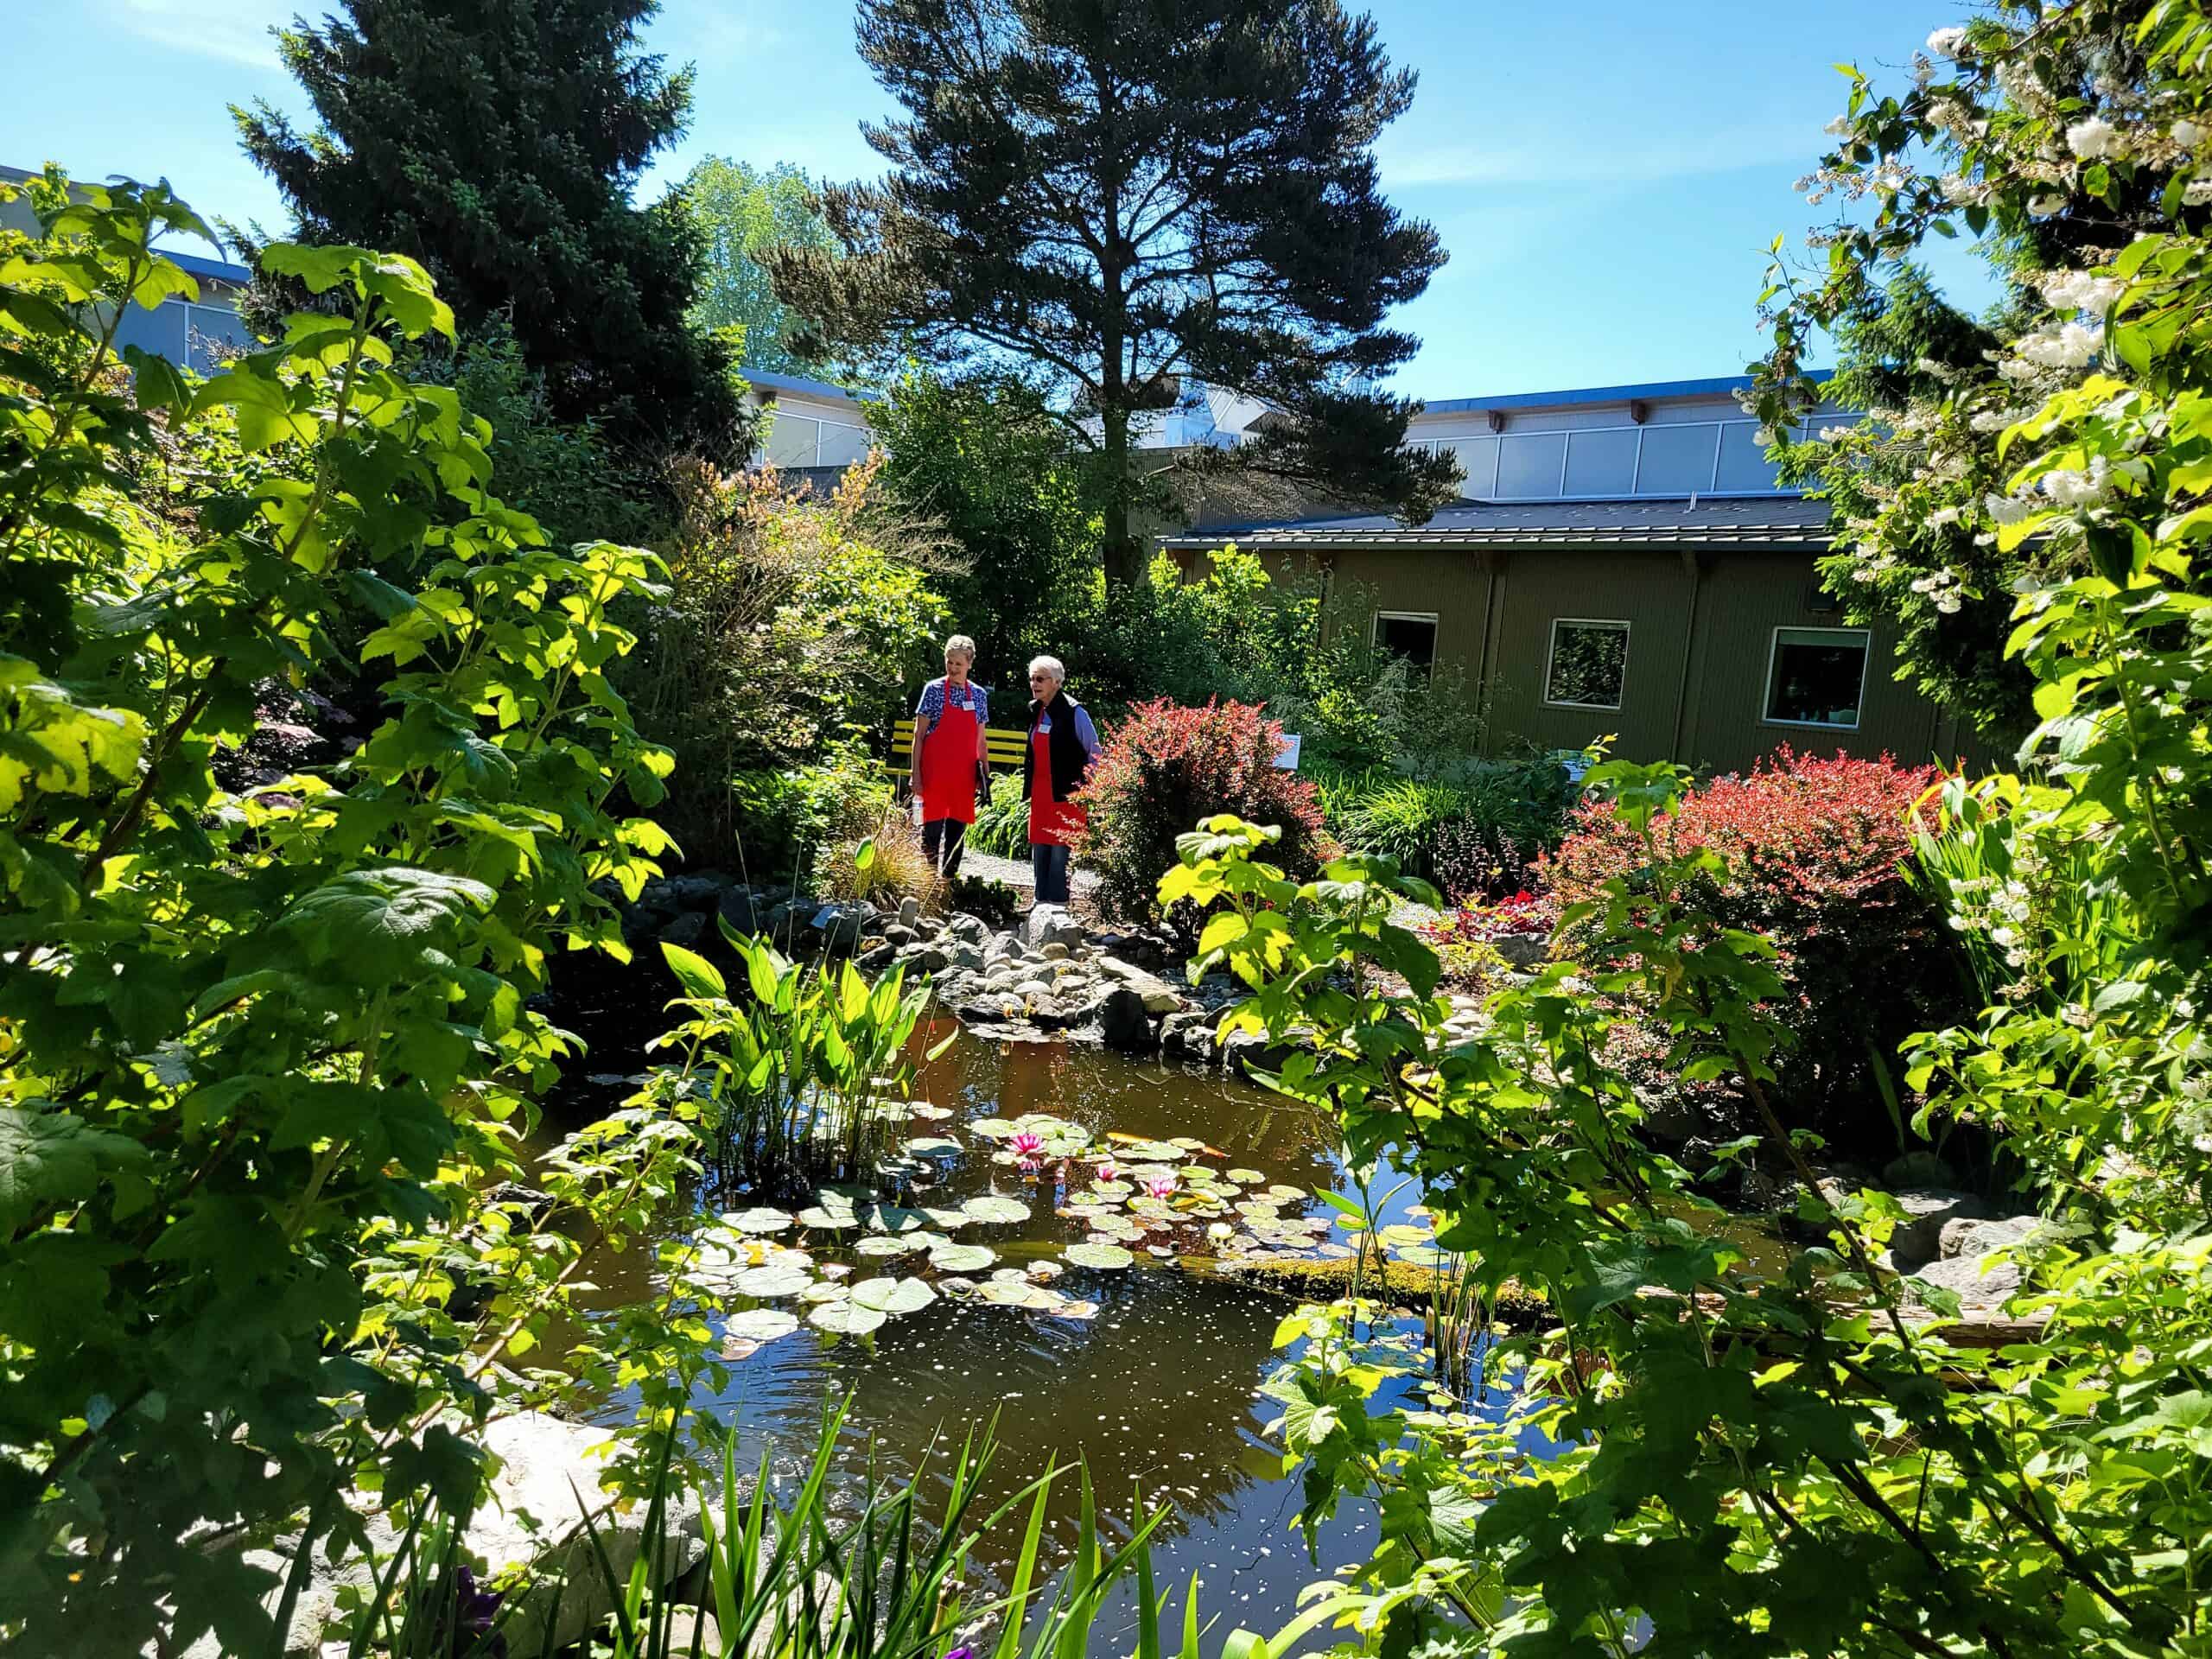
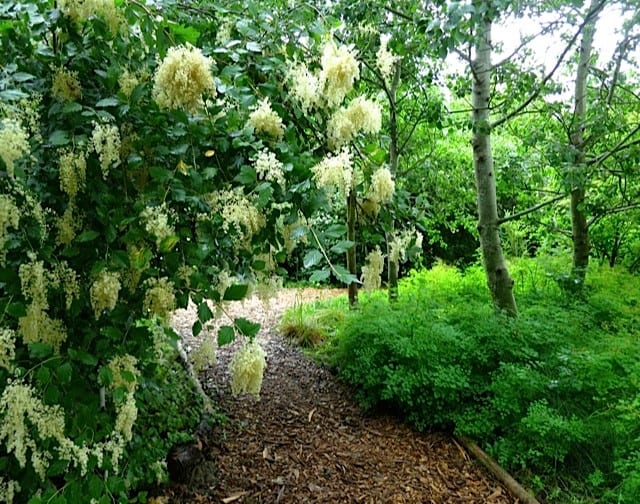
The Salal Native Plant Garden is a half-acre oasis of native plants tucked behind the Discovery Garden. You can enter by walking through the Discovery Garden and following the paths to the south. Cool off in the shade and explore how you can incorporate low-maintenance natives into your home landscape. See how red osier dogwood, salal, cascara, vine maples, and others could look in your yard. Docents will be available for tours and to answer questions.

The Salal Native Plant Garden was created twenty-five years ago as a collaborative effort between volunteers of the Salal Chapter of the Washington Native Plant Society and the Washington State University Agriculture Extension Agency at Mount Vernon (WSU). 

2019-09-21 11.46.01
NW Fruit Garden
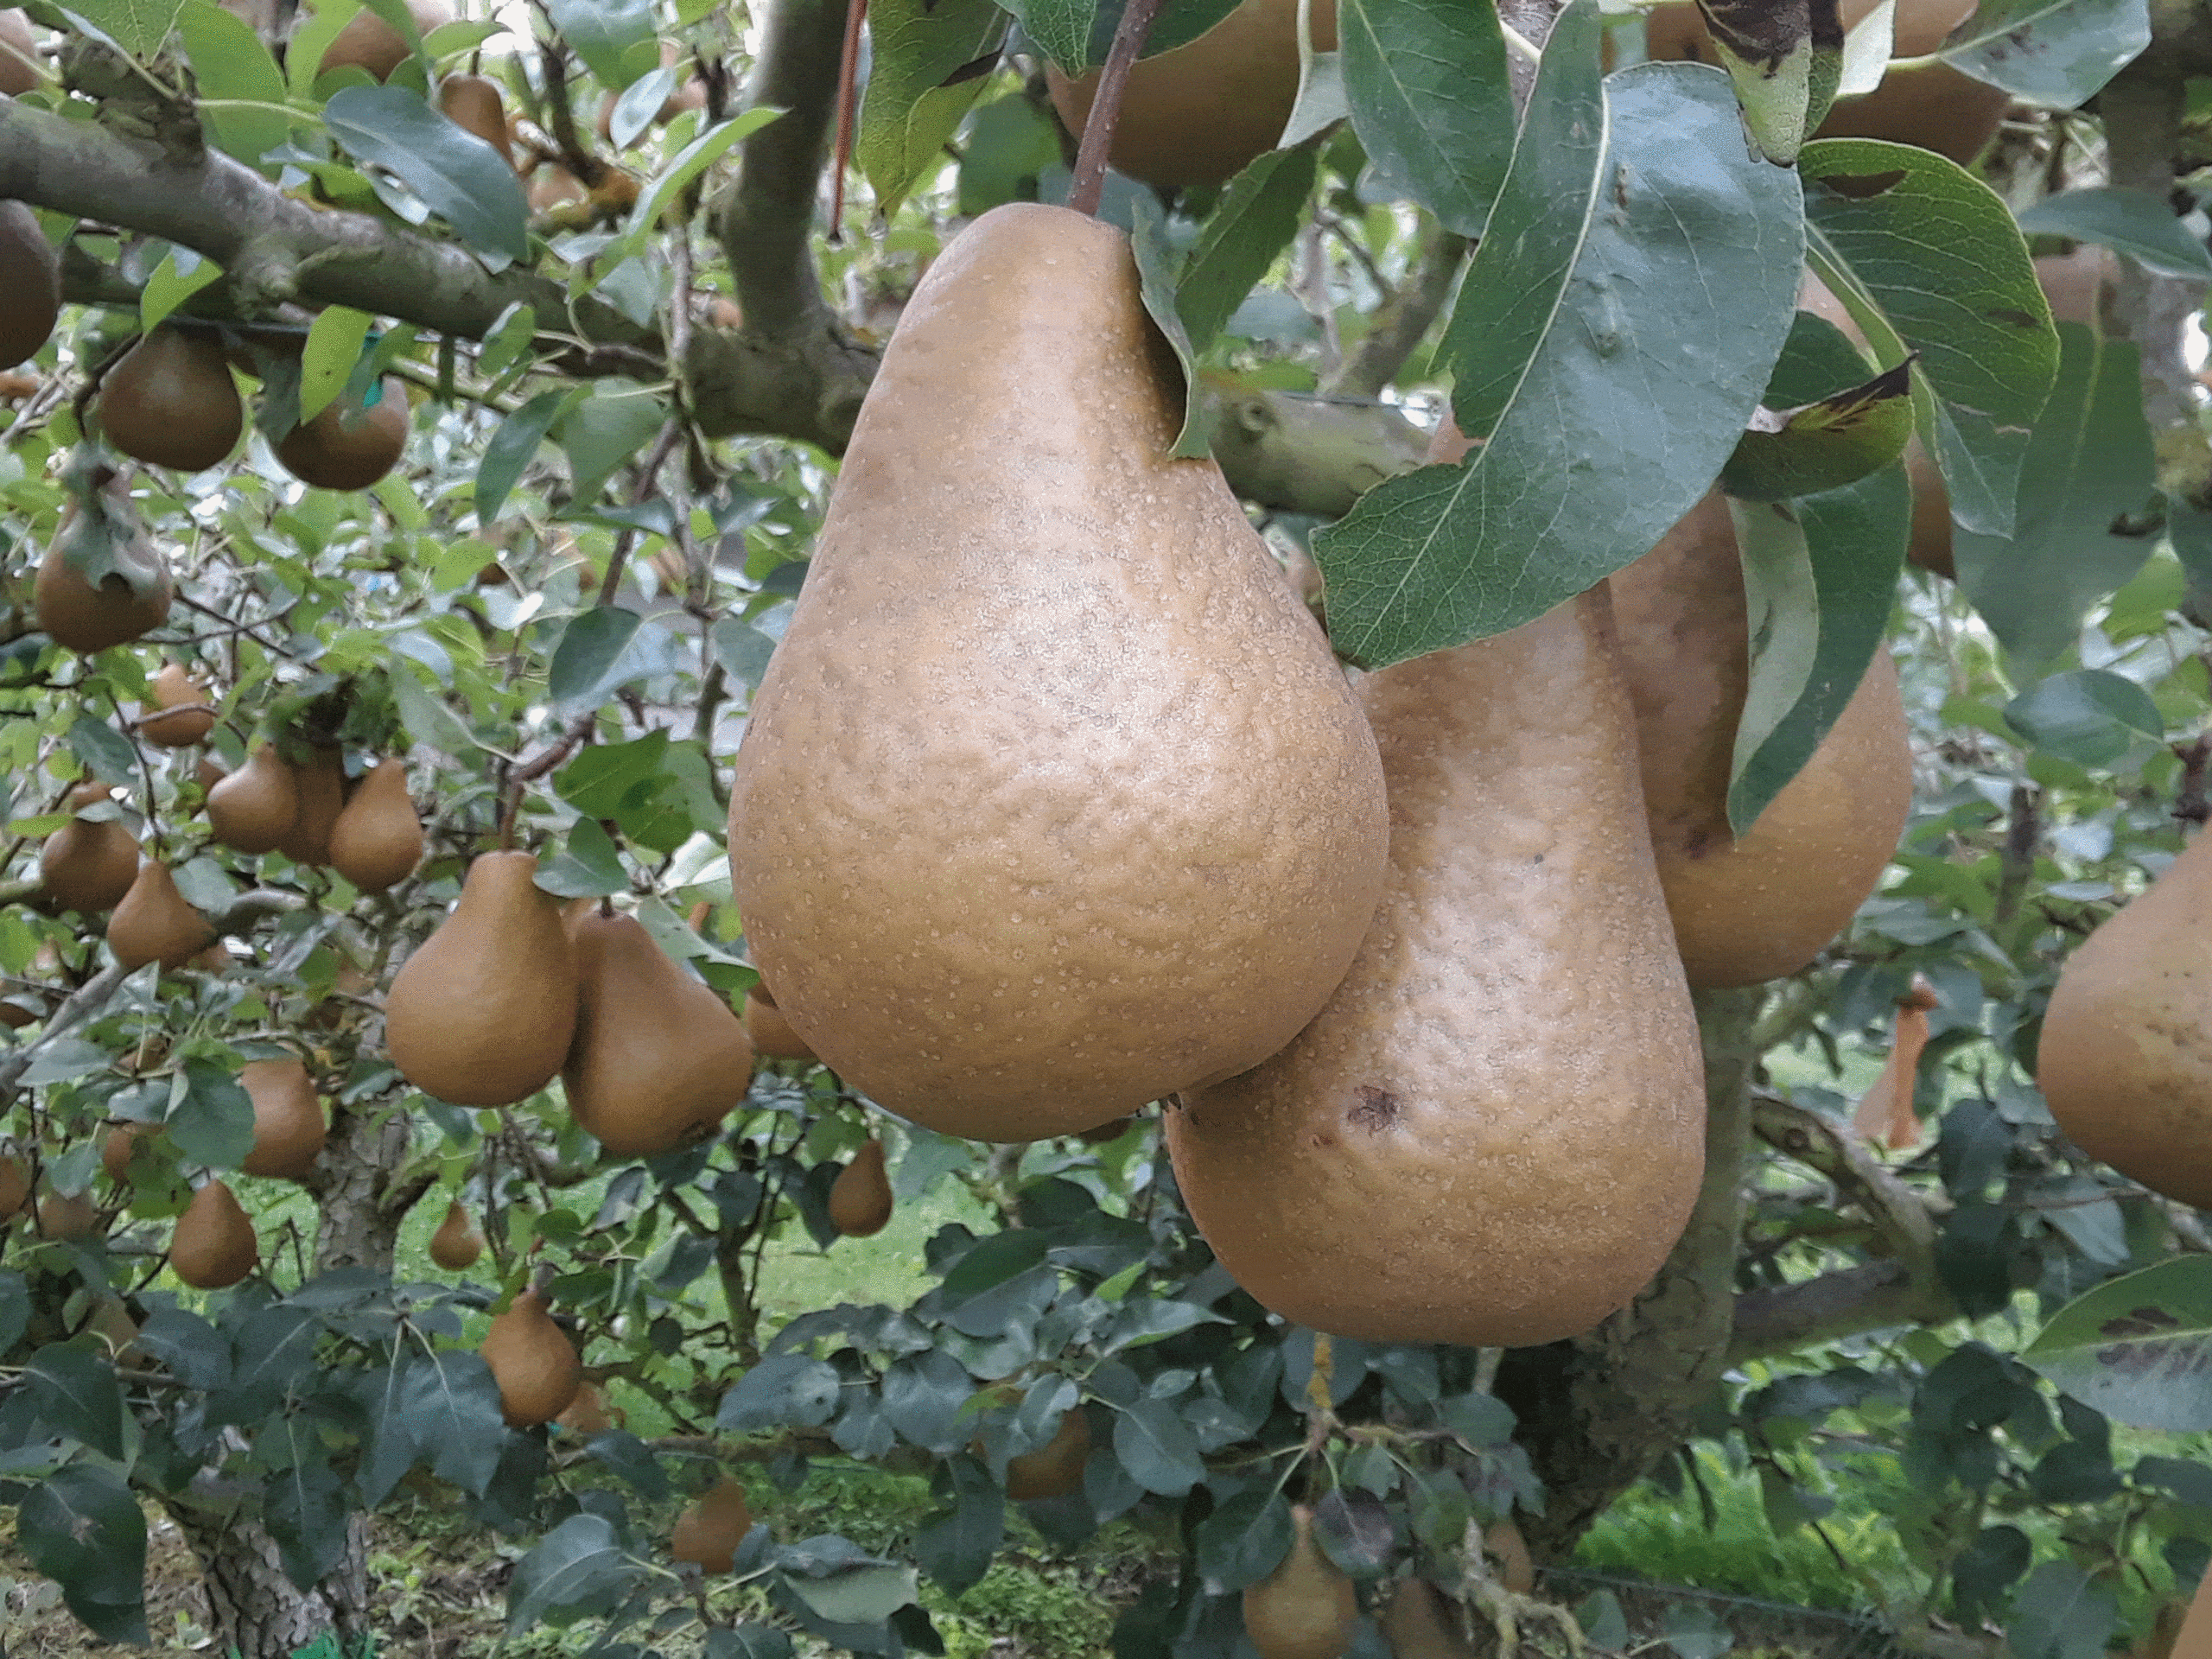
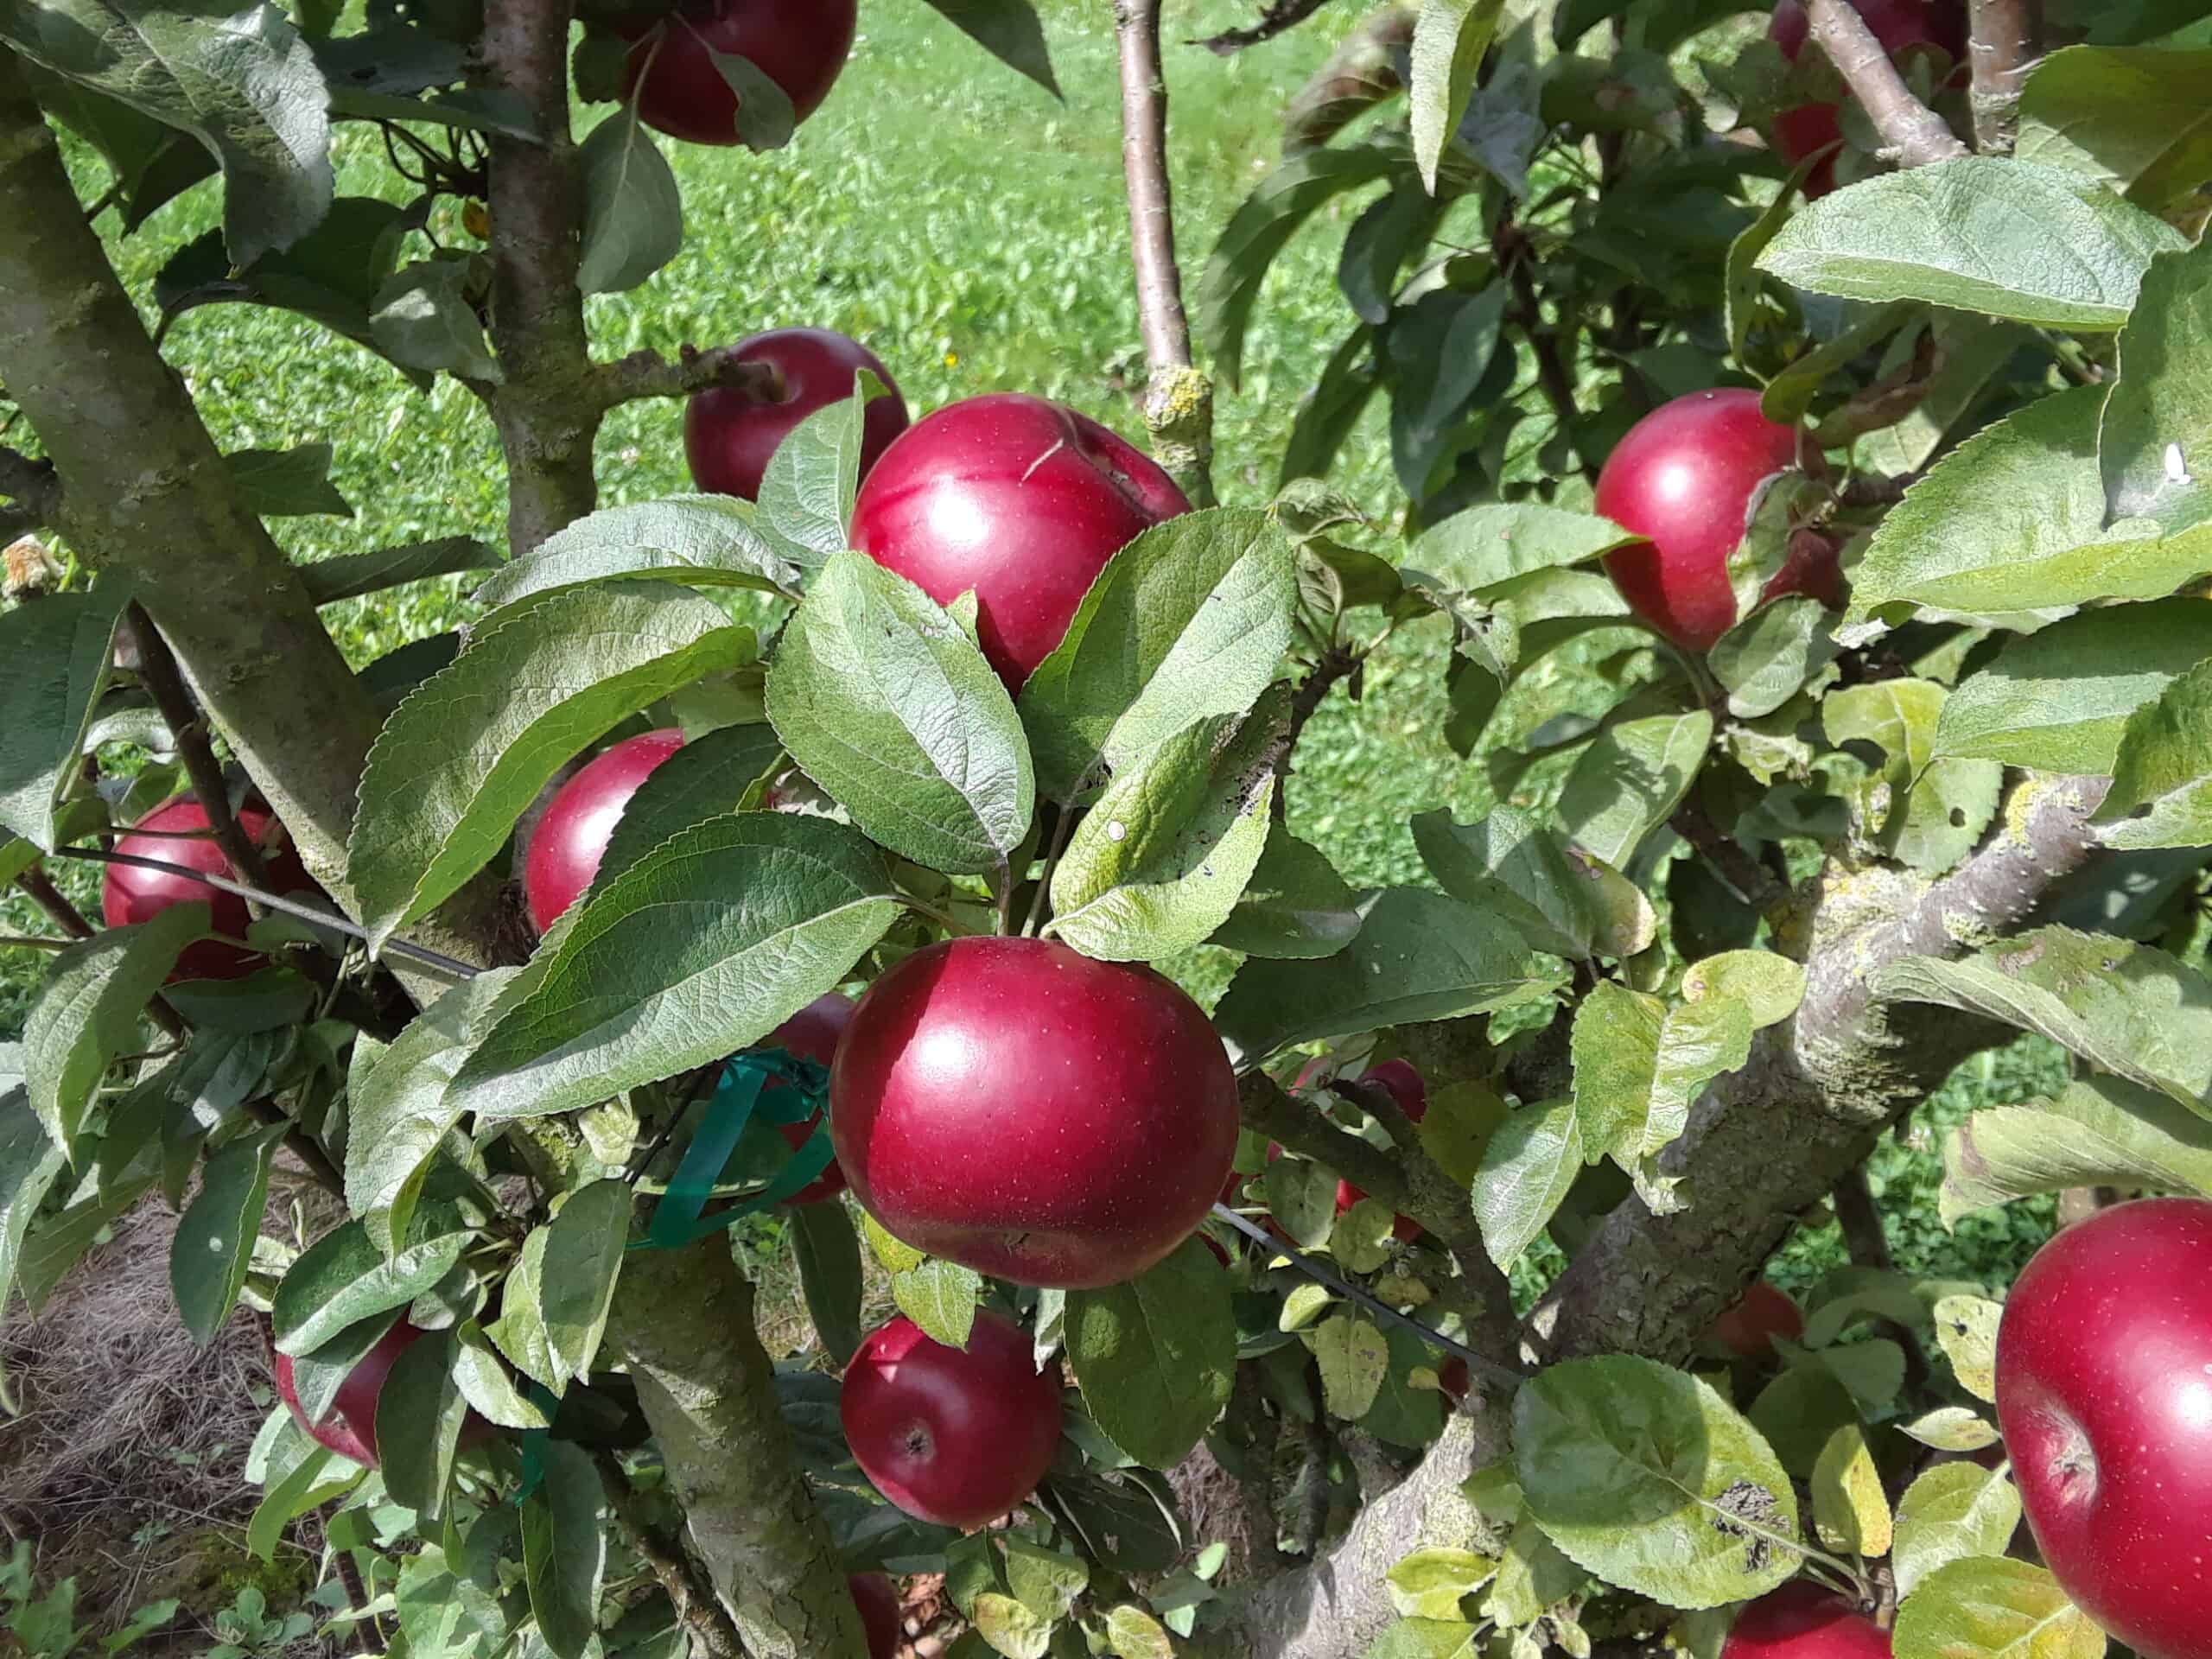
The NW Fruit Garden (formerly WWFRF) is six-acres planted with fruit trees, berry bushes, and other fruit-bearing plants suited for our climate, along with espaliers and informative signage. Tour the Antique Apple Collection in the orchard’s inner oval or tour the entire orchard. Ask about pruning and thinning of fruit. Find out what fruit varieties are best for your needs. The garden includes many unusual plants, such as medlar, sea buckthorn, kiwi, Aronia, and haskaps.

The NW Fruit Garden is located on the west side of the Discovery Garden. The garden was initiated in 1991 to provide a resource for the public to view successful fruit varieties and cultural methods for our Pacific maritime climate. Whether you are choosing two or three fruit tree varieties for a small urban backyard or have a more extensive orchard for family or even farmers-market production, NW Fruit has information on variety selection and fruit culture for the Pacific Northwest.

succulents in containers
Master gardeners are focusing on container gardening at this year’s Open House. Check out the options and growing media recipes. © Ginny Bode
Plant Clinic experts will be on hand to answer questions and diagnose your gardening issues. © Ginny Bode

If you can’t make the Open House, all three gardens are open and free to the public seven days a week from dawn to dusk. Visit the gardens throughout the year to view the seasonal changes. Signage in each garden identifies plants and makes for interesting and educational self-guided tours.

RESOURCES:

ABOUT THE AUTHORS :

Kay Torrance and Janine Wentworth are Skagit County WSU Extension Master Gardeners and part of the Planning Committee for the annual Open House.

Questions about home gardening or becoming a master gardener may be directed to: Skagit County WSU Extension Office, 11768 Westar Lane, Suite A, Burlington, WA 98233; by phone: 360-428-4270; or via the website: www.skagit.wsu.edu/mg

Mark your calendar for these upcoming master gardener events:

Skagit County Fair
Thursday ~ Sunday, August 8-11, 2024
Skagit County Fairgrounds
Building D
(map)
Visit our booth, see our displays, and talk with master gardeners about how to make your garden beautiful and productive.
Know & Grow Lecture Series
Season Extenders
Presented by Hallie Kintner
Tuesday, August 20, 2024 ~ 1 p.m.
Free Admission
NWREC Sakuma Auditorium
16650 State Route 536, Mount Vernon


A Second Act for Your Square 1-Gallon Pots at the Discovery Garden!

Bring your leftover square 1-gallon pots to the Discovery Garden (16650 State Route 536, Mount Vernon). The bin for recycling the square 1-gal pots is located in the parking lot, just north (to the right) of the main entrance.
We only need square 1-gallon pots like the ones pictured below (bottom right). The recycling bin will be available now through fall. Simply put your pots into the bin, and we take care of the rest!


pot recycling


AMGPost_header5
small plants growing in rock container

Hypertufa Troughs Serve as Lowland Homes for Native Alpine Plants

Grow these tiny gems seen on an alpine hike

              Subscribe to the Blog >

By: Sonja Nelson, Skagit County WSU Extension Master Gardener

Nestled low to the ground among the peaks of the North Cascade Mountains are tiny alpine plants that delight hikers as they stroll the high country of Skagit and Whatcom Counties. If these hikers are also gardeners, it is tempting to dig a few of these gems to take home and plant in their home garden. Digging and removing plants is, of course, prohibited on public lands, including national parks, forests, and recreational areas. Moreover, the plants most likely would die when snatched out of their high-altitude environment and planted in the soils found in the lowlands of our ecoregion.

However, alpine gardening enthusiasts have found a solution to recreate the beauty they see in the alpine regions of the North Cascades. Using containers created to grow plants away from their native environment and plants purchased from nurseries specializing in alpine plants, gardeners can successfully grow these tiny gems seen on an alpine hike.

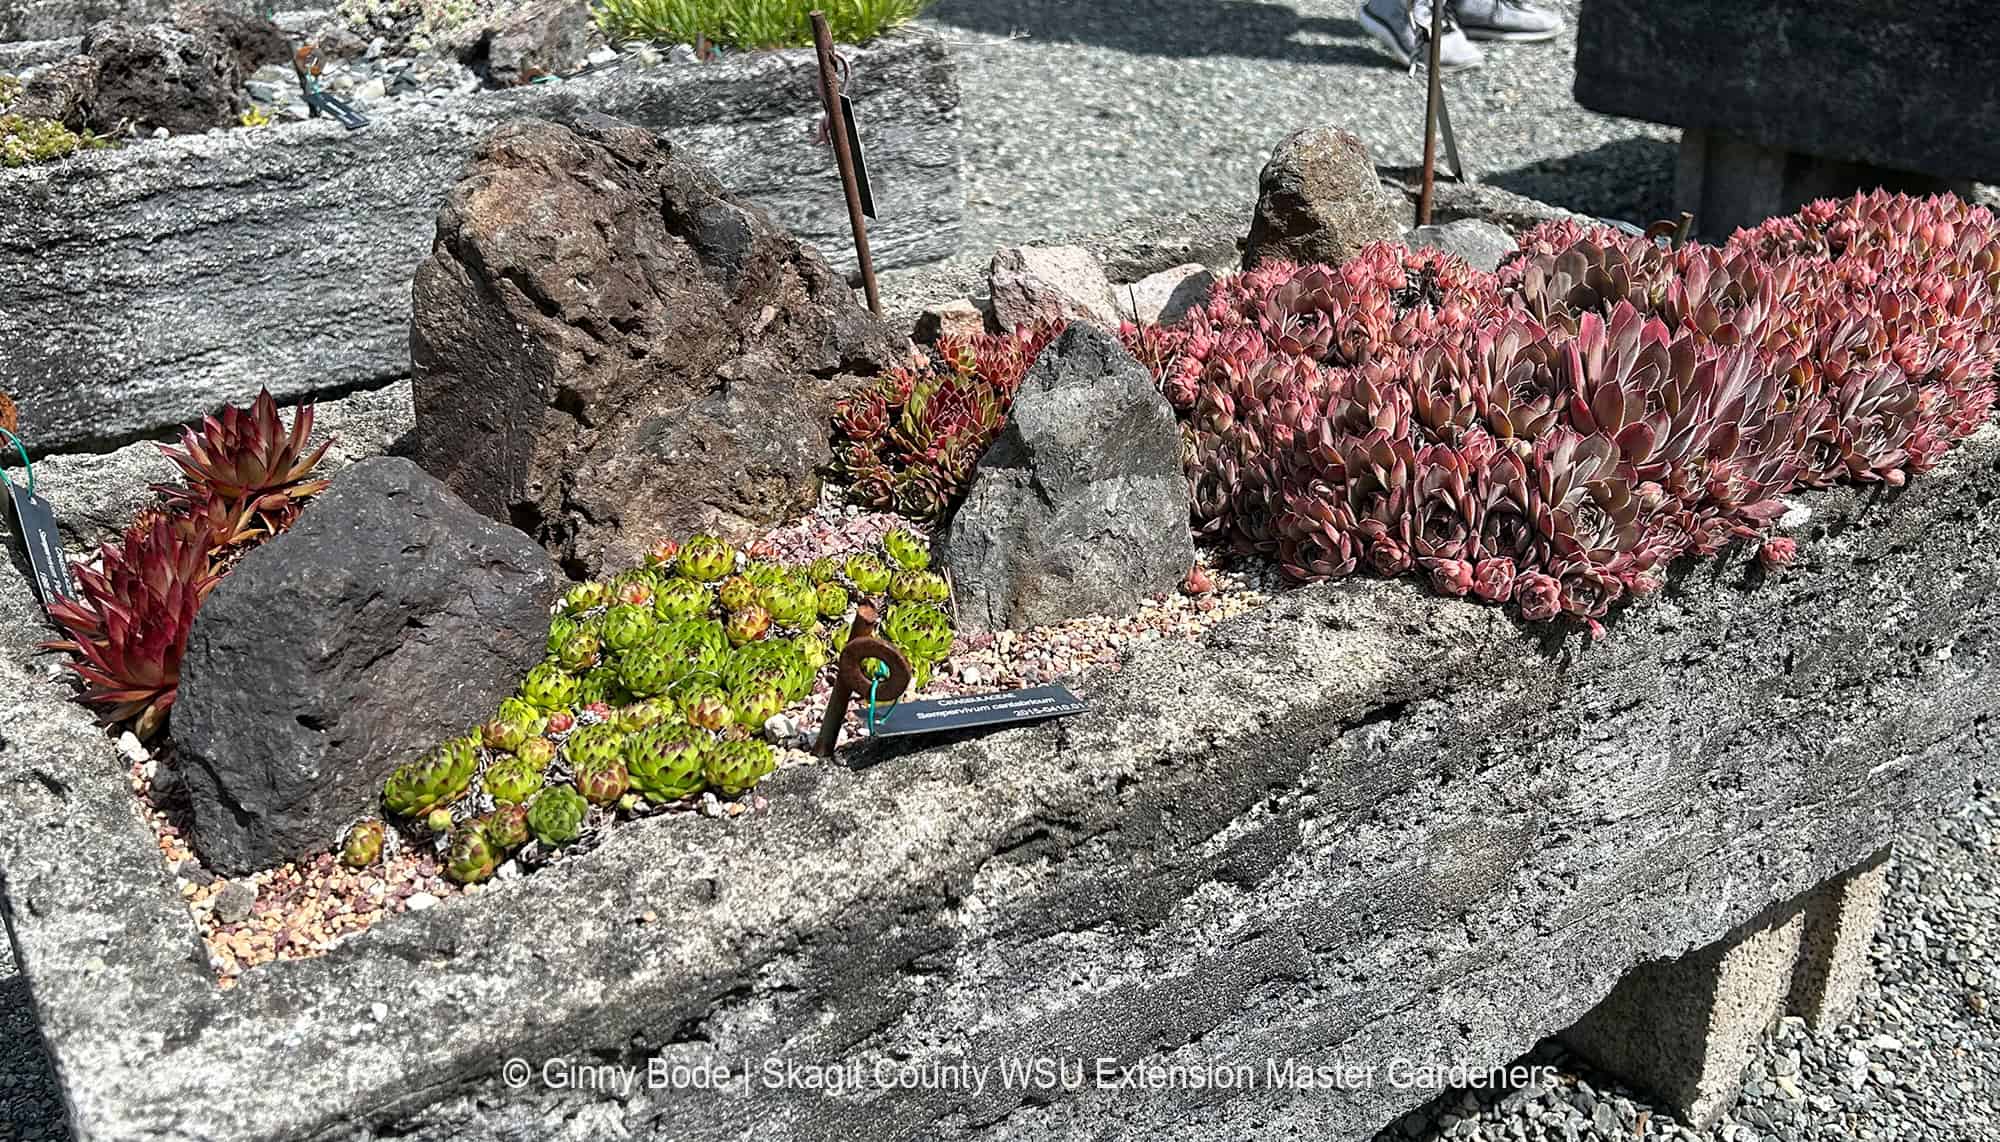
The containers, called “hypertufa troughs,” are constructed to provide the specific requirements alpine plants and succulents need to thrive. They also blend nicely into a garden or can be placed on a deck or patio.

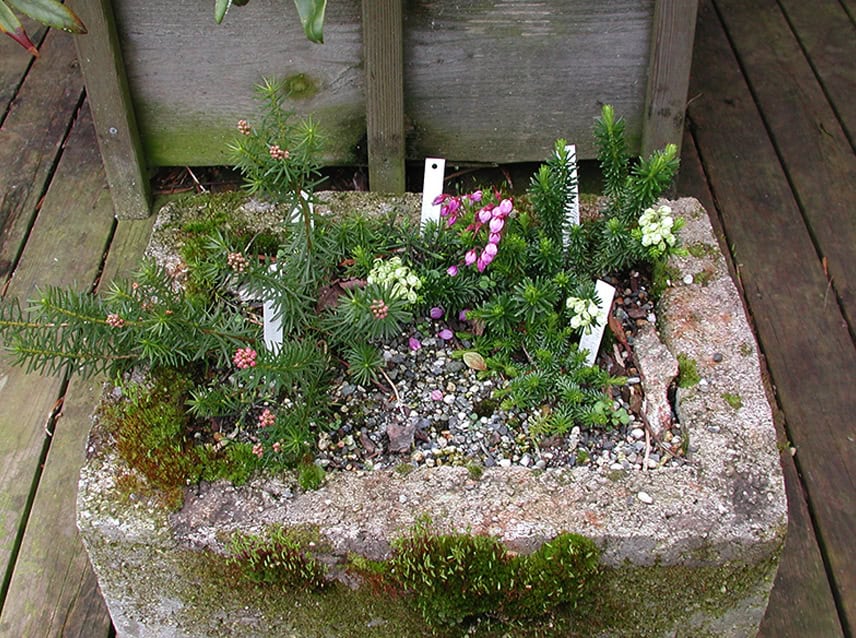
Hypertufa trough planted with mountain heathers native to the North Cascades. The trough is placed on a deck in Bayview in Skagit County. Photo © Sonja Nelson
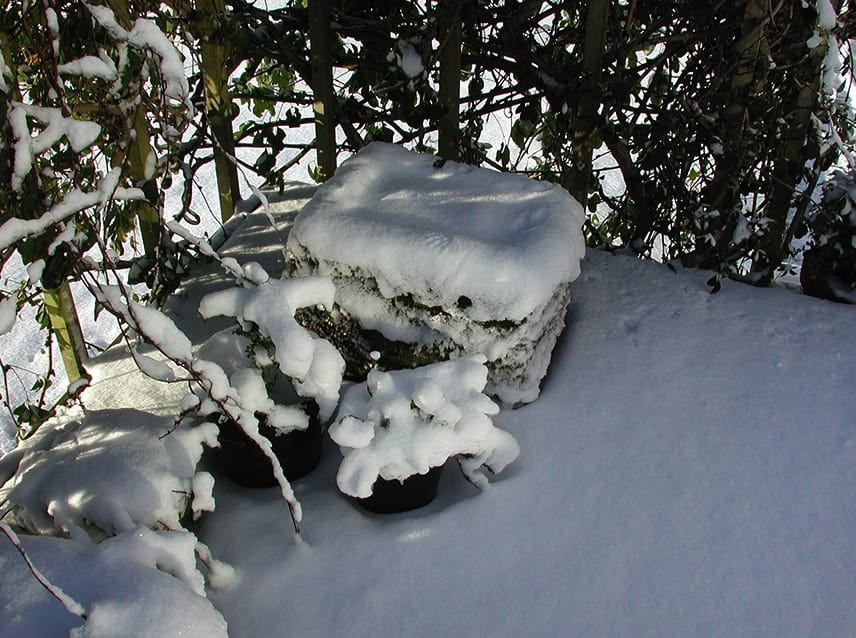
Snow covering the mountain heathers trough, pictured in Photo 1 (to the left), acts as insulation just as it does for these plants in their native home in the North Cascades. Photo © Sonja Nelson

Hypertufa troughs originated from the naturally occurring tufa rock, a type of limestone formed when carbonate minerals precipitate out of water and build up around organic matter, eventually decomposing, leaving a porous rock. English farmers of the 1800s chiseled feeding troughs for their animals out of this rock. Years later, creative gardeners adopted these old containers, covered in moss and worn by decades of exposure to the elements, as decorative planters. A few of these sought-after antique troughs are still found in Europe but are often too heavy and expensive to transport across the Atlantic. (1)

Since tufa rock was not readily found and available in the US, gardeners in the 1930s-1940s began to make tufa-like troughs using a mix of ingredients with Portland cement. They called them “hypertufa.” (2)

Growing small alpine plants in hypertufa troughs has many advantages. The trough materials serve as insulation against extreme hot and cold temperatures that can occur in our ecoregion. The troughs also drain well, so standing water is never a problem, and the roots of alpine plants grow into the porous hypertufa and tend to thrive.

In addition, the Portland cement in the hypertufa mix slowly releases some calcium and magnesium that plants need. And, because the trough is relatively lightweight, they can be moved from place to place in the garden for the best exposure through the seasons. (2)

Ecoregions
Growing alpine plants in hypertufa troughs gives gardeners the pleasure of seeing them close to home in their gardens and protects them from the possible ravages of warm summers in their native locations.

Skagit Valley is located in the Puget Trough ecoregion, with mild, wet winters, and warm, dry summers. Here, precipitation averages 40 inches per year, with a mean January temperature of 39° F and a mean July temperature of 65°F. This climate differs from the climate of the North Cascades ecoregion, where many of our Washington native alpines for our hypertufa troughs grow in the wild. High elevations in the alpine regions are often covered with snow for many months. (3) The North Cascades Highway (State Route 20) traverses this ecoregion’s subalpine and alpine sections.

The Plants
The choice of North Cascade alpine plants for troughs is considerable. To get started, as an example among alpine plants, choose from the mountain heathers, the saxifrages, and the gentians.

White mountain heather (Cassiope mertensia) near Mt. Shuksan in the North Cascades. © Sonja Nelson

Mountain Heathers
The common name “heather” can refer to many different highland species throughout the world. North Cascade heathers are called “mountain heathers” and include the genera Cassiope and Phyllodoce. Common names include white mountain heather, Alaskan mountain heather, pink mountain heather, and yellow mountain heather. (6)
Saxifrages
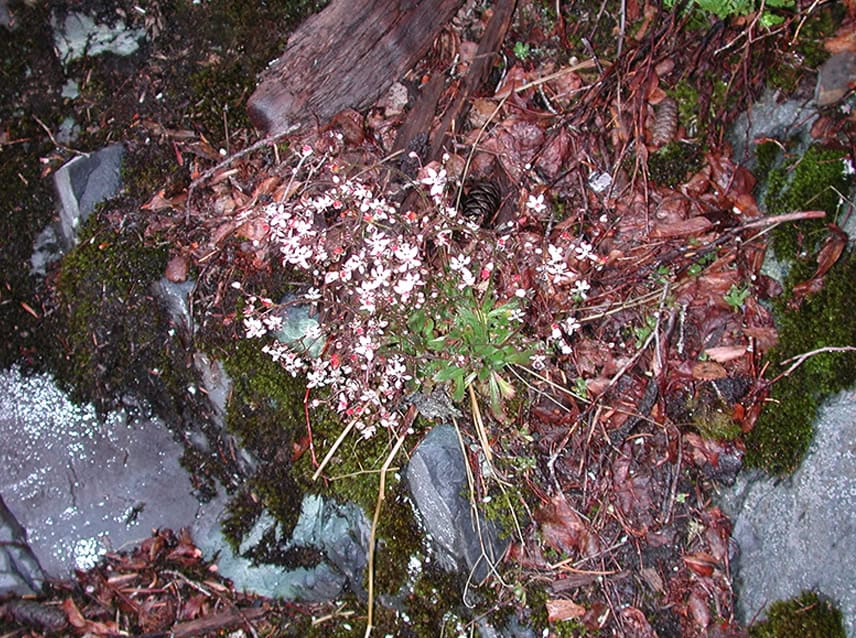
Members of the genus Saxifraga are widespread in the North Cascades, many of which grow in the subalpine and alpine regions. Examples seen by the author are Tolmie’s saxifrage (Saxifraga tolmiei) at Chain Lakes, Alaska saxifrage (Saxifraga ferruginea) at Twin Lakes, and western saxifrage (Saxifraga occidentale) on Chowder Ridge (Pojar and Mackinnon1994).
Saxifrage at Bagley Lakes in the North Cascades. © Sonja Nelson

Saxifrage at Bagley Lakes in the North Cascades. © Sonja Nelson

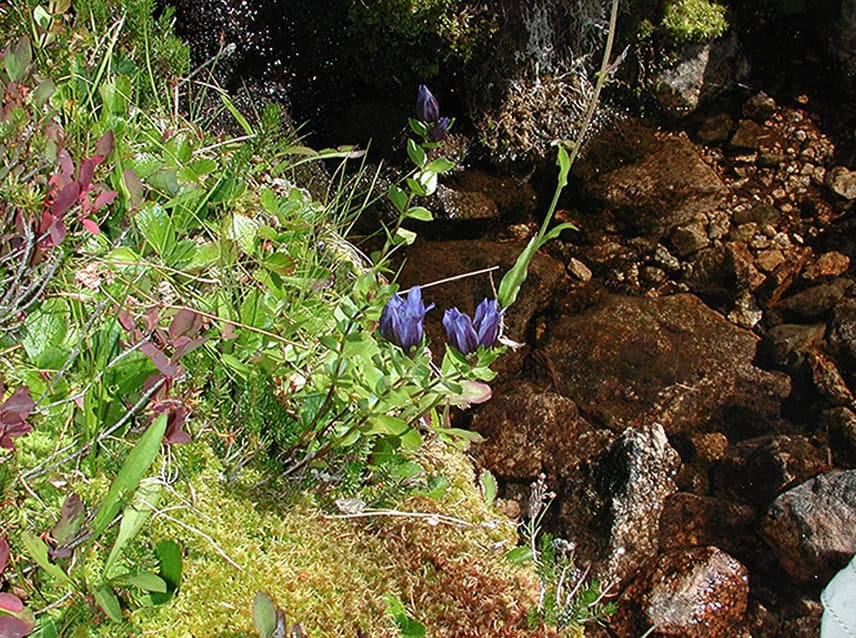
Broad-petalled gentian (Gentiana platypetala) at Cutthroat Pass in the North Cascades. © Sonja Nelson

Broad-petalled gentian (Gentiana platypetala) at Cutthroat Pass in the North Cascades. © Sonja Nelson

Gentians
Members of the genus Gentiana are also widespread in the North Cascades. Four gentian species are native to the North Cascades: king gentian (Gentiana septum), broad-petalled gentian (Gentiana platypetala), swamp gentian (Gentiana douglasiana), and alpine bog swertia (Swertia perennis). (6)

Although hypertufa troughs are highly suitable for growing alpines at low elevations, many small native plants and succulents also find the troughs an amenable environment for growth and a refuge from fluctuating temperatures.

Growing Mix
The soil mix used in the troughs cannot be the same as the soil in your garden. Alpines especially need good drainage, which means water seeps through the medium quickly and does not pool around the plant crowns.

A basic trough medium recipe is 2/3 to 3/4 by volume potting mix with either peat or coconut coir and 1/3 to 1/4 by volume coarse perlite. Add fertilizer if the soil mix does not include it. (2)

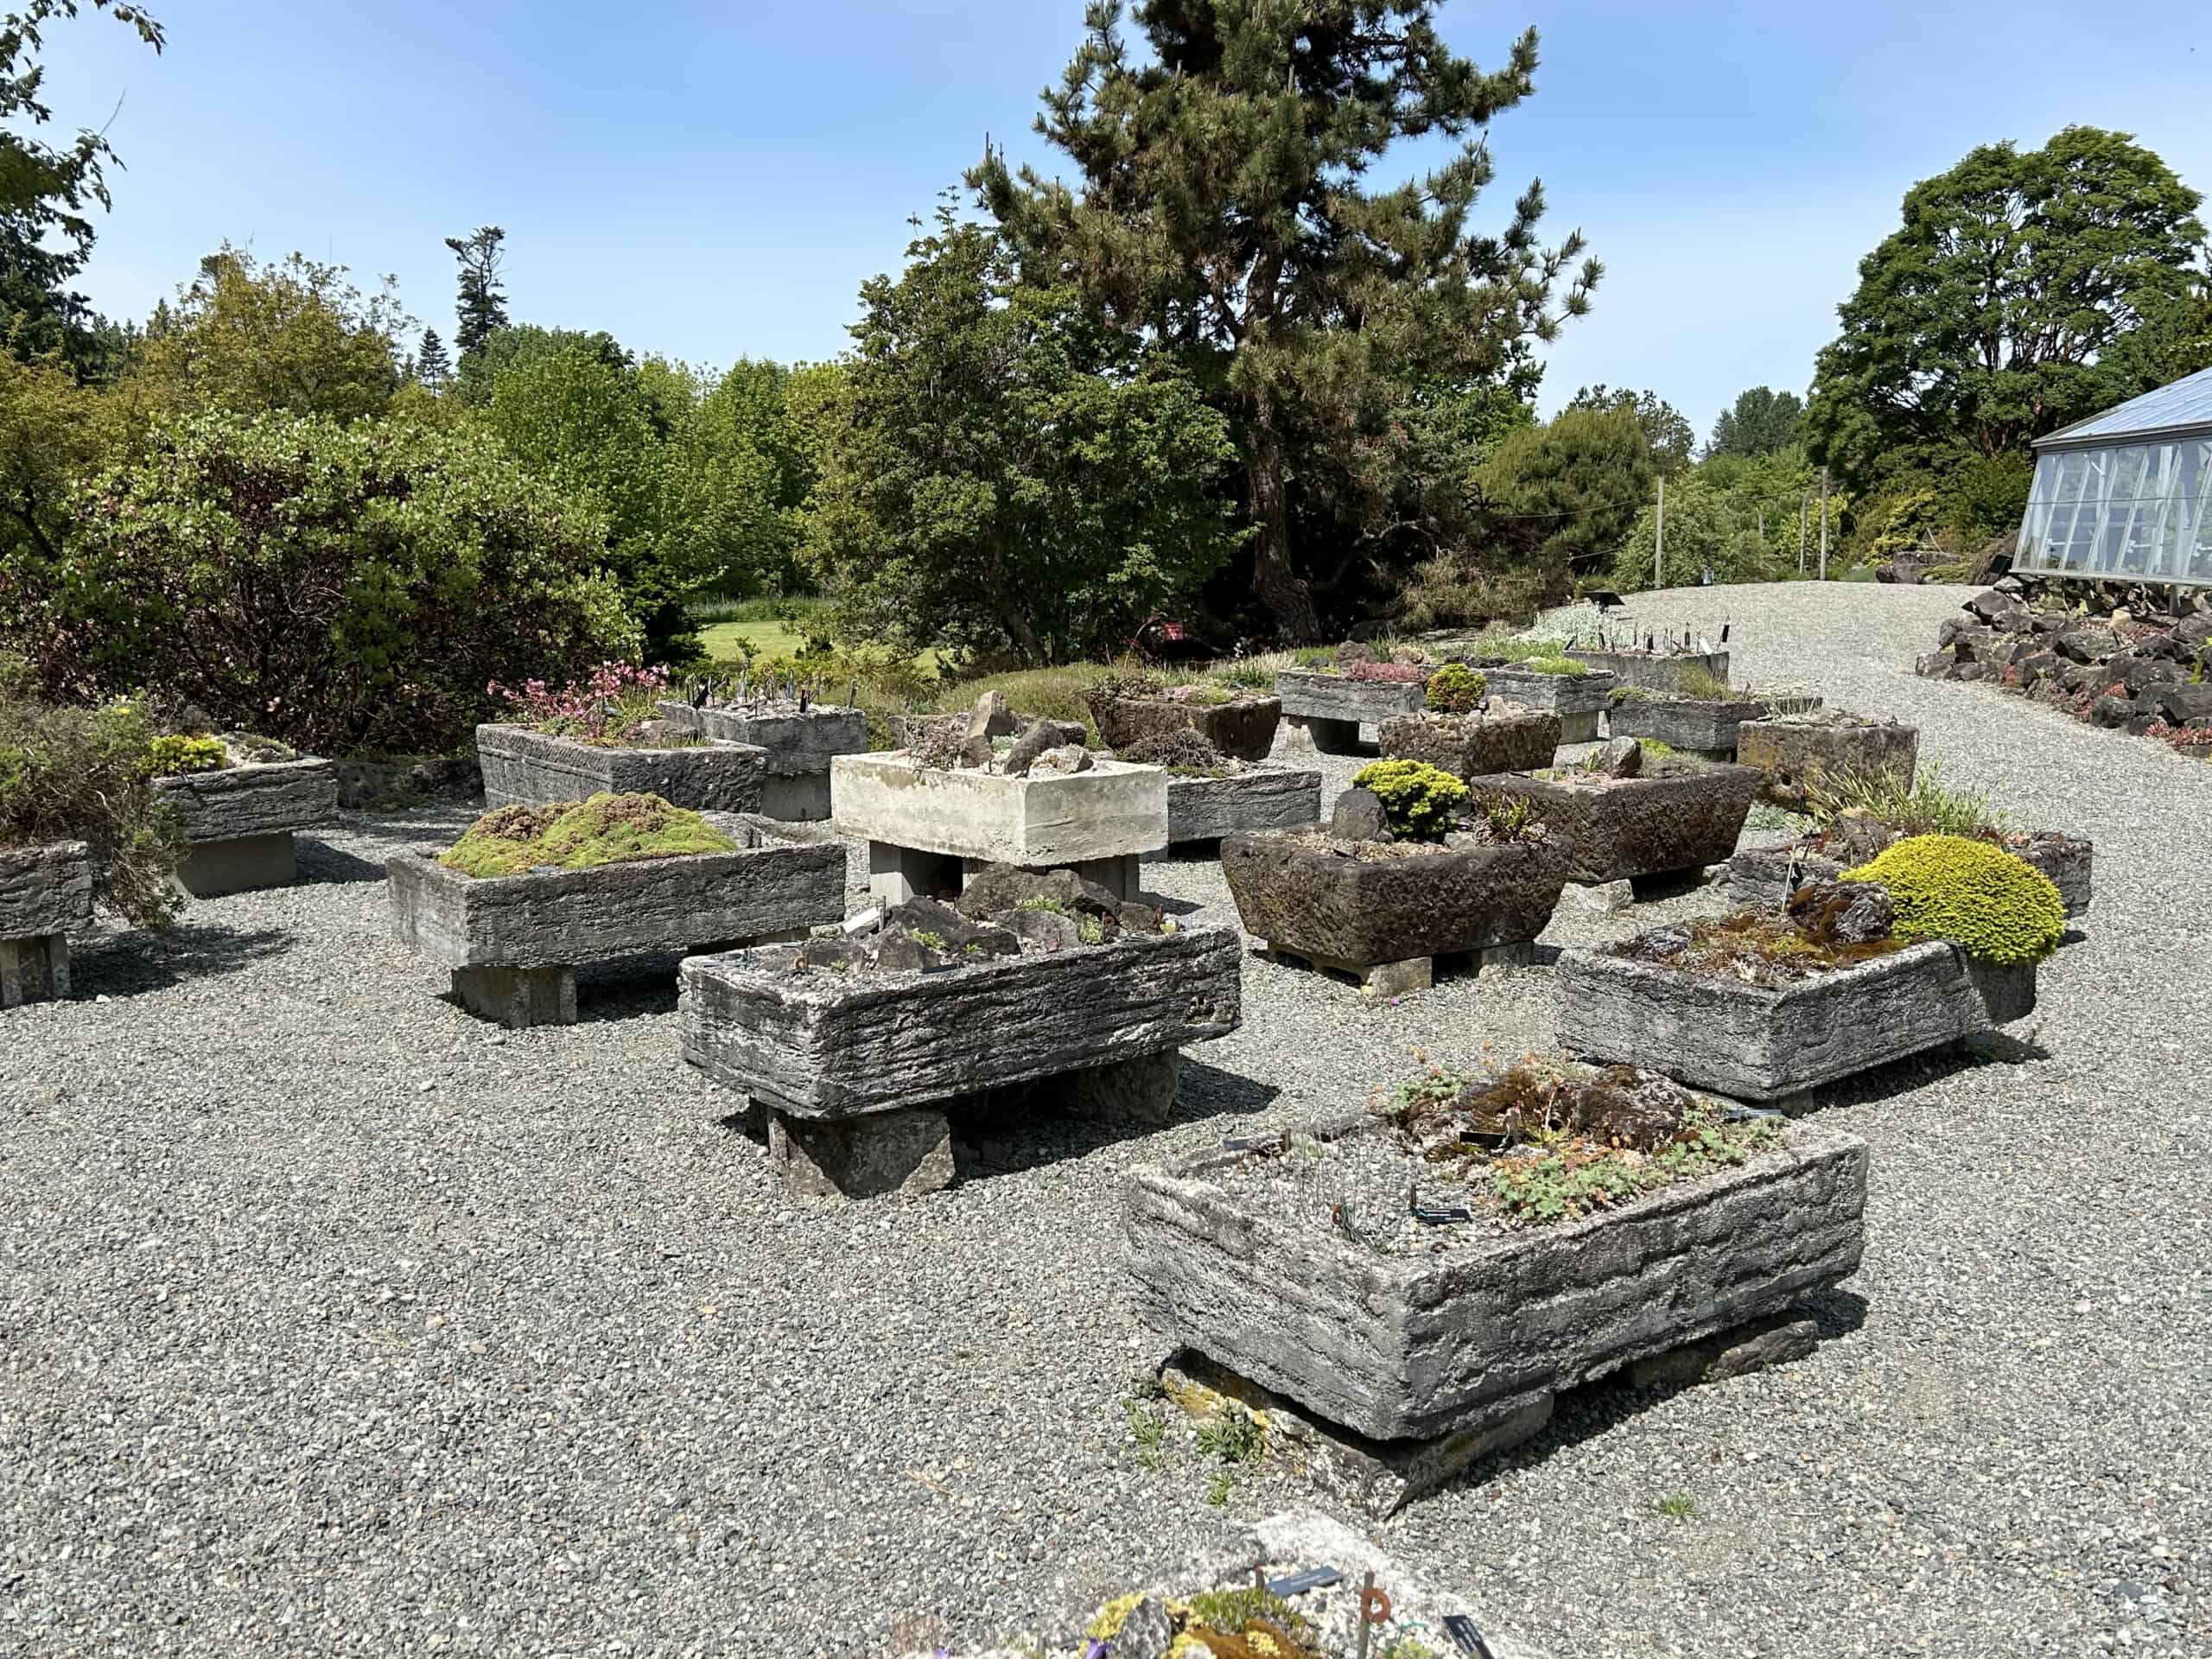
The extensive Trough Courtyard at the  UBC Botanical Garden in Vancouver, BC features an extensive collection of alpine rock plants. © Ginny Bode
The extensive Trough Courtyard at the UBC Botanical Garden in Vancouver, BC features an extensive collection of alpine rock plants. © Ginny Bode
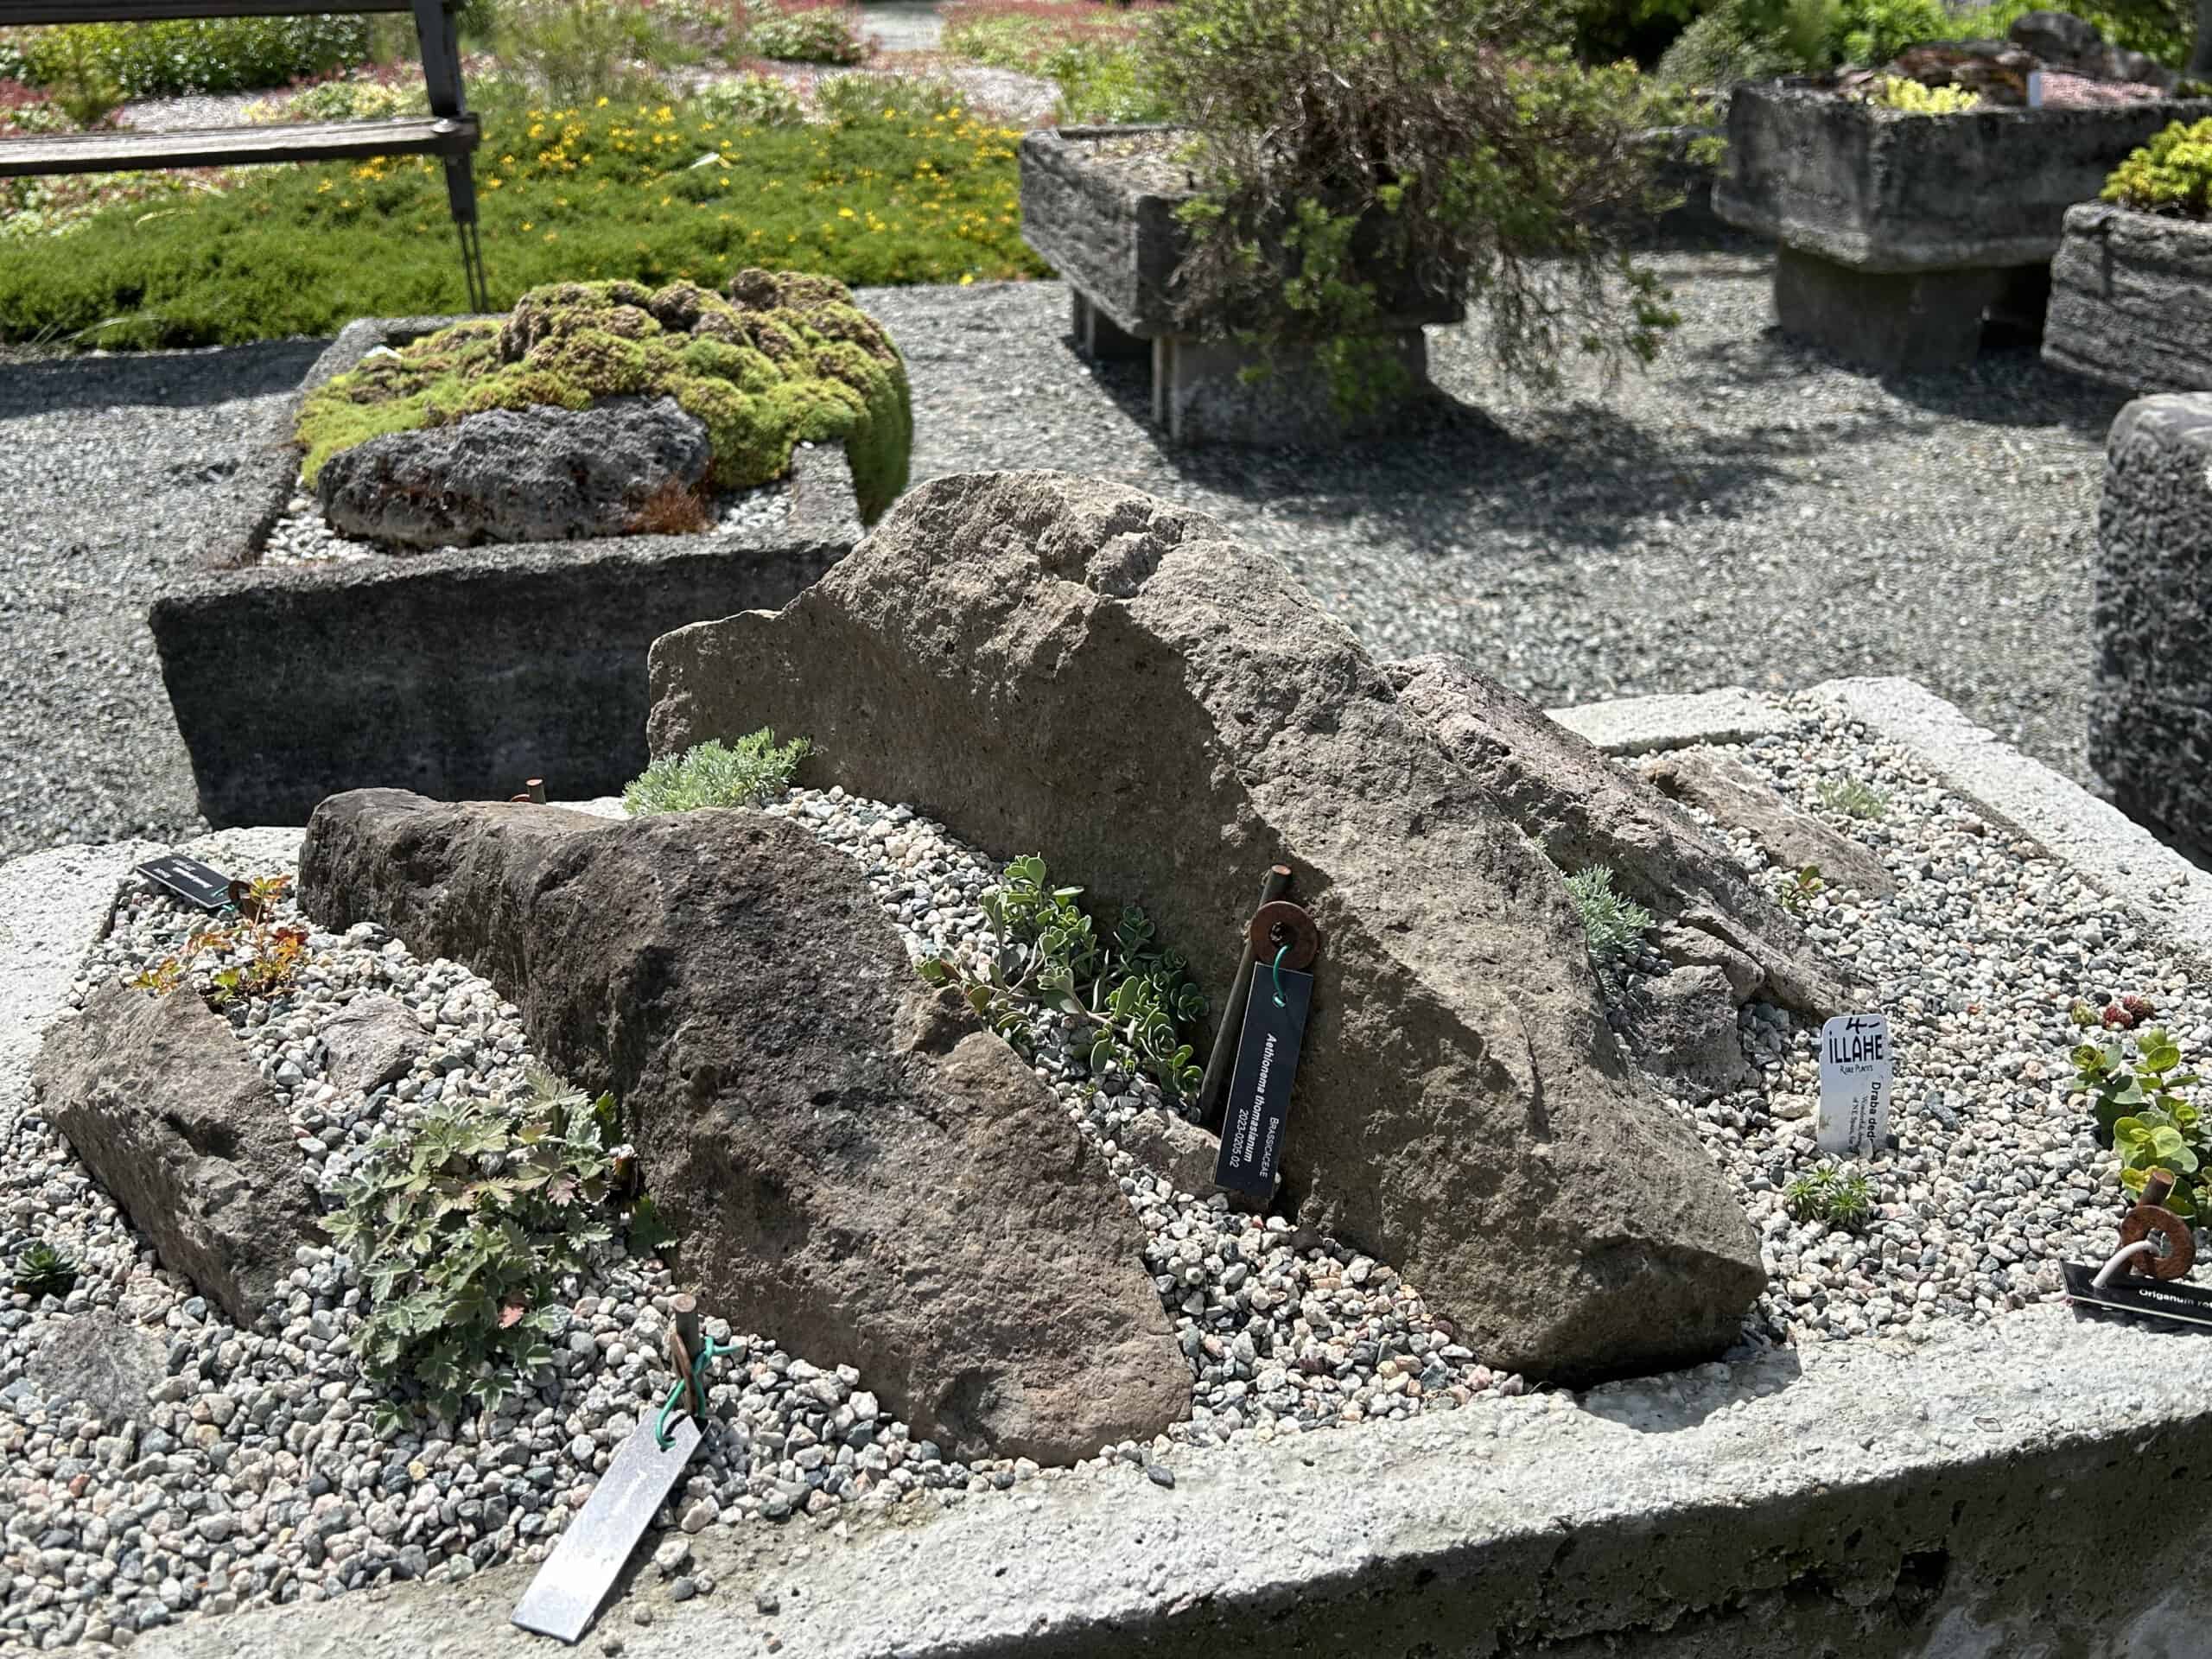
This tiny Brassicaceae is tucked between rocks in a trough garden at the UBC Botanical Garden. © Ginny Bode
Making Hypertufa
Recipe mixes for hypertufa can be found on the Internet. The recipe below is from Rosemary Read, Editor of The Social Gardener for the Whatcom Horticultural Society.
Lightweight Frost-proof Troughs “Tufa”
by Rosemary Read, Editor, The Social Gardener

Materials Needed (parts by bulk):

  • 1 part Portland cement
  • 1 ½ parts fine peat (screened)
  • 1 ½ parts horticultural vermiculite and/or perlite
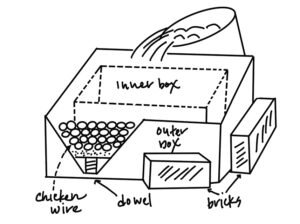
  • 2 cardboard boxes (which, when fitted one inside the other, leave a gap of approx. 2 in. between the sides.)
  • 2-3 wood dowels (approx. 2 in. long)
  • Chicken wire (or metal strips) for reinforcement

Peat Moss and Sustainability

Increasingly, master gardeners are looking towards sustainable materials and encouraging gardeners to use a peat moss substitute whenever possible. Coconut coir is a sustainable product, and can be used instead of peat moss at a ratio 1.5:1 of the coconut coir and cement to water and perlite. However, it does not decompose as quickly as peat moss, which leaves pits and crevices and resembles true tufa rock. The full recipe and directions for using a peat substitute can be found here > 

Download the full report debunking the myth of the sustainability of peat bogs by Linda Chalker-Scott, PhD., WSU Extension Urban Horticulturist and Associate Professor.
Download here>
Steps to Making a Hypertufa Pot
Mix the dry ingredients and add water to make a thick, creamy consistency that can be poured. Mix in an old wheelbarrow, bucket, or container that can be moved and washed out when the project is complete.

1) Set up the outer mold cardboard box where you can move around it freely and where it may be left to harden. It is best to cover surfaces with plastic.

2) Pour mixture into the floor of the outer mold (2″ or more).

3) Press the wooden dowels into the mixture. In addition to making drainage holes, the dowels will support the inner box.

4) Place the inner mold on top of the dowel plugs.

5) Place in chicken wire (along sides and corners).

6) Pour in the mixture until it reaches the top.

7) Leave 24 hours. Remove the outer mold (peel off).

8) Rough sides to make it look “old” (chisel).

9) Leave the inner mold longer to harden.

10) Leave trough a week or more to harden before knocking out the plugs.

11) Leave the trough for 2 weeks to “cure” by soaking it in water, which is changed every 2-3 days.

_______ – _______

Safety Warning: Concrete contains chemicals that can cause skin irritation and lung damage. Read the warning labels on the material purchased. When working with concrete, always wear gloves, a facemask, safety glasses, and old clothing. Set up your work area outside, away from breezes, children, and pets.

_______ – _______

Outer box: 16 ½” x 13 ¼” x 8″
Inner box: 13″ x 9 ¼” x 6-8″
Trough Size (inside): 13″ x 9 ¼” x 5 ½”

REFERENCES AND RESOURCES:

1. Carpenter, J. How to Make a Hypertufa Garden Trough. Retrieved from: This Old House.com

2. Chips, L. (2018). Hypertufa Containers. Portland, OR, Timber Press

3. Ecoregions in Washington, Landscape America, (http://www.landscope.org/washington/natural_geography/ecoregions/).Read, R., Personal Communication, (May, 2024). Lightweight Frost-proof Troughs “Tufa” The Social Gardener, Whatcom Horticultural Society, Bellingham, Washington.

4. Reed, W. High and Dry for a NW Icon. (2023, Fall). Washington State Magazine
Retrieved from: https://magazine.wsu.edu/2023/07/31/high-and-dry-for-a-nw-icon/

5. Pojar, J., MacKinnon, A. (1994). Plants of the Pacific Northwest Coast: Washington, Oregon, British Columbia and Alaska. Tukwilla, WA, Lone Pine Publishing.

Sonja Nelson

ABOUT THE AUTHOR:

Sonja Nelson is a Skagit County WSU Extension Master Gardener, Class of 2009.

Questions about home gardening or becoming a master gardener may be directed to:  Skagit County WSU Extension Office, 11768 Westar Lane, Suite A, Burlington, WA 98233; by phone: 360-428-4270; or via the website: www.skagit.wsu.edu/mg

Know & Grow
Gardening for Fragrance
Presented by Diana Wisen
Free
Tuesday, June 18 ~  1 p.m.
NWREC Sakuma Auditorium
16650 State Route 536, Mount Vernon

Visit the annual Open House at the Display Gardens:

Saturday, June 29
10 a.m. to 2 p.m.
Free Admission & Parking

Discovery Garden
16650 State Route 536, Mount Vernon
Learn More >


A Second Act for Your Square 1-Gallon Pots at the Discovery Garden!

Bring your leftover square 1-gallon pots to the Discovery Garden (16650 State Route 536, Mount Vernon). The bin for recycling the square 1-gal pots is located in the parking lot, just north (to the right) of the main entrance.
We only need square 1-gallon pots like the ones pictured below (bottom right). The recycling bin will be available now through fall. Simply put your pots into the bin, and we take care of the rest!


pot recycling


AMGPost_header5
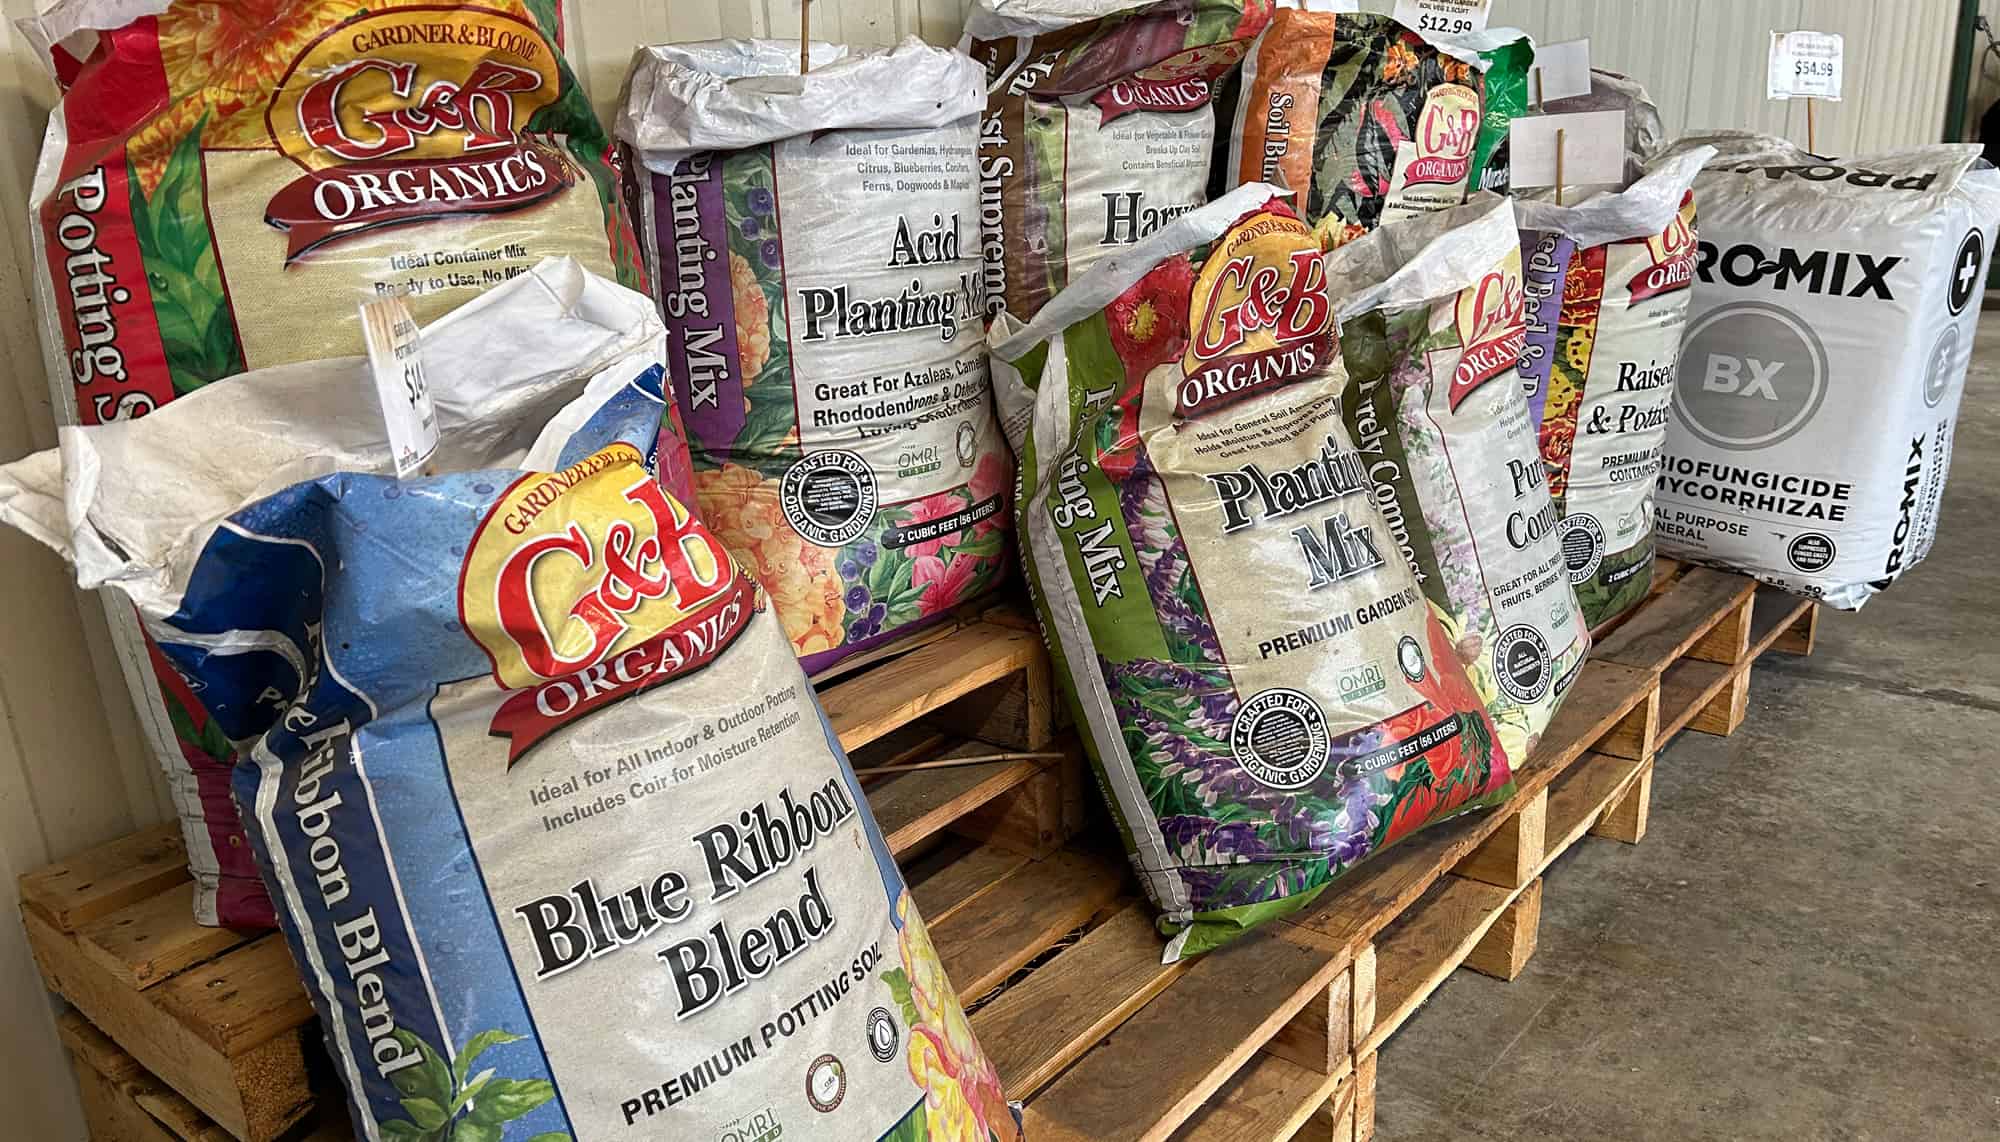
Bags of potting soil on store pallets

What’s in Your Bag of Potting Soil?

Not All Potting Soils Are Created Equal

              Subscribe to the Blog >

By: Bruce Lindsay, Skagit County WSU Extension Master Gardener

As spring advances, gardening stores offer a multitude of soil mix choices. Selection can seem daunting, so we asked fellow master gardener and soils expert Bruce Lindsay to take us on a deep dive into what potting soils are made of and how to amend commercially bagged potting soils to ensure the best success in our container and raised bed plantings.
                                                             — Ask a Master Gardener Editors
What exactly is in a bag of commercially produced potting soil?
The first step is learning the basics of soil. All soil primarily consists of sand, silt, and clay mineral particles. Sand is visible to the naked eye, ranging from 0.05 to 2mm in diameter, and is gritty to the touch. Silt is not visible to the naked eye and looks and feels like flour when it is dry. When it is wet, it feels like damp flour dough. Silt ranges from 0.002 to 0.05mm in diameter. Clay is the size of bacteria, less than 0.002mm, and has colloidal properties as the result of its net negative charge due to its crystal structure. In a natural setting, soils have pores made by plant roots and insects, which are essential for drainage and allowing air to enter the soil for roots to breathe. The size of the pores is also important for water movement and the soil’s ability to retain water.

In contrast to well-balanced mineral soil, purchased potting soil typically has very few of these properties and has several problems. But take heart, armed with scientific knowledge, gardeners can remedy many of these deficiencies.

4" pot in potting soil
The vast majority of bagged “potting soil” consists of ground wood and bark produced from recycled forestry products (RFP). Commercially bagged soils are available in multiple mixtures containing RFP, peat moss, and other additives. © Photo: Adobe Stock
potting soil in the greenhouse
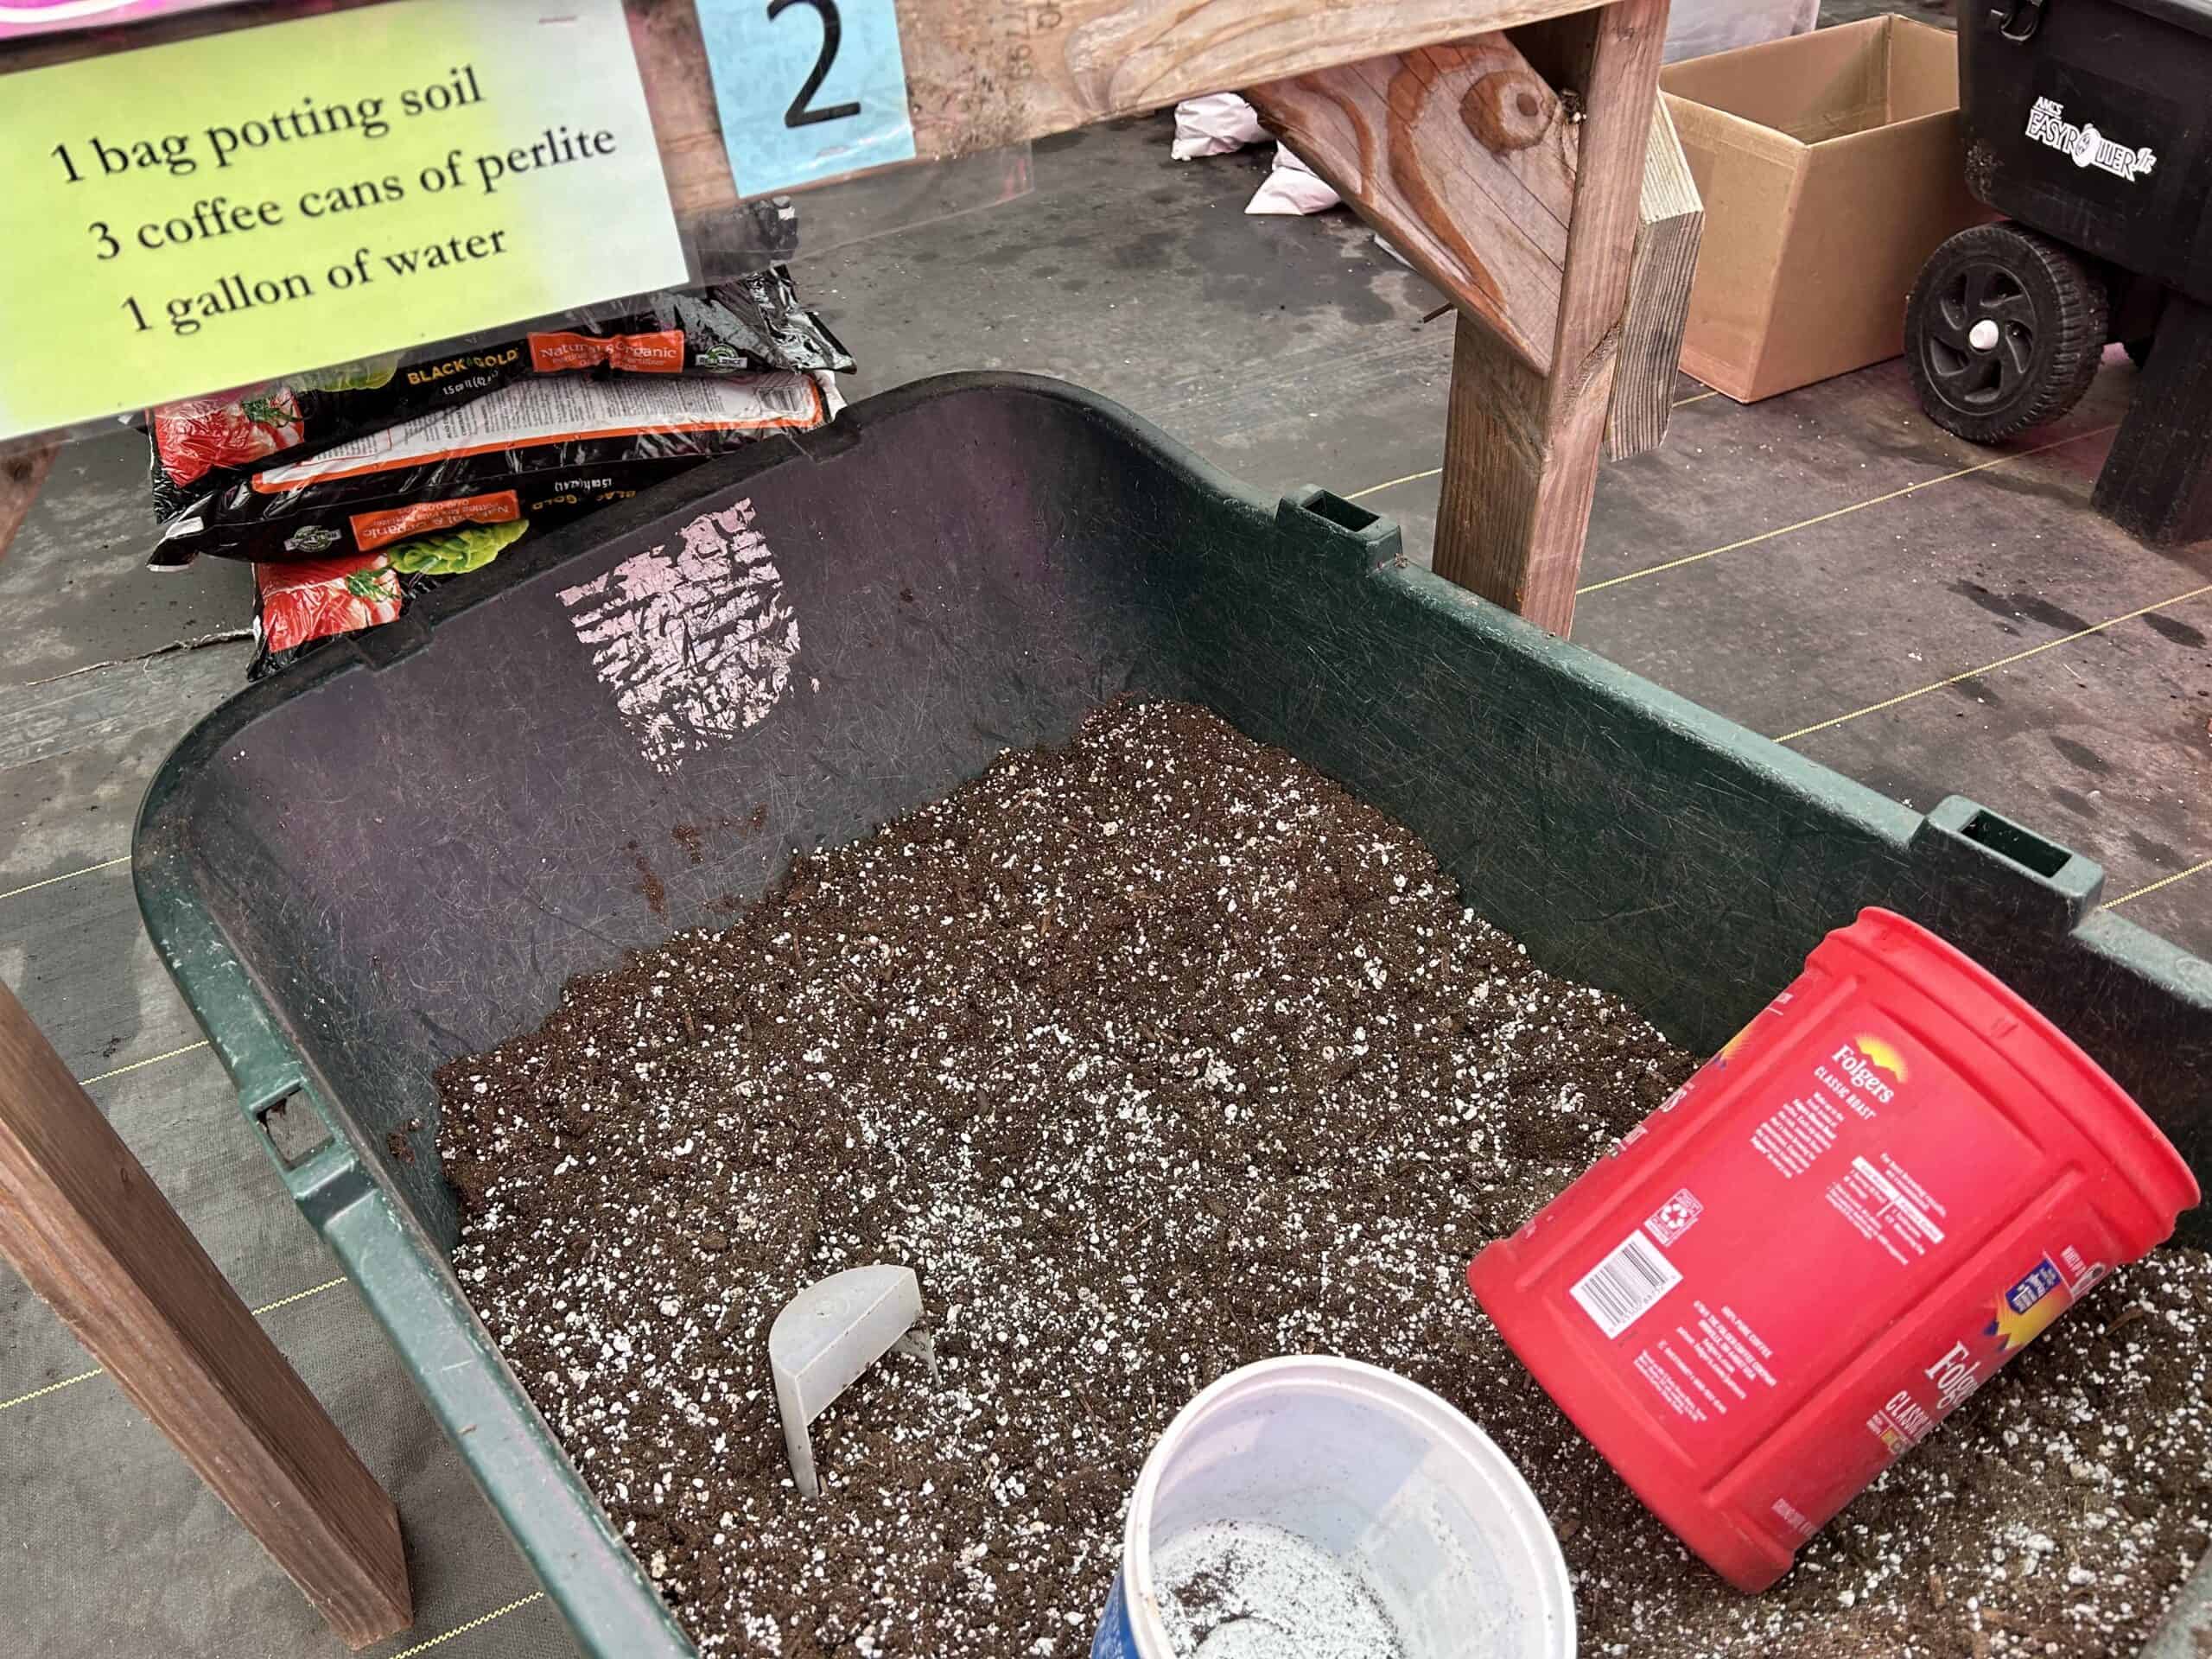
For seed starting and plant repotting, master gardeners use a moist, good quality potting soil mixed with perlite. © Skagit County WSU Extension Master Gardeners

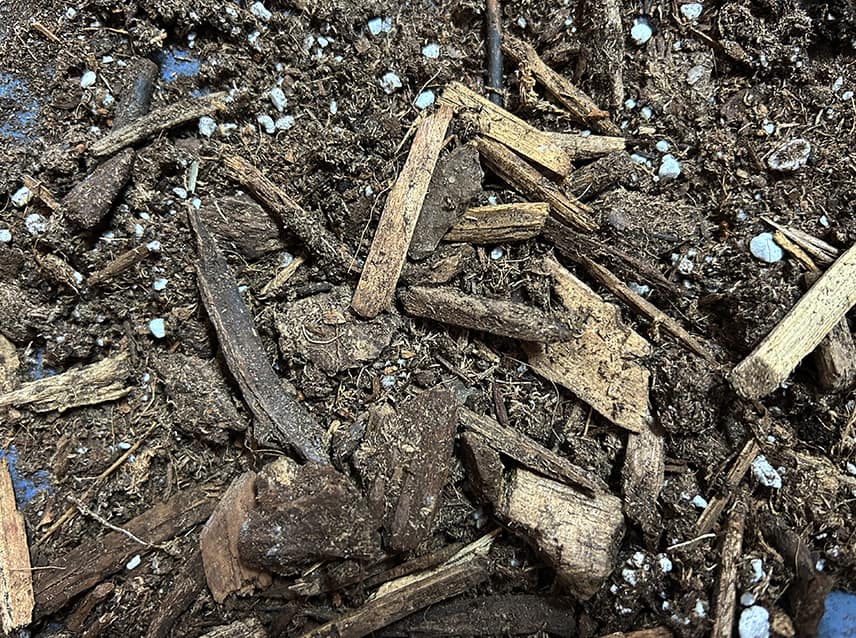
The vast majority of bagged “potting soil” (technically called a potting “medium” even though the label calls it “soil”) consists of ground wood and bark produced from recycled forestry products (RFP). Various commercially bagged soils are available, from coarse bark to multiple mixtures of RFP, peat moss, and other additives. In contrast, mineral soil products combine mineral particles of various sizes with some added compost. The potential hazard with some commercially bagged soils is the possible presence of weeds such as horsetail (Equisetum) and the potential presence of herbicides coming from landscaping sprayed with herbicide or hay fed to animals that has been sprayed and persists through a composted state and cause damage when used as potting soil.

Dealing with Nitrogen Deficiencies 
Recycled forest products are commercially sold in large bark chunks as mulch and finer-grained material as potting soil. These products come with inherent problems that gardeners can solve with amendments. The first issue that must be addressed is the carbon-nitrogen ratio (C/N). The ground-up wood materials in these bagged soil products are often almost pure cellulose, and bacteria (microorganisms) love to eat it. When bacteria eat stuff, they make many more bacteria and require more nitrogen as they reproduce, which results in nitrogen deficiency, leading to poor plant growth.

Older leaves turning yellow while the young leaves are green is often a sign of nitrogen deficiency. Severe nitrogen deficiency results in a severe lack of growth and stunted plants. One must take care when adding nitrogen; too much will promote rapid growth and excessive foliage. It can be a tricky balance, but fertilizer with some phosphorous and potassium is best. Some fertilizers also contain micronutrients, which can be beneficial. Use a significantly diluted solution (1 TBSP per gal.) of soluble fertilizer and frequently monitor the plants to see how they are doing.

materials in potting soil
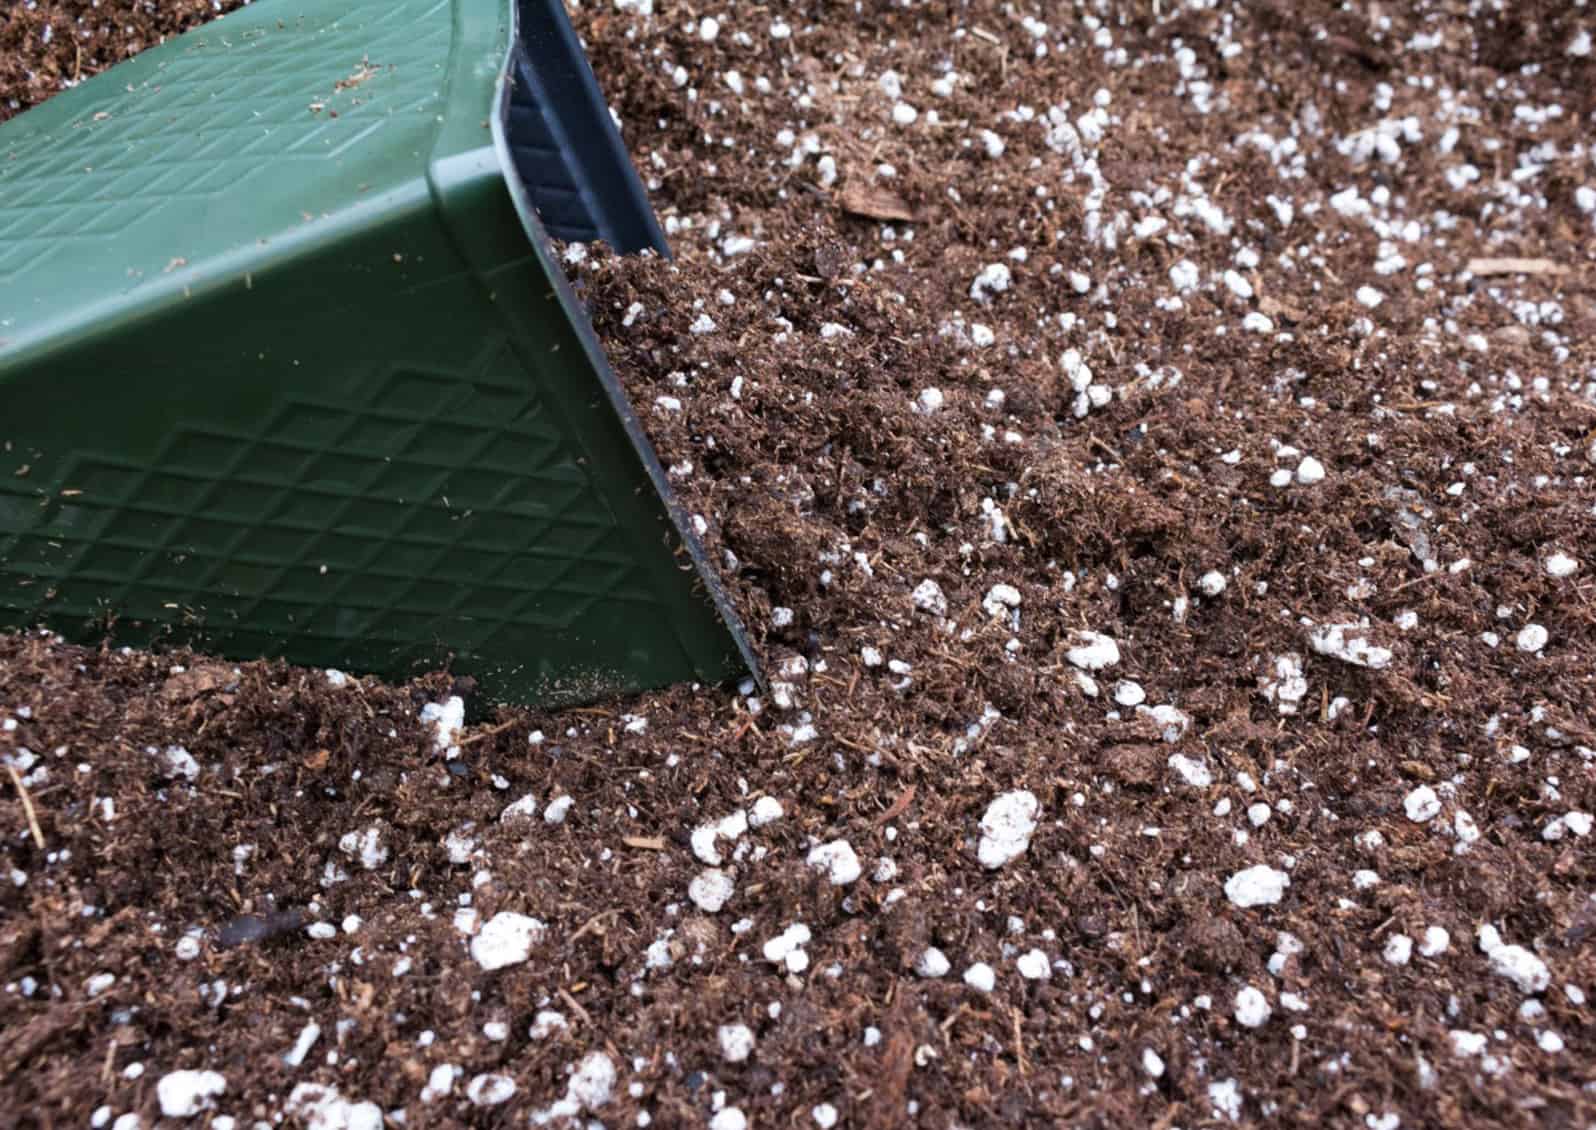
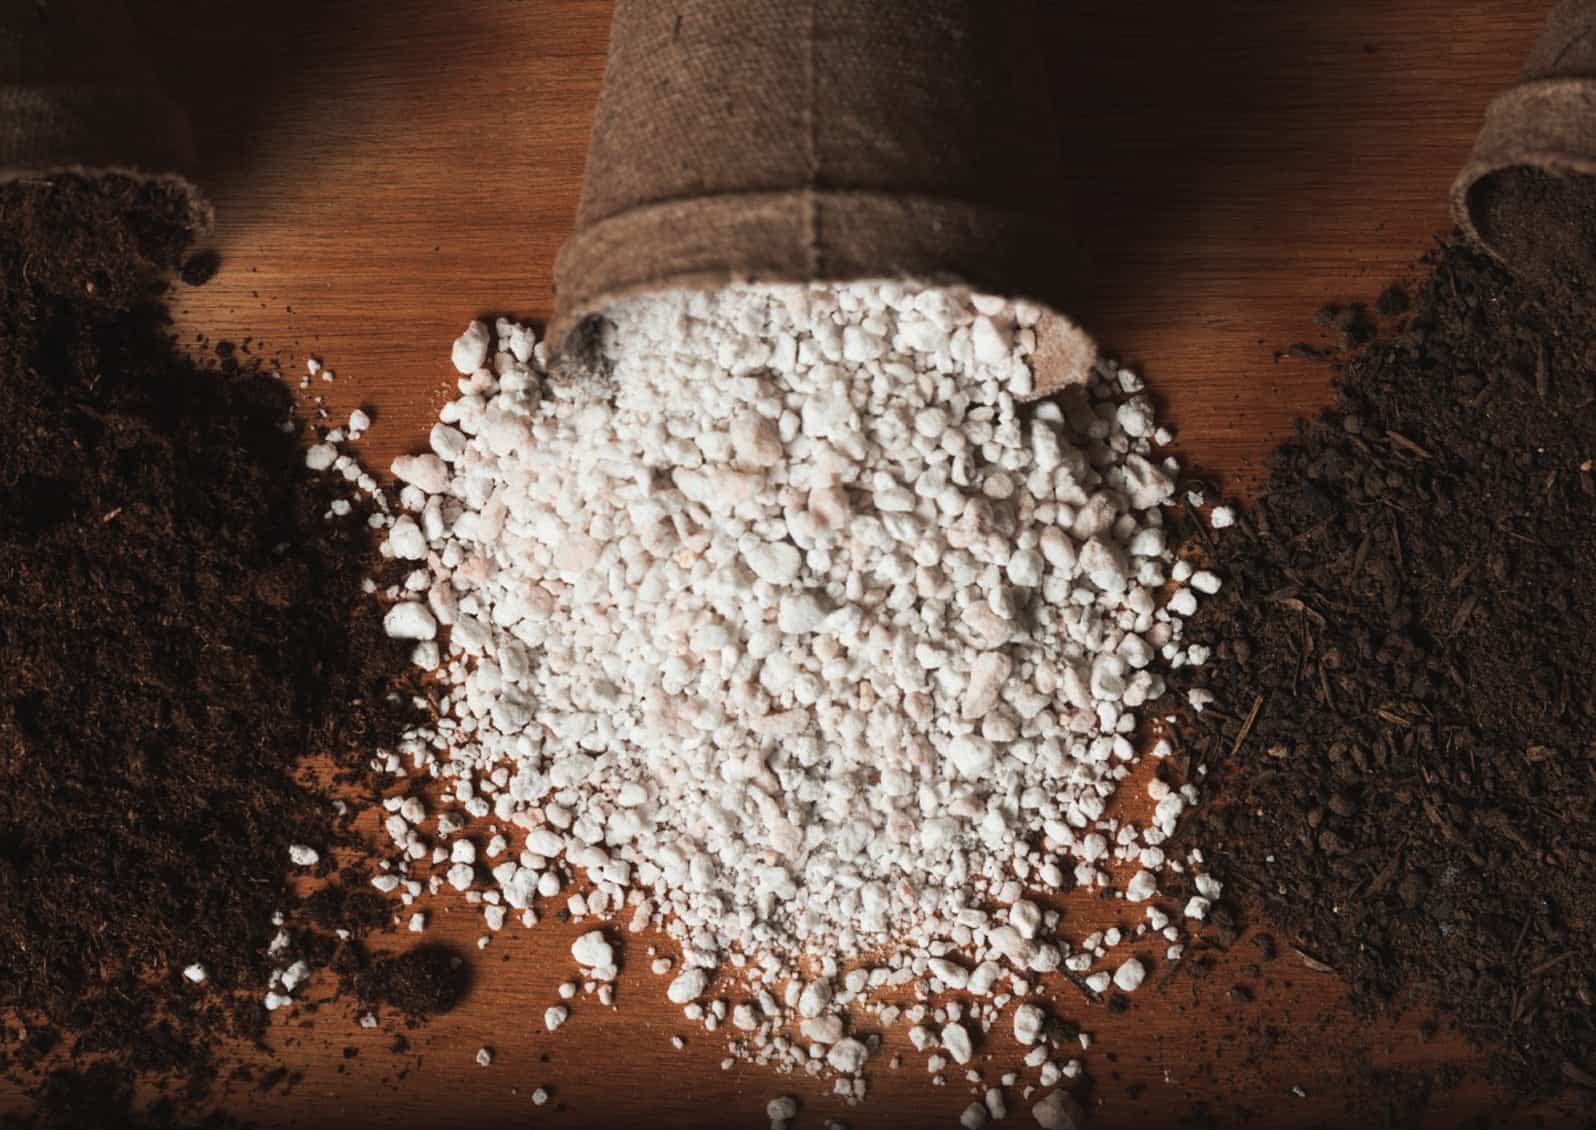
Perlite is a volcanic glass, which, when subjected to heat and pressure, it changes, puffs up like popcorn, and forms many tiny pores that can hold water.
It is surprising how much wood is included in a bag of potting soil. © Skagit County WSU Extension Master Gardeners

Since the recycled forest products used in commercially sold products are very porous, much of the fertilizer will drain through the pot in one application. To solve this problem, use well-composted materials containing organic matter or humus for effective nutrient retention. Well-composted materials should not include a lot of materials like straw and sawdust. Bacteria love sugars and cellulose, as in the “greens” of composting terminology, but bacteria have a hard time breaking down the “browns,” which contain lignin. If there were only sugars and cellulose in composting, bacteria would consume everything, and nothing would be left. The compost “browns” in soils contain materials high in lignin, resulting in “humus” as the ultimate end product of composting. One benefit of humus is that it is very good at holding water. Another significant advantage of adding well-composted materials to a soil mixture is that it will also add beneficial bacteria and fungi that are essential for many processes, just as they are in healthy mineral soils. Another benefit is that humus has a net negative charge that can hold onto cations such as potassium, calcium, and magnesium, giving the soil cation exchange capacity essential to plant growth.

The Importance of Cation Exchange Capacity (CEC)
Balanced mineral soils contain clay particles with a negative charge that hold onto the cations. Bagged potting soils containing a heavy ratio of recycled forest products do not have any clay, so the cations get leached out. To amend this problem, add well-composted materials to the RFPs. Hydrogen ions are cations that stick to negatively charged humus particles like little magnets. When fertilizers are applied, the calcium, magnesium, and potassium displace the hydrogen cations and become stuck to the humus particles. Plant roots come along, exude acids, and displace the nutritional cations, which are absorbed by the root and go up into the plant.
Wikipedia defines CEC as:
Cation-exchange capacity (CEC) is a measure of how many cations can be retained on soil particle surfaces.[1] Negative charges on the surfaces of soil particles bind positively-charged atoms or molecules (cations), but allow these to exchange with other positively charged particles in the surrounding soil water.[2] This is one of the ways that solid materials in soil alter the chemistry of the soil. CEC affects many aspects of soil chemistry, and is used as a measure of soil fertility, as it indicates the capacity of the soil to retain several nutrients (e.g. K+, NH4+, Ca2+) in plant-available form. It also indicates the capacity to retain pollutant cations (e.g. Pb2+)

Many garden centers now carry a soil amendment called humic acid (or related substances, humin and fulvic acid). These are still the subject of much scientific debate. These compounds are created by alkaline extraction and are not naturally present in soil. While humic substances may have some positive effects on root growth, home gardeners are best advised to focus on the longer-term building of soil organic matter through carbon-rich amendments such as compost (or cover crops for garden beds), etc.

The Soils Capacity to Hold Water
It is essential to slow the water down so plants have the opportunity to absorb it. Fortunately, most ornamental plants and vegetables prefer well-drained soil and do not like being in standing water for very long. In contrast, due to their fibrous material, most hanging baskets need watering once a day.

Add popped perlite and/or vermiculite to the mix to increase water retention. Perlite is a volcanic glass, which, when subjected to heat and pressure, it changes, puffs up like popcorn, and forms many tiny pores that can hold water. Perlite is the little white balls often added to soil mixes.

Vermiculate is a naturally occurring mineral that is also heated to create the golden-brown cube-like material we see added to soils. Vermiculite draws in and holds water like tiny sponges throughout the soil. You can also use coconut coir as a moisture-holding material, but soak it thoroughly before adding it to a mixture.

The water-holding capacity of pelletized wool is an exciting new material being tested. Pelletized wool is composed of the short wool fibers from the underside of sheep where the wool is also much dirtier and has plant fibers embedded; it is not suitable for processing into fabrics. This material has been a waste product of the wool industry. Recently, however, research has shown that this material is a viable amendment to soil that improves the water-holding capacity of soil and provides some slow-release nutrients. Already sold commercially this material is pelletized for ease of mixing into soil and is a productive, sustainable use for a by-product typically diverted to a landfill.

The Addition of Slow-Release Fertilizers
Bagged potting soil products often offer slow-release fertilizer additives. Beware of those using tiny plastic beads to store the nutrients. Our soils do not need synthetic materials left behind. Instead, some products use fertilizers with a mineral coating, such as limestone or gypsum, that slowly dissolves, releases the inner contents, and does not leave behind plastic residue.

Other slow-release products consist of blood, bone, and feather meal, which are by-products of meat processing. The drawback of these materials is the smell they generate. They are acceptable when used in a field but not welcome on a patio in a hanging basket. Likewise, fish emulsion is a fairly slow-release fertilizer but also has a considerable odor problem. While it is an organic fertilizer, one must consider the odor it causes and that it is a by-product of overfishing of oceans.

Adding ground limestone to the mix may be a good idea because the recycled wood product material tends to be on the acidic side. The limestone will add some alkalinity. Dolomitic limestone is even better, as it contains magnesium and will be a slow-release source of calcium and magnesium. Be sure to mix it well with the potting soil. About a cup per cubic yard should be enough. If you have access to a pH tester, use it! The soil pH indicates the availability of essential nutrients needed for plant growth. Ideally, potting soil should have a pH of about 6.5. It is important to test the pH of your soil mix before adding an amendment to raise or lower the pH.

Basic food waste from the farming, grocery, and restaurant industries is a readily available slow-release fertilizer. It is stunning that forty percent of our food production goes into landfills. An alternative is an organic liquid product made from fermented food and vegetable waste. It doesn’t stink and smells good, somewhat like soy sauce. With landfills overflowing, diverting food waste into soil improvement and garden production is one way to improve our environment.

Some people think replacing their potting soil with fresh material each year is necessary. This is only the case if there are disease issues. For instance, potting mix used for tomatoes or potatoes should not be used again for those plants because they are both susceptible to soil borne diseases. After a season of growing and watering, all the nutrients have leached out, but you can easily replace the nutrients by using the dilute fertilizer solution mentioned above. If the soluble fertilizers are too concentrated and the plants are not utilizing them, they may accumulate as salts. As time passes, some of the RFP in the potting soil will get eaten by bacteria, and the volume will decrease. In this case, add new potting soil with the amendments and mix it well with the original soil, spreading the nutrients around.

These recommendations apply to soil used in containers, raised beds and hanging baskets. It also applies to starting seeds in trays, but the seed starting soil material should be very fine to ensure good contact between the seed and the moist growth medium. When starting seeds, the soil should also drain fast enough so a fungal damp-off situation does not develop. Sphagnum peat moss tends to float to the top when watered and begins to clog pores, making it difficult to get moisture down to the bottom of the cell. Sprinkling fine vermiculite on the very top of each cell can help prevent these problems.

While forestry products recycled as commercial potting soil have drawbacks, amending these insufficiencies is an easy process. It is much better to use RFP products than to burn, bury, or dump them into the overflowing waste stream. Armed with awareness of the limitations of modern “potting soil” and knowing some remedies, gardeners can buy these products feeling confident with scientific knowledge.

REFERENCES AND RESOURCES:

Beck, L. (2023). ‘Waste Wool‘ is a Burden for Farmers. What if it Could be a Solution Instead? Retrieved from https://modernfarmer.com/2023/11/waste-wool-solution/

Brady N., Weil, R. (2017). The Nature and Properties of Soils. London, UK. Pearson Education (15th ed.)

Lehman, J., Keber, M. (2015). The Contentious Nature of Soil Organic Matter. Nature volume 528, pp 60-68.  https://www.nature.com/articles/nature16069


ABOUT THE AUTHOR :

Bruce Lindsay became a Skagit County WSU Extension Master Gardener in 2015. With an MS degree in geology and an MS degree in soil, he has mapped soils in Nevada, Arizona, California, and Washington.

Questions about home gardening or becoming a Master Gardener may be directed to: Skagit County WSU Extension Office, 11768 Westar Lane, Suite A, Burlington, WA 98233; by phone: 360-428-4270; or via the website: www.skagit.wsu.edu/mg

Upcoming Skagit Master Gardener Foundation Events:

Know & Grow:
Growing Roses in Skagit County
– Free
Presented by Virgene Link-New
April 16, 1 p.m. 
NWREC Sakuma Auditorium
(16650 State Route 536, Mount Vernon)

Free Admission & Parking
May 11, 8 a.m. to 2 p.m.
Skagit County Fairgrounds
Learn More >


A Second Act for Your Square 1-Gallon Pots at the Discovery Garden!

Bring your leftover square 1-gallon pots to the Discovery Garden (16650 State Route 536, Mount Vernon). The bin for recycling the square 1-gal pots is located in the parking lot, just north (to the right) of the main entrance.
We only need square 1-gallon pots like the ones pictured below (bottom right). The recycling bin will be available now through fall. Simply put your pots into the bin, and we take care of the rest!


pot recycling


AMGPost_header5
© Kay Torrance

Gardening for All Ages and Abilities

Practical tips and ideas for adapting the garden through life’s transitions

              Subscribe to the Blog >

By: Ginny Bode with Madelyn Case and Anita Reetz, Skagit County WSU Extension Master Gardeners

Gardeners know spending time in the garden feeds the soul. But sometimes, as life changes, we face the need to adapt how we garden so it is possible for ourselves or those we love to continue cultivating wellbeing through gardening.

For some, physical limitations present lifelong challenges; for others, aging begins to interfere with the bending, kneeling, and digging associated with gardening. There are many reasons to take heart and continue to enjoy gardening by implementing some of these adaptive methods.

In her book Gardening for a Lifetime, Sidney Eddison sums up the reason for adapting when she says, “We are all doing exactly the same thing-trying to hang on to something we love.” Her book is loaded with practical ideas for reducing and removing barriers that hinder and continue the joy of growing plants through life’s transitions.

Reducing the size and work of a garden is the first step, followed by making it easier, more accessible, and user-friendly. A vegetable garden the size you’ve always had, and probably shared with others, can be resized to reduce both the work of maintaining and the work of harvesting. Choose to grow your top favorites, looking for plants that require less maintenance.

Eddison writes about requiring a “standard of good behavior” for perennials. Her measure includes observing a perennial’s health, fortitude, and ability to withstand the extremes of summer and winter. They must be “well-behaved” and not invite pests. As plants age out, replace them with sizes and varieties that are easier to maintain. And, because climbing ladders is problematic as we age, choose low-profile trees and shrubs that are easier to reach for pruning and maintenance.

Pay Attention to Walkways
Every garden needs to be accessible and safe. Falls are problematic and can limit the ability to garden even more. Remove any places that may cause one to stumble. Eliminate a dip in a walking path and poor transitions between surfaces. Smooth pathways such as pavers, rather than woodchips or gravel, ensure ease for every gardener, particularly those who need the aid of a cane, walker, or wheelchair.
green plants growing in pots on patio
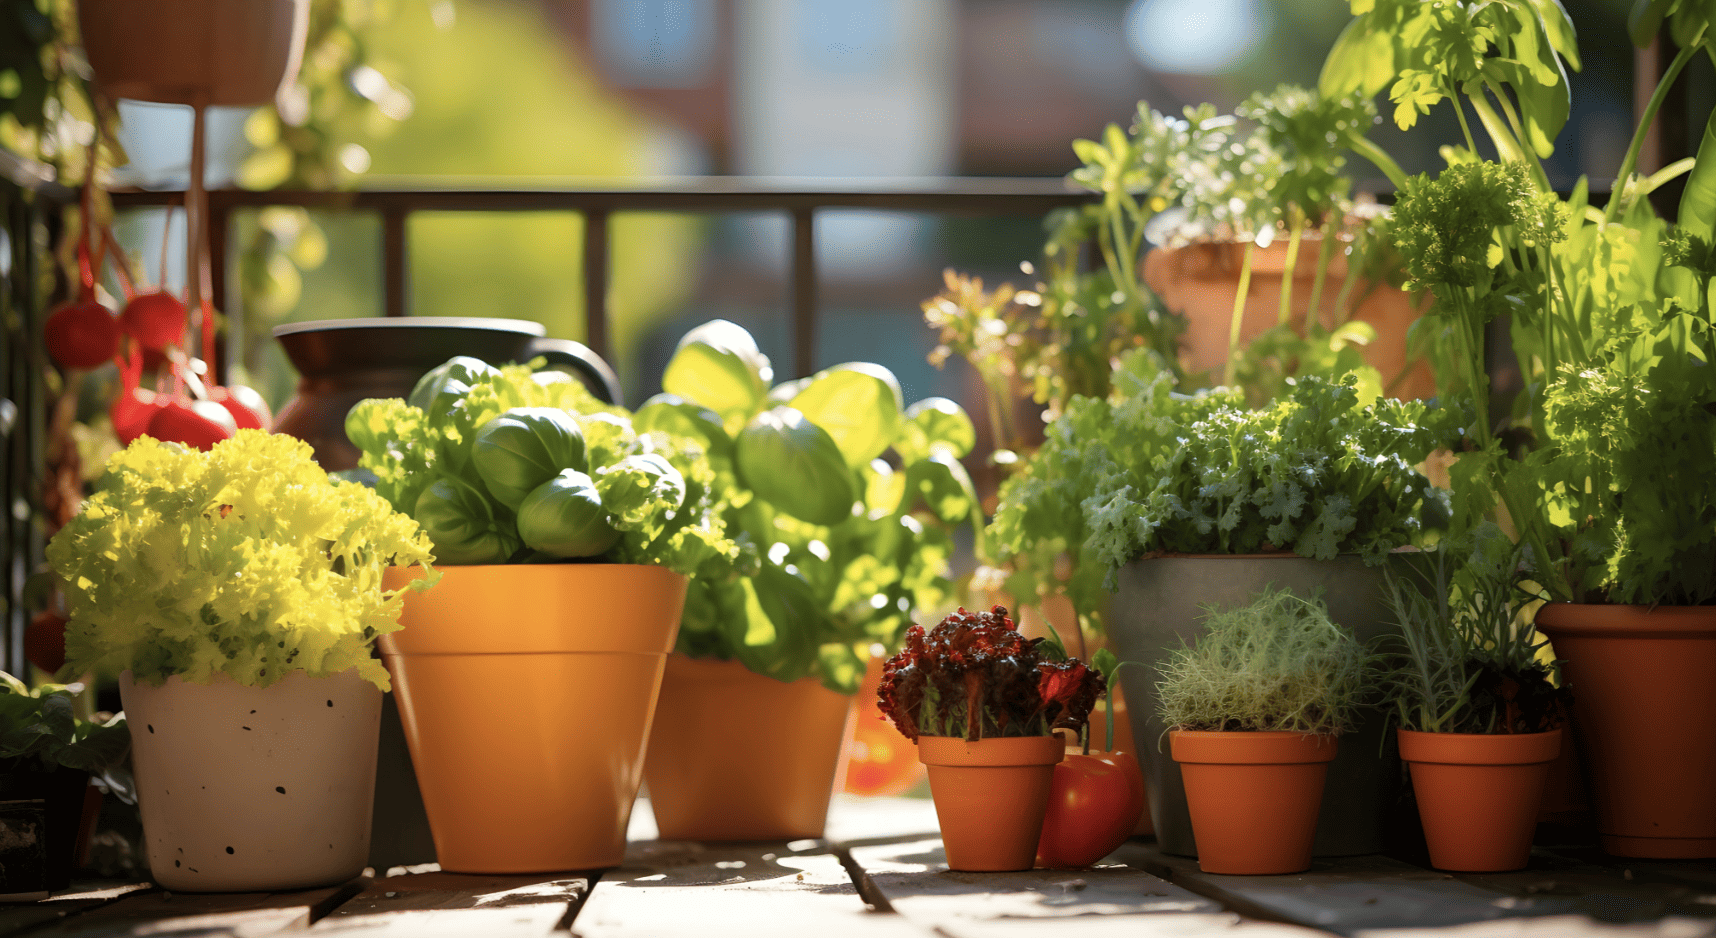
Herbs and lettuces can easily be grown in containers making it easy to gather when preparing a meal.
tomato growing in pot on patio
If the space doesn’t allow a large footprint, grow vertically with trellises in pots. Tomatoes are a beautiful addition, and can drive grown vertically with good airflow.
Be Amazed by What Can Be Grown in Containers
Life can throw us a curve, and home may change from acreage or a city lot with a garden to an apartment. Don’t let it rob the joy of gardening. When faced with gardening on a patio, containers can provide an excellent way to get a dirt fix. Most home gardeners are familiar with growing flowers in pots and containers. Many also successfully grow a wide range of vegetables, including tomatoes, beans, and kitchen herbs in pots. Depending on the space and container size, some folks even grow potatoes! The Vegetable Gardener’s Container Bible by Edward Smith provides advice for growing an abundant vegetable garden on your patio or balcony. Smith’s book is a stalwart in gardeners’ libraries because it is packed with information covering sun exposure, pot size, soil choices, and which varieties do best in containers.

A narrow bench fitted to the edge of a raised bed allows for tending without kneeling.

Raised beds are also an excellent solution to making the garden user-friendly, making it possible to get your hands in the dirt without bending or kneeling. By keeping the beds narrow, 4′ or less, every inch of the garden is reachable from a standing or wheelchair position. It is incredible how much can be grown in a raised bed. With the popularity of raised beds, kits that only require simple assembly are available, or you can use the plans referenced later in this article.

Master gardener and adaptive gardening consultant Toni Gattone shares many adaptive gardening ideas in her book The Lifelong Gardener. Faced with chronic back pain, she searched for ways to adapt her northern California garden. She collected considerable wisdom about assessing limitations and finding joy in the changes. In the book, Toni profiles several gardeners faced with specific challenges and how they solved them with intentional choices and tools.

Gattone has a chapter about tools available for gardeners who face physical challenges. Scooters, carts, and ergonomically designed tools reduce some of the problems caused by aging joints. Long-handled hoes and weeders can make it much easier to garden from a bench.

Share a Gardening Space with a Friend or Join a Community Garden
Another way to garden without a home garden is to share a space. Many communities have garden spaces for people who need a place to garden. Whether in a community garden or sharing space in a friend’s garden, both offer the additional benefit of social interaction and shared knowledge.
shows multiple raised bed gardens and terrlis
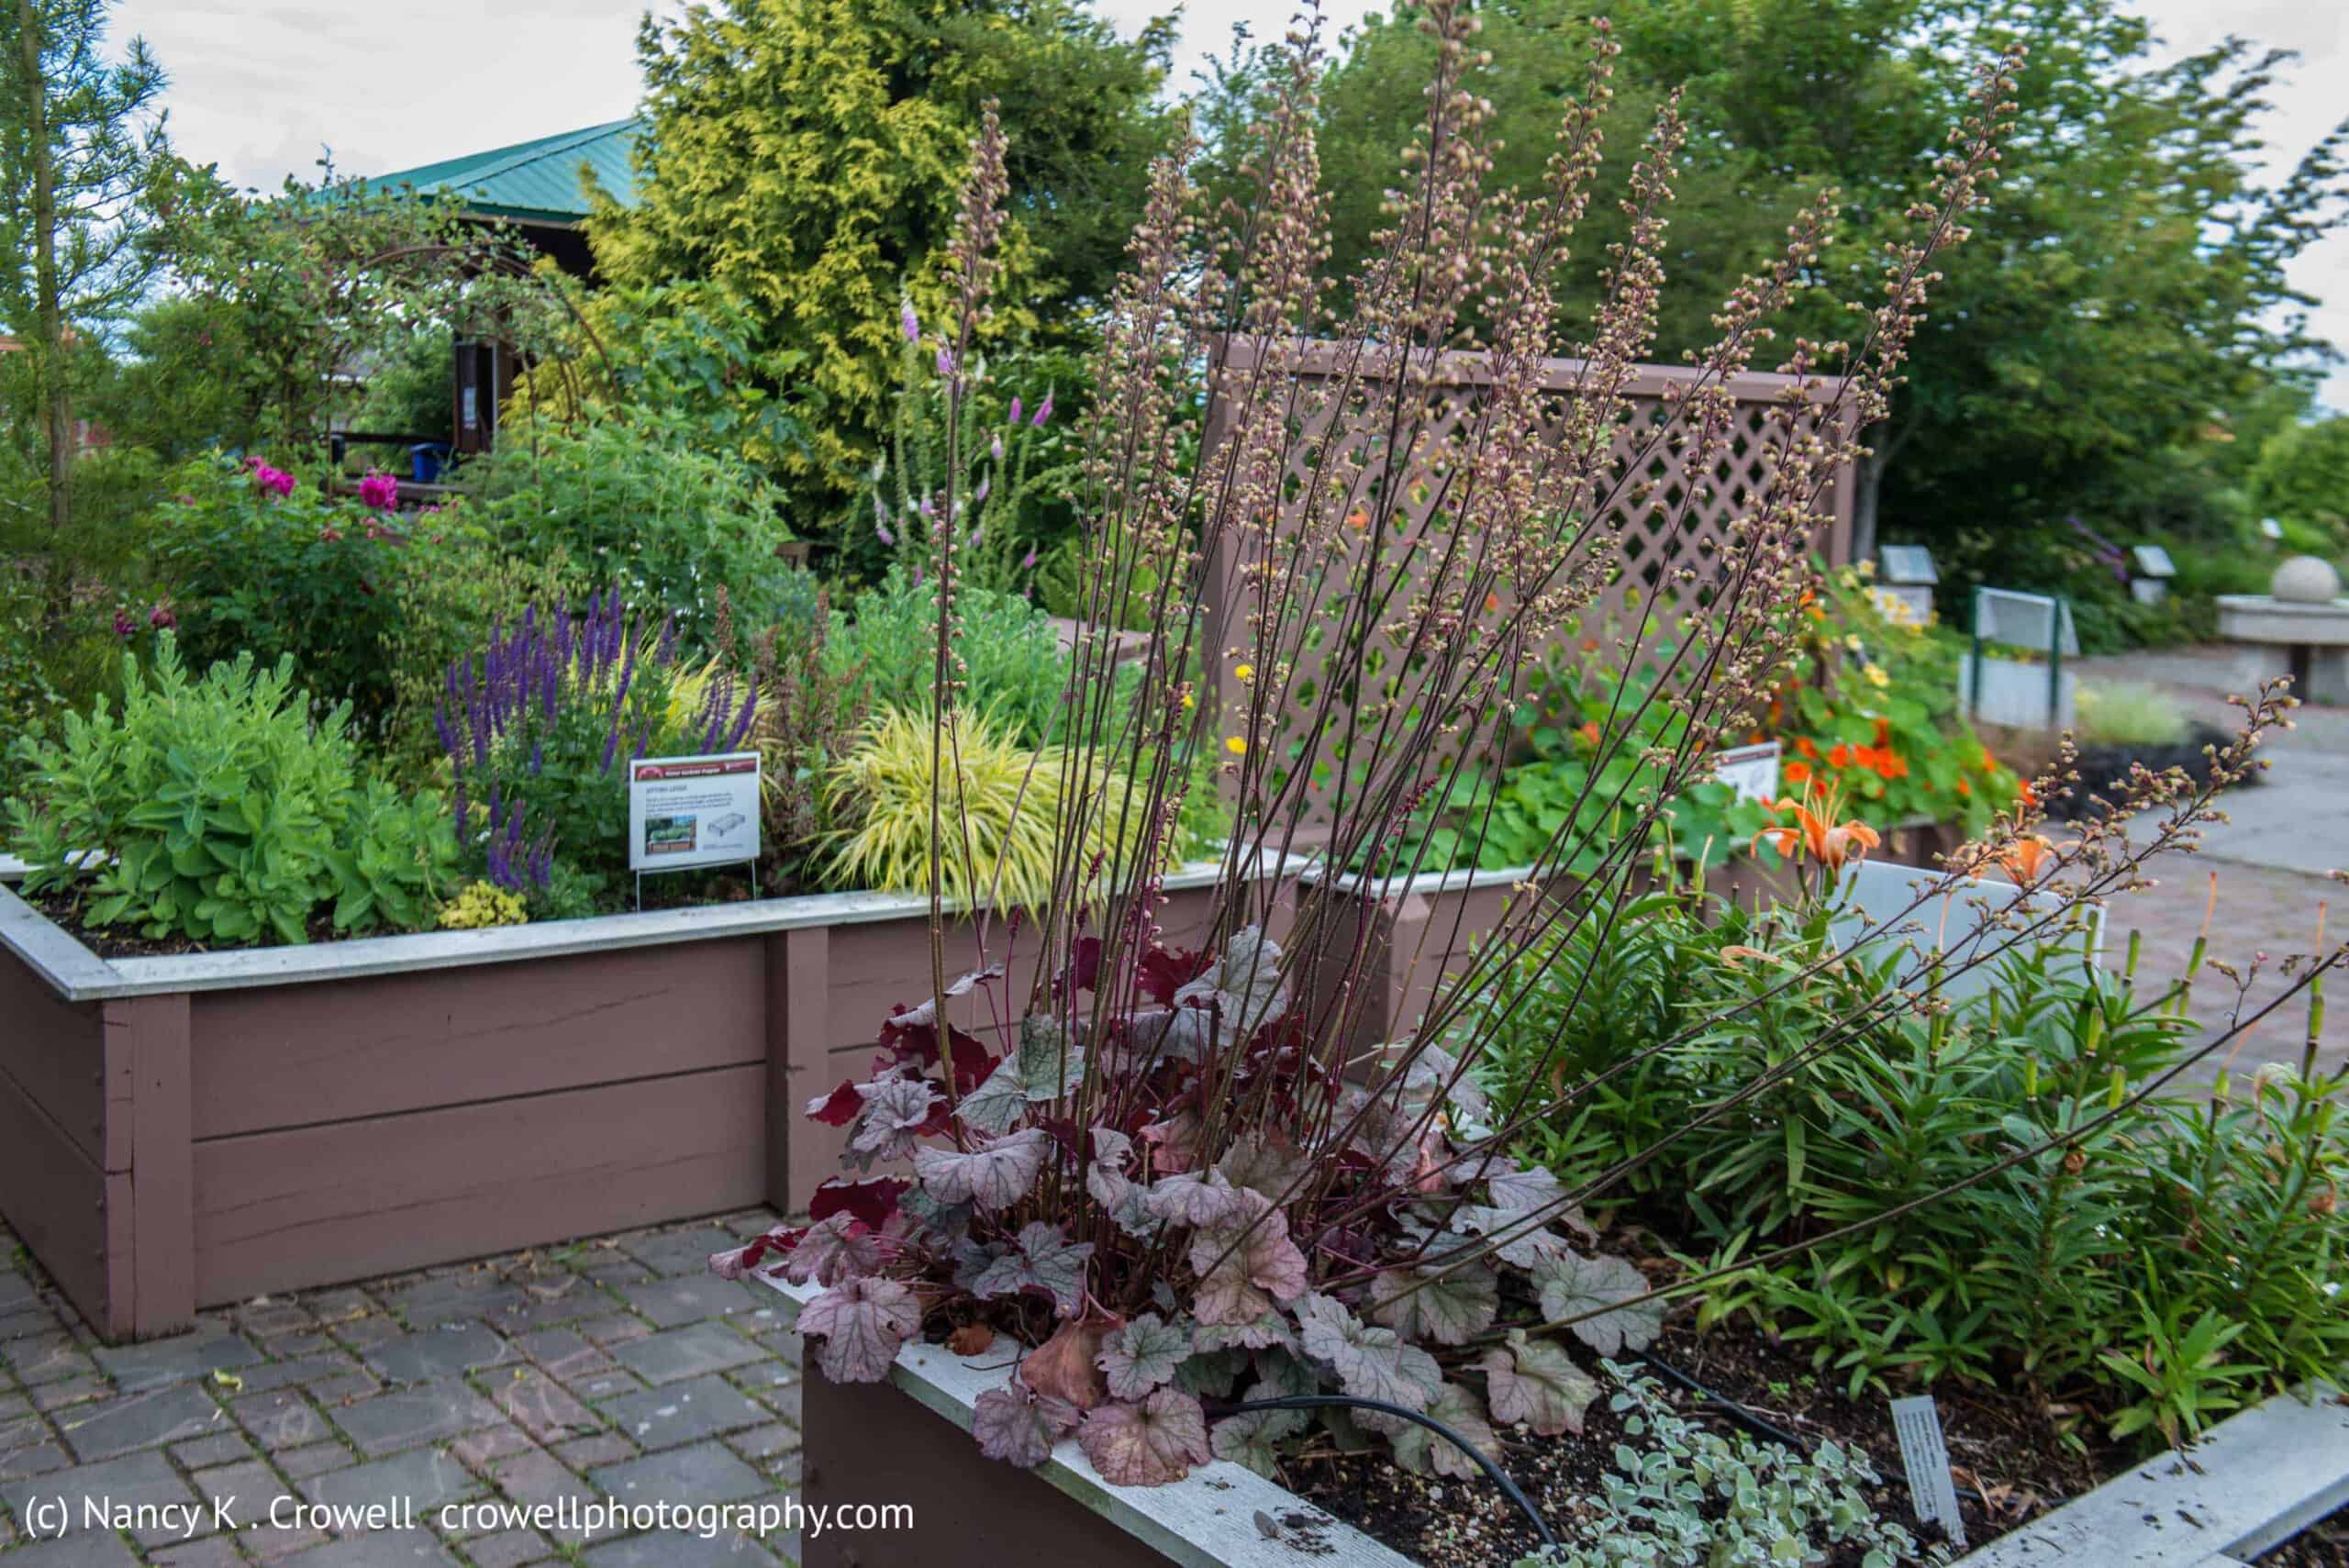
The Enabling Garden features an abundance of garden possibilities for making it easier to garden for all ages and abilities © Nancy Crowell Photography
See the Possibilities in Action
As spring turns to summer, you will find inspiration for adaptive gardening techniques in the Skagit County WSU Extension Master Gardener’s Discovery Garden on Memorial Highway (SR 536), west of Mount Vernon. Within the one-and-a-half-acre garden, local master gardeners have created an Enabling Garden, showcasing possibilities for people of all ages with limited physical abilities.

The Enabling Garden’s features include:

  • Smooth ground surfaces
  • Raised beds
  • Resting places
  • A display of adaptive gardening tools
  • A selection of plants chosen for their sensory attributes or space

sign showing garden tools
Many tools are available to help ease physical challenges. Long-handled hoes and weeders can make it much easier to garden from a bench.
© Ginny Bode
white rocks in raised bed garden
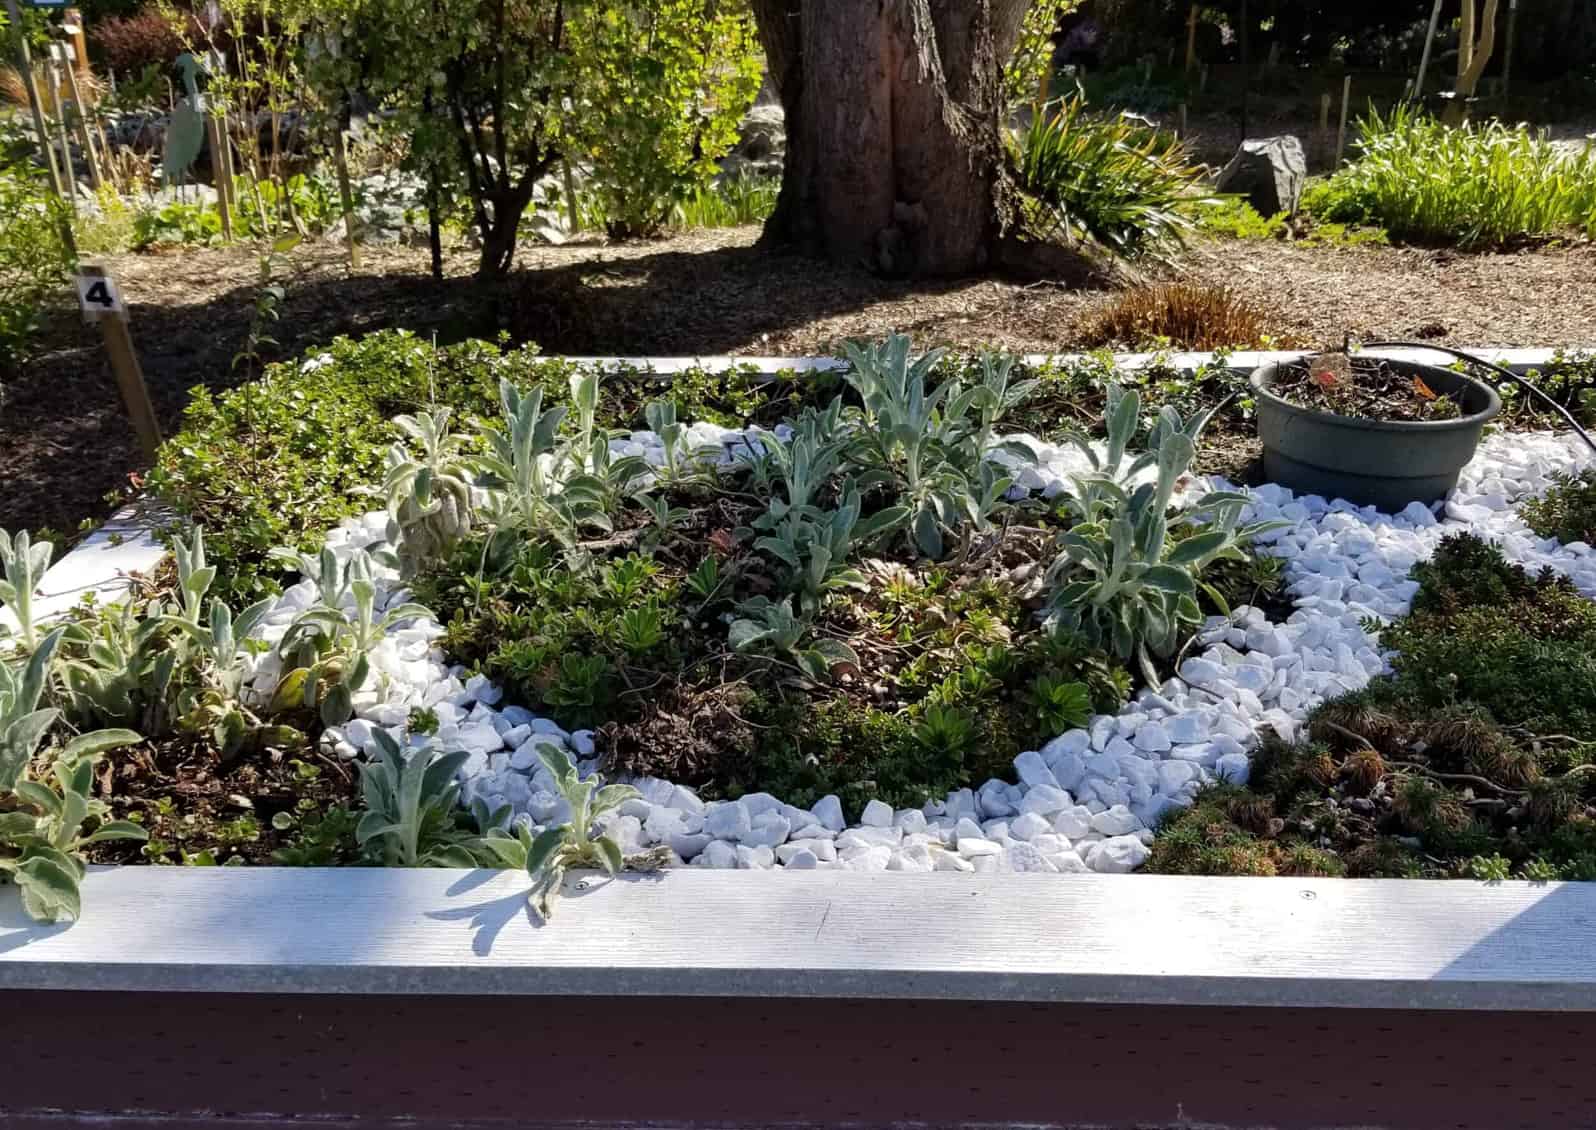
White stones delineate areas for the visually impaired in this raised bed in the Enabling Garden

Tripartite garden plants; wheelchair accessible.

Rather than wood chips or gravel, pavers allow visitors with walkers or wheelchairs to move about easily. The raised bed design (8-foot x 4-foot x 1-3-foot) permits the gardener to reach every inch of each bed, standing or from a wheelchair. You’ll find more information about raised beds along with plans at https://www.skagitmg.org/raised-beds-2023/.

One raised bed features a sitting ledge to offer a rest from work. Another bed is designed for the visually impaired and features curved streams of small white rocks separating plant clusters and plants with different textures to touch and feel. A third raised bed is divided into three parts with cutouts to push in a walker or wheelchair.

A fourth raised bed features a vertical lattice panel in the center, supporting various runner beans and clematis. The panel, located in the middle, permits tending from both sides. Square foot gardening techniques are displayed in another raised bed where 24 one-foot squares, laid out with twine, show the variety and abundance of small vegetables, herbs, and flowers that one raised bed produces.

The coordinators of the Enabling Garden choose plants for their ability to satisfy the senses of smell, touch, hearing, and taste. Kids visiting this garden say, “It’s fun to feel” the wooly lambs’ ear (Stachys byzantina), spiky lemon thyme (Thymus citriodorus), saxifrage, trailing English ivy (Hedera helix), and soft moss that flourish in the bed designed for the visually impaired. Fragrant plants throughout the garden include lilies, mint, sage, violets, and sweet peas. Herbs like lavender, rosemary, and lemon verbena can energize the gardener. You will find plants included for their sounds, too! Balloon flowers (Platycodon grandiflorus), bamboo, Chinese lantern plants (Physalis alkekengi), and honesty (Lunaria annua) provide interesting and pleasant sounds.

Within the Enabling Garden, you’ll also find a display picturing enabling tools, showing the tool and explaining how it helps gardeners use less energy and work more effectively.

These tips only touch on surface ideas to make it possible to experience the rewards of gardening no matter what physical limitations a gardener faces. The resources below dig deeper into the possibilities for gardening at any age or ability.

REFERENCES AND RESOURCES:

Eddison, S. 2010. Gardening for a Lifetime: How to Garden Wiser as You Grow Older. Timber Press Portland, OR.

Smith, E. 2011. The Vegetable Gardener’s Container Bible. Storey Publishing, North Adams, MA.

Bartholomew, M. 2018. All New Square Foot Gardening: Grow More in Less Space! Cool Springs Press, Franklin, TN.

Gattone, T. 2019. The Lifelong Gardener: Garden with Ease and Joy at Any Age. Timber Press, Portland, OR.

Ginny Bode
Ginny Bode
Anita Reetz
Anita Reetz
Madelyn Case
Madelyn Case

ABOUT THE AUTHORS :

Ginny Bode, Anita Reetz, and Madelyn Case are Skagit County WSU Extension Master Gardeners. Anita and Madelyn are the coordinators of the Enabling Garden at the Discovery Garden on SR 536 west of Mount Vernon. https://www.skagitmg.org/home/discovery-garden/

Questions about home gardening or becoming a Master Gardener may be directed to: Skagit County WSU Extension Office, 11768 Westar Lane, Suite A, Burlington, WA 98233; by phone: 360-428-4270; or via the website: www.skagit.wsu.edu/mg