Tips to Making Strategic Vegetable Seed Selections
Helpful Ideas for Choosing What to Grow in the Vegetable Garden
Subscribe to the Blog >By Kari Ranten and Cathy Markham, Skagit County WSU Extension Master Gardeners
Planning a vegetable garden for the upcoming growing season is the perfect indoor activity for the cold gray month of January in northwest Washington. Those plans all begin with the process of choosing the right seeds for the produce you want to plant, grow, harvest, eat, and preserve.
Shopping for seeds can be just as fun and educational as any step in the vegetable garden.
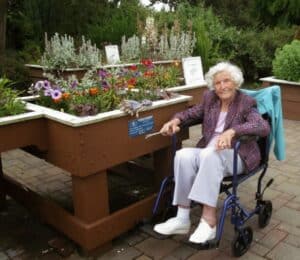
Giving a gardener a stack of seed catalogs is like the veritable “kid in a candy store.” These volumes, filled with colorful images and tempting descriptions of dozens of vegetables – from asparagus to zucchini – create a shopping experience like no other. As certified Skagit County WSU Extension Master Gardener Cathy Markham notes, “The problem is there are thousands of choices and, yet, that’s the fun part.”
The challenge in seed selection is to remain focused, strategic, and practical in making the right choices.

Start your research of seed options after making a list of favorite vegetables and evaluating your space, facilities, and skill level. Begin with learning how to read a seed description in a catalog, on a website, or a seed packet.
Photo © Cathy Markham, used with permission by Skagit County Master Gardeners

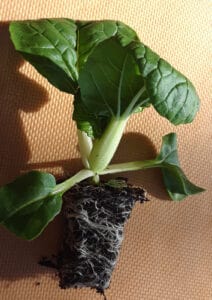
In our area warm-season crops such as tomatoes, peppers, eggplant, and melons need to be started indoors. Cathy uses a soil-blocking method (pictured above) to start seeds. This allow roots to grow vigorously without confinement and minimizes transplant shock.
Photo © Cathy Markham, used with permission by Skagit County Master Gardeners
Getting started
Here are some important considerations to help narrow down what seeds to purchase:
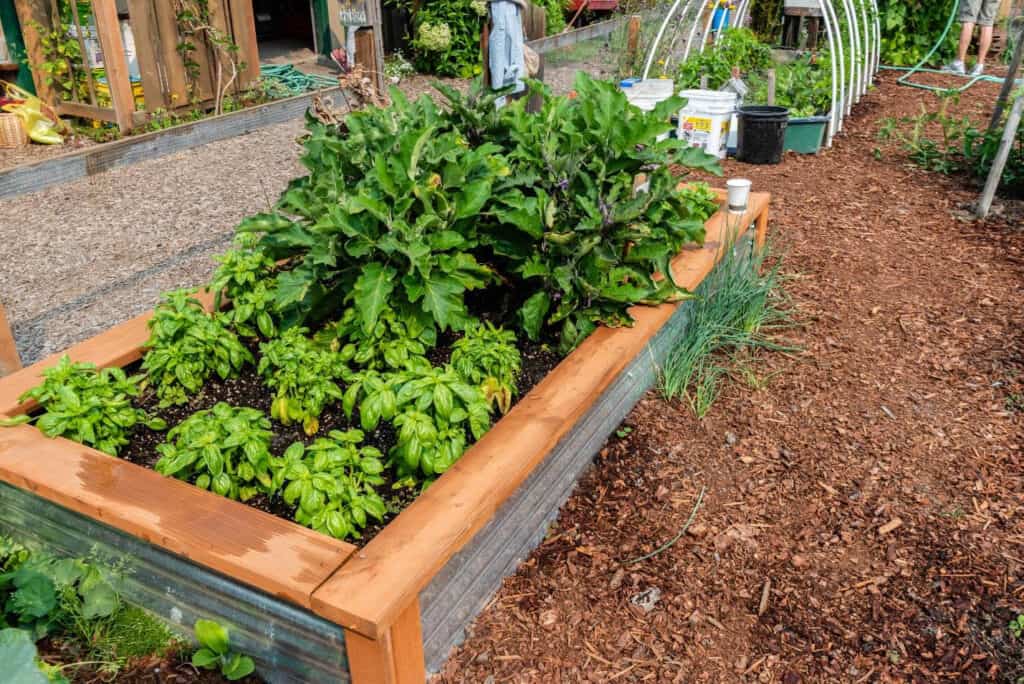
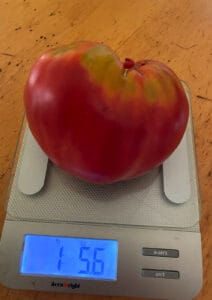
- Grow your favorites: Think about the produce that is most used and appreciated at the dinner table or preserved in the freezer or pantry. Putting a priority on these vegetables can help pare down the list of what to grow and the seeds to purchase. Cathy is a tomato aficionado, and pours over the seed catalogs and websites for her favorites and opportunities to try new varieties.
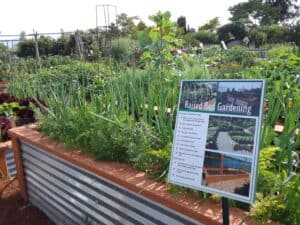
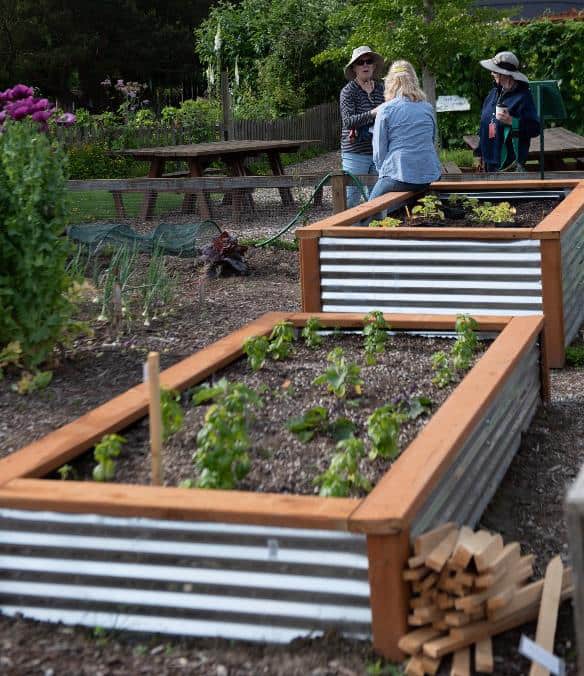
- Space: Based on the favorites list, look at the pots, raised beds, or garden space available for growing vegetables. Look at the space with an eye on directional exposure, light, and surroundings. An experienced vegetable gardener, Cathy grows a little bit of everything, including lots of tomatoes plus greens, peas, beans, and root vegetables. While she once had five acres, she now has a small garden space and works hard to maximize the potential by mapping out a plan for the garden space each year. She records progress notes to help in future seasons. In planning, also keep in mind that some crops, such as tomatoes, a member of the nightshade family, need to be rotated to a different area of the garden each season to limit pests and disease.
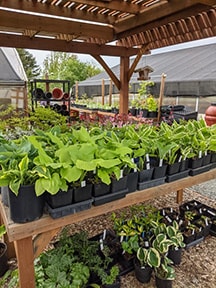
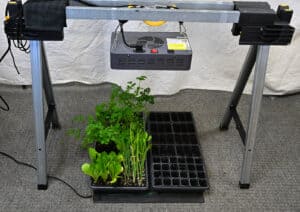
- Equipment: When choosing seeds for warm-season crops such as tomatoes, peppers, eggplant, and melons, remember that these need to be started indoors at home or in a greenhouse to be successful. A greenhouse is not required as many compact options are available to set up lights and heat mats on shelves indoors or in a garage.
- Skill level: For beginners, start on a smaller scale and add more vegetable varieties in future seasons. Also, consider doing some research and ask friends or neighbors with experience with vegetable gardens. Experienced vegetable gardeners rely on previous experience and notes taken during prior seasons on successful varieties and harvest results.
- Expense: Think about the vegetables that can be more expensive at the store or market and compare them to the cost of seeds and the season’s labor of love by the gardener. It can be easy to go crazy in the seed “candy store” so be mindful to purchase only the number of seeds to accommodate the space and objectives for the garden.


A greenhouse is not required to start seeds. Many compact options are available to set up lights and heat mats on shelves indoors or in a garage. Read more about building a DIY grow stand here > DIY Indoor Grow Stand Photo © Cathy Markham, used with permission by Skagit County Master Gardeners
Research and understand seed options
After evaluating favorite vegetables, space, facilities, and skill level, research seed options. For starters, it helps to know how to read a seed description in a catalog website or seed packet. The gardener also needs to understand key terms, such as cultivar, heirloom, open-pollinated, hybrid, and resistance, as outlined in an article by Kym Pokorny and Nicole Sanchez of Oregon State University titled “Learn the Terms on Seed Packets to Make the Right Selection.”
When looking at seed options, consider the following key elements to consider for success in the maritime climate and relatively short growing season of northwest Washington:
- Days to maturity: It’s key to check how many days the crop needs to reach maturity. Cathy recommends choosing “early” varieties with 55 to 60 days to maturity to gain a successful crop. Seeds with 70 to 80 days to maturity can work; however, they may be more challenging. Seeds identified as reaching maturity at more than 80 days are rarely suited for northwest growing conditions.
- Understand the Zone: Check out the USDA Plant Hardiness Zone Map to confirm and learn more about the environment of the garden location.
- Consider Pacific Northwest-based seed producers: Several seed producers are located in Washington, Oregon, and British Columbia that may provide seed options designed for the region’s climate. Longtime Northwest seed producers include Ed Hume Seeds, Territorial Seed Company, and West Coast Seeds.
- Disease resistance: Look for seeds that will produce disease-resistant plants. The Pacific Northwest Vegetable Extension Group of Washington State University, Oregon State University, and University of Idaho has a great deal of information for gardeners at https://mtvernon.wsu.edu/path_team/
- Bolt tendency: When under stress, such as heat, some vegetables have a tendency to bolt, sending up flowers and producing seeds before the harvest. Check the seed description and look for “bolt resistant” or “slow bolting.”
- Space requirements: Matching up with the earlier evaluation of available pots, raised beds, and garden space, choose seeds for varieties sized to fit. Buy only what you will need for one or two years.
- Keep a record: Since 2010, Cathy has kept a notebook filled with clippings from seed catalogs or packets and adds notes about the season’s successes and failures to inform seed selection in future seasons.

Photo © Cathy Markham, used with permission by Skagit County Master Gardeners
A focus on tomatoes
As noted, Cathy has a special interest in raising tomatoes. This can be a joy and a challenge for Northwest gardeners based on the shorter growing season. The same can be said for peppers, eggplant, and melons, which all must be started in a greenhouse or indoor growing set up with heat and lights. Read more about building a DIY grow stand in blog article: https://www.skagitmg.org/indoor-grow-stand/
When reviewing tomato seeds, Cathy recommends giving special attention to the days to maturity, space needs, and available natural light. Dwarf, determinate varieties work well in pots as they are smaller and more compact. Also, think about the uses and flavors for tomatoes and select varieties to span salads to sauces.
In her search for seeds, Cathy focuses on growing different sizes of tomatoes in a “rainbow of colors” to enjoy fresh and in different types of preparations. She receives a variety of seed catalogs and orders favorites such as Italian Red Pear, an Italian heirloom (seeds available at Seeds of Italy, growitalian.com), and she is willing to try a new, emerging variety that may not be available locally.
Cathy’s small-scale garden space means her seed search must match her garden’s layers and vertical growth opportunities. Cathy uses a soil-blocking method to start seeds, planting a few more than needed to make sure she has enough, and uses an indoor shelf lighting and heat mat system in the garage to get her tomatoes started. Tiny tomatoes need daily monitoring for moisture, temperature, and light. As the small plants grow, Cathy occasionally will put the flats of fledgling tomatoes outside for a very brief time on warmer days to get a boost of sunshine.

Tomatoes: Determinate vs. Indeterminate
According to Washington State University Extension Fact Sheet #FS145E titled Vegetables: Growing Tomatoes in Home Gardens, “there are 7,500 varieties of tomatoes with differences in color, shape, growth habit, length to harvest, taste, and disease resistance. Tomatoes are classified as either determinate or indeterminate. Determinate varieties are bush-like, with all the tomatoes ripening about the same time. Indeterminate varieties are vine-like, with the tomatoes ripening throughout the growing season- until frost kills the plant.” Find a listing of Determinate vs. Indeterminate tomatoes on the Skagit Master Gardeners’ website > Determinate vs Indeterminate Tomatoes
Seeds selected, what’s next?
Learn more about germination, propagation, and the basics of growing vegetables. Resource publications include: Propagating Plants from Seed by Pacific Northwest Extension Publishing and Home Vegetable Gardening in Washington by Washington State University Extension.
This is a non-inclusive list of seed purveyors to consider:
- Deep Harvest Farm deepharvestfarm.com/ Based on Whidbey Island.
- Ed Hume Seeds https://humeseeds.com/ Based in Puyallup, Washington.
- Johnny’s Selected Seeds Company johnnyseeds.com Based in central Maine.
- Renee’s Garden Seeds reneesgarden.com Based in California, sources and trials seeds from across the world.
- Territorial Seed Company https://territorialseed.com/ Based in central Oregon.
- West Coast Seeds https://www.westcoastseeds.com/collections/vegetable-seeds Based near Vancouver, British Columbia, Canada.
REFERENCES AND RESOURCES:
Bubel, N. (2018) The New Seed-Starters Handbook. Emmaus, PA. Rodale.
Daigre, S. and Garbee, J. (2015) Tomatomania!: A Fresh Approach to Celebrating Tomatoes in the Garden. New York, NY. St. Martin’s Griffin.
Fredericks, G., Cowan, J. and Daniels, C. (2014) Vegetables: Growing Tomatoes in Home Gardens. Washington State University Extension Fact Sheet #FS145E.
Kumar, M., Larsen, F. and Shekel, K. (2022) Propagating Plants from Seed. Pacific Northwest Extension Publishing. #PNW0170. Link here >
LeHouiller, C. (2014). Epic Tomatoes: How to Select and Grow the Best Varieties of All Time. North Adams, MA. Storey.
Miles, C. (2013) Home Vegetable Gardening in Washington. Washington State University Extension Publication #EM057E. Link here >
Pokorny, K. and Sanchez, N. (2021) Learn the Terms on Seed Packets to Make the Right Selection. Oregon State University Extension. Link here >
Ryan, K. (2015) Using Crop Rotation in Home Vegetable Gardens, Snohomish County Extension Fact Sheet. Link here>
Sanchez, N. (2019) The Basics of Selecting Garden Seeds. Oregon State University Extension. Link here >
United States Department of Agriculture, 2024, USDA Plant Hardiness Zone Map. Link here >

Authors Kari Ranten and Cathy Markham
ABOUT THE AUTHORS:
Kari Ranten, MHA, is a retired journalist and healthcare communicator who became a certified Skagit County WSU Extension Master Gardener in 2024. Cathy Markham, a certified Skagit County WSU Extension Master Gardener since 2022, has a degree in food and nutrition from the University of Idaho and is a Registered Dietician.


 Sample Apples and Pears at NW Fruit


 ABOUT THE AUTHOR:

 ABOUT THE AUTHOR:


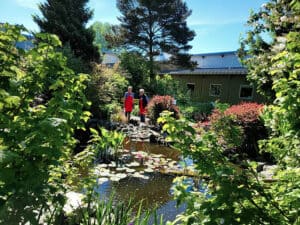 While all three of these gardens are open to the public daily, the Annual Open House is focused on educating and inspiring visitors interested in many specific areas of interest, including pollination, water-wise gardening, native plants and raising fruits and vegetables in the Skagit area.


 Janine Wentworth became a master gardener in 2018. She and Kay Torrance are co-chairs of the Discovery Garden Open House.