

Hooray for Hydrangeas
Gardeners are quick to show you their favorite hydrangeas, but many question how and when to prune them
Subscribe to the Blog >By Diana Wisen and Janine Wentworth, Skagit County WSU Extension Master Gardeners

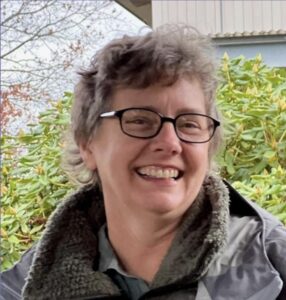
Authors Diana Wisen and Janine Wentworth
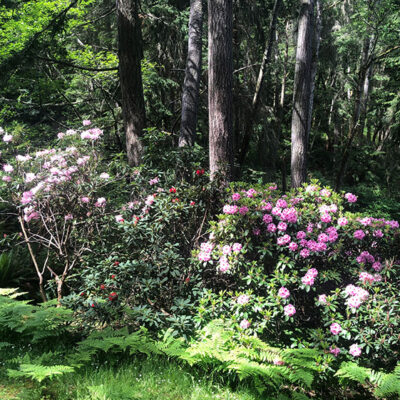
Hydrangeas, with their stunning blooms, have been captivating flower enthusiasts for centuries. The ability of some varieties to change color based on soil pH adds an element of magic. They can be big and bold or lacey and layered. All varieties grow well in sunny locations, perhaps with some afternoon shade-all varieties like acidic, moist, humus-rich soil that drains well. While hydrangeas can tolerate neglect, they do better if watered in the high heat of summer. Additionally, a layer of arborist chip mulch spread well beyond the outer drip line of the branches will help retain moisture.
How to Prune Hydrangeas
Hydrangeas do well in the Pacific Northwest, thriving in our climate and native soil. They do not need to be pruned to do well, but many homeowners like a more tidy look, which requires pruning. Others prune to keep their hydrangea varieties smaller than their normal growth habit. Sometimes, severe winter cold causes damage to the current season’s buds, and you may want to remove the damage. The best time to do all of this is in the spring before they leaf out.

Older stems often look dead, but they are not. You can cut the dead wood on any hydrangea back to the ground. Dead stems and those that are too crowded can be pruned close to the base of the plant. © Skagit County Master Gardeners

Many hydrangeas require no pruning, but if you choose to prune them, you need to know if it is a variety that blooms on last year’s shoots (old wood) or the coming season’s shoots (new wood.) © Skagit County Master Gardeners
The first step to pruning any hydrangea is to know what kind it is. Different kinds are pruned differently, and if you don’t know what kind you are pruning, you may be cutting off all the potential flowers by pruning at the wrong time. Save the plant tag and learn to recognize the variety you have. That is the key to a successful start.
Hydrangeas start blooming in mid-summer and bloom for a long time. There is no need to prune in winter. In fact, leaving on the dead flower heads can protect emerging buds from freezing. Hydrangeas are deciduous, but their leaves hang on well into fall. Leave them where they fall on the soil.
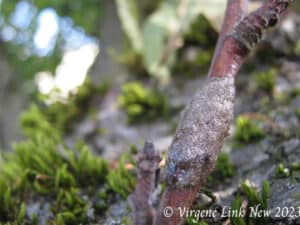
Learning to recognize dead wood can be tricky with hydrangeas. Older stems often look dead, but they are not. Dead stems are usually three or more years old. On some specimens, the dead stems may even be ten years old. To identify dead wood, look for stems with no buds or leaves. These can be cut back to the base of the plant. If you are unsure, start cutting from the tip of the branch and look for a greenish interior on the stem, or scrape the bark with your fingernail. If it’s brown, crisp, and very dry, it’s dead. You can cut the dead wood on any hydrangea back to the ground. You can also prune out wayward-looking stems or those that are too crowded.

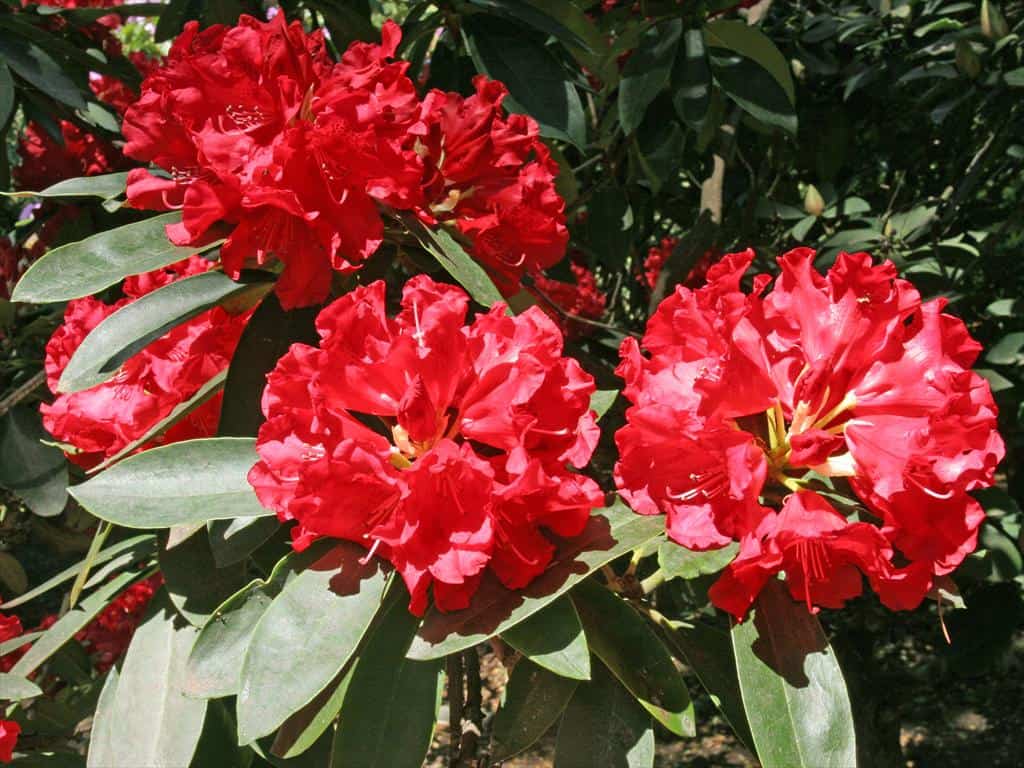
The most common kind of hydrangea is H. macrophylla or bigleaf hydrangea, of which there are two types: mophead and lacecap. © Crowell Photography

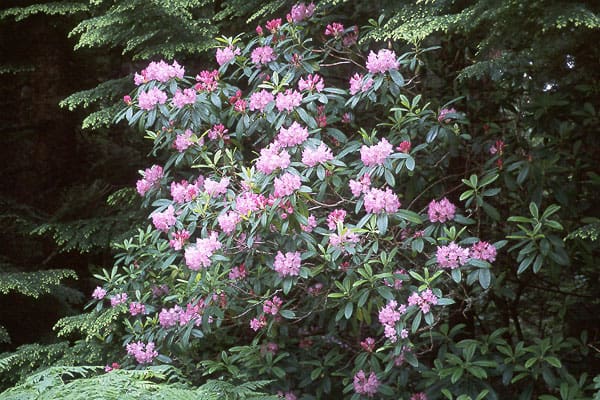
A lacecap hydrangea has flatter inflorescences or flower clusters with small sterile flowers around the edges and tiny fertile flowers in the center, giving it a delicate lacy appearance© Pexels.com | Dayong Tein
Now for the Differences
The most common kind of hydrangea is H. macrophylla, or bigleaf hydrangea, of which there are two types: mophead and lacecap. All bigleaf hydrangeas bloom on wood formed the previous year and on buds set last summer. When all danger of a hard frost is past in late spring, remove the dead flower heads by cutting back to a pair of healthy fat buds, which will be your flowers. Slender buds are the leaves. Even if you choose not to remove or prune the dead flower heads from last season, H. macrophylla will still bloom just fine.
The standard bigleaf hydrangea wants to be big and tall genetically. It is difficult to reduce the size of a mature hydrangea. If pruned hard, it will grow back to its original height but have weak stems and no flowers that year. It is better to cut select older stems to the ground to reduce the size of the plant. Doing this will shorten your plant and will necessarily sacrifice flowers. Some newer cultivars have been bred to stay small. These may be a better choice for your landscape than constantly pruning to reduce the size of a large hydrangea.
A popular mophead type is ‘Nikko Blue’. The flowers are big, rounded heads consisting of all sterile flowers. If the blossoms begin to turn pink and you prefer blue, make the soil more acidic by adding aluminum sulfate to the soil in the early spring. It may take more than one year and additional servings of aluminum sulfate to achieve blue blossoms. Note: Concrete sidewalks or foundations can leach lime into the soil resulting in pink hydrangea blossoms. However, some hydrangea varieties are naturally pink and will not turn blue in acid soils.
A popular lacecap hydrangea is ‘Mariesii’, with flatter inflorescences, or flower clusters, with small sterile flowers around the edges and tiny fertile flowers in the center, giving it a delicate lacy appearance. Lacecaps do not typically grow as tall as their mophead cousins.

Panicle hydrangea flowers are large, cone-shaped, up to 12 inches, blooming on sturdy stems, sometimes up to 10 feet tall. Panicle hydrangeas are best pruned in early spring to promote new flowering wood. © Ginny Bode, Photographer

Smooth hydrangeas (H. arborescens) like this cultivar ‘Annabelle’ have large snowball-like clusters and bloom on new growth of the current season so it can be pruned to the ground in early spring, leaving 2-4 inches. © Crowell Photography
Another popular hydrangea is H. paniculata. ‘Limelight’ and Grandiflora ‘PeeGee’ are popular panicle cultivars with many more on the market. Panicle hydrangea flowers are large, cone-shaped, up to 12 inches in length, and bloom on sturdy stems, sometimes to 10 feet tall. Flower color varies from creamy white to pale green, transitioning to pink hues as they mature later in the summer.
Panicle hydrangeas bloom on new wood, meaning the flower buds form on stems growing this season. Thus, you should prune all the previous season’s stems to two or three pairs of buds in the spring, which will bloom in the coming summer, giving you a low structure. You can also do selective pruning and cut some older stems way back while leaving some a little longer. If you don’t prune it all, the flowers will be so high up that you will not be able to enjoy them after a few years. Panicle hydrangeas are best pruned in early spring to promote new flowering wood.
Another kind of hydrangea is H. arborescens, or smooth hydrangea. An old and still popular cultivar is ‘Annabelle’. It has large snowball-like clusters of white flowers, which are white regardless of soil acidity. The flowers may fade to a soft pink near the end of the season.
Smooth hydrangeas flower on new growth of the current season, so stems can be pruned to 2-4 inches from the ground in early spring. Most have a rounded growth habit to 5 feet in height and width. There are newer cultivars on the market that are bred to stay smaller.

The flowers and leaves of the oakleaf hydrangea put on a spectacular display throughout summer and fall, and they are easy to care for. © Adobe Stock

Climbing hydrangeas can take a bit to begin blooming, but once established, they need very little pruning.© Adobe Stock
A hydrangea gaining popularity in the Pacific Northwest is H. quercifolia, commonly known as oakleaf hydrangea. Though native to the Southeastern United States, oakleaf hydrangeas do exceptionally well in the PNW and are known for spectacular fall color. The flowers and the leaves turn rich shades of red, orange, and purple in the fall and can last several months for additional seasonal interest. Its leaves look like large oak leaves and stay on the plant well into fall.
Oakleaf hydrangeas are one of the easiest hydrangeas to care for. They do not need to be pruned except to keep them out of a walkway. Plant them where they can have plenty of space to look their magnificent best, because over-pruning makes for weak, floppy stems. Plant them in full sun for good color.
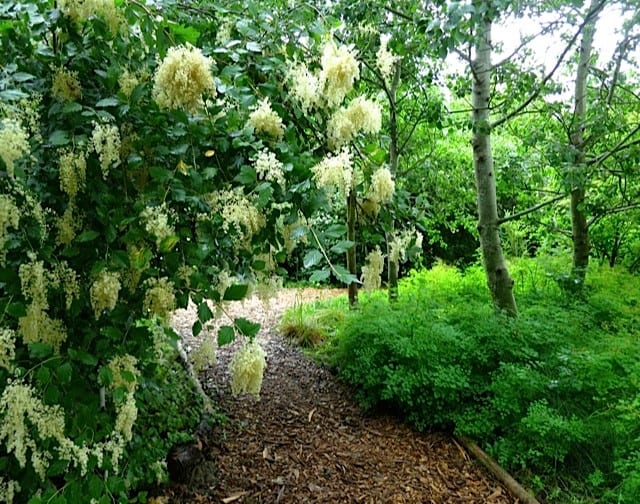
H. anomala petiolaris, commonly called climbing hydrangea or hydrangea vine, needs support such as a tree trunk or fence to cling to; otherwise, it will spread among neighboring plants and be challenging to care for. Be patient; climbing hydrangeas are slow to begin blooming, sometimes waiting 3 to 5 years to begin flowering. They need very little pruning, and once established, climbing hydrangeas bloom on new shoots. You can deadhead the spent flowers if you wish. However, this variety can grow to 50 feet tall or more, so plan accordingly. And be forewarned-deer love to eat this kind of hydrangea
There are other kinds of hydrangeas: H. serrata and H. aspera, commonly known as mountain hydrangeas, are native to Japan and Korea. These are not widely planted in the Pacific Northwest. Mountain hydrangeas bloom on the previous year’s wood.
New cultivars are constantly being developed. A little over 20 years ago, a remontant (reblooming in same season) hydrangea was discovered in Minnesota. Years of intensive breeding trials resulted in a new, reblooming bigleaf hydrangea cultivar branded Endless Summer®. The world of hydrangeas changed dramatically with this cold hardy hydrangea that would reliably bloom on both old wood and new wood the same summer, offering an extended season of fresh blooms. Since then many cultivars of repeat blooming hydrangeas have been released. These reblooming hydrangeas should be pruned only after the first blooming period.
Hydrangeas are a beautiful, easy-care additions to your landscape, providing cut or dried flowers and color to the landscape throughout their long bloom season. The stunning varieties require minimal pruning if planted in the correct location for size and growth habits. Always read and save the plant tag. Study your plant and learn its growth habit by observation throughout the season. Using these basic tips, your hydrangeas should bloom successfully year after year.
Listed below you will find a number of excellent resources for learning more about hydrangeas, including a book by Dr. Michael Dirr who identified the first reblooming hydrangea and worked with it to develop the cultivars branded under the name Endless Summer®.

Mark Your Calendar: Always the Saturday Before Mother’s Day
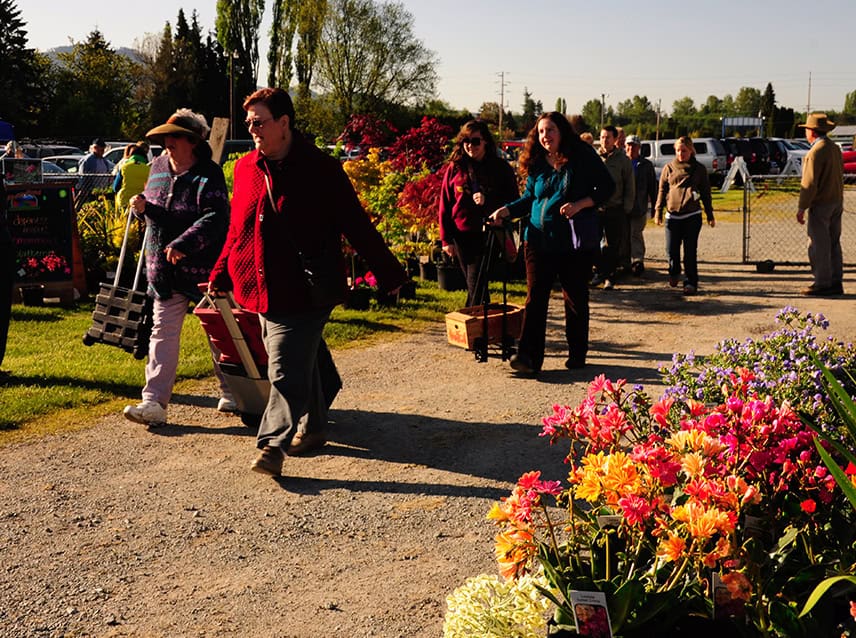
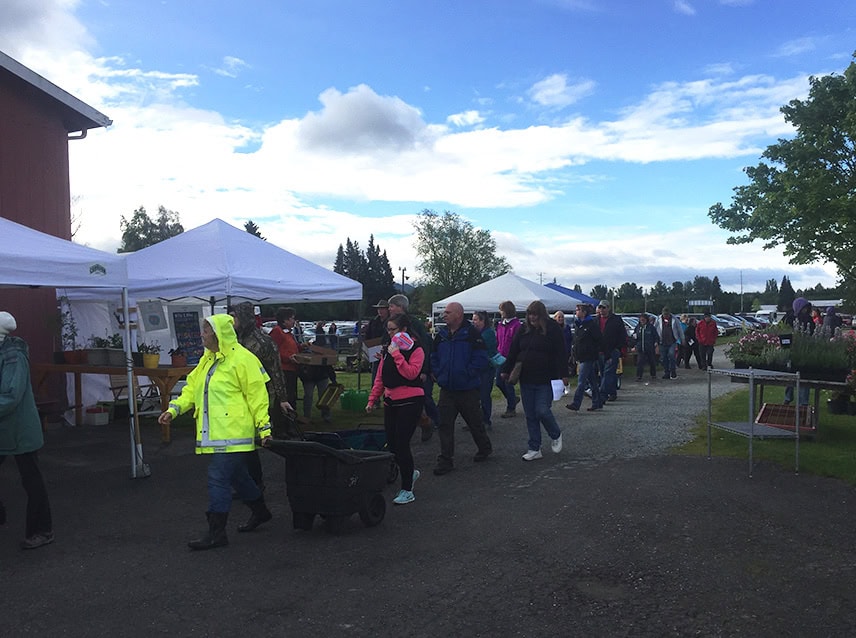
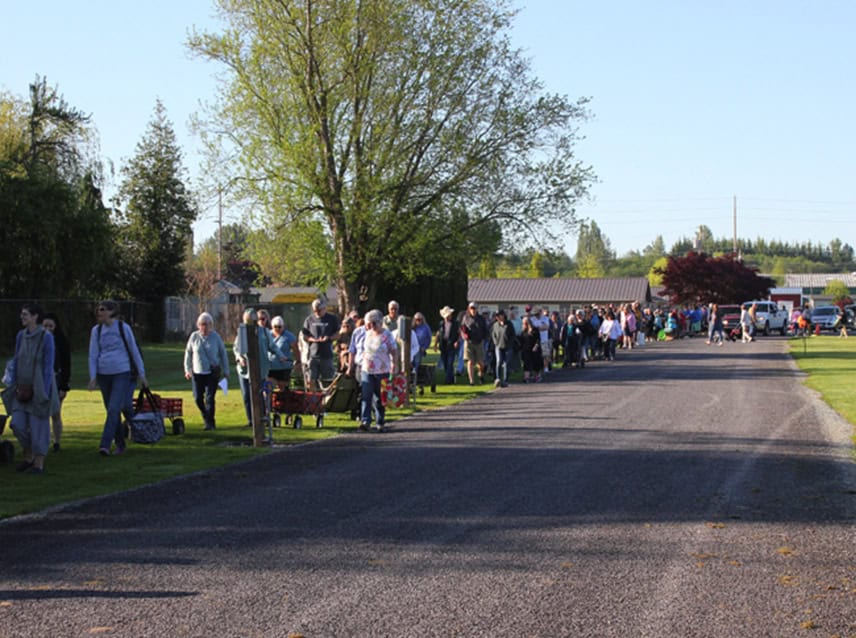
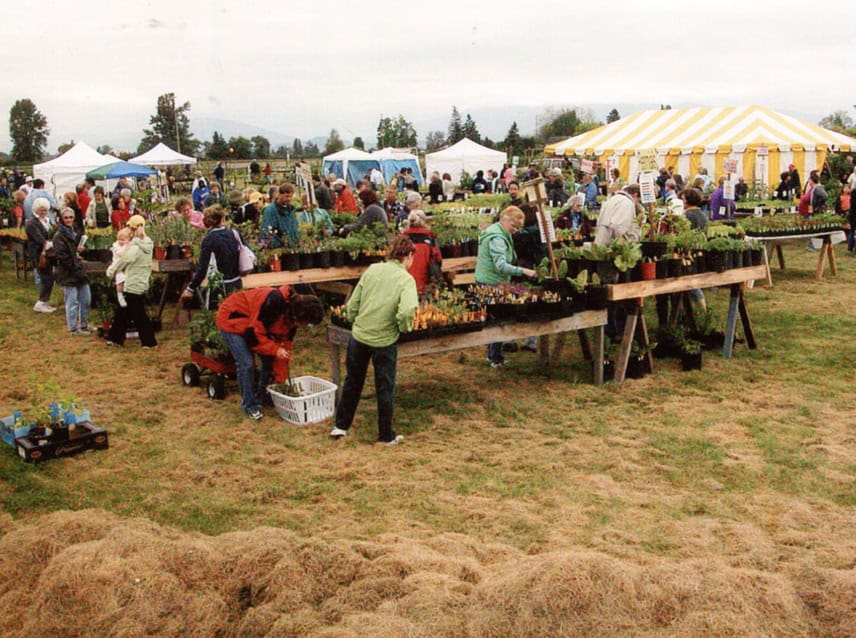
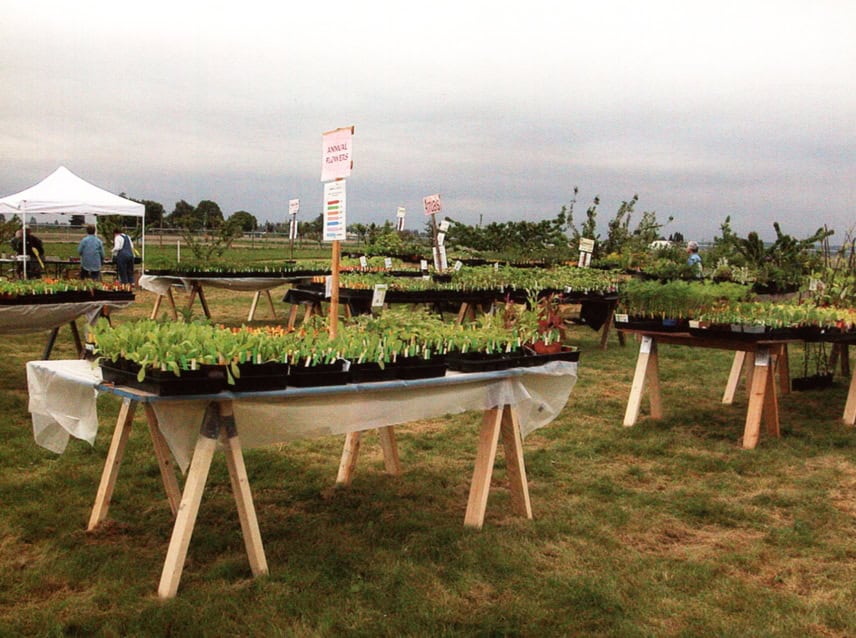
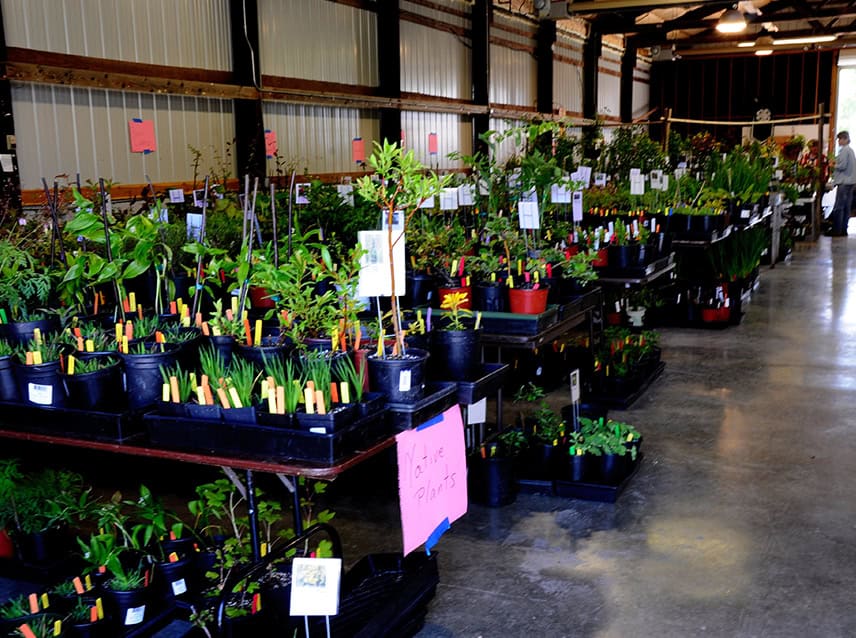
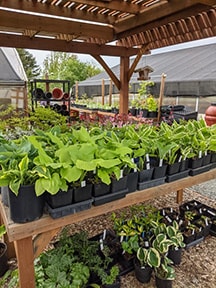
We’re growing 3,500 tomato plants, and over 3,000 flower and vegetable starts along with edible and ornamental perennials for you to bring home and plant your garden this season.
RESOURCES:
Crosbie, C. (2007) Easy Pruning: Simple Steps to Success. Royal Horticultural Society and DK Publishing
Turnball, C. (2021) Guide to Pruning. (3rd Edition) Sasquatch Books
Kourik, R. (1987) Hands on Gardener – Pruning. Workman Publishing, New York, New York.
Joyce, D. (1999) Pruning & Training. Eyewitness Garden Handbooks. DK Publishing.
Bird, R. (2006) Pruning Trees, Shrubs, and Climbers. Anness Publishing.
Reich, L. (2010) The Pruning Book. The Taunton Press.
Dirr, M. (2024) “Hydrangeas for American Gardens.” Timber Press.
ABOUT THE AUTHOR:
Diana Wisen has been a Skagit County WSU Extension Master Gardener since 1991 and is the coordinator of the Hardy Fuchsia Garden at the Discovery Garden.
Janine Wentworth is a Skagit County WSU Extension Master Gardener, Class of 2018. She is the coordinator of the Front Door Garden, the most recent addition to the Discovery Garden on SR 536 west of Mount Vernon.
Questions about home gardening or becoming a master gardener may be directed to Skagit County WSU Extension Office, 11768 Westar Lane, Suite A, Burlington, WA 98233; by phone: 360-428-4270; or via the website: www.skagit.wsu.edu/mg
Washington State University Extension helps people develop leadership skills and use research-based knowledge to improve economic status and quality of life. Cooperating agencies: Washington State University, US Department of Agriculture, and Skagit County. Extension programs and policies are available to all without discrimination. To request disability accommodations contact us at least ten days in advance.


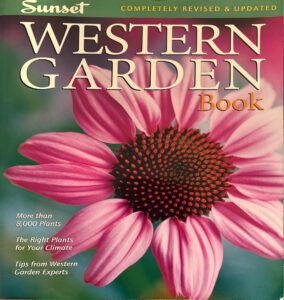 A classic: The New Sunset Western Garden Book: The Ultimate Gardening Guide (2012, 9th edition) is a staple for beginning and experienced gardeners, offering details and tips for selecting, planting, and caring for a wide range of perennials, annuals, shrubs, and trees specific to each climate zone. Photos and drawings create strong visuals to support the how-to guide and “Western Plant Encyclopedia” with listings for more than 8,000 plants.
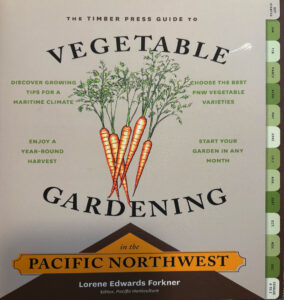 For the vegetable gardener: Winter is an important time for vegetable gardening enthusiasts to plan for the next season, order seeds, and potentially start plants in a greenhouse or other indoor propagation setup. The Timber Press Guide to Vegetable Gardening in the Pacific Northwest (2013) by Lorene Edwards Forkner is specifically directed at those growing food crops in Washington, Oregon, Southeastern Alaska, and British Columbia. The book features a month-by-month outline of activities to help plan, prepare, plant, grow, and harvest the next vegetable garden.
 For those interested in native plants: The Pacific Northwest Native Plant Primer: 225 Plants for an Earth-Friendly Garden by Kristin Currin and Andrew Merritt was published in 2023. Supported by many photographs and examples, the book offers details on how to successfully grow native plants in this region that features a range of geography, weather, and soils, along with tips to support pollinators, wildlife, and other creatures.


 ABOUT THE AUTHOR:


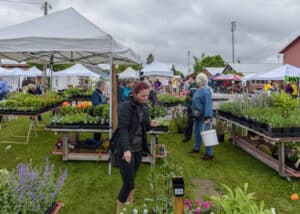
 Sample Apples and Pears at NW Fruit


 You can either sow seeds directly into the garden or start the seeds indoors to grow sturdy young plants that can later be transplanted. The back of the seed packet may tell you this, or check out the


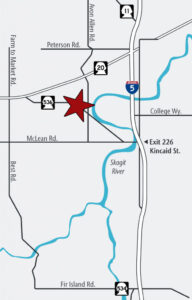
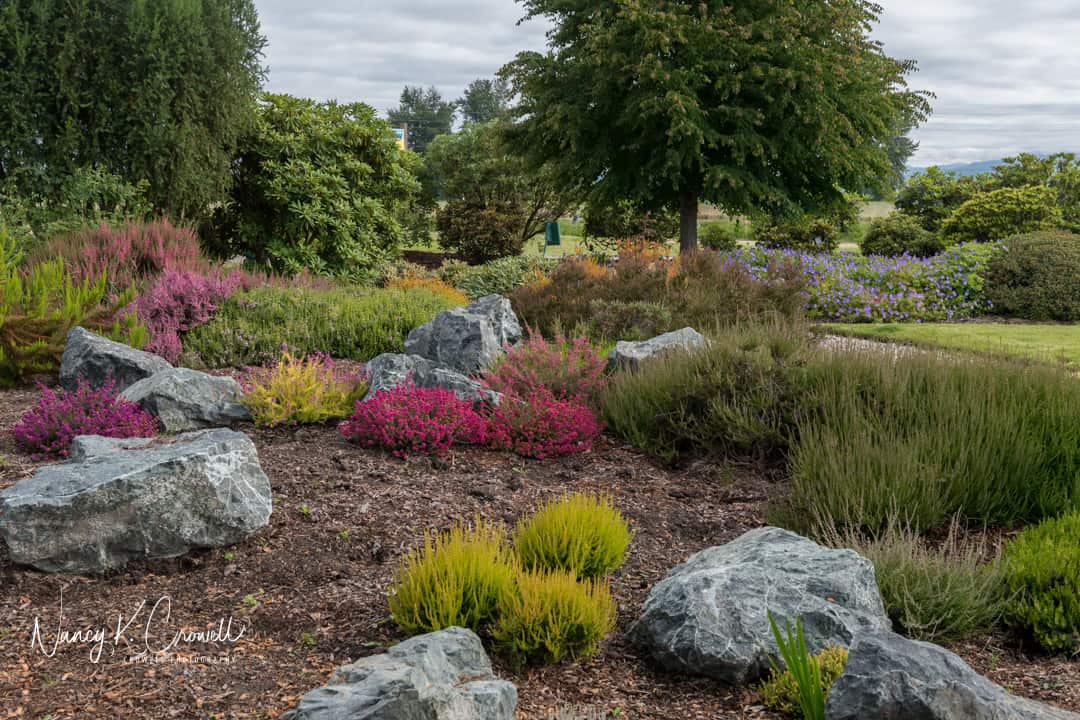
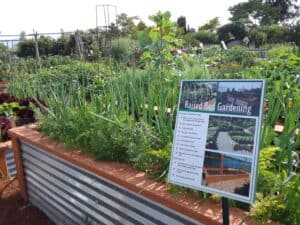
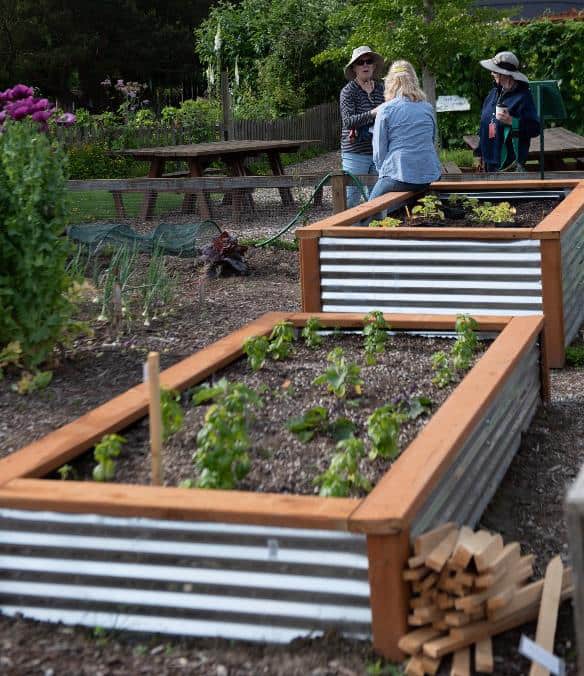
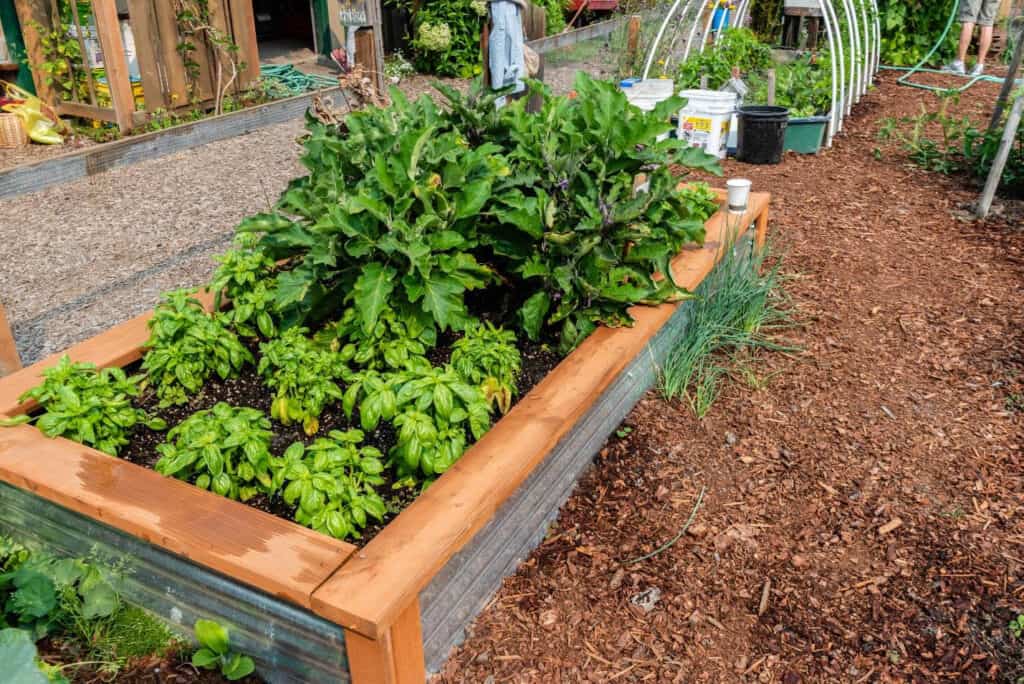
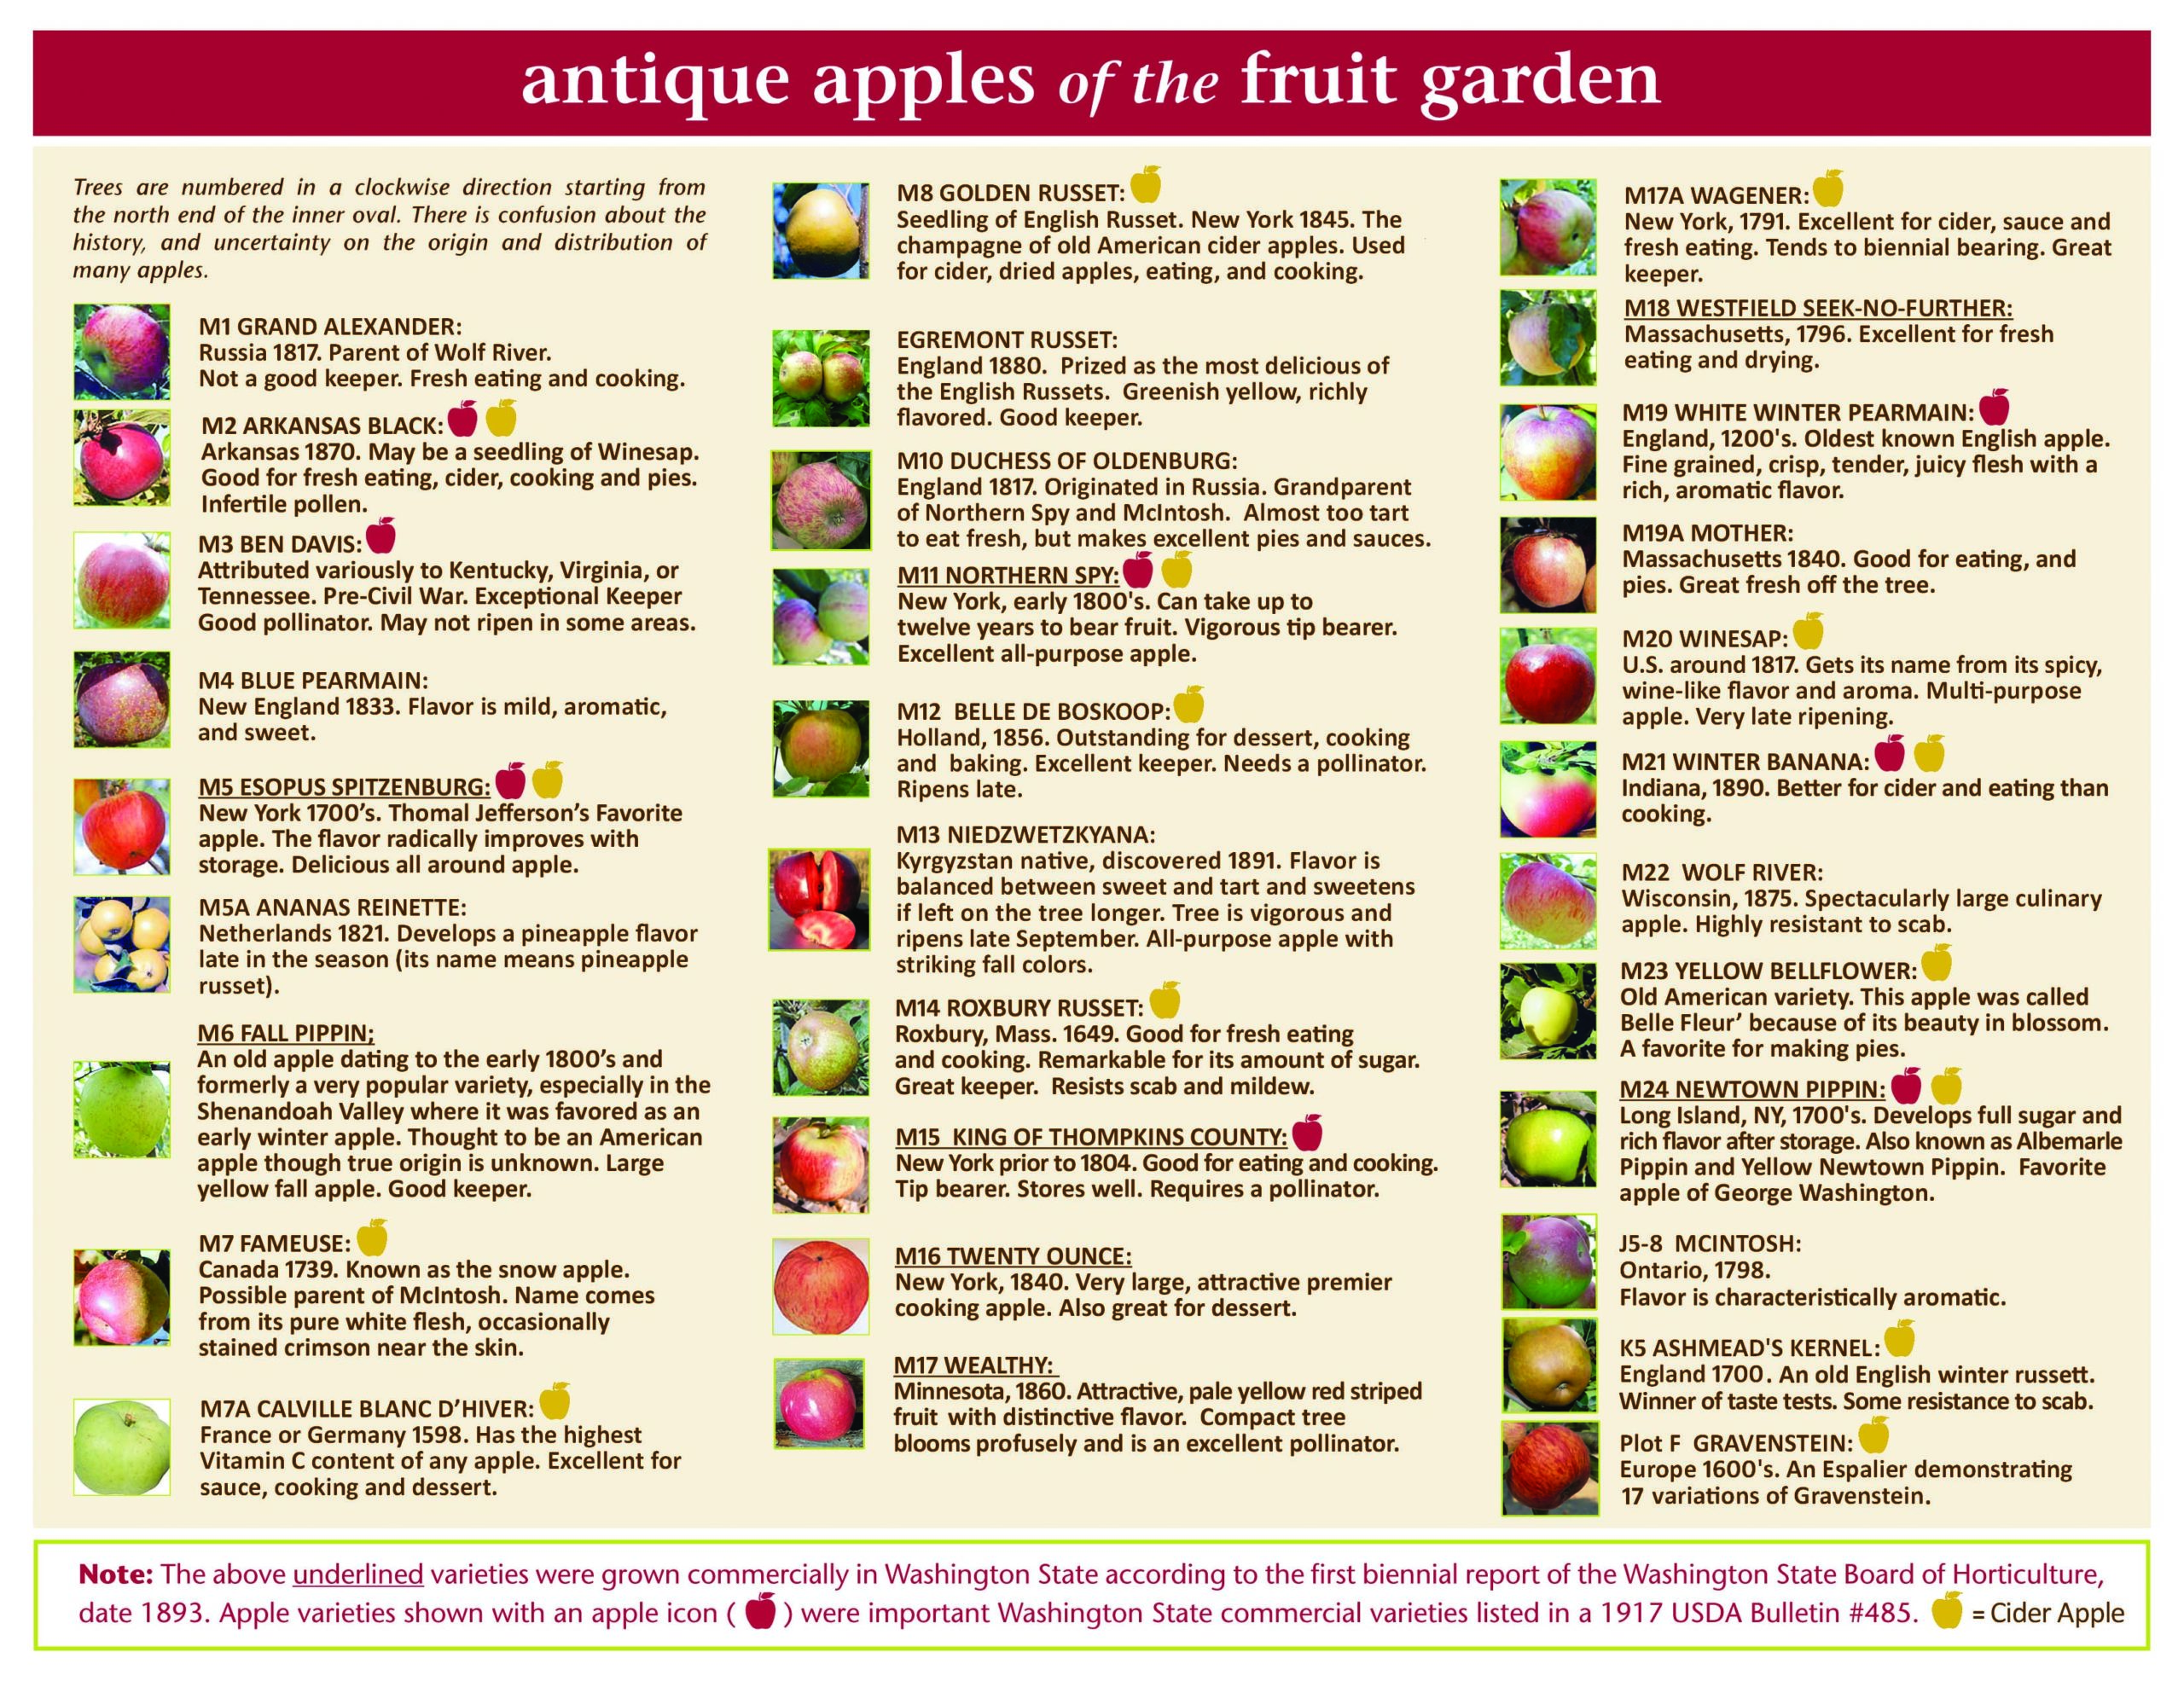
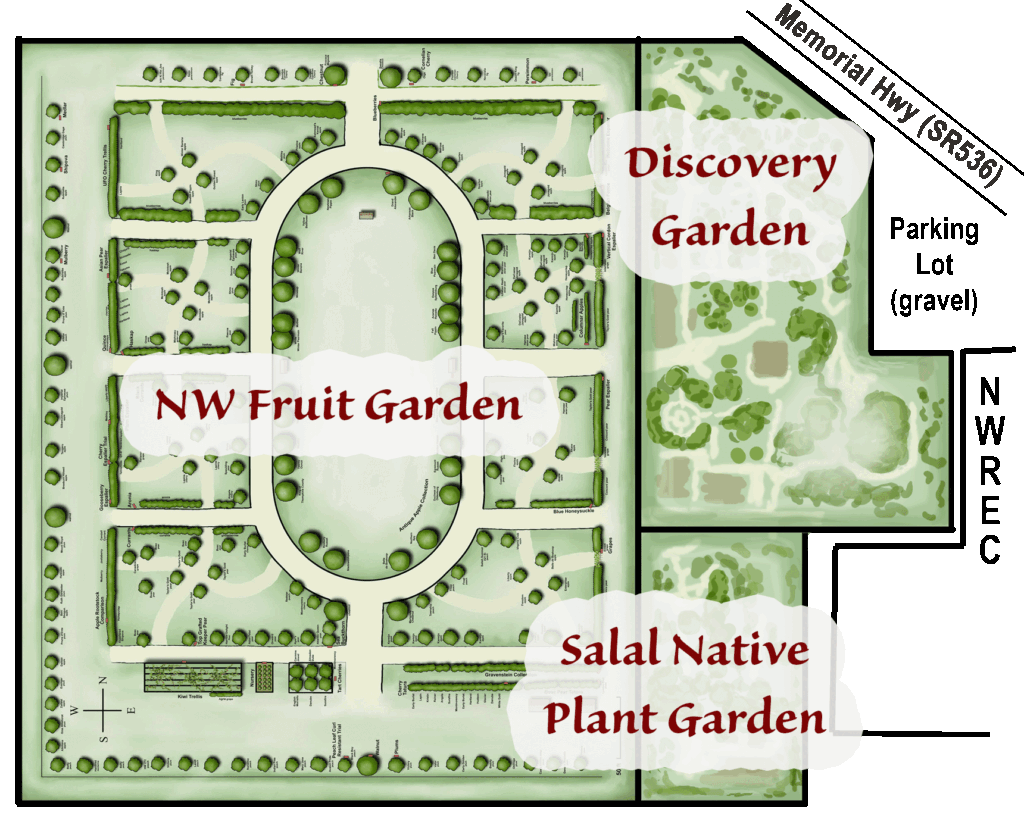 The Skagit Valley is home to three display gardens operated by volunteers as a learning resource for the public: the WSU Extension Master Gardener Discovery Garden, the Salal Native Plant Garden, and the NW Fruit Garden. The gardens are co-located on the grounds of Washington State University (WSU) Northwestern Washington Research and Extension Center (NWREC) in Mount Vernon, WA (
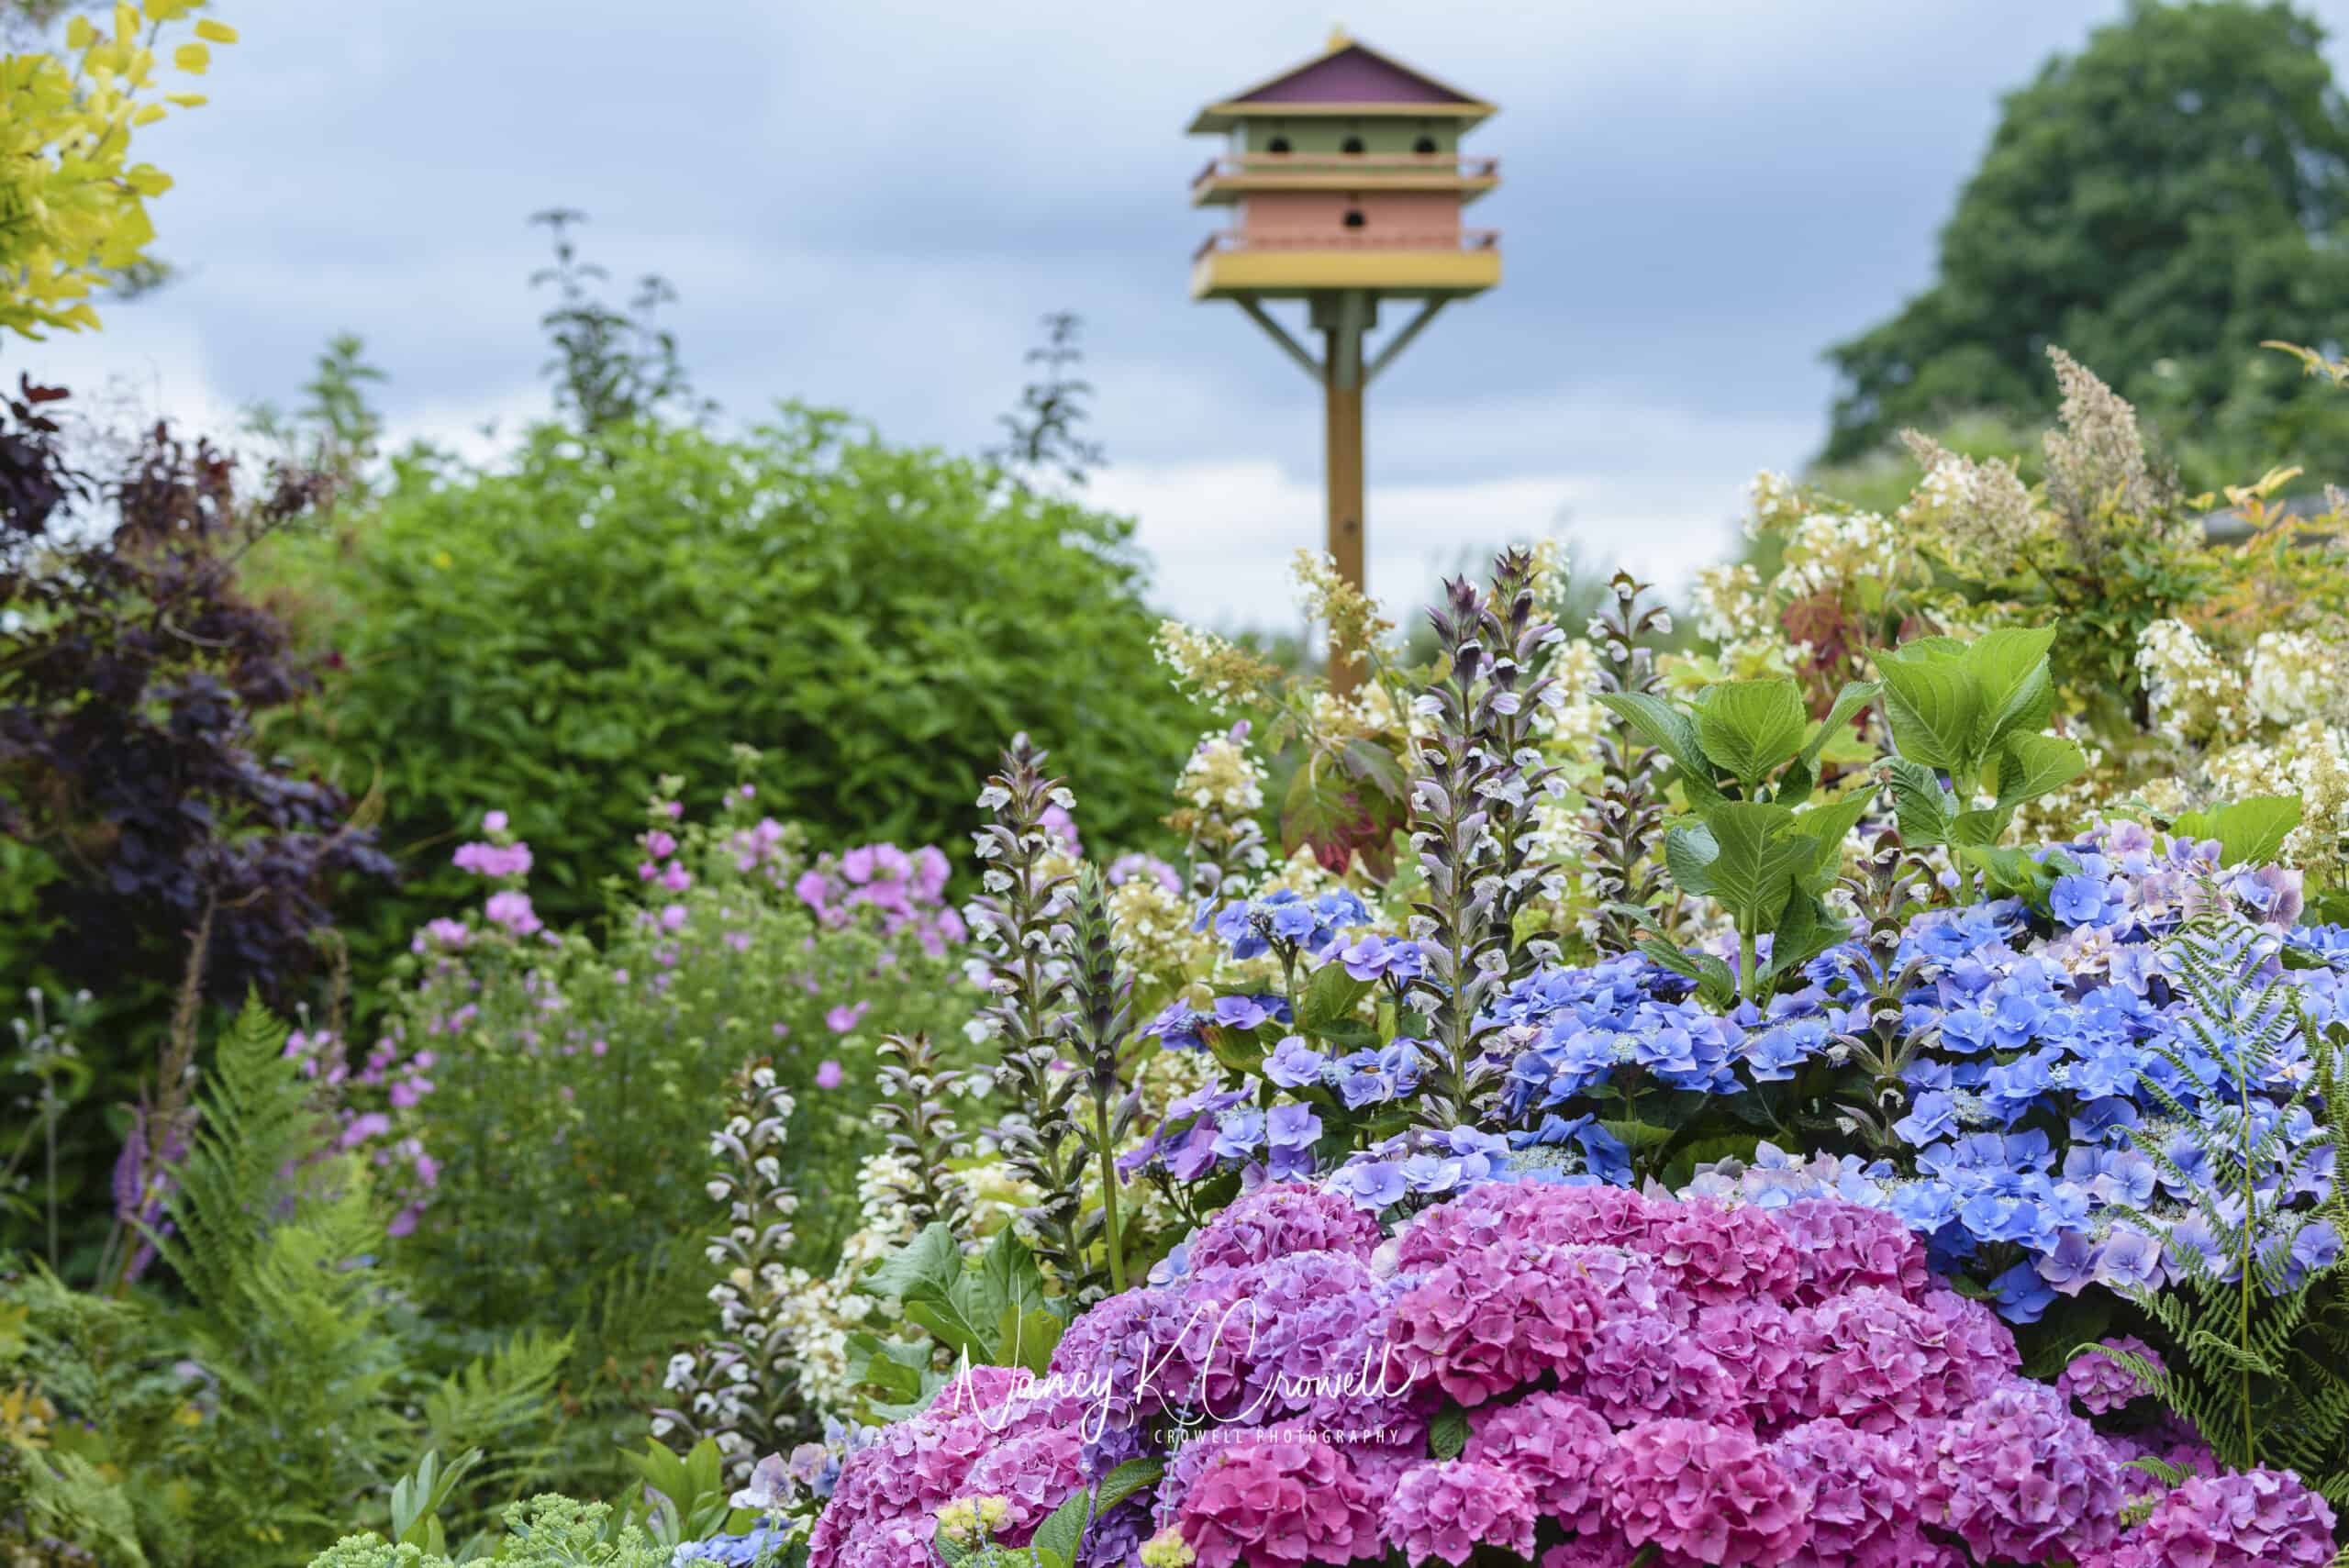
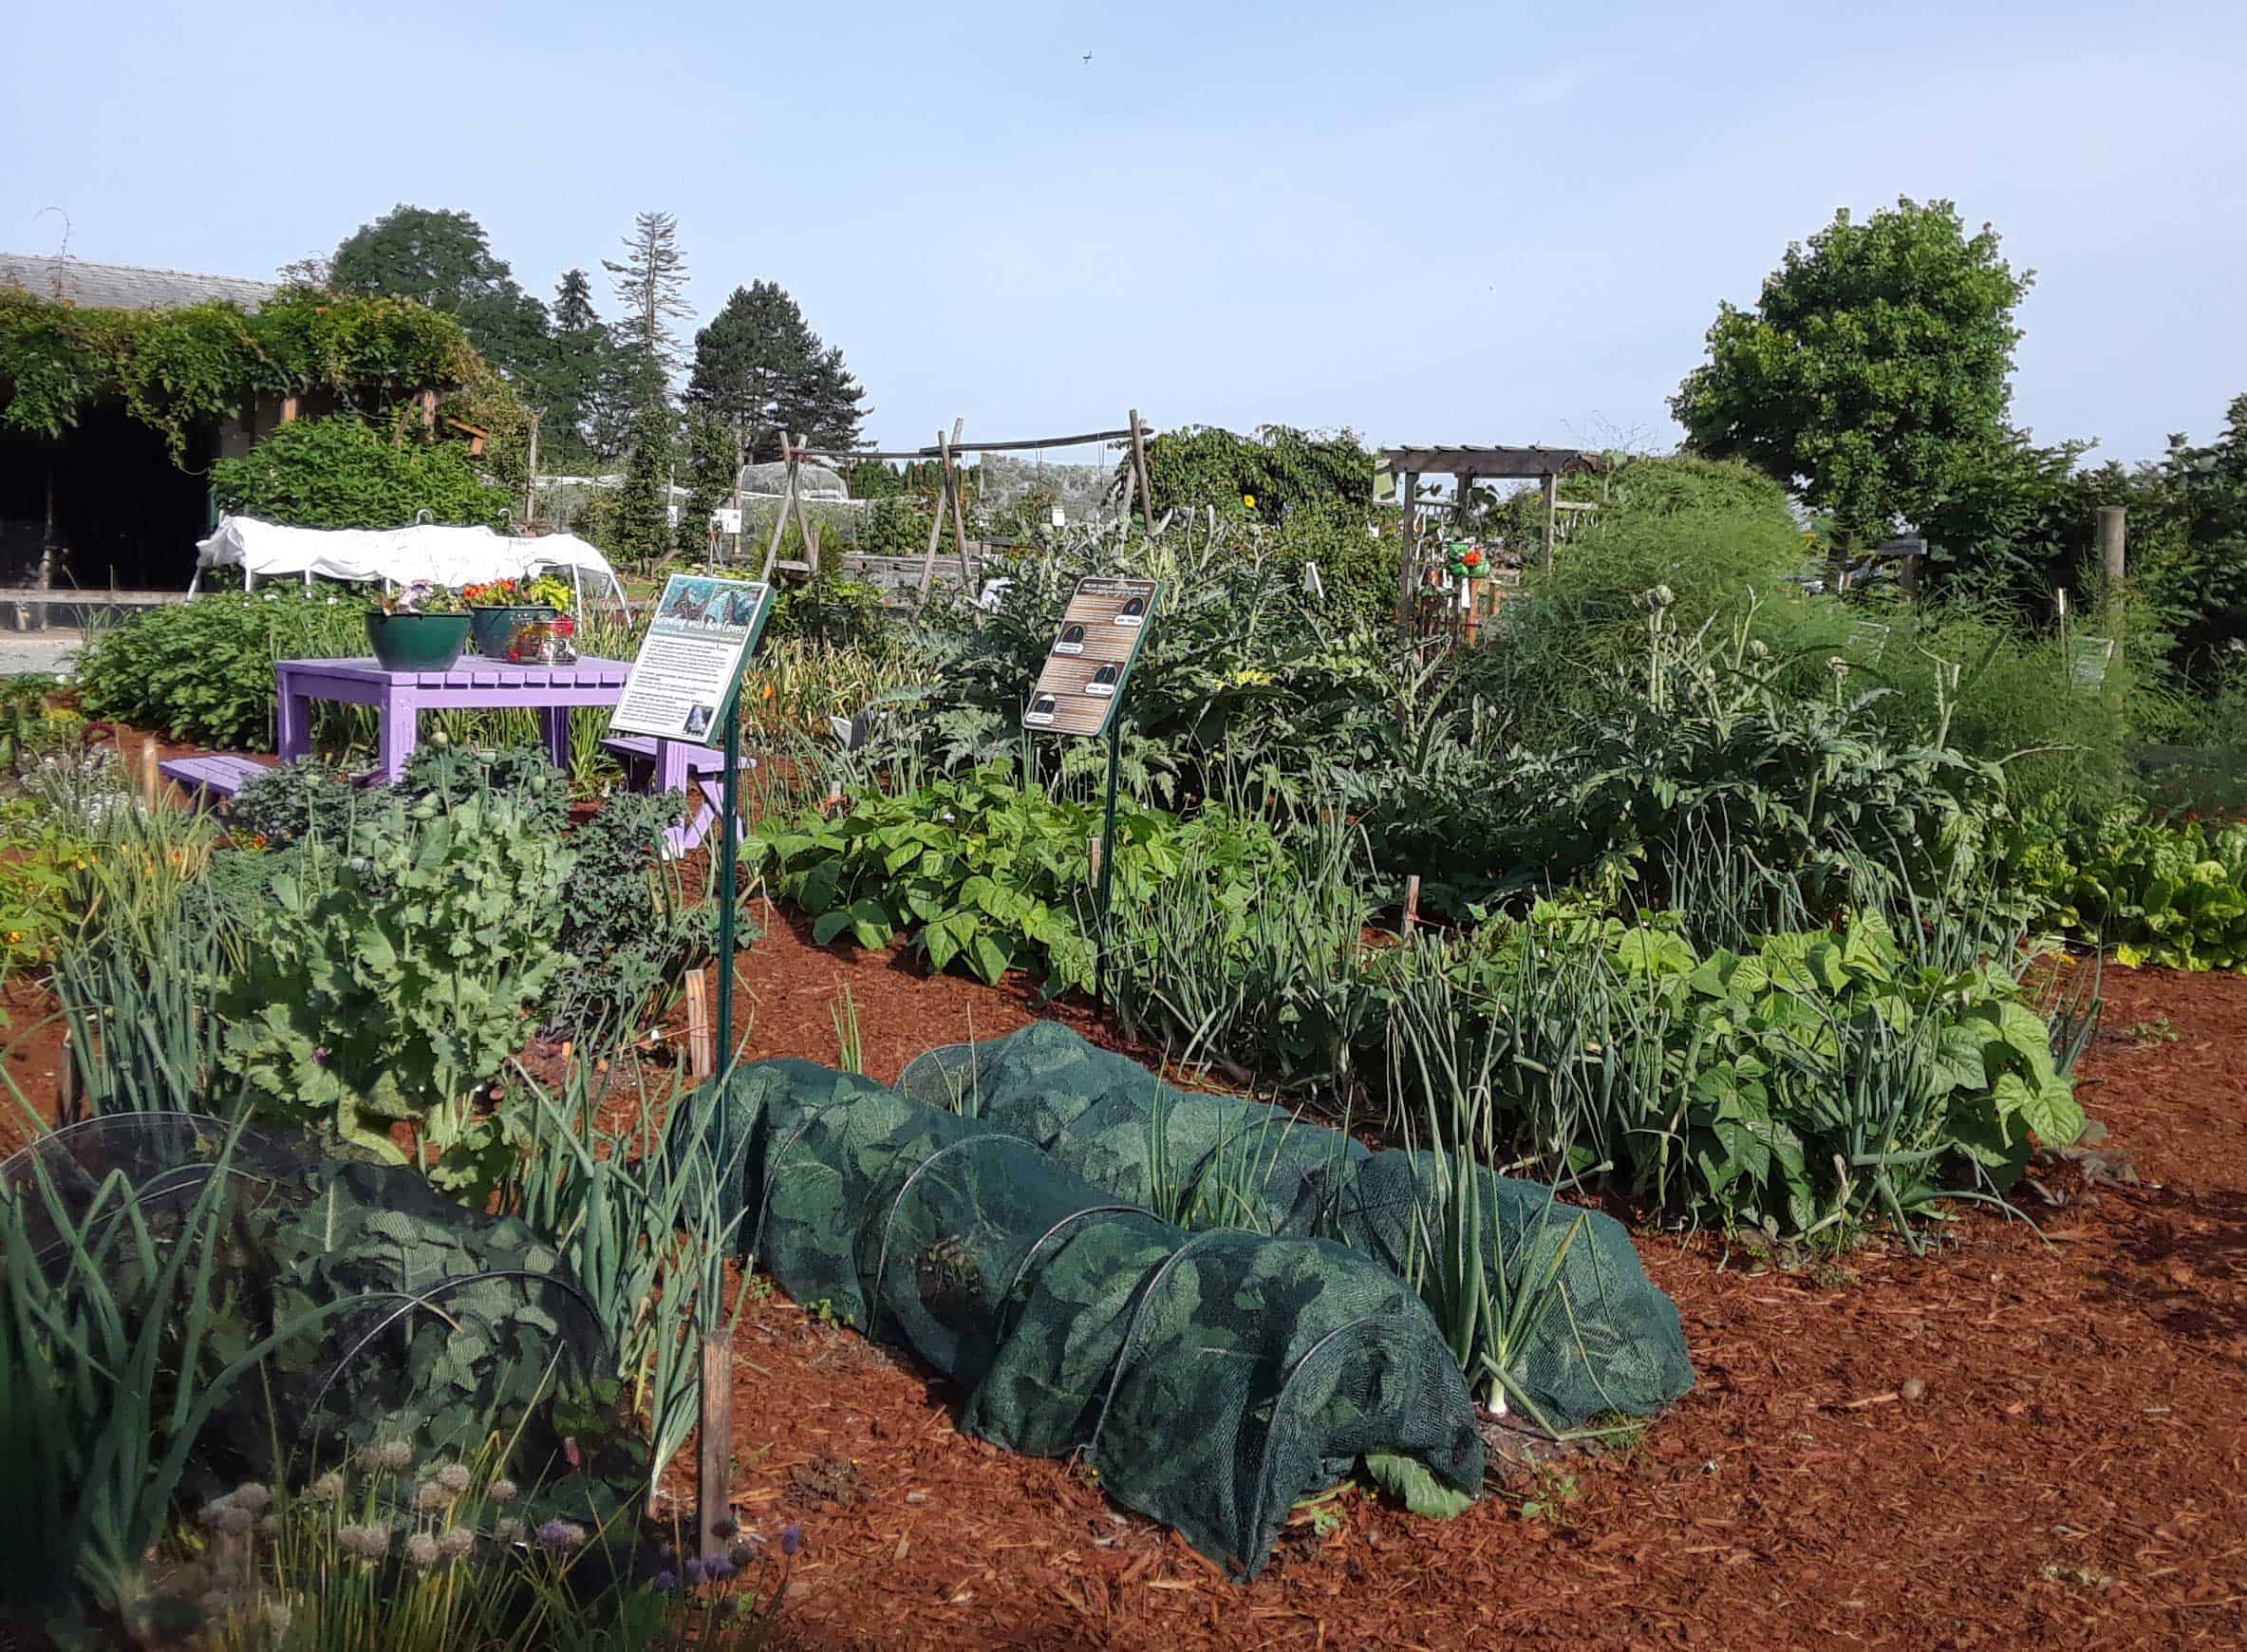

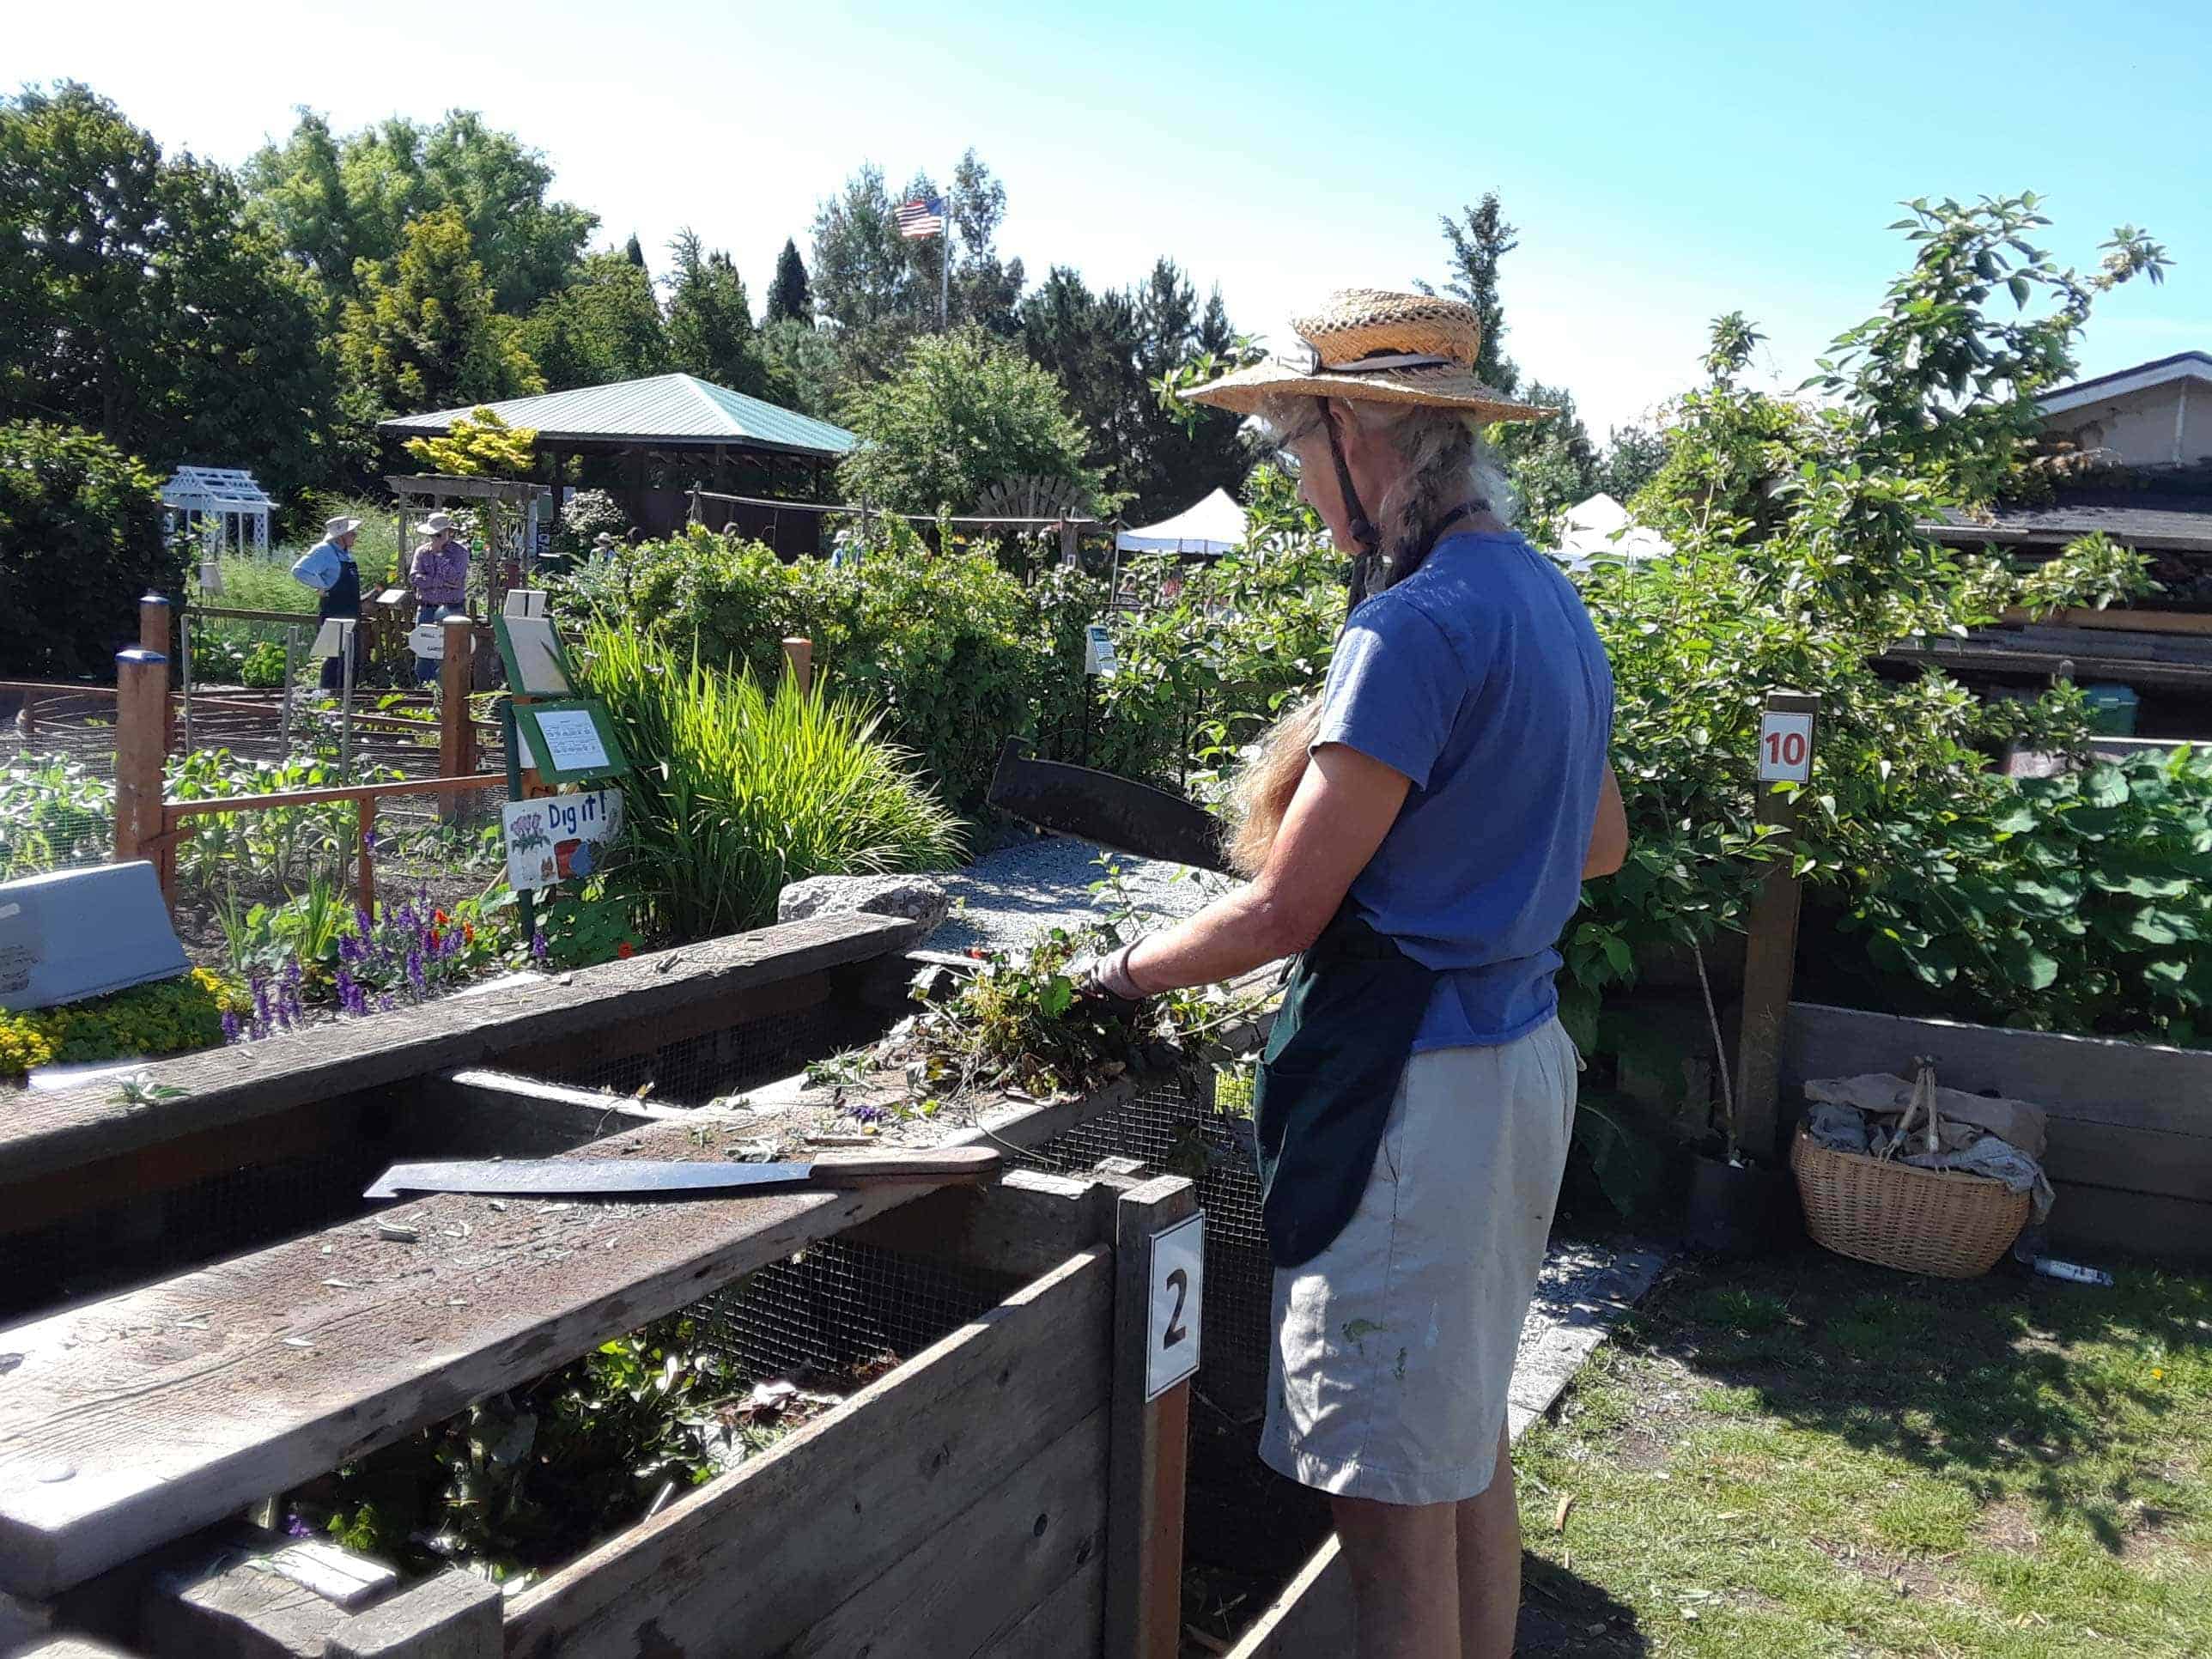

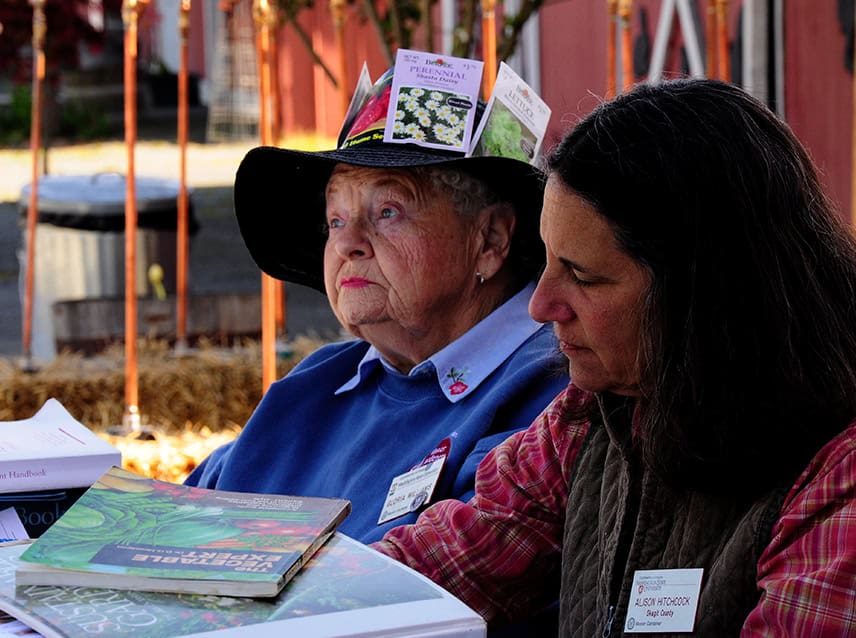
 Skagit County WSU Extension Master Gardeners will be on-site to provide research-based solutions for your gardening challenges. Visit our Plant Clinic in the Pavilion for solutions to your plant problems or bring in a plant sample for identification. There will be a perennial plant sale. Bring your dull gardening tool to have it sharpened for free.


 The
The 
 The
The 


 ABOUT THE AUTHOR :


")
")
")


 ABOUT THE AUTHOR:

 ABOUT THE AUTHOR:


 ABOUT THE AUTHOR:


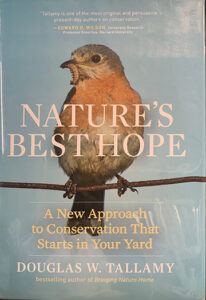 “And what about cultivars?”, many ask Tallamy. What about those many stunning and alluring flower and leaf varieties produced through selective breeding that we find at most of our nurseries? According to research done by Tallamy and other scientists, whether a cultivar retains any benefit to pollinators depends on what got modified. He advises avoiding plants where the leaf color has been changed from green to brown, purple or red (because insects like chlorophyll), and best to avoid flowers that went from single-petaled to multi-petaled (bees can’t get inside), or plants that have been made sterile. On the other hand, a woody plant made shorter is relatively okay. In sum, no size fits all. A quick tutorial can be found on the Grow Native website

 Get the List and Let’s Talk Plants!


 ABOUT THE AUTHOR:


 Bob Bryan has been a Skagit County WSU Extension Master Gardener (EMG) since 2009. He has taught the art of drip irrigation in the Know and Grow education seminars offered by Master Gardeners.


 Deborah Smeltzer has been a Skagit County WSU Extension Master Gardener (EMG) since 2012. She currently serves as president-elect of the Skagit County Master Gardener Foundation board and as chair of the Skagit County WSU EMG Program Training Team. In 2020, Deborah was named Washington State Master Gardener of the Year by the Master Gardener Foundation of Washington State.
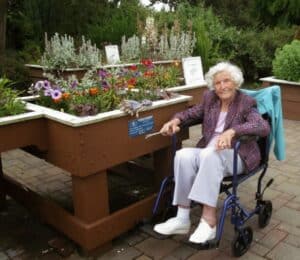
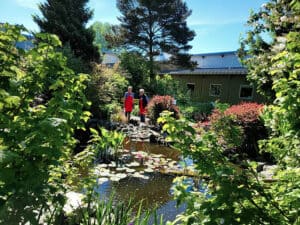 While all three of these gardens are open to the public daily, the Annual Open House is focused on educating and inspiring visitors interested in many specific areas of interest, including pollination, water-wise gardening, native plants and raising fruits and vegetables in the Skagit area.


 Janine Wentworth became a master gardener in 2018. She and Kay Torrance are co-chairs of the Discovery Garden Open House.


