DIY Drip Irrigation

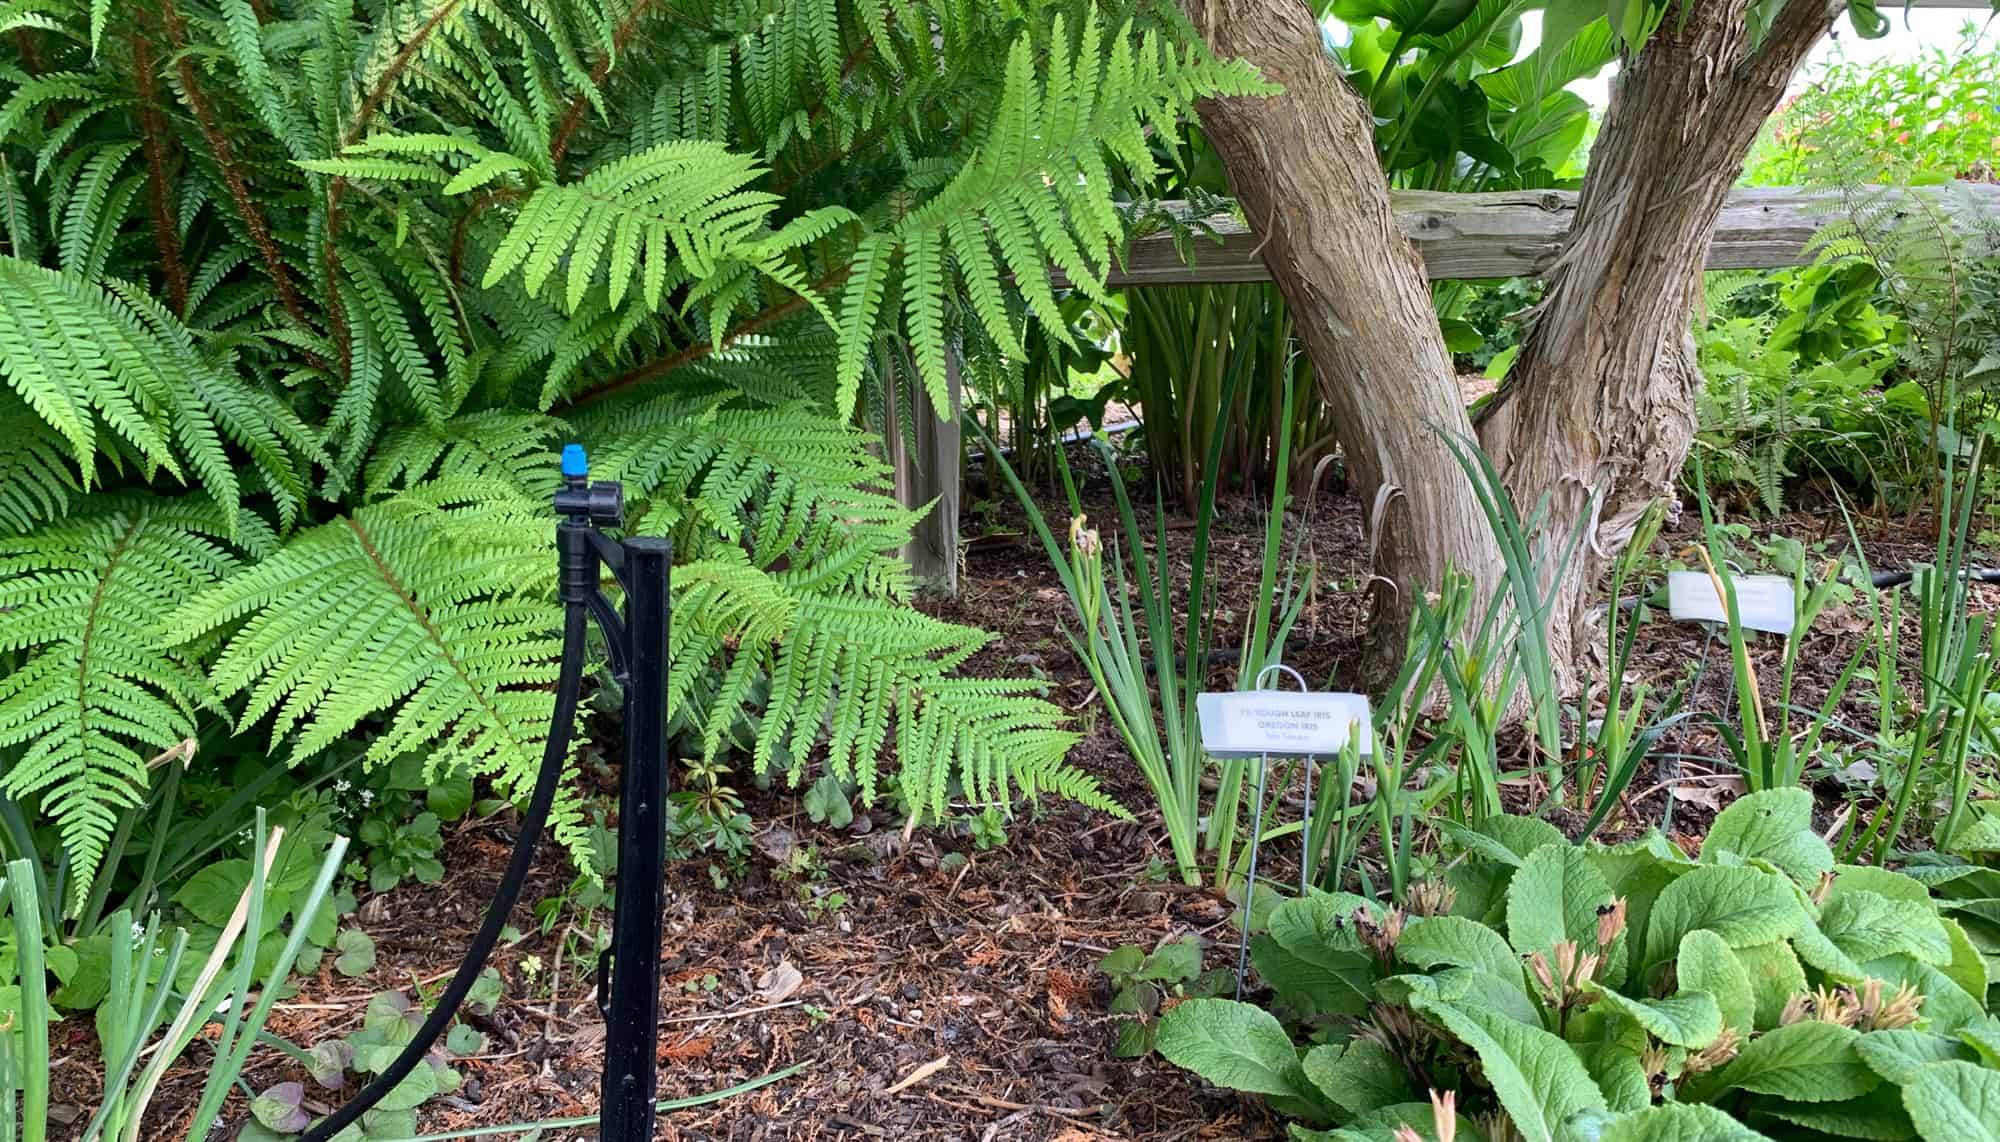
Drip Irrigation – Design, Installation and Maintenance
With a little work up front, you’ll save time and money while preserving one of our most precious natural resources
By Bob Bryan, Skagit County WSU Extension Master Gardener
Master Gardener program priorities help us navigate between horticulture, our natural resources and community needs. As trained volunteers, we are constantly learning the latest in research-based practices to advise homeowners how to maintain gardens and sustainable landscapes. Drip irrigation is a method of slowly delivering water to all types of plantings—from planters to gardens to greenhouses.
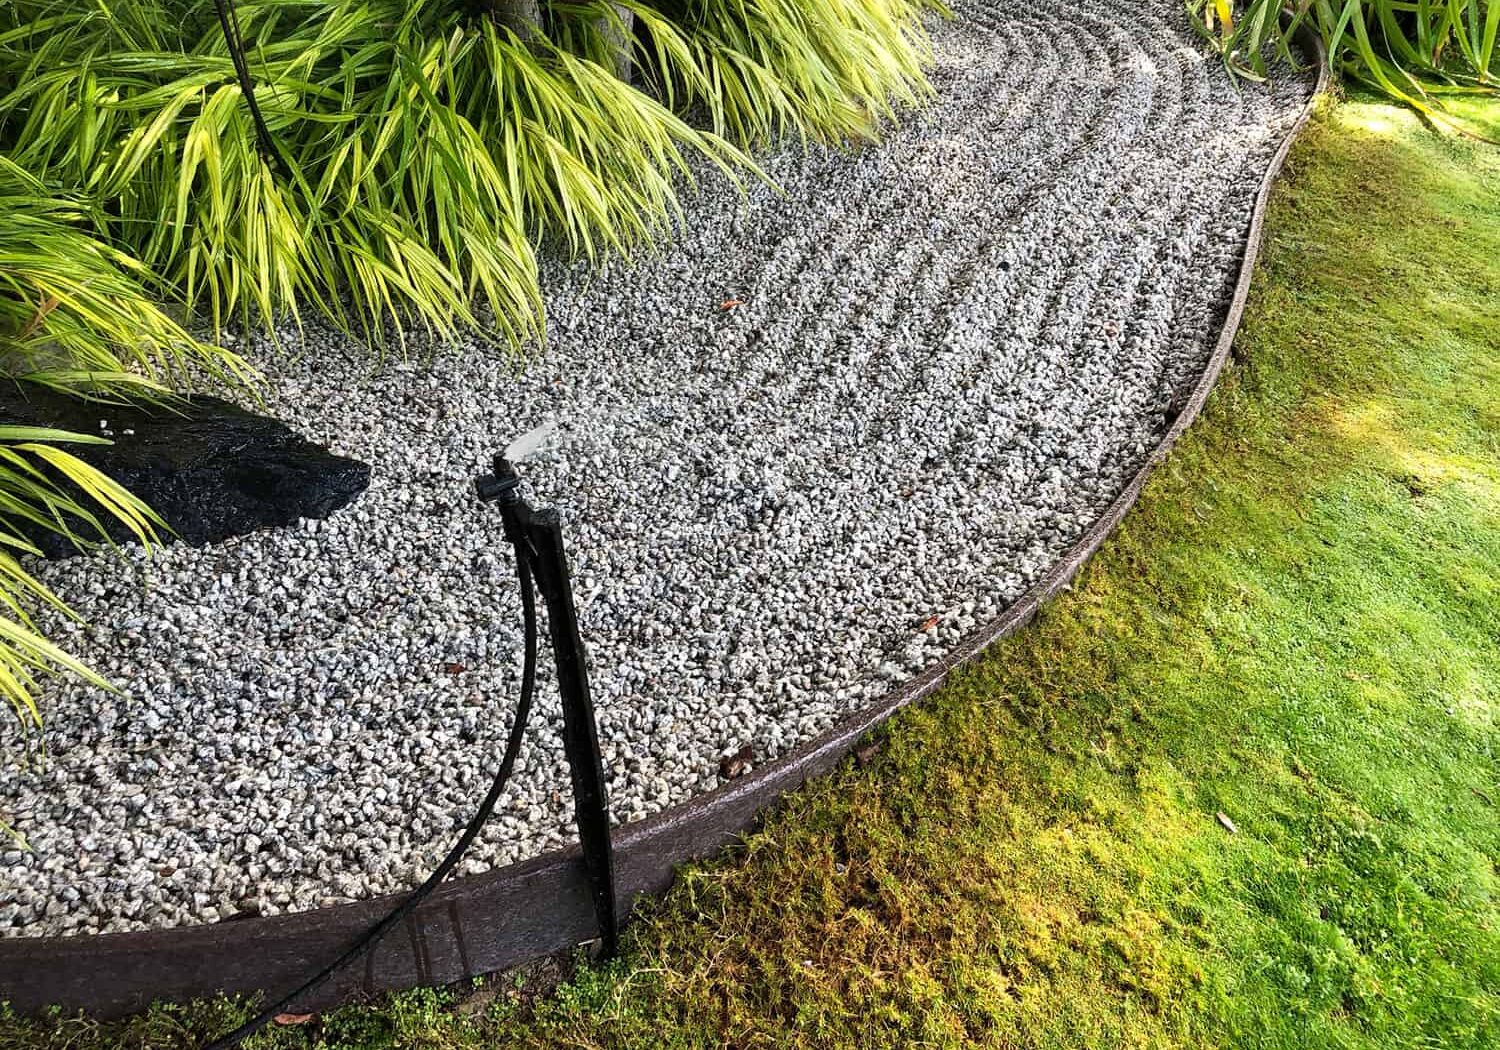
Drip irrigation is not new. In Germany in the 1920s farmers used perforated pipes to irrigate plants. Simcha Blass in Israel developed the first experimental drip irrigation system in 1959 and formed the first drip irrigation company, Netafim, in 1965. Drip irrigation places a precise amount of water where you need it, prevents overwatering, conserves water, saves money, and keeps water off foliage, reducing disease. It eliminates hours of hand watering, can be fully automated with a timer, and reduces weeding time. Drip systems can be applied to gardens, vineyards, greenhouses, row crops, window planters, deck and patio pots, existing landscapes, hillsides, or flat terrain, and is long lasting and adaptable.
A simple irrigation system that many turn to when they first transition from hand watering or overhead watering with sprinklers or spray heads is a soaker hose. Soaker hoses are made from 70% recycled rubber and 30% recycled polyethylene products. They can be bought in 25-ft, 50-ft, and 100-ft lengths. The disadvantage of soaker hoses is that they deteriorate over a few years, and they do not emit water uniformly along their length. More water is distributed at the end closer to the source. As you reach the end, less water is available for the plants. One can get the best performance from a soaker hose by using a timer, a filter, and a pressure reducer and operating it at no higher pressure than 10 psi.
Step 1: Identify the Water Source
The first step in designing a drip irrigation system is to identify the source of water and point of connection (POC).
- Will you use a hose bibb attached to the house water circuit or a frost-proof hydrant out in the yard?
- Do you plan to use gravity fed water from a cistern or water tank?
- Will you pump water from a lake or creek?
Once identified, you need to measure the flow available from the POC. Think of a drip irrigation system as a collection of emitters. Emitters allow water to flow out at specified gallons per hour (GPH). Common emitters allow 1 GPH or 2 GPH flow. The flow of water available from the POC must be capable of providing enough water to satisfy all the emitters. If you plan to have more emitters than your available flow can provide, you must divide your system into zones and then operate one zone at a time.
Identify Your Flow Rate
Measure your flow rate by placing a 5-gallon bucket beneath the POC, open the valve completely, and time the number of seconds it takes to fill the container. Then the gallons per minute (GPM) = (60 seconds per minute/number of seconds to fill) x (number of gallons).
Step Two: Identify Areas you Want to Water
The second step is to decide what areas you want to water. Make a sketch. Take some measurements. This will help you determine the amount of mainline and number of branch lines you need. Mainlines are ½”, ¾”, or 1” polypropylene, usually black. Branch lines are usually ½”.
The Parts of a Drip Irrigation System
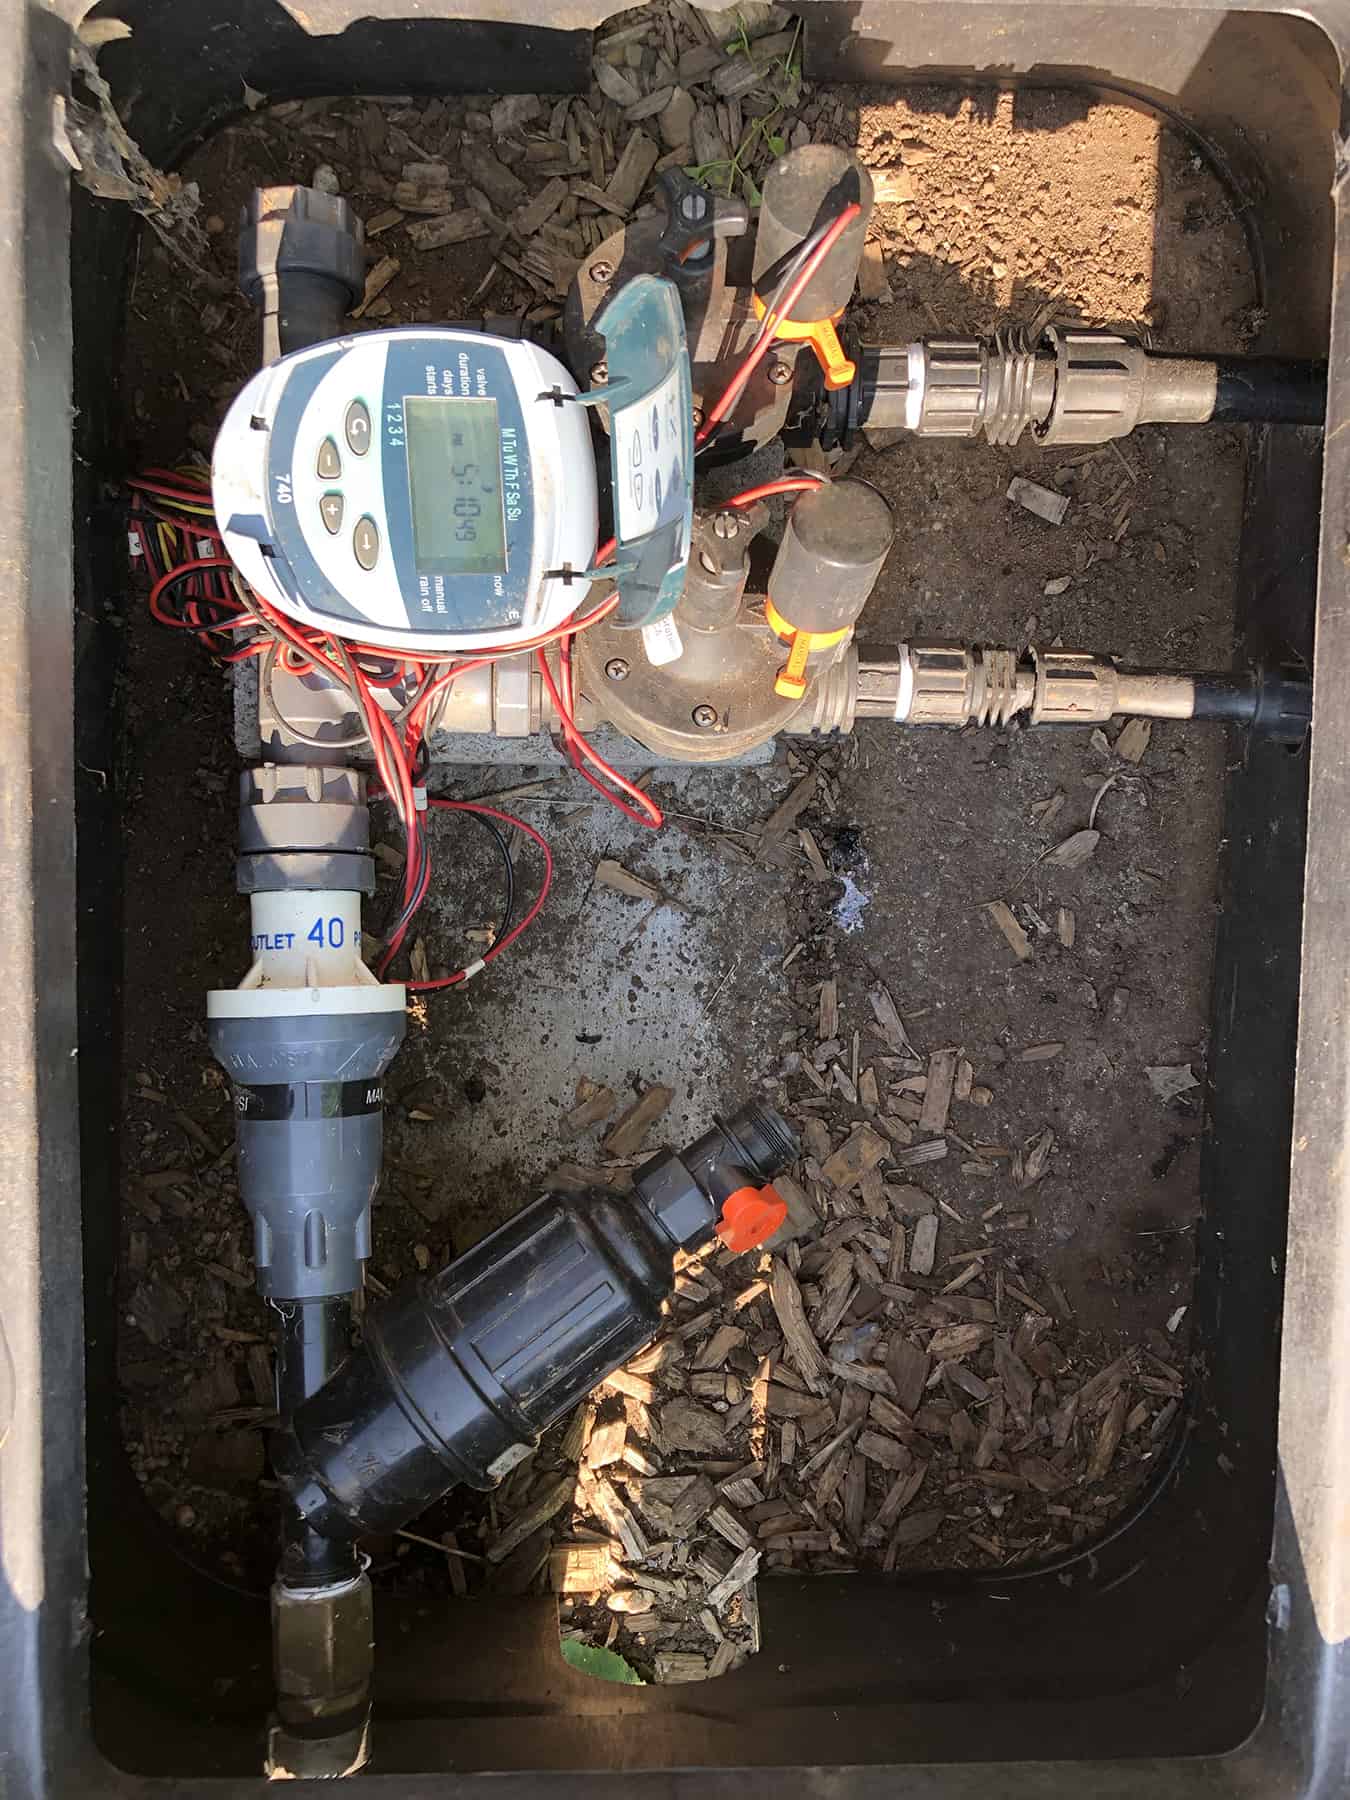
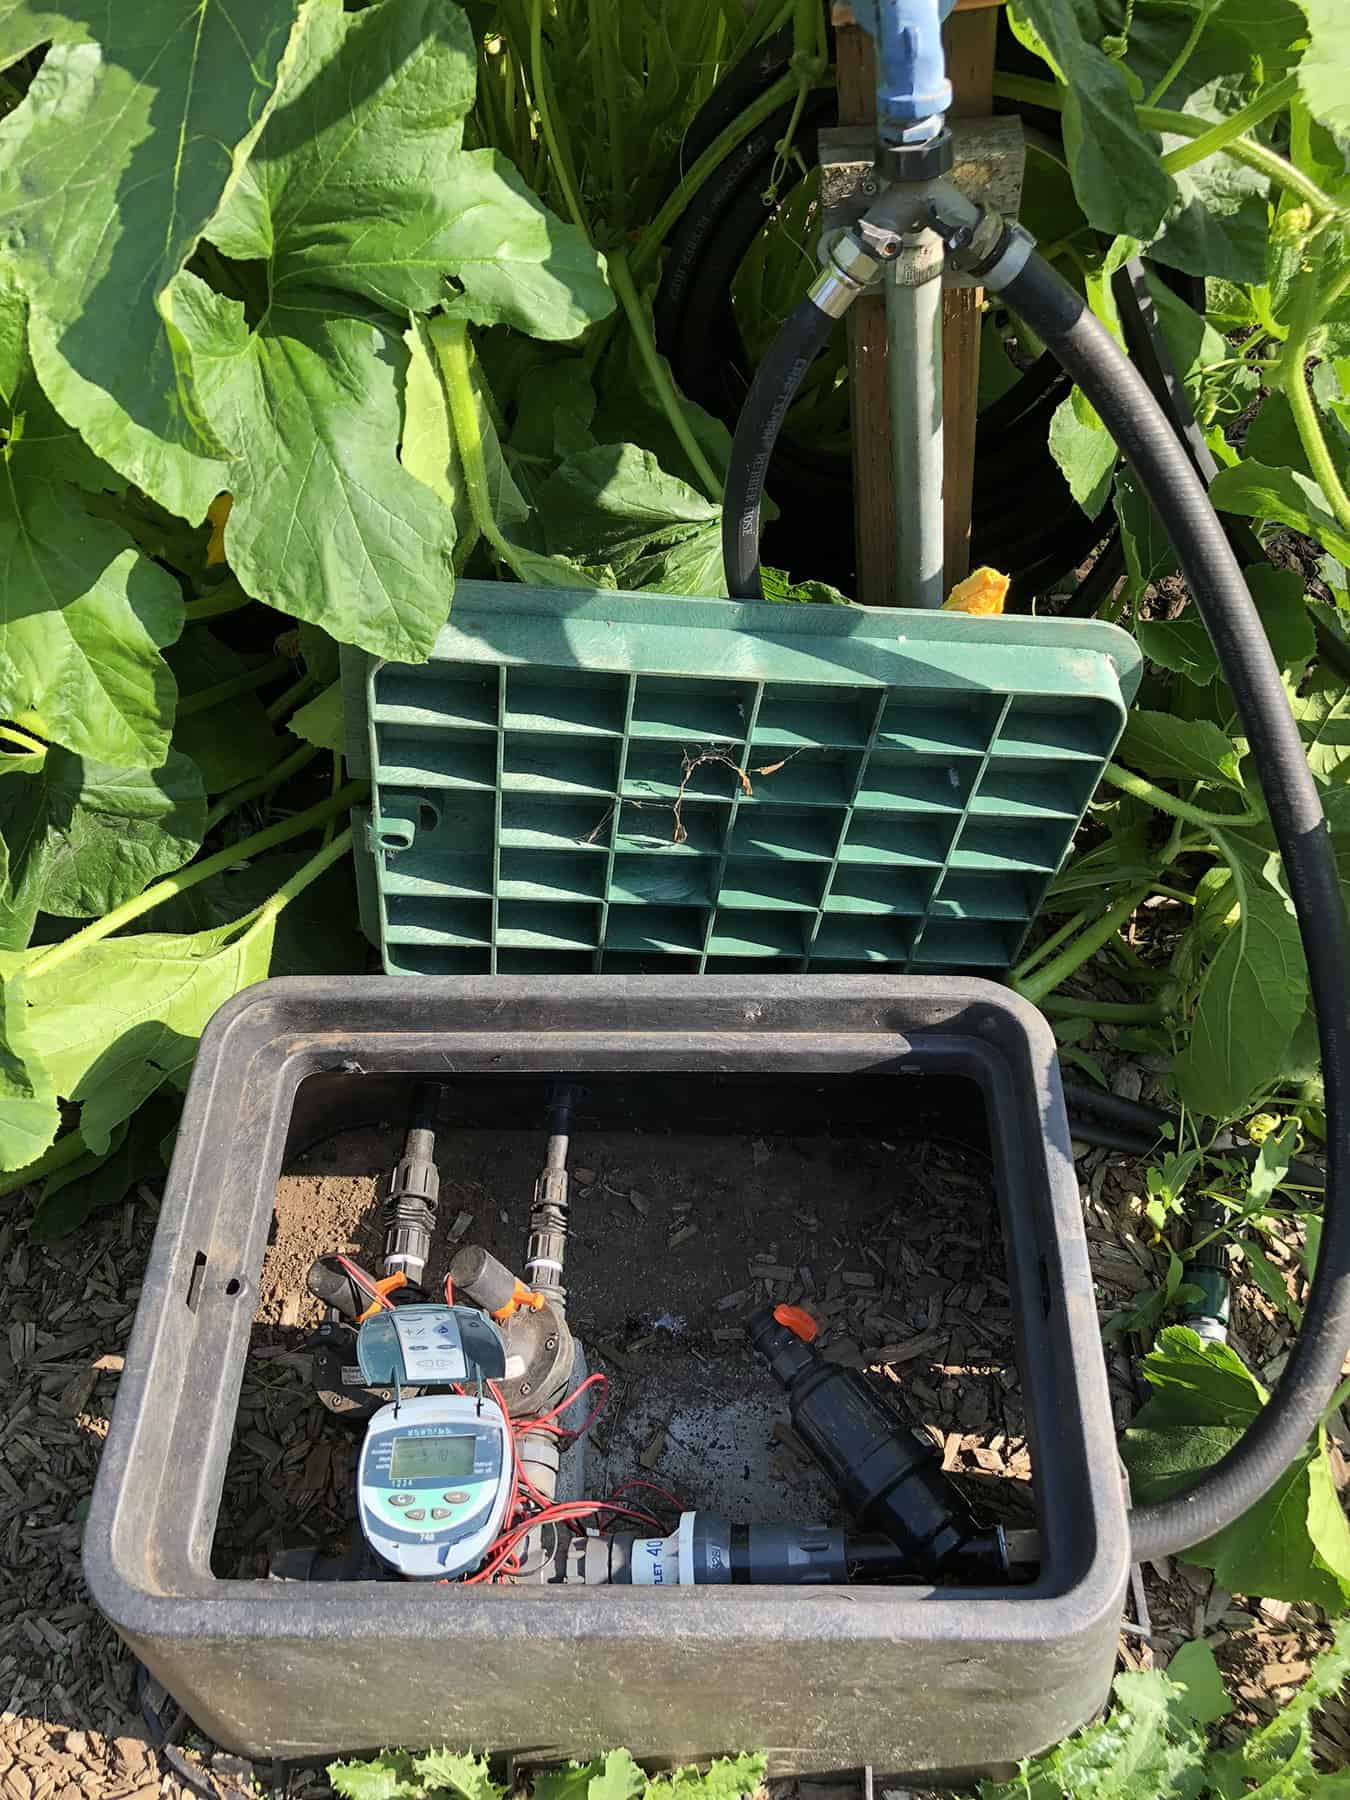
A drip irrigation system consists of the following parts connected in this order: POC, timer, filter, pressure regulator, mainline, branch lines, end cap.
Several companies make drip irrigation parts. Parts from Hunter, Rainbird, Raindrip, Netafim and Jain can be found at big box stores, hardware stores, or landscape suppliers like Ewing Irrigation & Landscape Supply in Burlington and online like Dripworks.
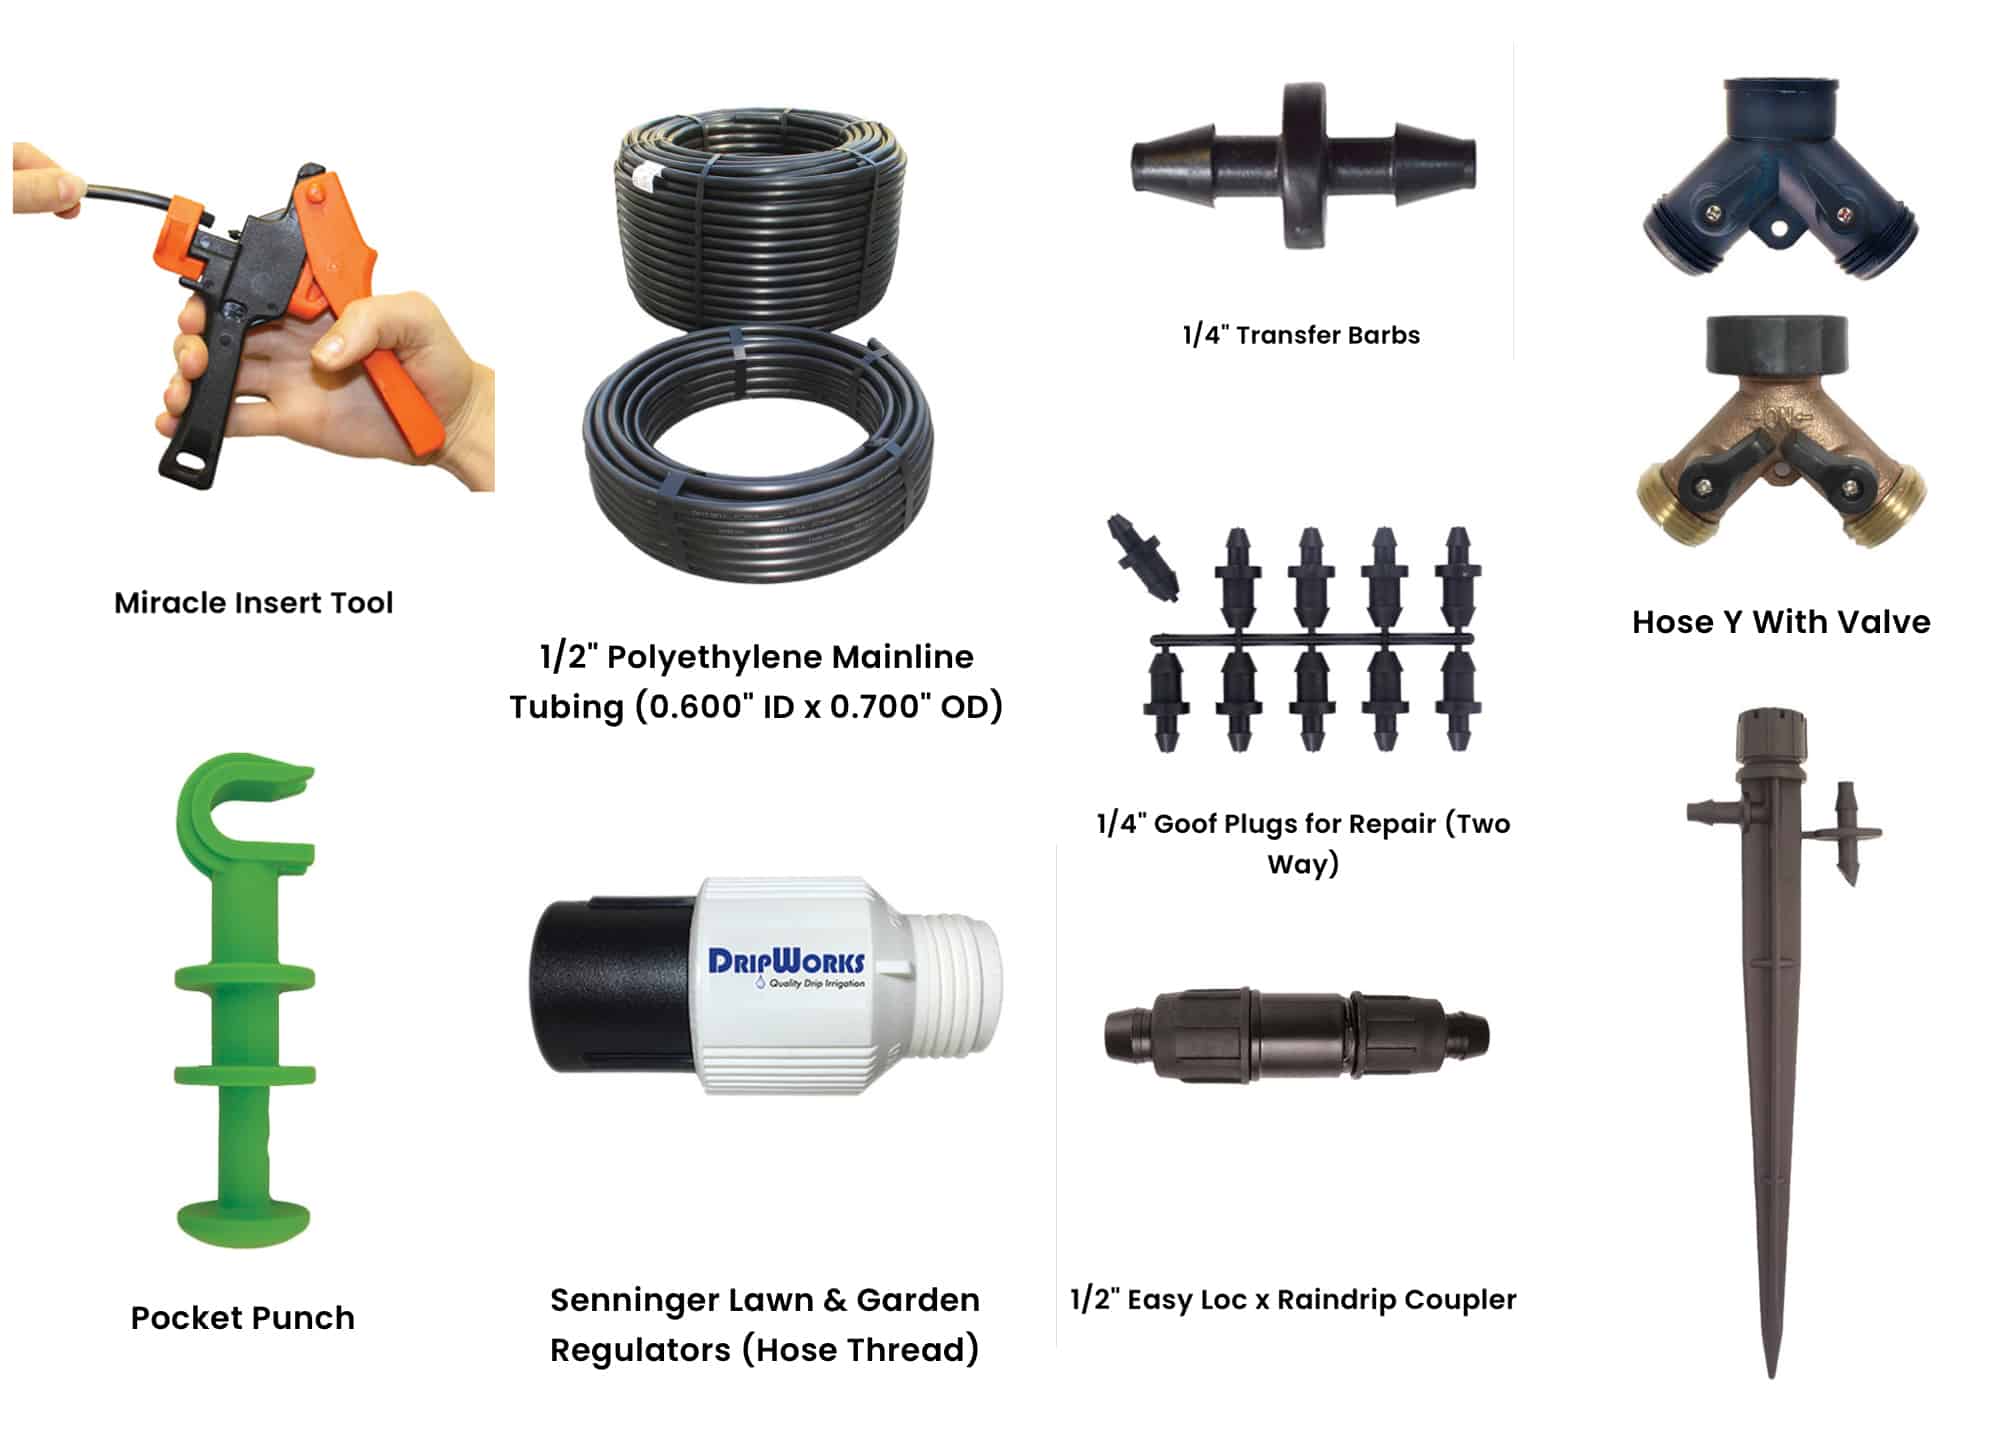
All suppliers provide similar products. A note of caution: Rainbird ½” mainline is slightly smaller than Dripworks ½” mainline. Rainbird ½” polypropylene is 0.500” inside diameter; Dripworks ½” polypropylene is 0.600” inside diameter. Rainbird ½” mainline will not fit on Dripworks barbs in their Easy Loc fittings. Dripworks offers a reducing coupler that allows one to extend a Rainbird system to a Dripworks system. When starting from scratch, it makes sense to decide on one supplier to build your system. Both Dripworks and Rainbird products are of equal quality and diversity. I have built systems with Dripworks parts and will describe them going forward, but Rainbird parts could be substituted.
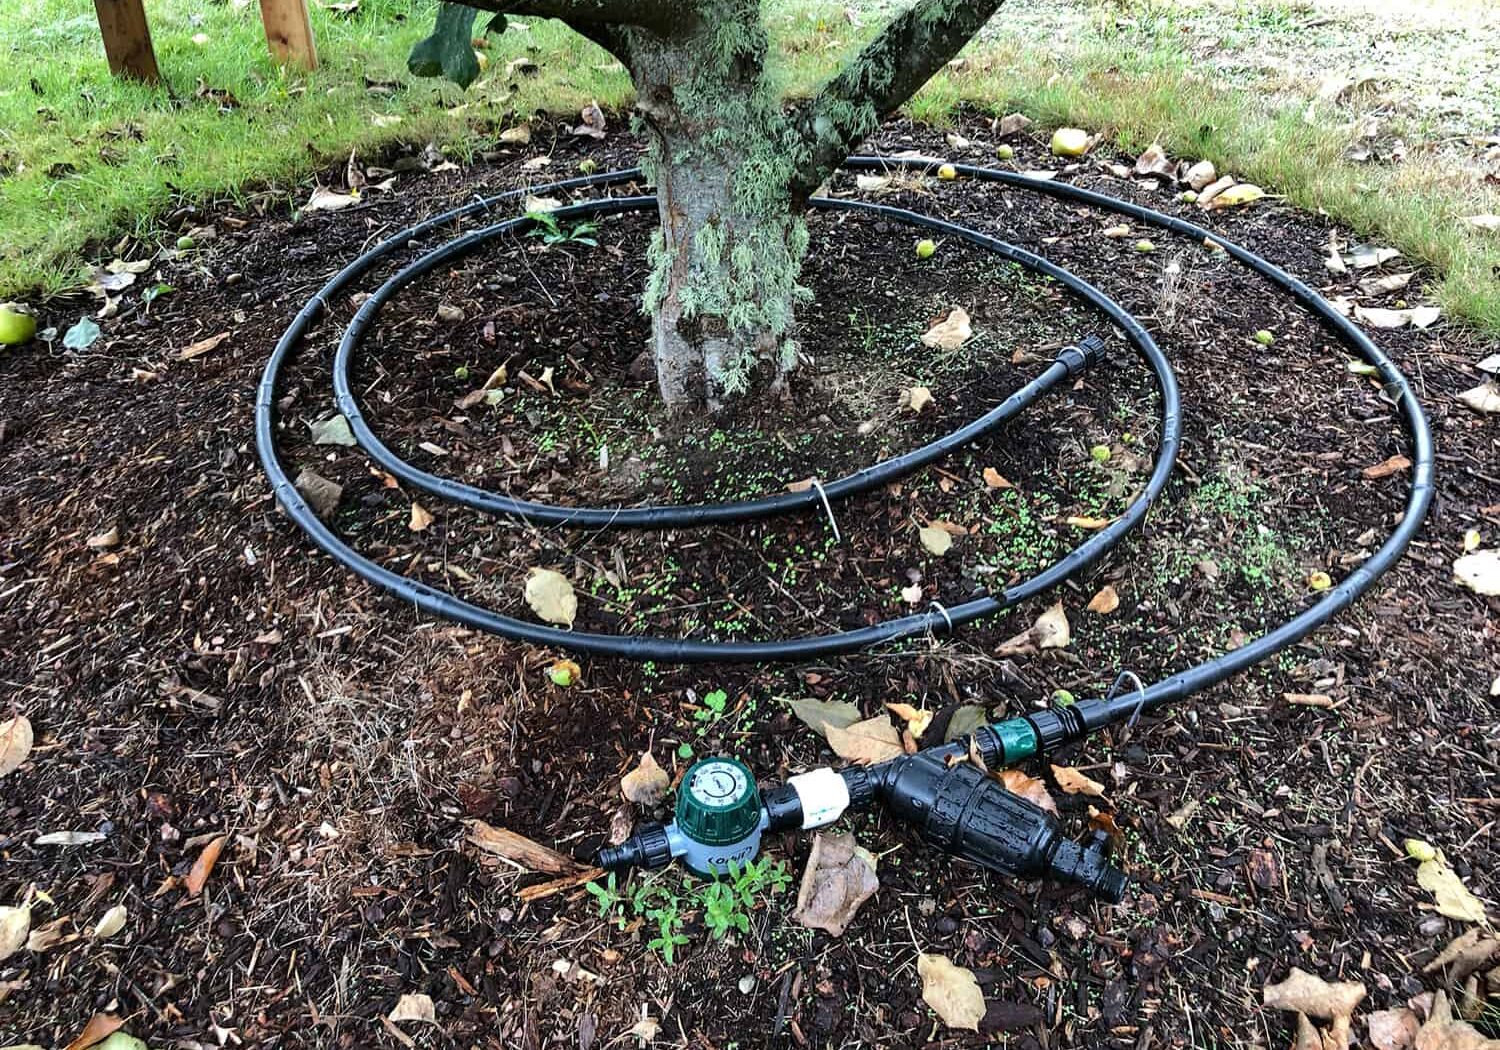
Timers: A timer allows you to go on vacation knowing that your landscape and patio plants are going to be watered appropriately. Timers are wind-up, battery-powered, AC powered or solar powered. They handle one zone (wind-up) or up to 12 zones. All powered timers offer similar functions. When first powered up, you set the current time and day of the week. Next you choose which zone you are setting up (for multi-zone timers). Then, for each zone, you set the duration, days to irrigate, and a start time for each irrigation (up to four start times). Multiple start times are useful for high volume watering using shrubblers, micro-jets, mini-sprinklers, or sprayers. These devices are designed to cover areas not specific plants and can lead to run-off. You can avoid run-off by watering for multiple short intervals. Galcon LCD timers have worked well for my needs.
The type of soil in your garden will determine the irrigation schedule and emitter choice. Clay soil holds more water, is slow to absorb water, and is slow to release water. For this type of soil use 0.5 GPH emitters spaced farther apart. Loam, which is the optimal soil type, is very porous and retains moisture. Use 0.5 – 1 GPH emitters. Sandy soils are extremely porous and allow quick water flow. Use 1 – 2 GPH emitters closely spaced and water more frequently for shorter periods.
Filters: Because drip irrigation emitters contain very small channels, they are susceptible to clogging. It’s important to always include a filter after the timer. Garden filters come with hose threads or pipe threads. Screen filters remove sediment and debris that can clog a drip system. Filters are rated by filtering capability. The common terms used are mesh, the number of wires per inch and micron, the maximum particle size that can pass through the screen. Home garden screen filters are commonly used for small to medium size irrigation systems with a relatively clean water supply. Common mesh sizes are 50, 100, 150, and 200. I use Irritec hose thread Y filters with 200 mesh.
Most municipal water systems supply water at 40 – 60 psi. This is too high for drip irrigation systems. Pressure regulators come with hose threads or pipe threads. Senninger Garden Regulators are ideal for low-volume drip systems. They will regulate pressure from 10 psi to 40 psi. I use 30 psi regulators in my gardens.
In the old days (back in the 1970s) I assembled drip systems using Raindrip compression fittings. These could be bought at hardware stores or nursery centers. They come in straight couplers, elbows, tees, and hose starts. They are black plastic cylinders with compression elements at the open ends. You push the ½” polypropylene tubing into the open end wiggling it around and jacking it back and forth to force it into the fitting. Once in, it doesn’t leak. But like the Hotel California, once you check in, you can never leave. One day I was watching farm hands installing a field for strawberries near where I lived then in Carlsbad, CA. The tractor and implement produced flat-topped raised beds across the field. Then the workers laid down T-tape (also called drip tape). Then they covered the raised beds with black plastic. They made slits in the plastic and planted strawberry plants in the raise beds. The drip irrigation system was in situ. Dripworks carries the latest generation of tape technology from Toro called Aqua-Traxx drip tape. The emitters are spaced at 4”, 6”, 8” and 12” centers. This can be used in home gardens, but it is really meant for large commercial farms. Discovering T-tape led me to a local store that sold irrigation supplies and introduced me to a new type of drip irrigation.
Step Three: Assembly
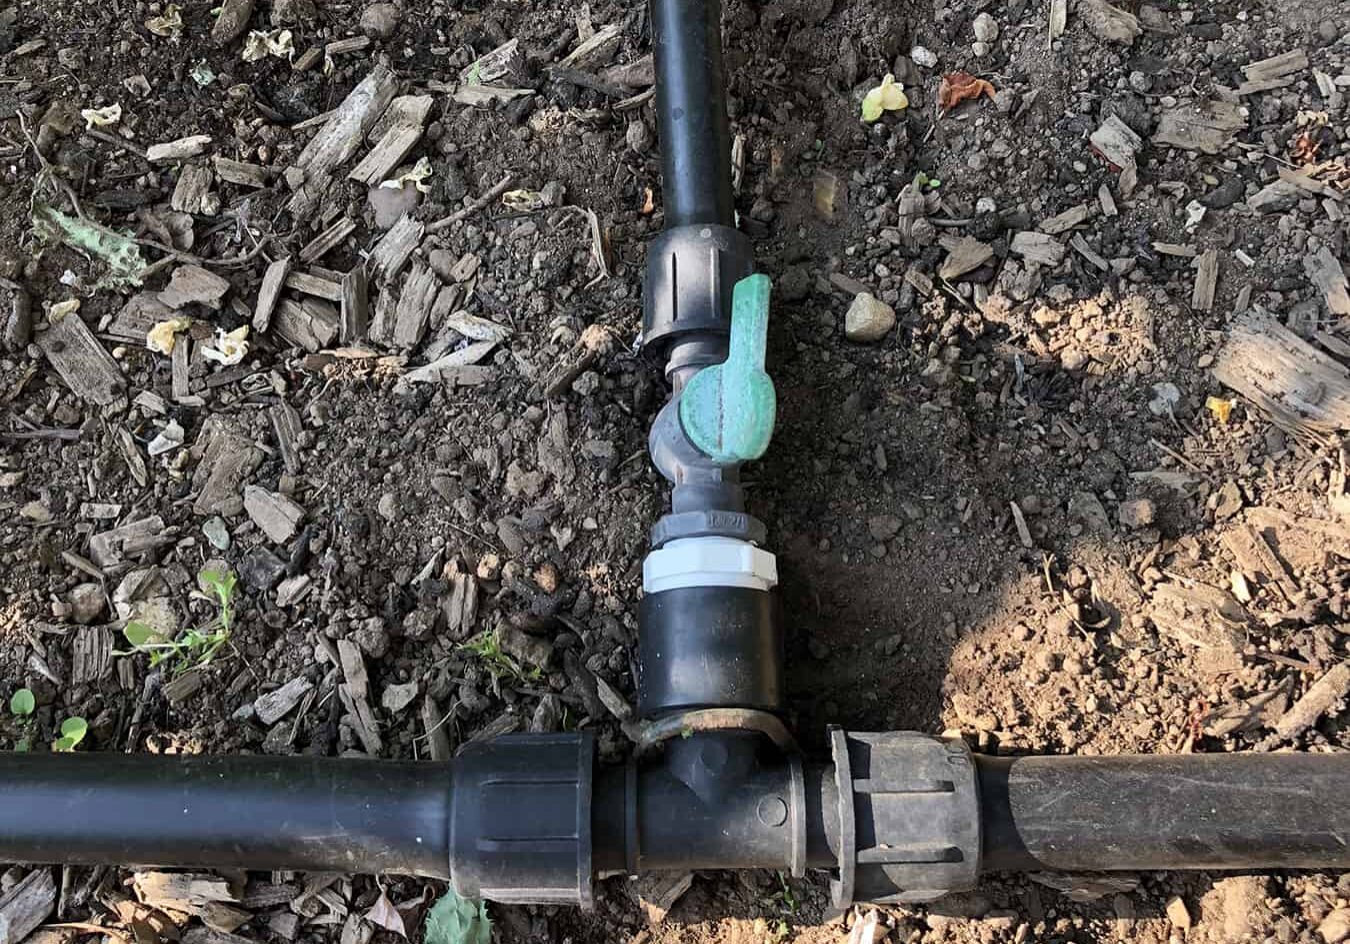
Back to our drip system design: the common way to start a system is to use a female hose start with swivel. Fittings to build a drip irrigation system are ½”, ¾” and 1” Easy Loc fittings. The female hose start has a female hose swivel on one end and a locking barb on the other. Attach the female hose start to the regulator’s male threads. Work the end of the polypropylene tubing over the barb and tighten up the locking collar. To take the tubing off, loosen the locking collar and pull the tubing off the barb. All Easy Loc Fittings (a Dripworks product) work this way. When working with these fittings in the cold, it helps to keep a tube of food-grade lubricant such as Lubrifilm to lubricate the barb. Cut the polypropylene tubing with pruning shears. Continue to build out your system with couplers, tees, elbows, inline valves, and male hose end with caps for closing lines. Vendor websites have many plans for gardens of many types. They often include a helpful list of materials (because they want you to buy supplies from them). Perusing these plans will give you ideas for your garden.
Extra Tips:
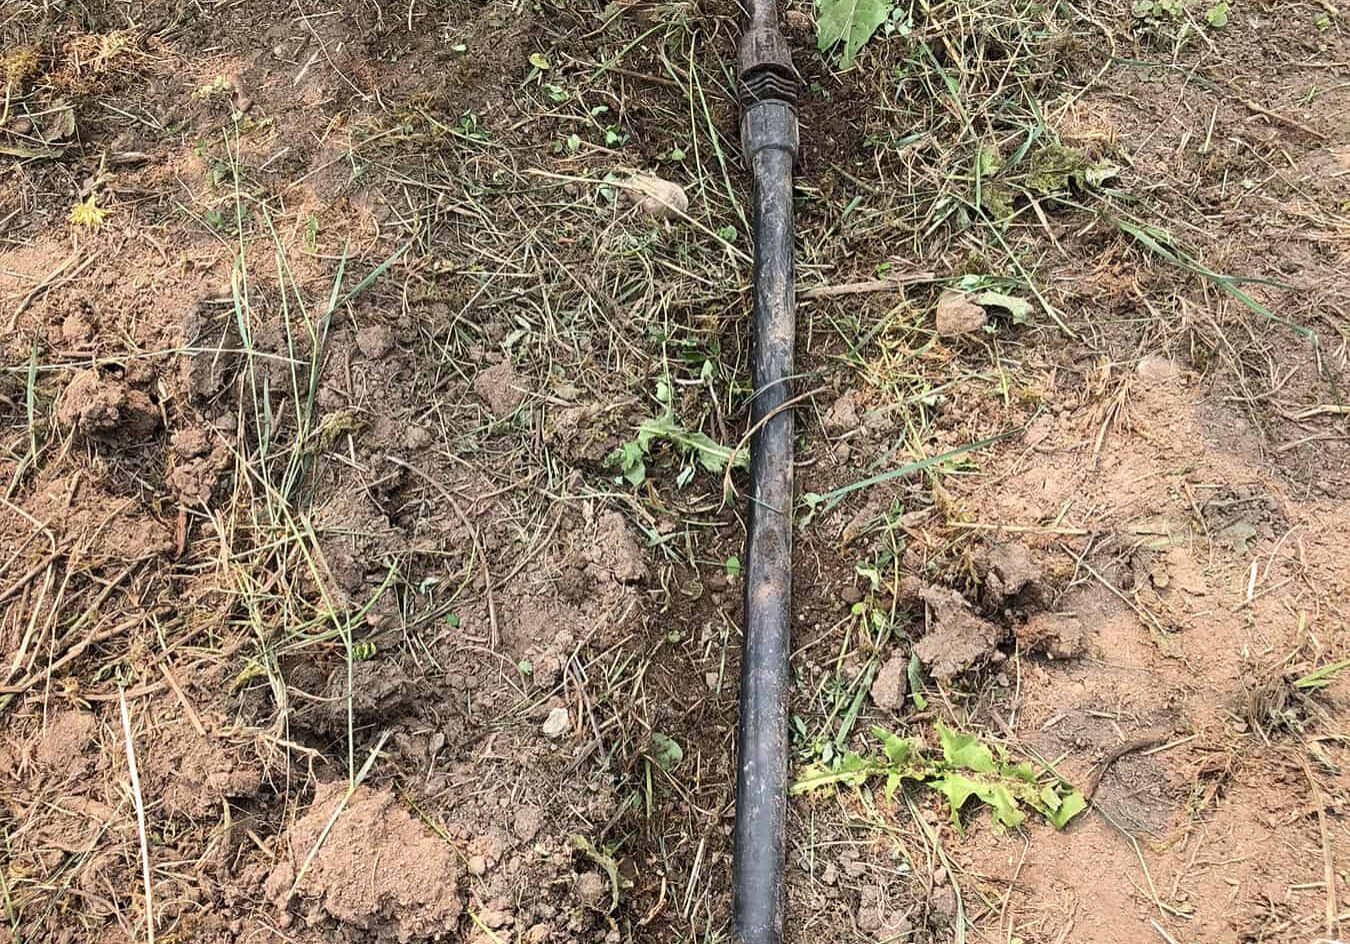
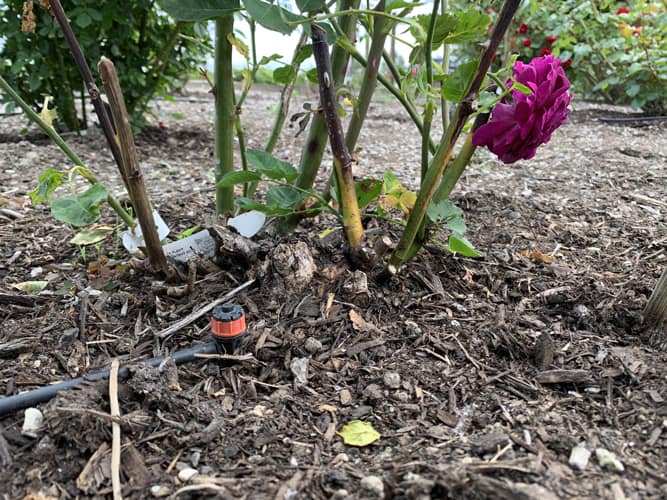
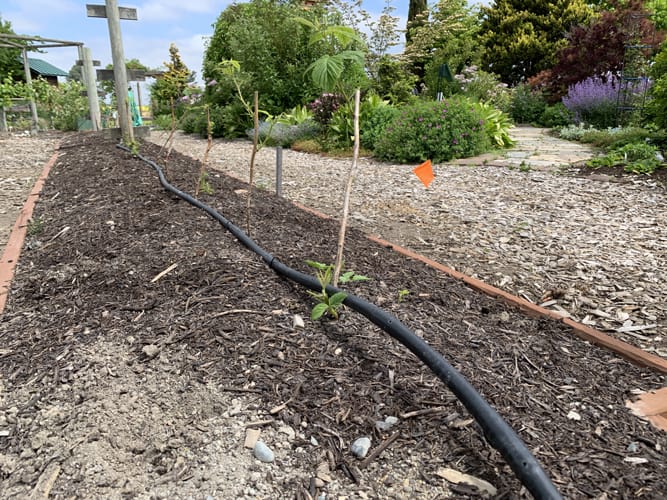
If you have a long garden bed along the fence or the sidewalk, and want to irrigate the shrubs there, run a ½” mainline down the center. Install the timer, filter, pressure regulator and female hose start at the hose bibb at the house. Dig a narrow trench across the lawn, put ¾” Sch 40 PVC pipe in the trench and run the ½” polypropylene through the PVC. The PVC will protect the drip mainline from being cut by digging and weeding. Easy Loc 90° elbows put the mainline down in the trench, then bring it up in the garden bed. With the mainline in place and closed at the end with a male hose end, punch holes in the mainline with a specialty hole punch. Insert ¼” transfer barbs into the holes. If the shrubs are medium size, you can irrigate with a loop of ¼” soaker dripline. Attach the dripline to the transfer barb and close the end with a goof plug (a plug with different-sized barbs used to repair small or large holes in mainline tubing). If the shrub is small bring some ¼” polyethylene micro tubing to the plant from a transfer barb. Connect it to a Cobra Stake drip emitter (available in ½, 1, or 2 GPH).
Winterizing: Timers, filters and pressure regulators can be damaged by hard freezes. Remove the end caps off of the mainlines and drain the system. Re-install the end caps to keep out insects. Store the timers, filters, and pressure regulators indoors over winter. Remove batteries from the timers.
Setting up a drip irrigation system takes a bit of time and ingenuity, but is well worth the benefits you’ll reap as you save money and time, and have a garden full of thriving plants.
The products described and the opinions expressed above are those of the author and not meant as an endorsement. Skagit County WSU Extension Master Gardeners do not endorse any companies or commercial products.
RESOURCES:
Learn more about setting up a drip irrigation system in the Pacific Northwest through these online sources:
https://foodsystems.wsu.edu/crops/irrigation/
https://pubs.extension.wsu.edu/drip-irrigation-for-the-yard-and-garden
https://depts.washington.edu/hortlib/pal/drip_irrigation/
http://irrigation.wsu.edu/Content/Calculators/Drip/Drip-Line-Rate.php
https://pubs.extension.wsu.edu/drought-advisory-water-conservation-in-gardens-and-landscapes
ABOUT THE AUTHOR:
 Bob Bryan has been a Skagit County WSU Extension Master Gardener (EMG) since 2009. He has taught the art of drip irrigation in the Know and Grow education seminars offered by Master Gardeners.
_________
Questions about home gardening or becoming a Master Gardener may be directed to: Skagit County WSU Extension Office, 11768 Westar Lane, Suite A, Burlington, WA 98233; by phone: 360-428-4270; or via the website: www.skagit.wsu.edu/mg
Thanks so much Bob!
This is great information and so valuable as we work to minimize water waste.
Headed to Ewing for some parts today. Great article!